


Foreword
The PiIoT project requires an interactive user interface supporting some special features. It is an unconventional one including both the most common user approach and an unusual behaviour. We identify two cases: case A and case B.
Case A
The user interact with the interface and the connected system react with a direct feedback. A typical example is the push-button vs LED feedback. In this cases the user can expect what kind of feedback it will happen when he interact with the system.
Case B
The user not necessarily interact with the interface but maybe. This happens every time we press the wrong button on the keyboard (typos), click the mouse on the cancel button instead of confirm and so on.
Case C?
Following our vision there is still a third condition, the Case C: The system detect the user presence then notify the user saying where he is and what he can do. This maybe very helpful for a visually-impaired user as well as a different perceptive experience for a non visually-impaired user. To do this the common interface and feedback approach should be totally revised and inverted for some aspects.
Explaining the case "C"
Abstracting the concept to a generic user - no matter if he is a non-visually impaired visitor, a visually-impaired visitor or a blind person - as the subject is detected the system speak to him inviting him to interact through a coloured fast reactive interface. If the subject can't see the interface the controller is anyway able to respond and the user actions are processed and sent to the interface control process. The user can follow a fast and easy self-learning path based on the suggestions of the system, his actions and his gestures.
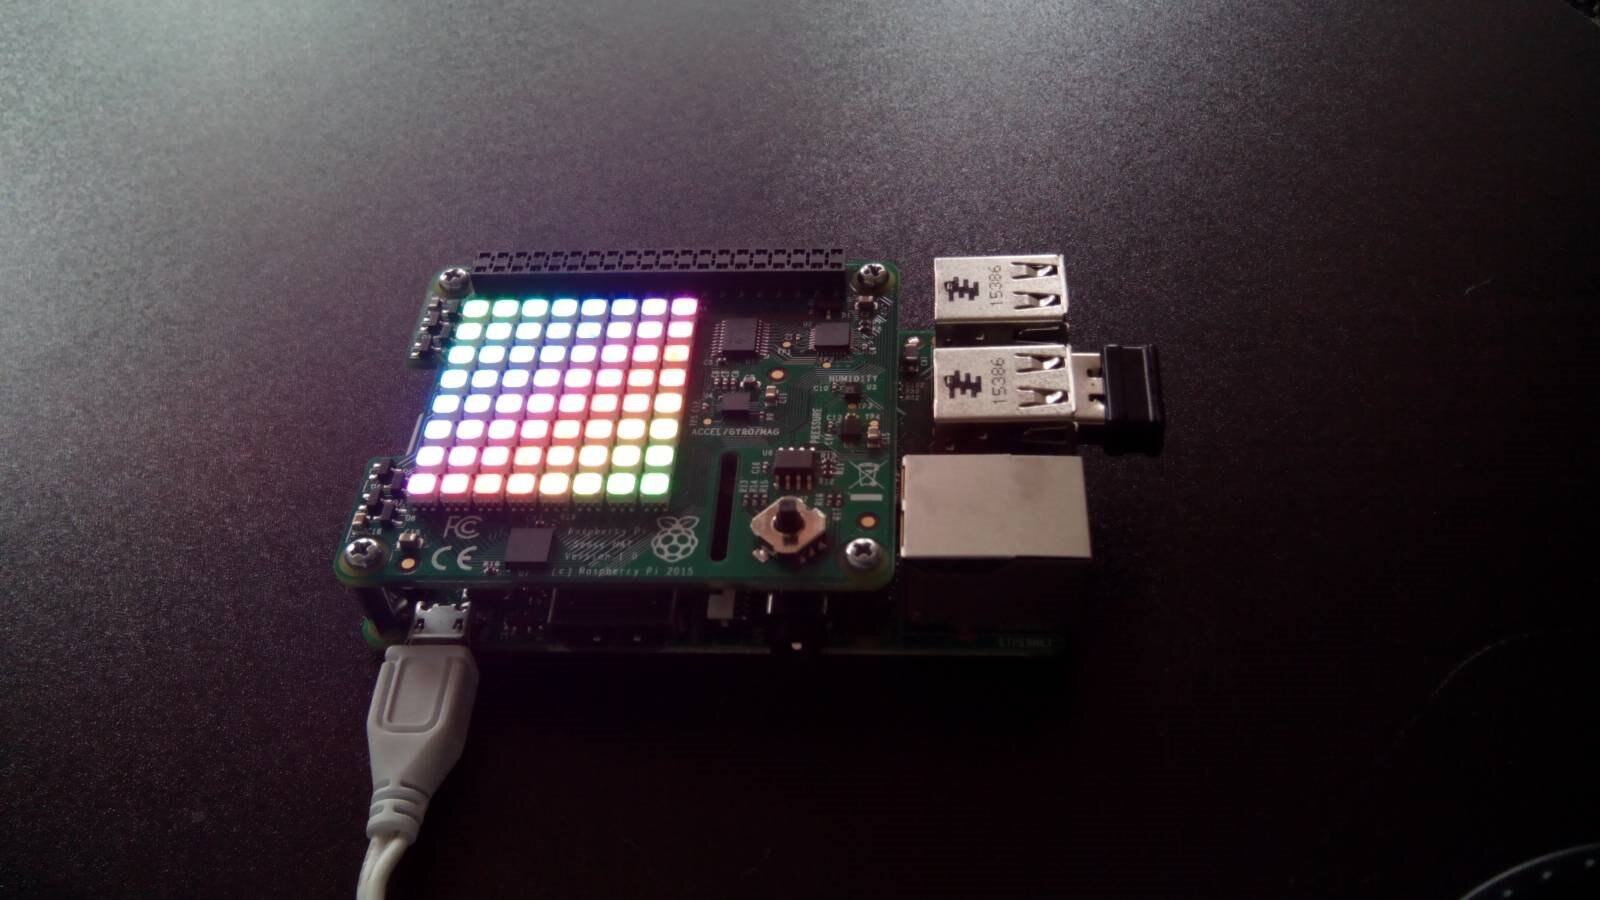
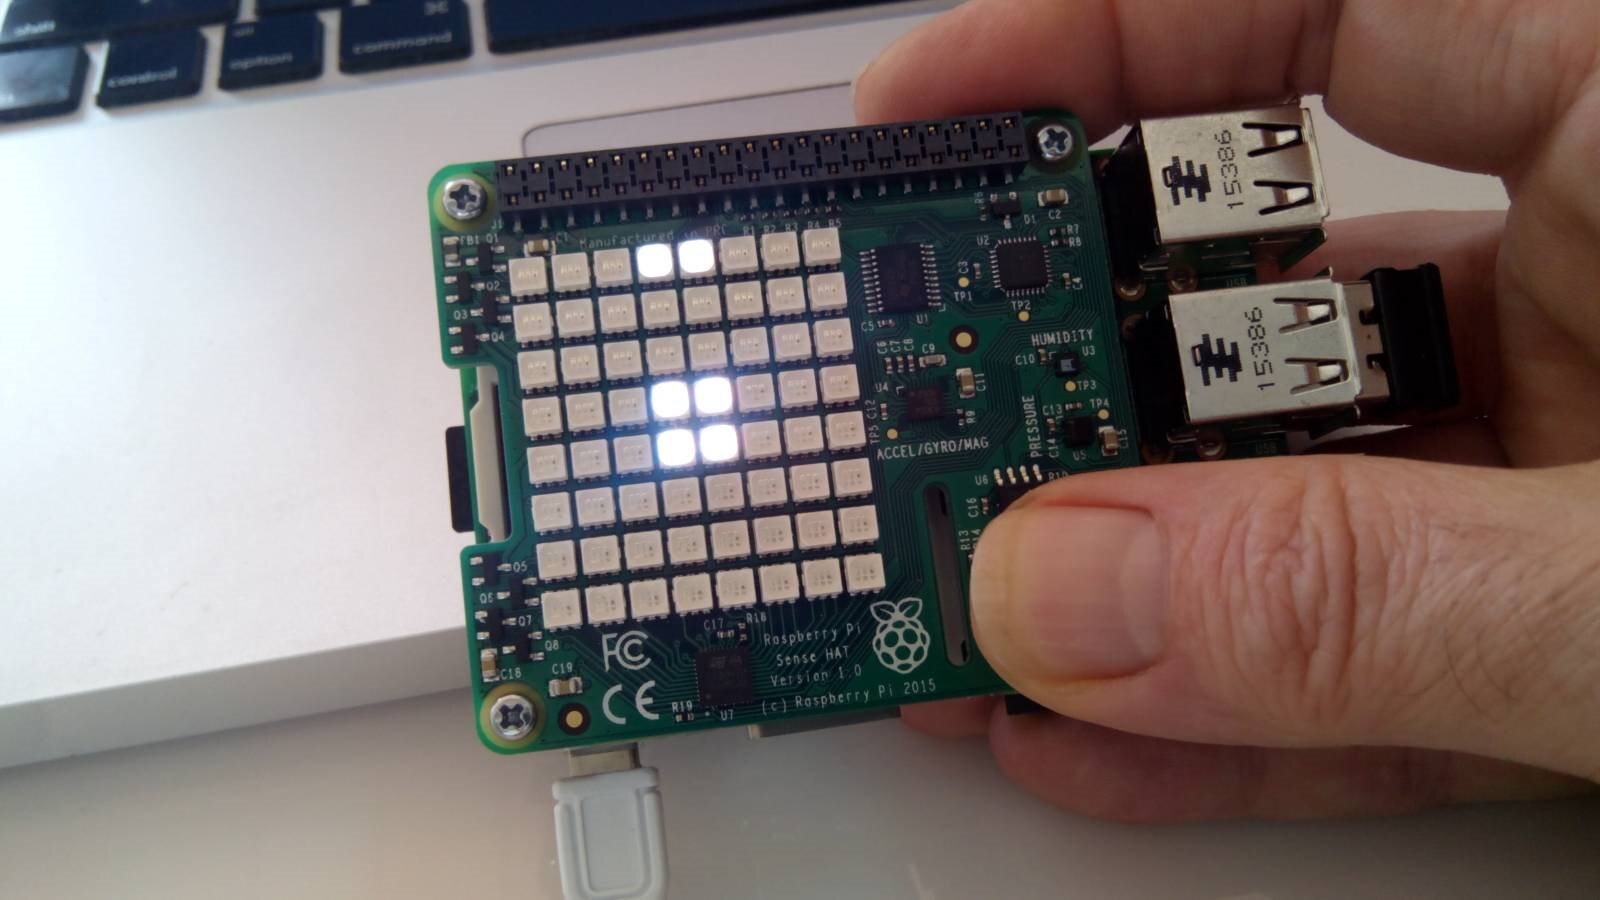
A considerable part of this highly interactive interface is based on a Raspberry PI3Raspberry PI3 mounting a SenseHATSenseHAT. The unit will include other components that will be developed and put together. SenseHAT remain the most important part of the interface. The video below shows the first software prototype in action as explained in the next chapters.
Sensors, joystick and display
Temperature, humidity and barometric pressure
This group of data will not be collected and logged as their minor importance, but it is a useful environmental information provided to the user on demand.
Compass
Compass will be monitored continuously at a low frequency, about one check every second, to detect if the entire installation is moved from its place. It is expected that the installation - assembled on a semi-mobile structure like a table - can be freely accessed by any visitor but should remain in place.
Accelerometer
The group Raspberry PI + SenseHAT is mounted on an elastic support oscillating on the base. The accelerometer is used to know the speed (corresponding to the force the user is moving the module) of the oscillation.
Three axis inclinometer
The three axis inclinometer will detect the direction and slant impressed to the module by the user activating several kinds of feedback.
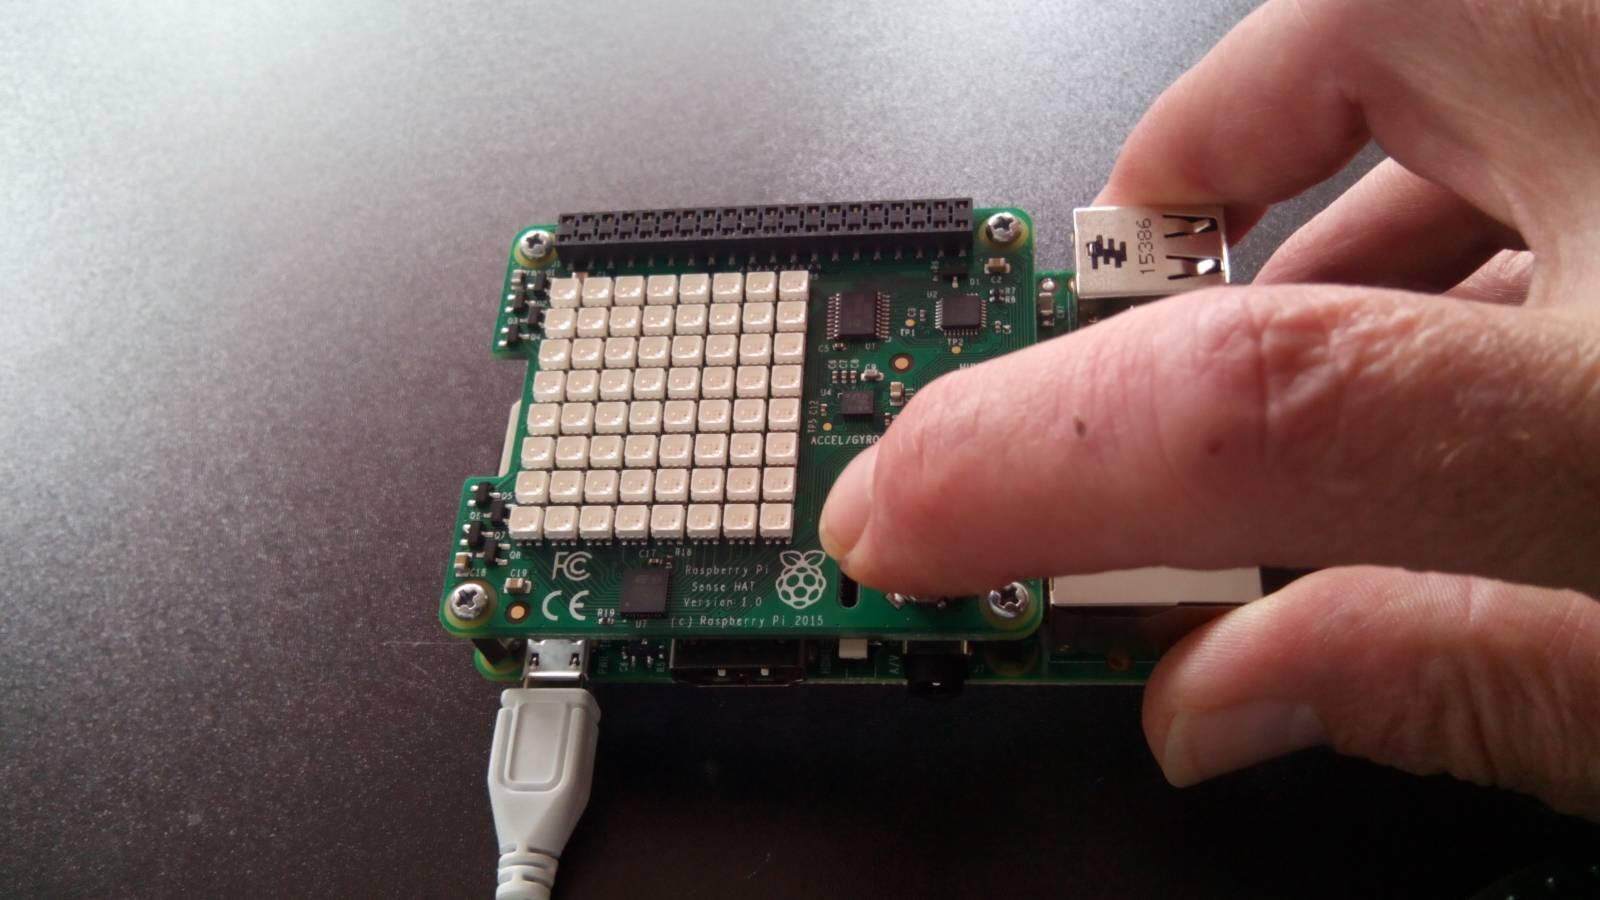
The joystick
The user will be noticed of the presence of the joystick accessible from the interface module. This will be used to get instant spot information e.g. the environmental state, reset a conditions and more.
Software approach
Before start developing the interface we should consider that the different features of the SenseHAT device will work definitely as a background task and concurrently. The easiest but less efficient approach is creating a set of meta-commands to execute on startup. This means using a considerable amount of machine resources making difficult to control the different tasks; the components should work concurrently but not independently.
The second consideration is about the availability of a good low level library to control the hardware already interfaced with Python. Python language has a lot of high level features making it the perfect partner to develop complex and optimised software to run on SBC like the Raspberry PI, especially when we can count on good performances in charge of the C/C++ libraries.
To make an efficient and flexible interface we should develop our interface controller with a multithread approach.
A custom version of the SenseHAT python interface
The native SenseHAT Python library included with the Raspbian Jessie distribution is not the last updated version, instead available on GitHub python-sense-hat The API documentation of this library is available on pythonhosted.org. All this is not yet sufficient.
We need to include some specific classes supporting Python multithreading and some specific features needed for the project. Instead updating the sense_hat original Python package with the version 2.2.0 it has been included in the project with some customisations. The new classes has been added to the sense_hat package (and other will be added in future) while the original ones are left unchanged for any kind of compatibility with the standard version.
Note: to create a new package in Python the __init__.py file should be present in the package root. In the normal usage this file is left empty but in our case we will keep the already existing __init__.py file from the original sense_hat library version 2.2.0
The new Python classes
Installing the evdev package
The new Python classes as well as the standard SenseHAT classes version 2.2.0 needs the evdev package to work correctly with the joystick. To install this extra package we need the Python package installer pip available on the Raspberry PI. Below are the two commands to install pip on the Raspbian Jessie:
$ apt-get install python-dev python-pip gcc
$ apt-get install linux-headers-$(uname -r)
After pip has been installed it is possible to proceed installing evdev
$ sudo pip install evdev
The evdev package bind the kernel userspace character devices usually listed in /dev/input exposing them to Python; this allows the Python programs to read and write input events in the Linux environment. As a matter of fact we just need to be sure that this package is installed in the system but if you are interested on how the package works the API documentation is available on https://python-evdev.readthedocs.io/en/latest/index.html
More details on the iot_sense_hat classes usage and methods can be found in the source documentation. The last update version of the iot_sense_hat package and the example program are available on GitHub:
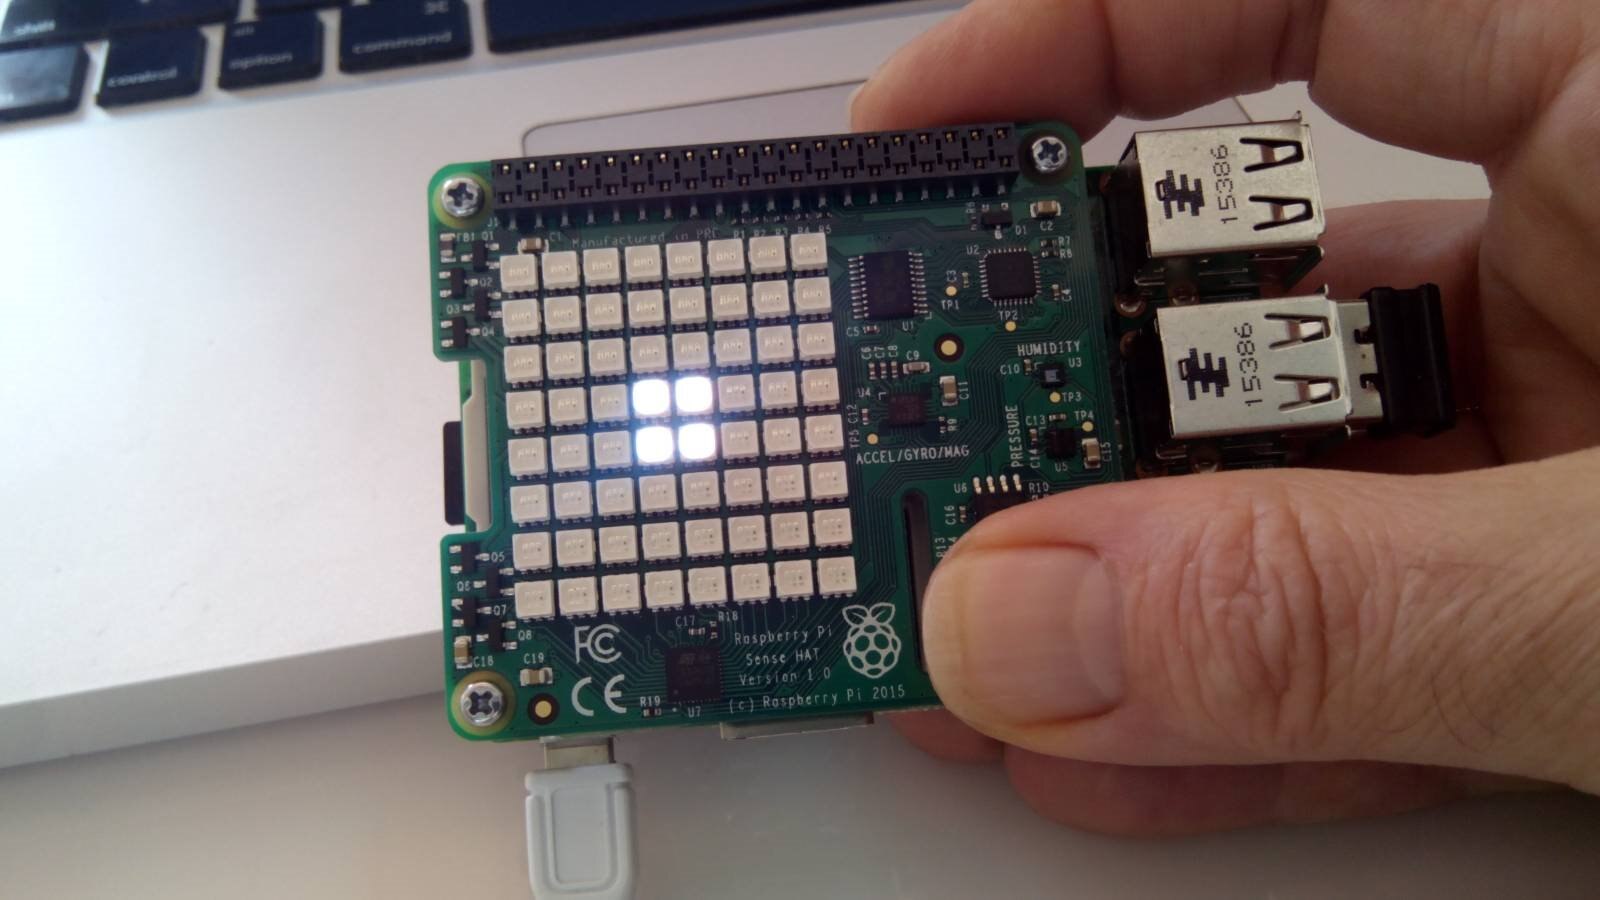
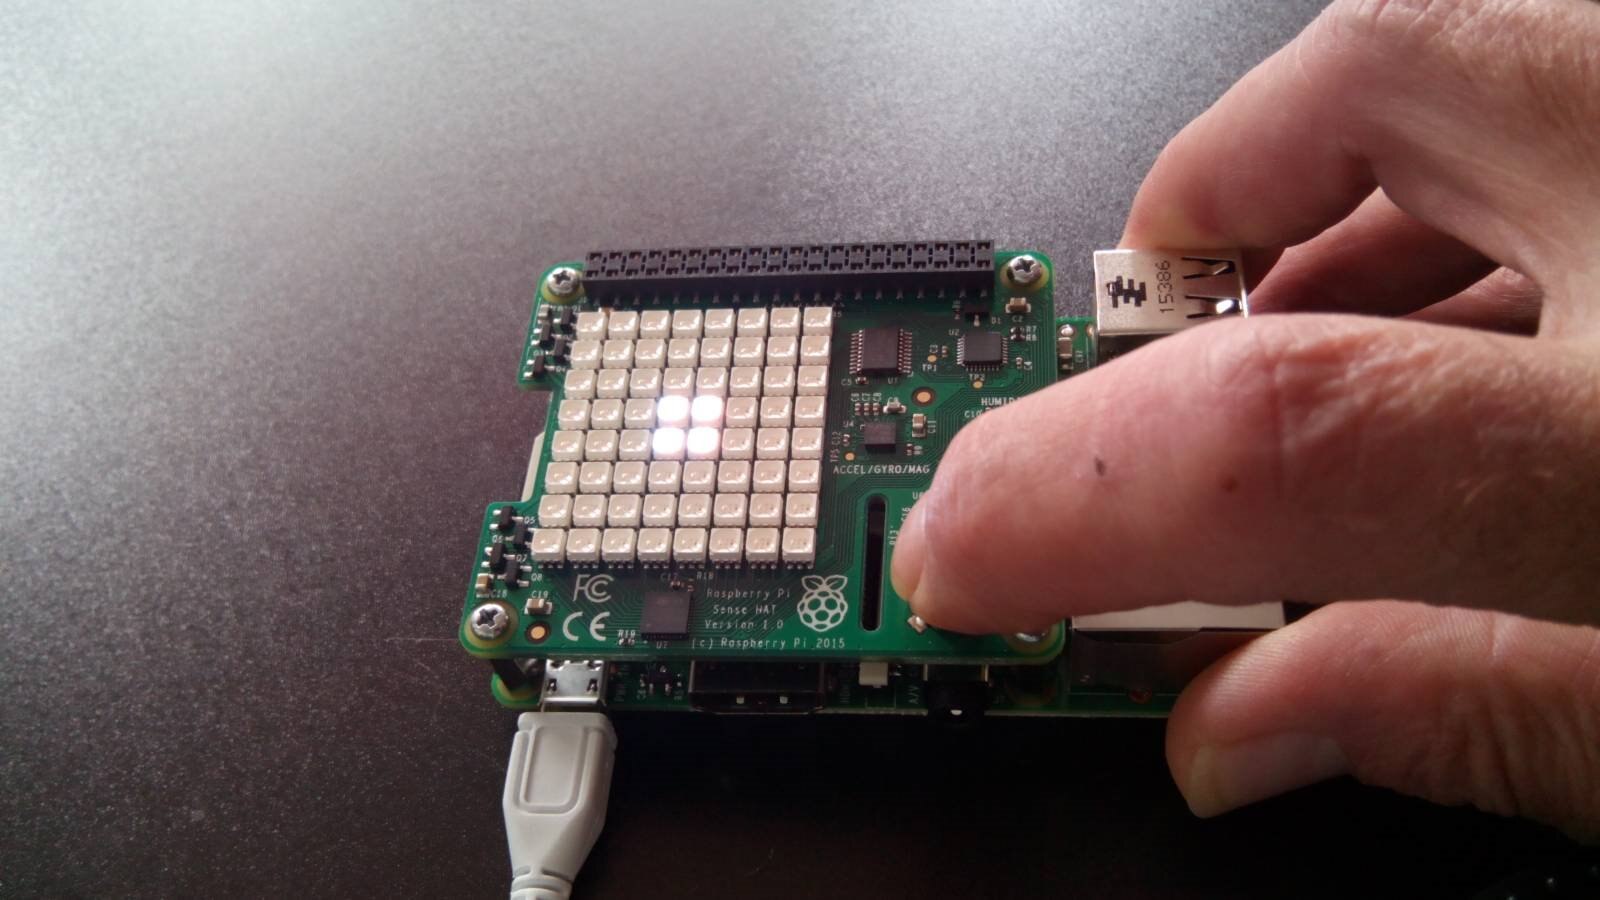
Class: DisplayJoystick
Usage
from iot_sense_hat import DisplayJoystick
Description
A helper class showing the joystick position on the display
Methods
handle_code(code, color)
Show the joystick position code on the SenseHAT display in the selected color. The color value is expressed in the format [R, G, B]
Class: IPStuff
Usage
from iot_sense_hat.utility import IPStuff
Description
Class to get hostname and IP address of the Raspberry PI.
Note: the utility package is under development and will be updated with other utility classes specific to manage the IoT SenseHAT interface
Methods
getHostName()
Return the string with the hostname
getIP()
Return the string with the current IP
Class: HatRainbow
Usage
from iot_sense_hat.hat_rainbow import HatRainbow
Description
SenseHAT general purpose rainbow generator.
Note: this class will be updated with several different kind of color sequences specific for the IoT interface management
Methods
rainbow()
Generate the rainbow screen calculating the next pixel colour for every pixel
Class: EnvironmentStatus
Usage
from iot_sense_hat.hat_manager import EnvironmentStatus
Description
Manage the SenseHAT environmental sensors
Methods
getAvgTemperature()
Acquire three different temperature values then return the calculate average value
getEnvironment()
Retrieve the environmental sensors status.
Class: Screen
Usage
from iot_sense_hat.hat_manager import Screen
Description
Screen settings macro utilities
Methods
clear(color=None)
Optimise the original library clear method. Color can be omitted. Default is all LEDs off
startup()
Show the startup sequence
msg(text, color, background, speed)
Show a scrolling message on the display. Right to left fixed directio.
Class: Joystick
Usage
from iot_sense_hat.hat_manager import Joystick
Description
The Joystick event controller. When the class is instantiated in the application it is possible to pass the name of a local funciton that is called everytime the joystick is moved running in a secondary thread. For more details see the example program described below.
Methods
This class has no direct methods. The thread is started by the start() call to the class instance that executes the run() method.
The example program
main_hat.py is the main SenseHAT management for the PiIoT project. This version 1.0beta launch a series of initial actions then start polling the joystick and react showing the joystick position on the display and print on the console the return code and the status.
import time
from iot_sense_hat.display_joystick import DisplayJoystick
from iot_sense_hat.hat_manager import Screen, Joystick
from iot_sense_hat.hat_rainbow import HatRainbow
from iot_sense_hat.utility import IPStuff
First the program import the needed classes, then defiles the joystickDispatcher method
def joystickDispatcher(keycode, status):
   '''
  Joystick dispatched method. Exectues the corresopnding function depending on the keycode passed
  if keycode is none the thread should stop
   :param keycode: Keycode ID
   :param status: Keycode Status (On/Off etc.)
  '''
   print(keycode, status)

  joyDisplay = DisplayJoystick()

   if keycode is not 0:
  joyDisplay.handle_code(keycode, joyDisplay.WHITE)
  time.sleep(0.25)
   else:
  hatScreen.clear()
joystickDispatcher(...) is the function passed to the Joystick class when it is instantiated. Every time a joystick event occur after the Joystick secondary thread has been launched calling the start() method this function is called. This avoid to setup a complex multithread mechanism in the main application.
The remaining part of the code is the bare main program.
# Main application entry point
#
if __name__ == '__main__':
   # # Startup message
   hatScreen = Screen()
  hatScreen.clear()
  hatScreen.startup()

   # Sensors
   hatSensors = EnvironmentStatus()
   print ("Avg Temp = ", hatSensors.getAvgTemperature())
   print ("Global Env = ", hatSensors.getEnvironment())

   # Node IP address
   nodeIP = IPStuff()
  hatScreen.clear()
  hatScreen.msg(nodeIP.getHostName() + " - " + nodeIP.getIP())

   # Joystick
   joy = Joystick()

   # Executes the joystick control in the main application
  # CTRL-C to stop and go ahead
   print("Joystick is running in the main thread. Press CTRL-C to end")
  joy.loopJoystick(joystickDispatcher)

   # Executes the joystick control in a separate thread
   joyThread = Joystick(joystickDispatcher, 1)
   print("Joystick will be launched in a separate thread. Press CTRL-C to end")
  joyThread.start()

   # Start the rainbow loop in the main thread
   print("Rainbow will run in the main thread")
  rainbow = HatRainbow()
  counter = 5000
   while counter is not 0:
  rainbow.rainbow()
  counter -= 1

   hatScreen.clear()

print("Press CTRL-Z to exit")
Top Comments