


CONSTRUCTING THE BOT
Robo Arm:
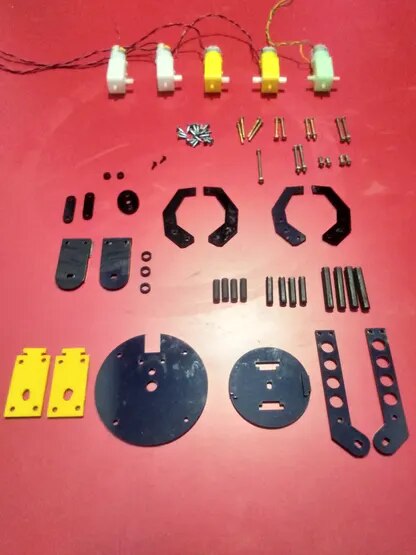
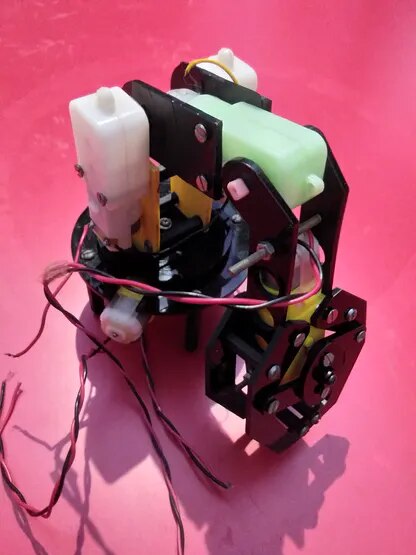
The above picture shows the unassembled parts of the robo arm with 4 DOF. And the arm looks like this after the build or assembly.
Base of the Bot:
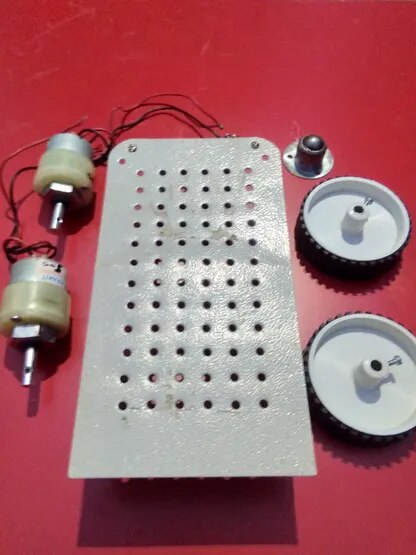
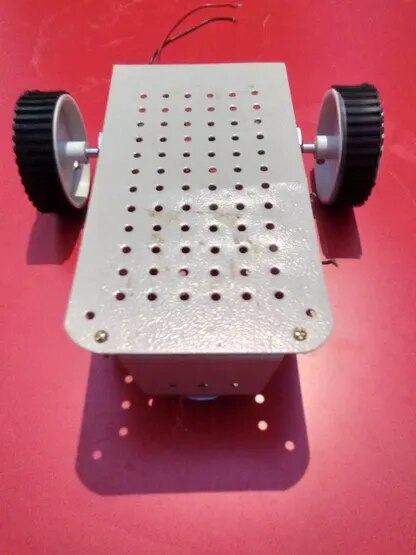
The above picture shows the unassembled parts of the Base with 2 DOF. And the base chasis looks like this after the build or assembly. I'm just using two wheels, for simple operation.
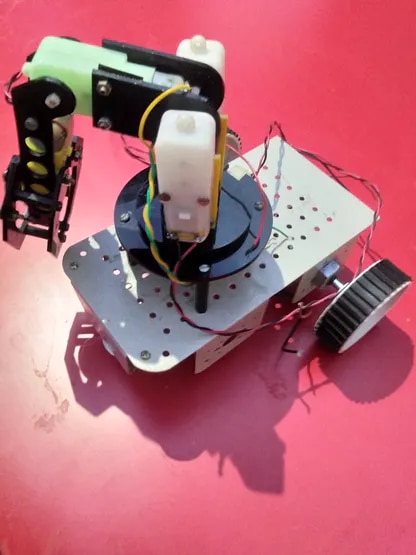
Now, It's time to connect the robo arm and the base. And after connecting the things, the bot will look like this.
Arduino UNO and Motor Drivers:
I've used two motor drivers, one is for the base motors and the other is for the robo arm motors. The driver images are shown below.
| {gallery} Motor Drivers |
|---|
|
|

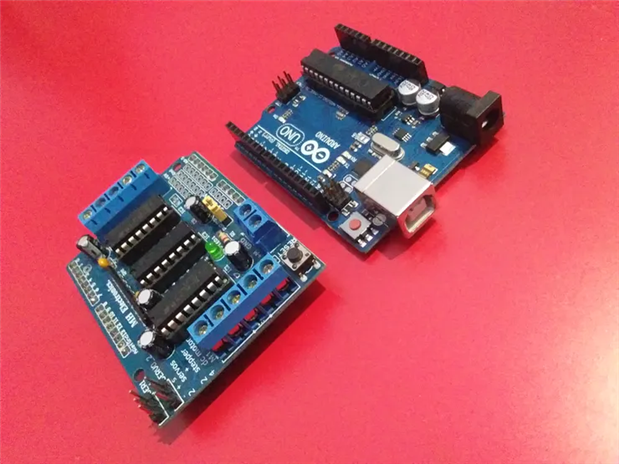
Here I've used motor driver shield version 1. Any motor driver can be used.
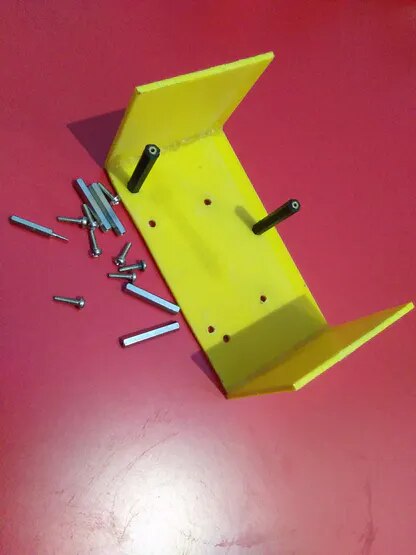
Simple Casing for Pi:
I'm just using a simple casing like structure built using acrylic sheets to place the Raspberry Pi in the bot. And using some studs to fix it in a place. The casing looks like this:
And after fixing it to the bot, the bot looks like this:

The Arduino Uno with motor shield is placed under the yellow sheet that you can see in the above image.