


To know more about AWS IoT Cloud, you can watch the video that I got from Cypress Semiconductor YouTube channel:
I have completed step 1 of the Getting Started with Amazon FreeRTOS and PSoC62+43xxx.pdf in my previous blog post #9 Amazon FreeRTOS .
In this blog post, I will proceed to the 2nd and 3rd steps.

click on the First Steps and get direct to https://docs.aws.amazon.com/freertos/latest/userguide/freertos-prereqs.html .
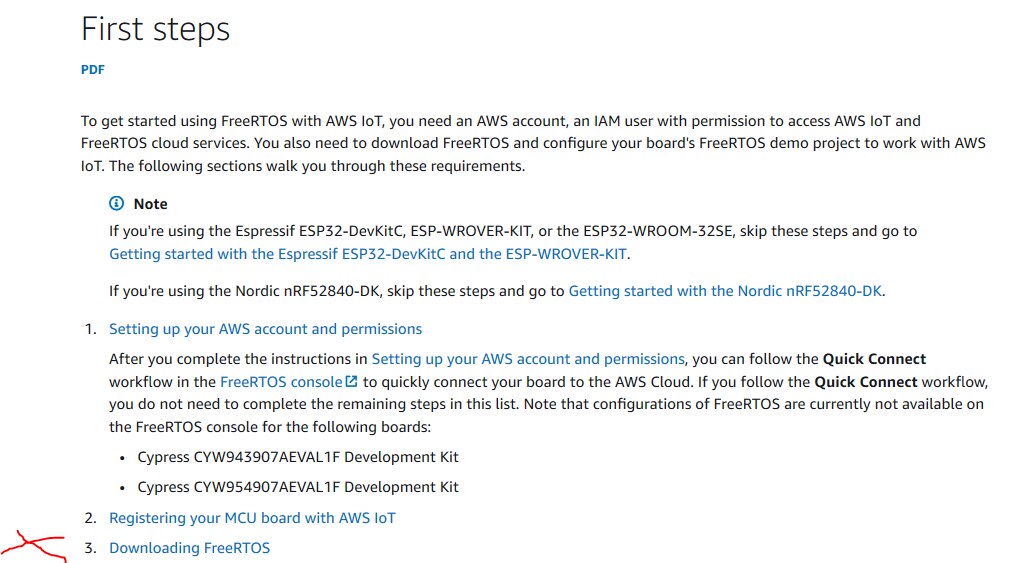
We will only need to follow the instruction 1 and 2 since we have already downloaded the Amazon FreeRTOS for our board previously.
Click on the Setting up your AWS account and permissions and follow it step by step.
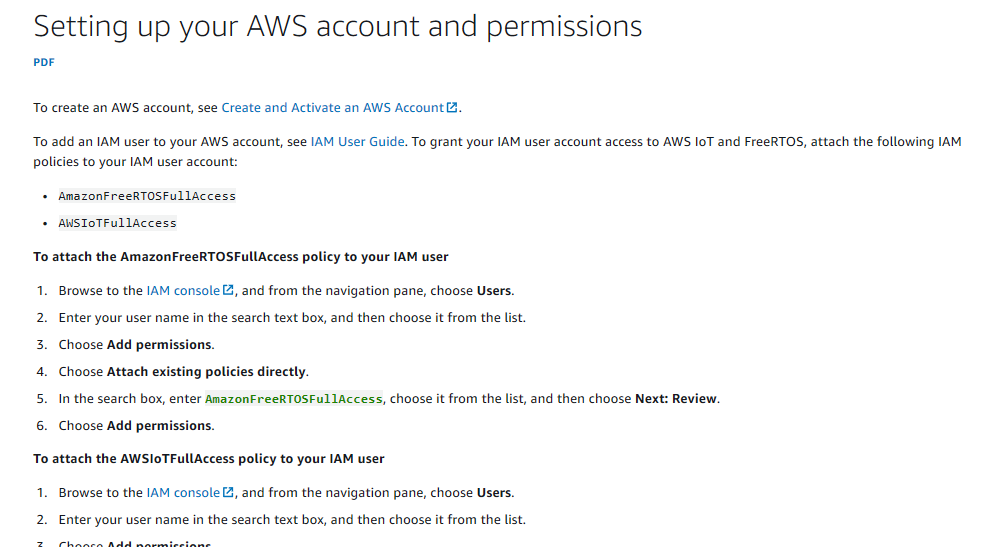
AWS really did a great job on the guide where it really guide you step by step without any confusion.
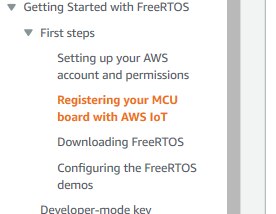
After finishing the steps in Setting up your AWS account and permissions, proceed to Registering your MCU board with AWS IoT. Again follow all the steps provided.

After finish Registering your MCU board with AWS IoT, proceed to step 3 in Getting Started with Amazon FreeRTOS and PSoC62+43xxx.pdf
You can refer to the video by Cypress Semiconductor YouTube below on how to configure the WiFi, MQTT endpoint, and client certificate:
You can start watching it at 14:03 and watch it until 15:25 to learn how to configure the WiFi, MQTT endpoint, and client certificate.
Note: The video use WICED Studio IDE but the operation is the same for ModusToolbox IDE.
Finally, the PSoC6 is ready to be connected to AWS IoT Cloud.