


Getting Started with AWS IoT:
Amazon Web Services is a massive suite of services, including cloud servers, databases, DNA, Machine Learning, even quantum computing! Plus the service that is especially interesting to us --IoT. Go check-it, and you' all see just how many services they offer. It's truly mind-boggling.
While you're there, you can either create a new account or you should be able to log in with your existing Amazon account credentials. Don't worry about costs yet -- AWS has their Free Tier which givers very reasonable limits you can use to try out their products. Some of these are limited to 12 months, including IoT, but it includes 250 000 MQTT messages per month, 3 devices, 50 device commands per month, as well as 2500 events per month and access to their graphing service. Pretty neat If you plan to use it after 12 months, the prices are quite low, and there are other services besides AWS that are free -- but often are don't support TLS, and having the integration with other AWS services is nice.
The Downside of AWS, especially for first-time users, is its inherent complexity. Many of their services tied together, and they ofter offer confusingly similar names services that do different things, AWS really is targeted at enterprise users -- but that doesn't mean hobbyists can't use it too. You just need to approach things in a methodical way.
Let's Start
Now that you are logged in, head over to the AWS Management Console, At the top, click Service and scroll down until you see the Internet of Things on the right-hand side Click on IoT Core.
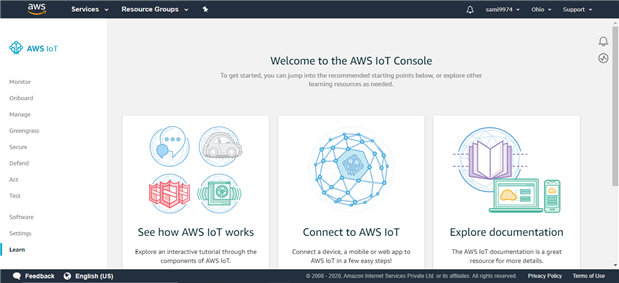
On the left-hand side. Click Manage, and then click Create in the upper right, choose "Create a single Thing" and then give it a name. You can safely ignore everything else on this page for now.
Scroll Down and click Next.
The next page shows certificate creation options. AWS IoT is only accessible via TLS, meaning we have to deal with private keys and certificates. If you were starting from scratch, this would quite speed bump. but luckily mbed and Cypress have provided excellent example code and libraries. Choose the top option, One-click Certificate Creation.
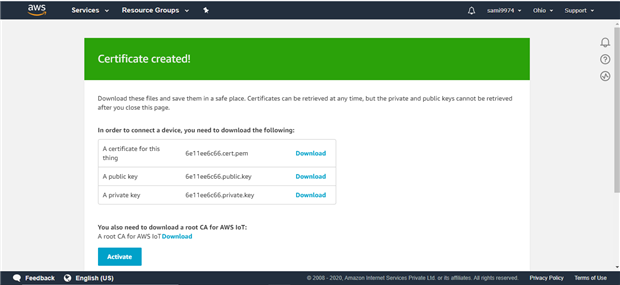
Super important note: The next page that shows up will only ever be shown once, as a security measure. Make sure to download all three files: certificate, the public key, and private key. After you have downloaded them, click the Activate button.
Next is a super-important step that I skipped when I first started to work on this project, and it caused me hours of headaches thinking something completely different was wrong. Click Done, which should take you to the details page for your newly created Thing. Click the grey arrow in the upper left-hand corner.
Now we need to create a policy and attach it to the thing we just created. On the main Core page, click Secure in the Left-hand side menu, This will open sub-menu where you see the certificate we just created. Below certificates, Click on Policies and then click Create in the upper right. Give it any name ("testPoilicy" which I have given). In the statements section below the name, enter iot* as the action and * as the resource ARN. check-off Allow, and then click create the bottom right.
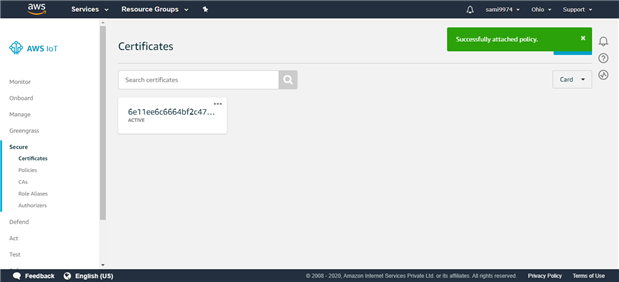
Now go back to the Certificated sub-Menu and click the 3 dots in the certificate box. Choose Attach Policy, check off the policy we just created, and click Attach. Now we are finally ready to cloud.
The first and most critical step to getting the example working is to set up your AWS credential in the aws_config.h header file.
AWSIOT_ENDPOINT_ADDRESS
AWSIOT_THING_NAME
AWSIOT_TOPIC
const char SSL_CLIENTCERT_PEM
const char SSL_CLIENTKEY_PEM
const char SSL_CA_PEM