


Introduction
Hi! This will be my sixth update for this challenge. In this update I will tackle the main part of the build which I already touched on in the second update, and that being the slider mechanism for the keys. Just want to point out that for now I will be using plywood for several reasons, I don't have an access to a 3D printer at the moment, it's pretty sturdy for what it is and it's much easier to work with it than with metal, so for the purpose of keeping this project on tracks, I will be sticking with plywood for now. In the second blog (Fingerprint Skeleton Key - Slider mechanism part 1 - Design for a Cause Challenge - Blog Post #2 ) I showed the design I came up with and tried making it out of thin metal which didn't work as well as I hoped since it was to soft. For this build I've upgraded the design a bit to work with the springs as well as with the key picking mechanism which I will be covering in one of the next posts. So let's get to it!
Build
Let's first begin with the thing we ended up after the first part. That would be this:
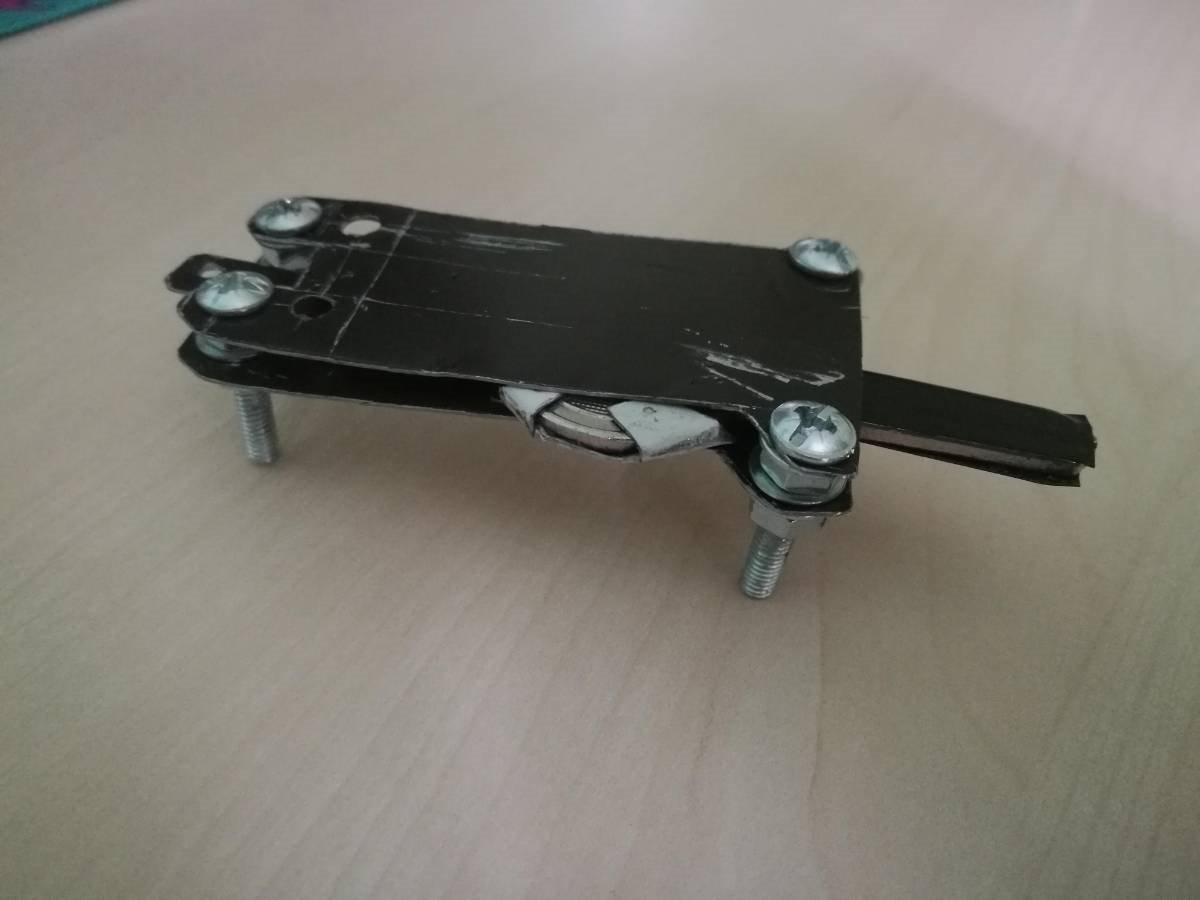
Some of the major problems with this from last time were that the metal was too thin and flexible and that the tray was to short for the key to have full movement. First of all for testing purposes I made the same kind of tray with a little bit longer of an arm so we can achieve the full movement, and now we will be using 3 mm thick plywood. This build will now consist of 2 parts joined together, one of them being the key holder part, and the other the spring holder. Let's begin with the key holder.
Key Holder
I am keeping with a pretty similar design compared to the first attempt but with less screws. First thing we need are 4 identical pieces 70x30x3 mm each. The prototype I'm making will be housing 3 keys and for now we will need 2 holes on one of the shorter sides of the part. Here are the final cut and drilled pieces.

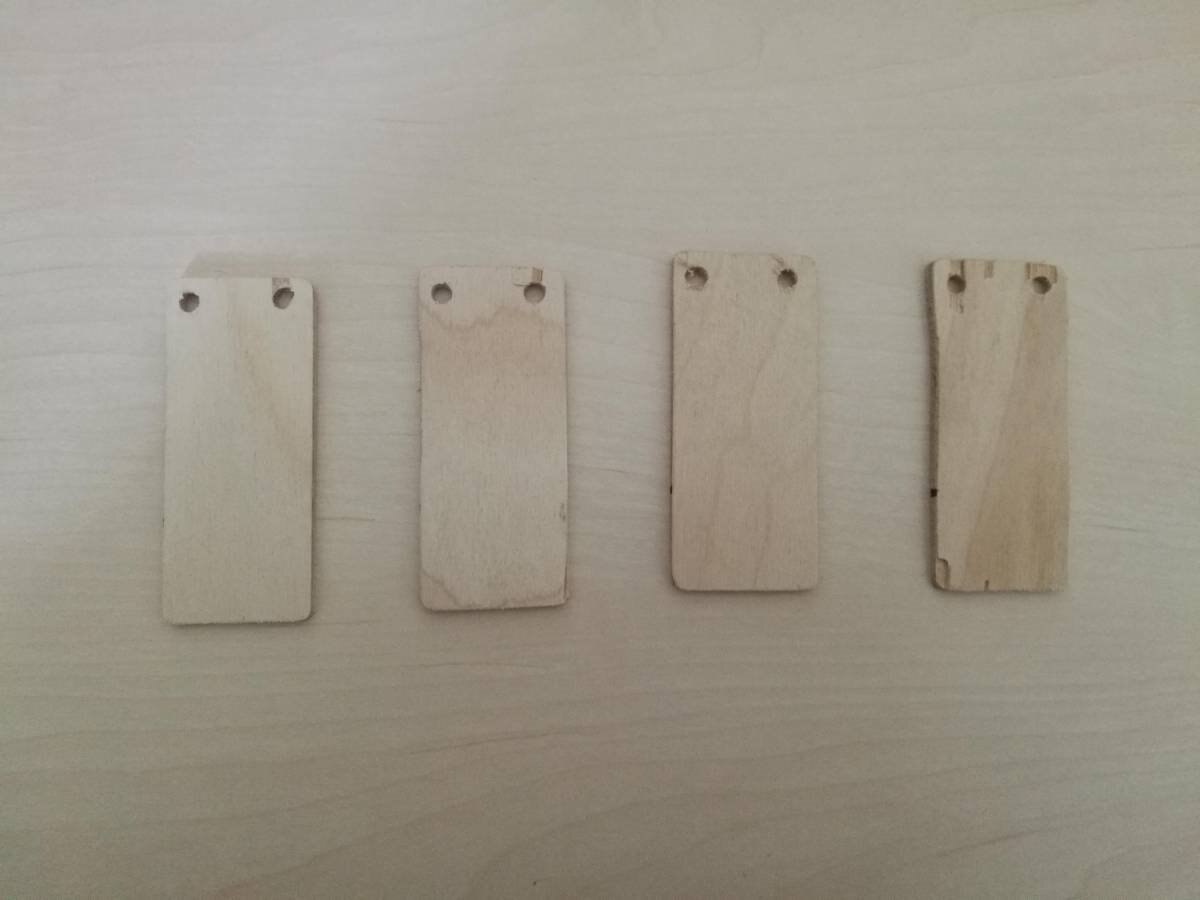
The holes are drilled so a 4 mm screw can go through easily. The second picture shows how the assembled part looks with 2 of the keys placed inside. Now let's compare this to the firs build. The first build had many more screws so the distance between the flat pieces were the same at the front and at the back. I had to go without the front screws, since they were blocking the key to go through as much as it needs unless you place them far enough which makes the whole device noticeably bigger. All of this means that this part isn't sturdy enough at the moment. One more thing that is different than my first idea is that in the back we now have 2 instead of 4 screws. My idea originally was to use the 4 screws as kind of a rail but that didn't work as well as I've hoped it would, so I abandoned 2 more screws there as well. To keep the key from going where on one side will be a small plywood plate, which I won't be adding in this part since it will be carrying some electronics which I will be adding in one of the later blogs, while the top side will have a critical role in the key picking mechanism which I will be covering in the next blog. So for now we will be leaving the key storage at this. Now let's go to the spring holders.
Spring Holder
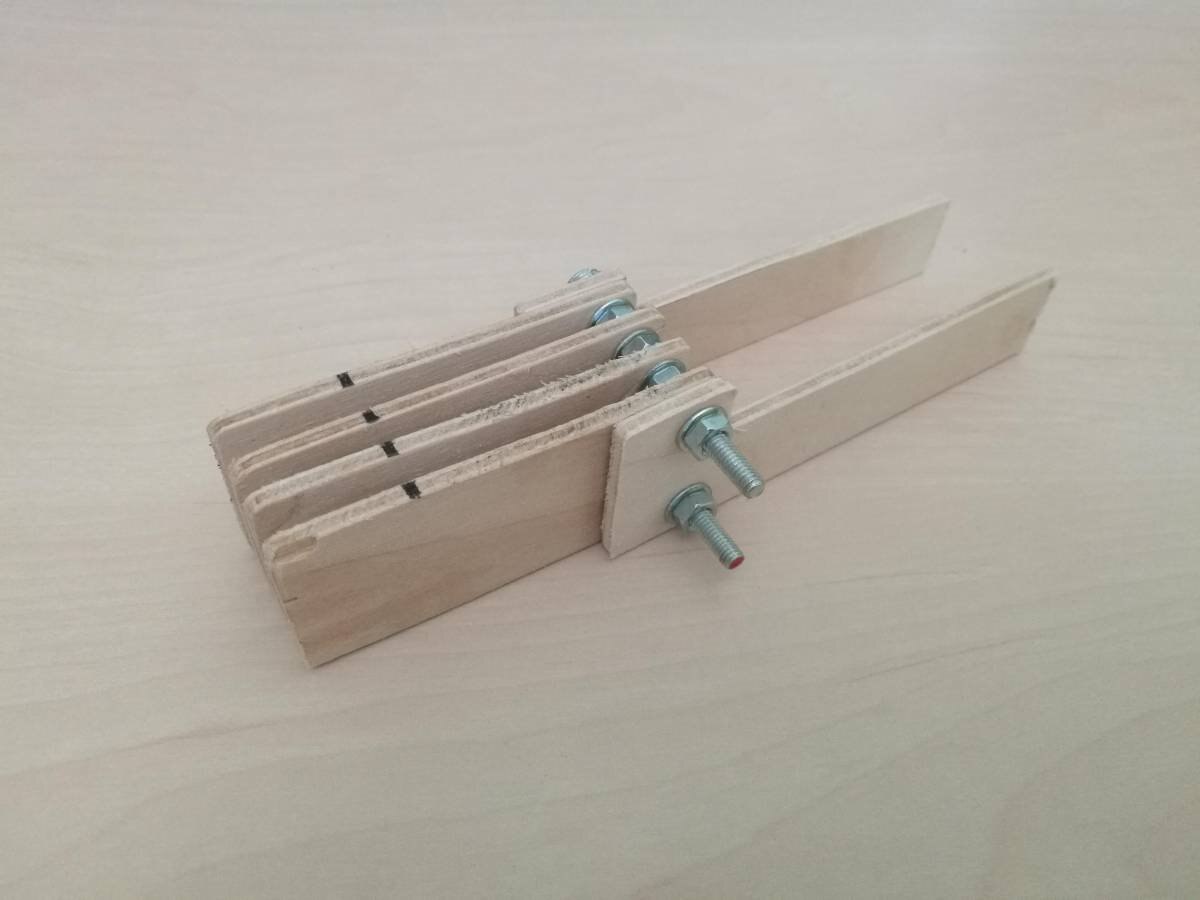
One end of each spring will go to a key, which leaves connecting the other ends to something, I went with the simplest solution of all, a screw. I will be using the key holder screws as main holder for the spring holder with spring holder having one more screw in the end which will strengthen all of it up a bit and give me a place where I an attach the springs. I made the shape with a lower profile than the key holder mechanism to accommodate the key picking mechanism later on. I went with a hand saw and cut out the pieces from the 3 mm plywood and ended up with these:

I sanded them up a bit drilled the necessary holed using the already drilled pieces as a template and then went on to assembling it. Here is what the finished up piece ended looking like.
| {gallery} Assembly |
|---|
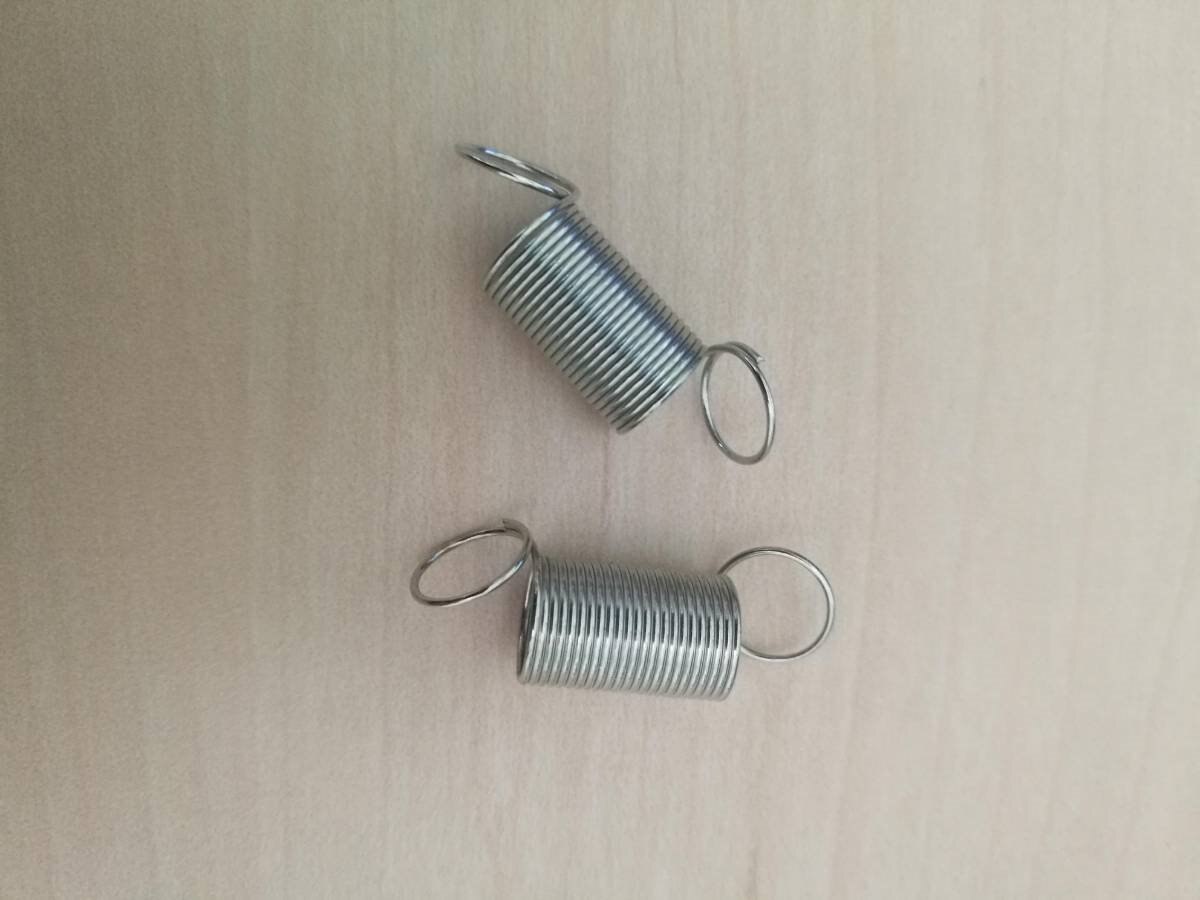
Springs: These are the springs I am using on this project. They are 8 mm in diameter and are long 12 mm. These are the smallest ones I have that have the strength that I want, most of the smaller ones I have are to stiff and would be hard to use. They are also the reason why the key trays have the long arm in the back, since we need the full key movement, but the spring can't go into the slots. |
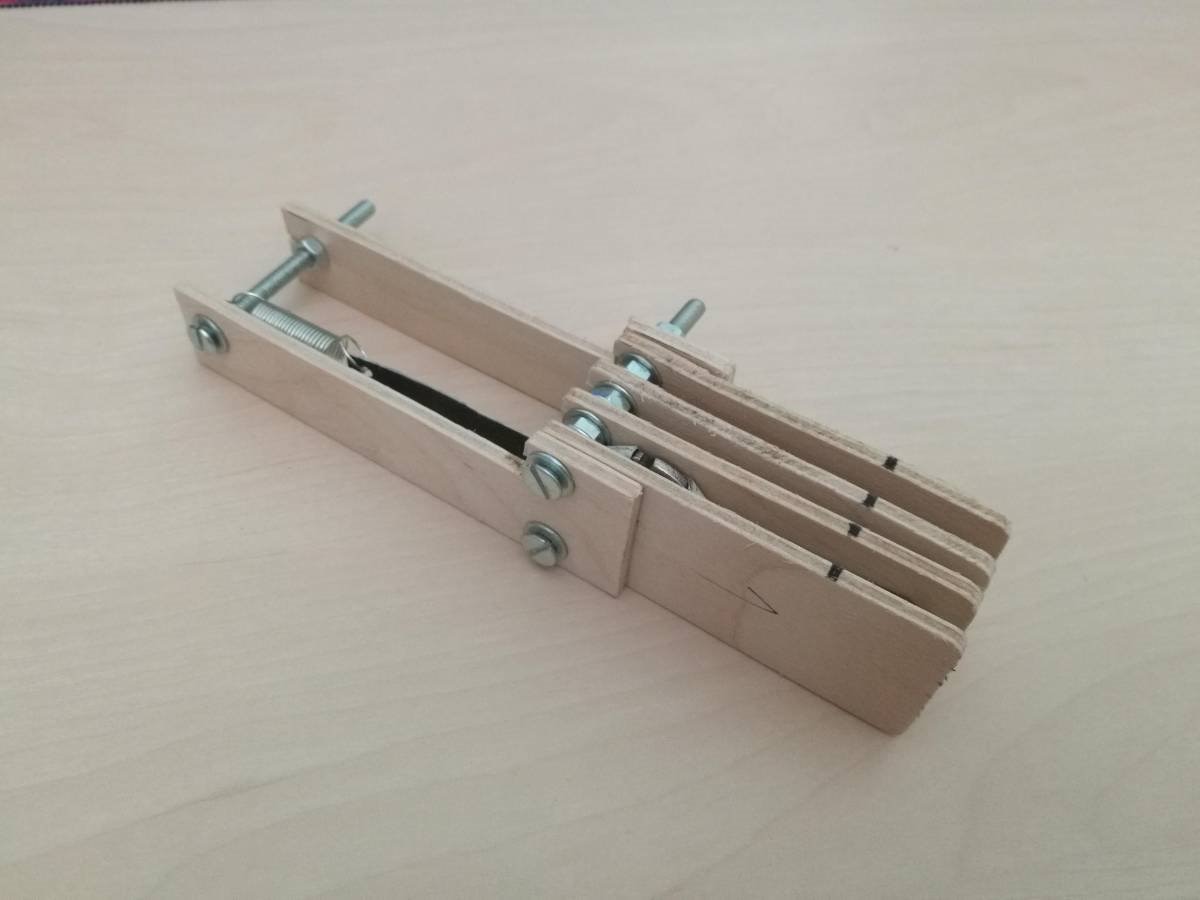
Assembly: The assembly without the keys and back screw |
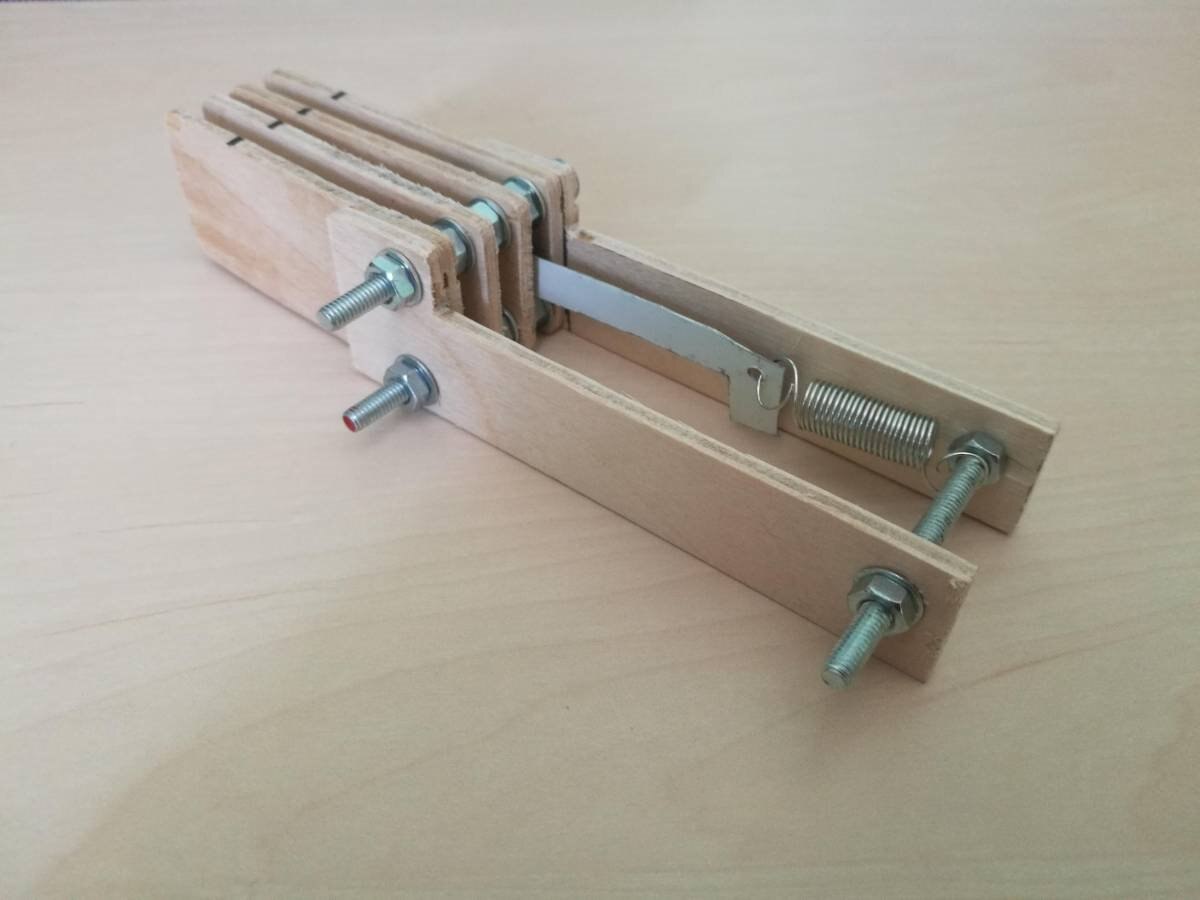
Assembly Front View: The assembly with the added back screw with a spring and a key attached to it |
Assembly Back View: I won't cut down the screws down yet, since I plan on adding some electronics there, so I'll try using the screws as mounts or at least for mounting the outside shell on it. |
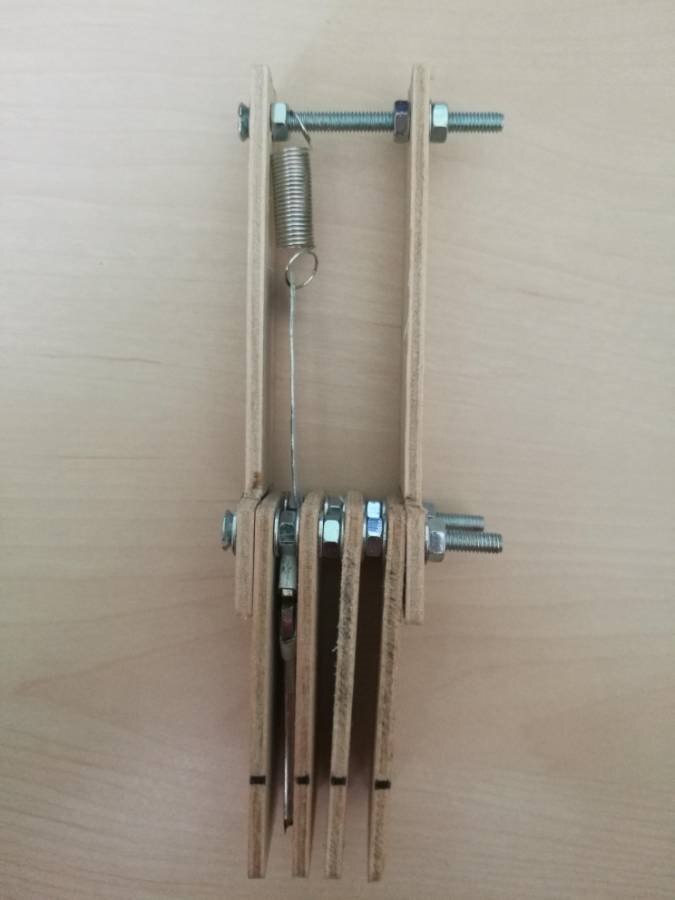
Assembly Top View: In the top view we can see the problem with the front plates not being perfectly parallel one to another, which I will be solving with the key picking mechanism and with gluing a small plate underneath |
Backbone
This will be the backbone for the rest of the build. The key picking mechanism will go on top for the most part but we need to put all of the other electronics into the device as well. Here is a list of things that I will need to fit and some of the ideas that I have for locations.
- Fingerprint Sensor
- Idea is placing it underneath the key holder part, since when using the device the index finger will be there
- RFID Module
- Idea for this would be on the side of the key holder
- Battery
- On the side of the spring holder
- Buzzers
- They are small so I haven't yet planned anything for them, I will fit them wherever I find space
- Arduino
- On the other side of the spring holder
- Charging port
- The back of the device
- Vibration sensor
- The other side of the key holder
Beside these there will also be a need for mini servo which has it's place already because of the key picking mechanism, and some other resistors and LED-s which will be easy to place somewhere.
Summary
The deadline is approaching fast, so unfortunately to be able to finish the project I have to keep the blogs a little bit shorter, but nevertheless in this part I covered the thing that will be the backbone structure of the build. It will be improved with adding more stuff later on making it more rigid. The next thing that I have to do is make the key picking mechanism, which I will be covering in the next blog. After that I can finally assemble the first prototype to test it all out. Of course than will need some coding along the way, but in the previous blogs we got all of the separate parts to work already. Thanks for reading the blog, hope you liked it!
Milos
Top Comments