Enclosure Modifications
Modifications need to be made in the form of additions to the interior and exterior of the enlosure to mount parts into the enclosure and attach the enclosure to its mounting pole.
- Baseplate to mount the CM4 IO and RS-232 level converter board to the floor of the enclosure
- Front panel to mount the sensors, Pi Camera, and Midas display at the top of the enclosure near the lid
- External Pole Mounting Bracket Adapter to attach enclosure to garden pole
- Rear Plugs to attach Bracket Adapter to rear of enclosure
All of these parts are 3D printed using PLA. For long term outdoor exposure I'll need to replace the external bracket adapter with something more durable but it will work for the prototype.
Baseplate
The required dimensions (226mm x 147mm) of the baseplate exceed the printable area on my Anycubic Kobra 2 so I needed to print the baseplate in two halves and add a plate to join the two halves together.
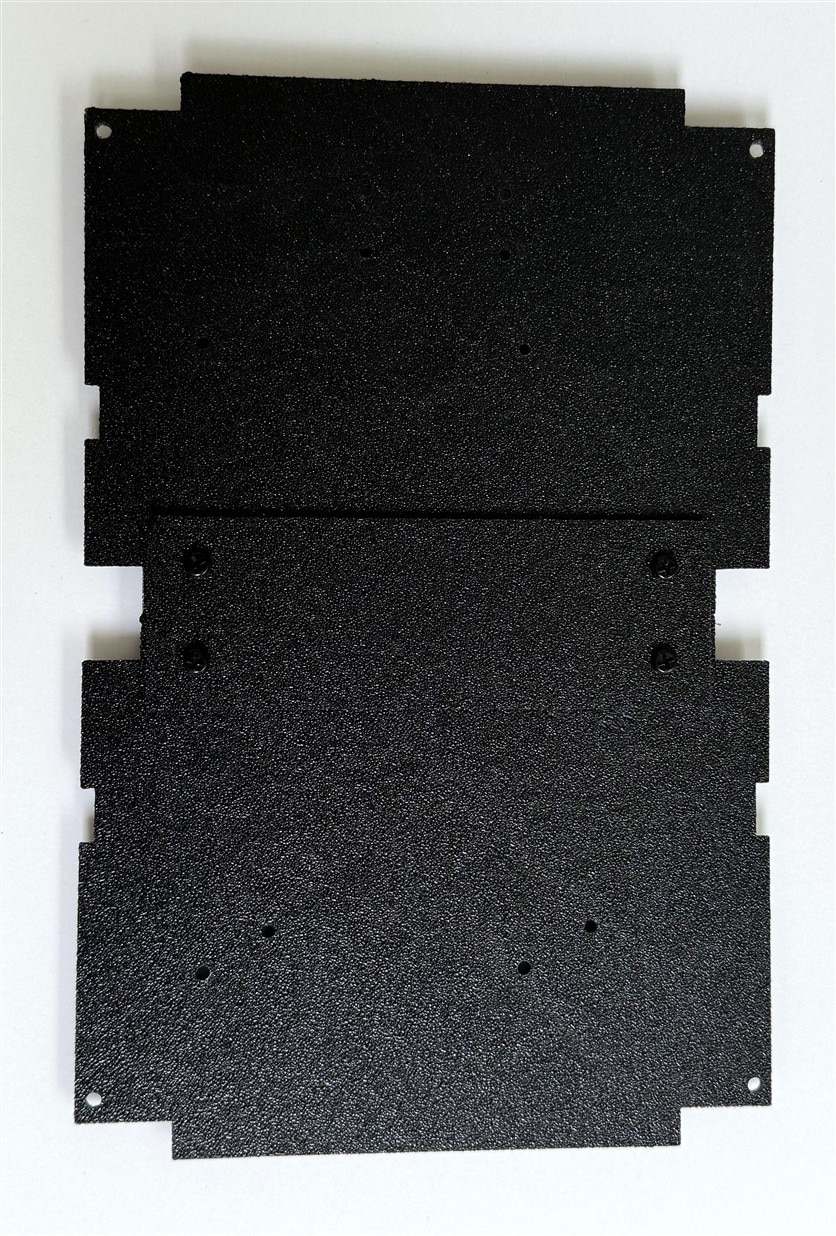
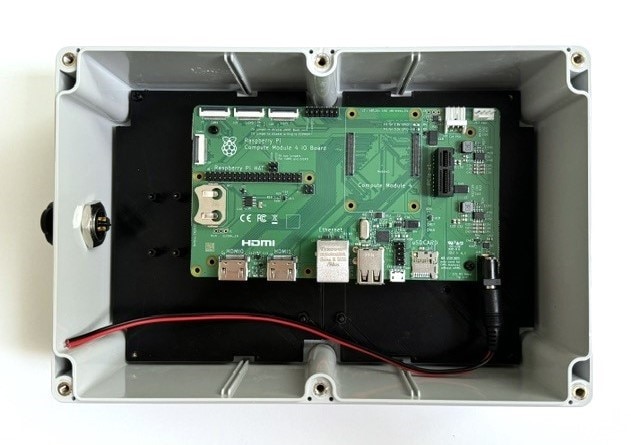
The baseplate is mounted to the floor of the enclosure using the 4 M3 threaded inserts at the outer corners. The CM4 IO board is attached to the baseplate using 4 M2.5 standoffs. The position of the CM4 IO board is offset to allow mounting the RS-232 level translator on the left and allowing space for the power barrel plug cable at the bottom right. The bottom space also allows insertion and removal of the uSD card. Luckily, I am not using most of the connectors and just need access to the GPIO header on the left above the RTC battery and the CSI connector on the upper left (I'll need to leave these cables attached unless I dismount the board).
Front Panel
The front panel needs to position the sensors, camera and display at the center of the enclosure near the transparent lid. I decided to mount a protoboard on the panel to hold the 3 sensors which I will plug into sockets. The protoboard will allow me to aggregate the I2C wiring between the sensors and display and run a single harness to the GPIO connector on the CM4 IO board below. The front panel fits into the PCB rails that are on the walls of the enclosure.
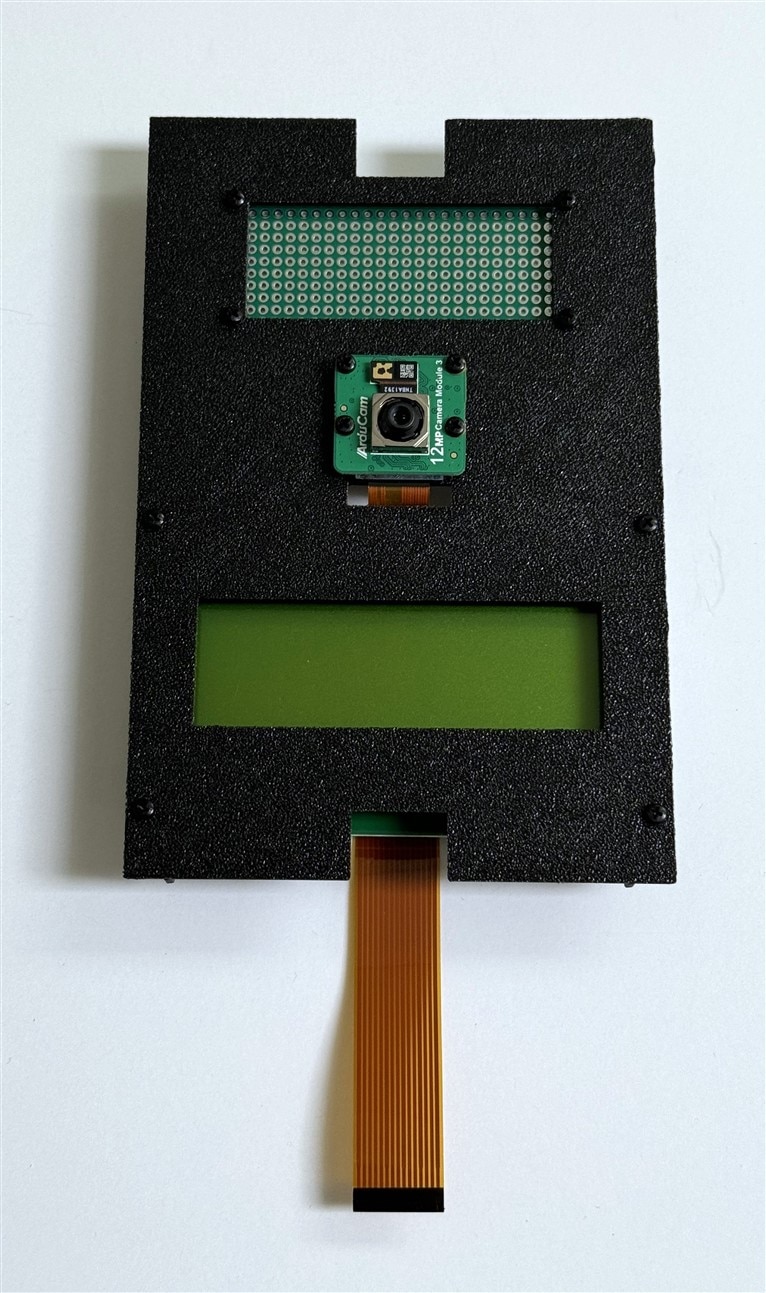
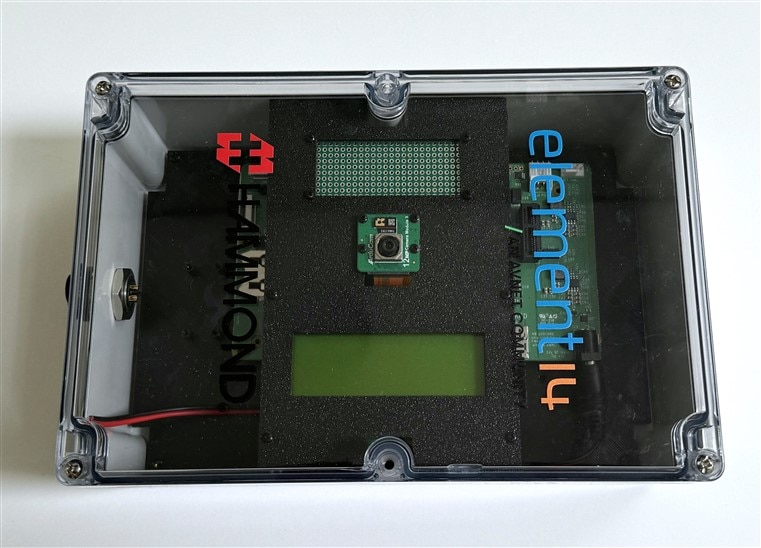
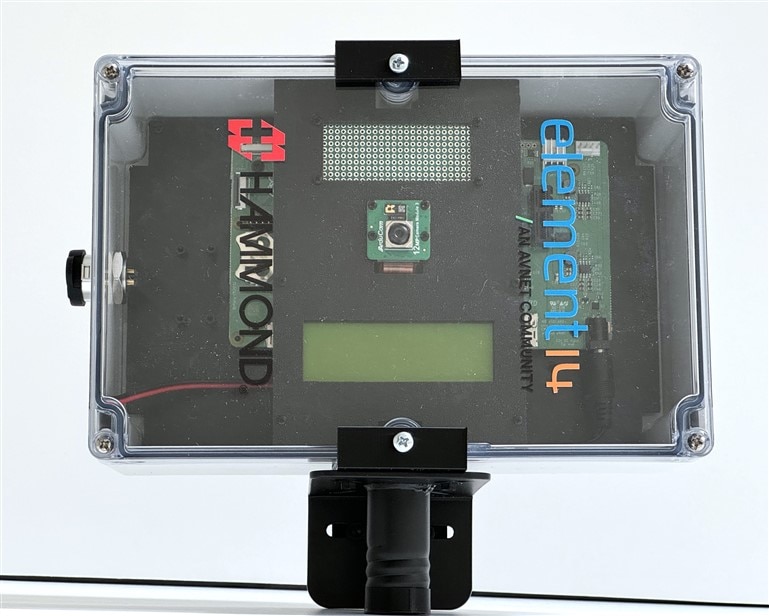
Here is a view of how the completed assembly will look.
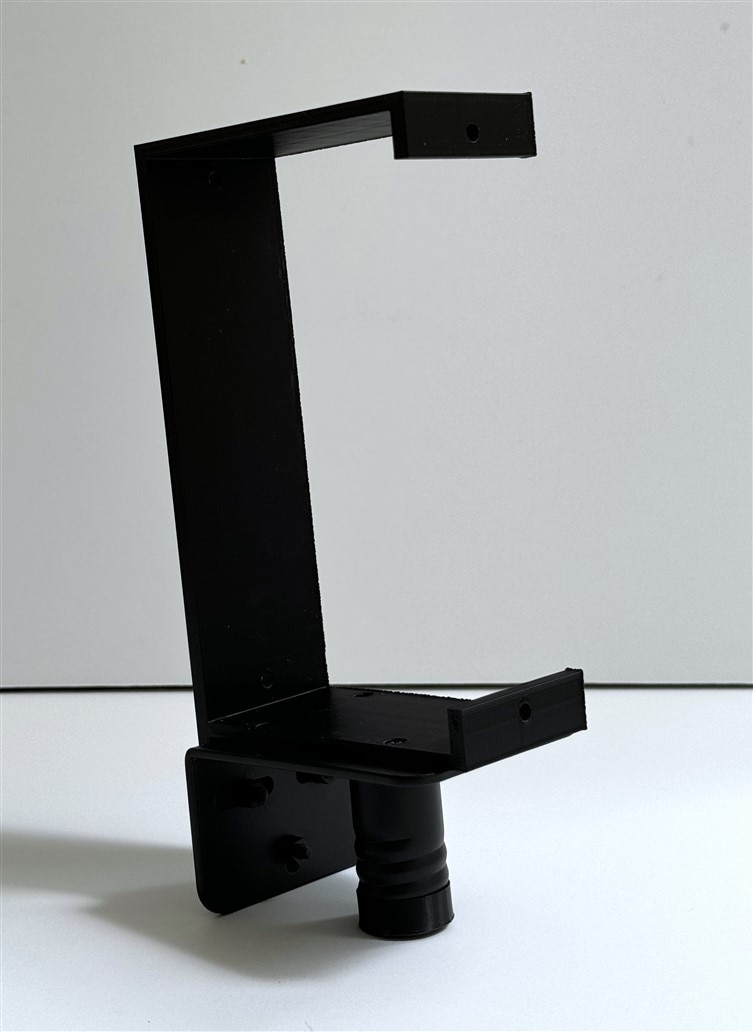
Pole Mounting Bracket Adapter
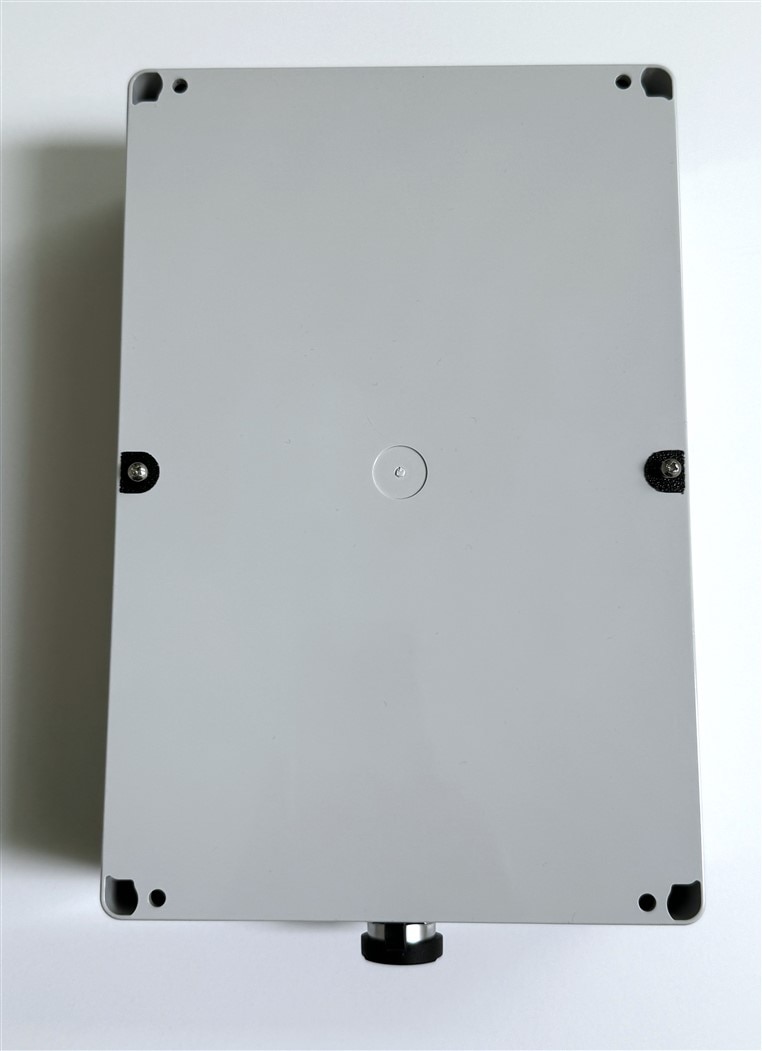
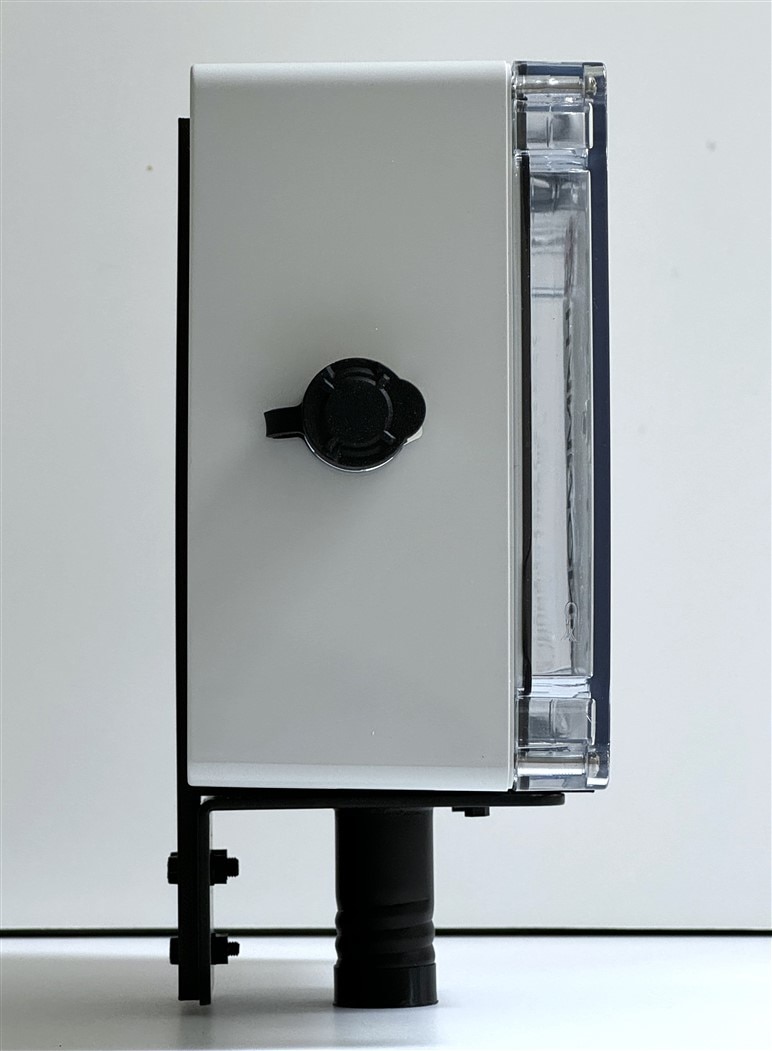
I needed an adapter to attach the enclosure to the bracket that screws onto the top of the garden pole assembly. Here is the adapter piece mounted to the bracket. The adapter attached to the enclosure using the 2 center lid screws in front and using 2 screws in the back.
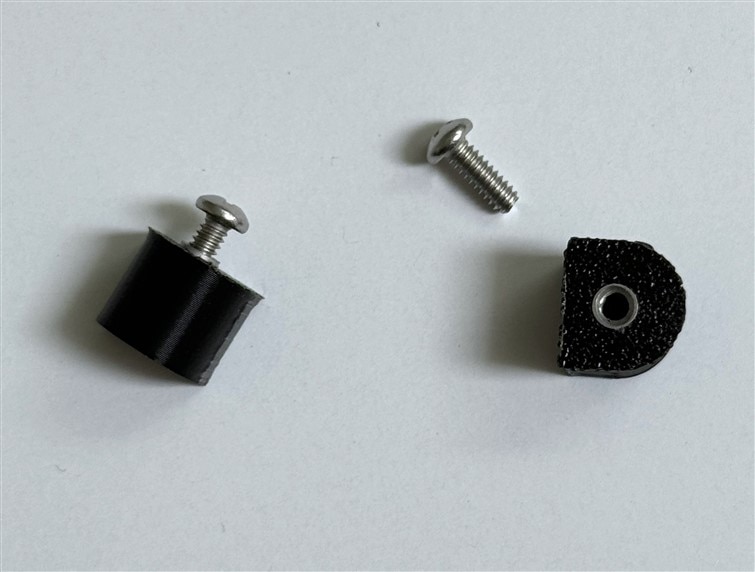
Rear Plugs
In order to attach to the back I needed to create support for the screws. I printed 2 plugs for the center holes in the rear and press fit threaded inserts into them.
Here are the plugs pressed into the enclosure:
Mounted enclosure
Front view
Side view
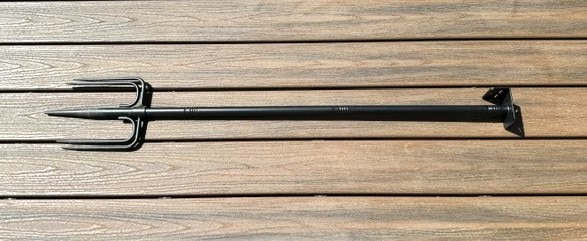
Garden Pole
Here is a picture of the garden pole I'll be mounting the enclosure on. It had been previously used to hold a bird feeder. It is currently configured at a height of 3 feet, but it has 16" screw-in sections that can adjust the height. It has a 5 prong base and is very stable even with a load in windy conditions.

-

DAB
-
Cancel
-
Vote Up
0
Vote Down
-
-
Sign in to reply
-
More
-
Cancel
Comment-

DAB
-
Cancel
-
Vote Up
0
Vote Down
-
-
Sign in to reply
-
More
-
Cancel
Children