


#4 ESPhome Add-on with Seeed Studio XIAO ESP32C3 and Grove Sensors
For Extreme Environment Home Assistance Sensors
1 Brief
Add-ons are apps that can be run with Home Assistant but provide a quick and easy way to install, configure, and run within Home Assistant. Add-ons provide additional functionality whereas integrations connect Home Assistant to other apps.
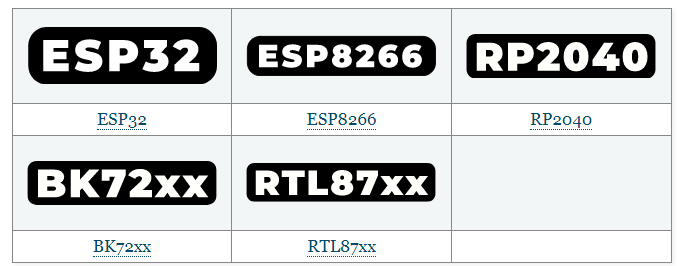
ESPHome is Add-on to control microcontrollers by simple yet powerful configuration files and control them remotely through Home Automation systems. Supporting chips are,
With full functions to support peripherals, including sensors. This is how this experiment integrated sensors in extreme environment.
2 ESPhome Add-on
ESPhome is open sources and backend supported with Arduino Ecosystem and ESP-IDF if ESP chips are used.
Interestingly, ESPhome use YAML format to define pins and functions, then transform into code readable by Arduino IDE, then build and flash into the chip. It is transparent to developers if do not open text-terminals.
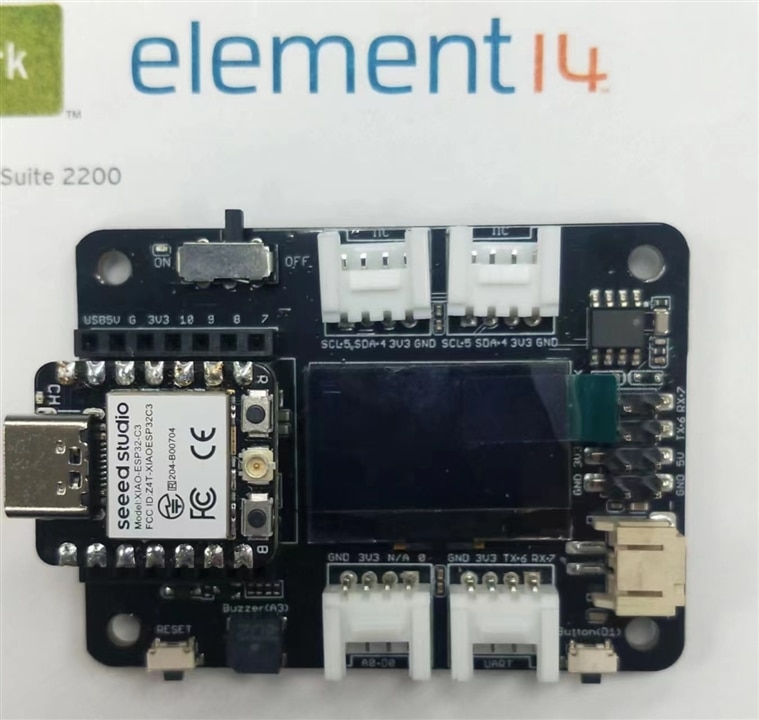
3 Seeed Studio XIAO ESP32C3 and Grove Sensors
Seeed Studio XIAO ESP32C3 is an IoT mini development board based on the Espressif ESP32-C3 WiFi/Bluetooth dual-mode chip. ESP32-C3 is a 32-bit RISC-V CPU, which includes an FPU (Floating Point Unit) for 32-bit single-precision arithmetic with powerful computing power. It has excellent radio frequency performance, supporting IEEE 802.11 b/g/n WiFi, and Bluetooth 5 (LE) protocols.
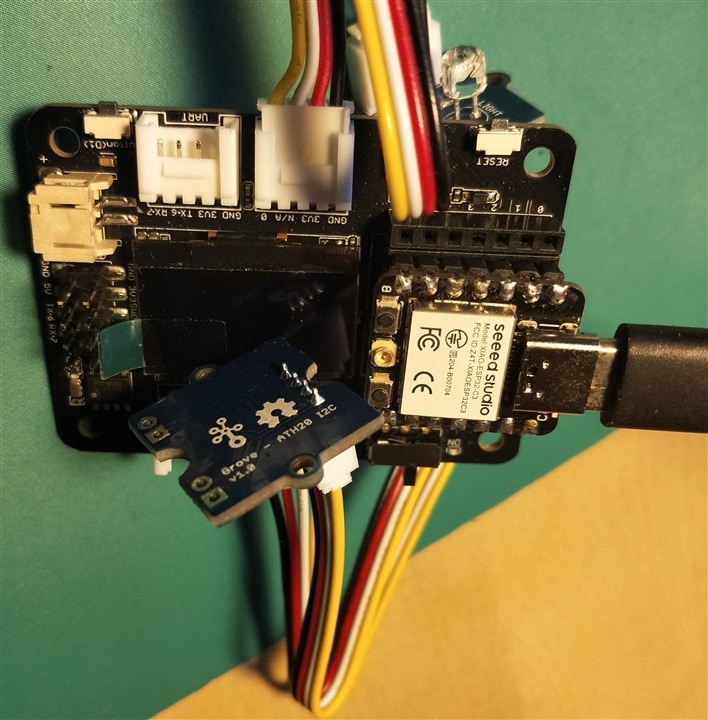
Seeed Studio XIAO ESP32C3 with Expansion Board Base for XIAO can add Grove sensors easily for fast deployment.
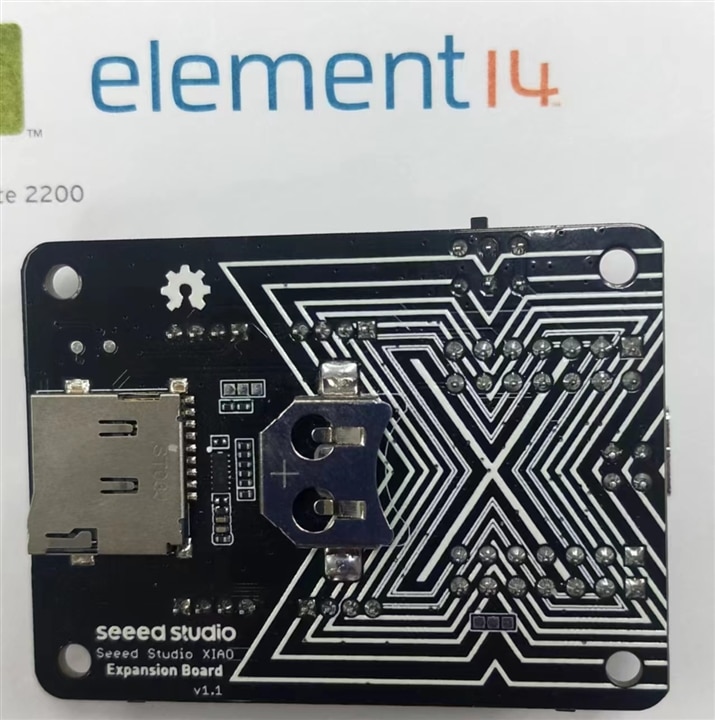
Pinout map

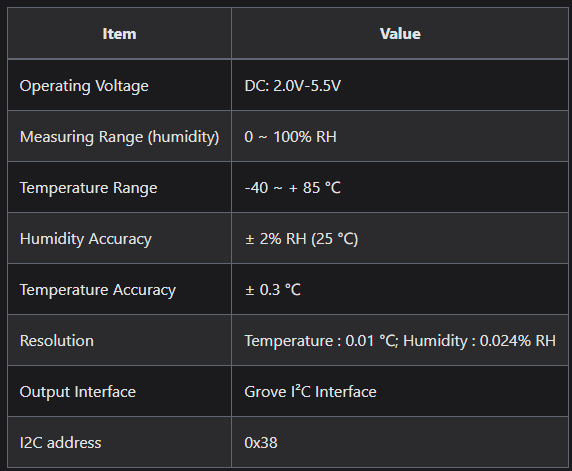
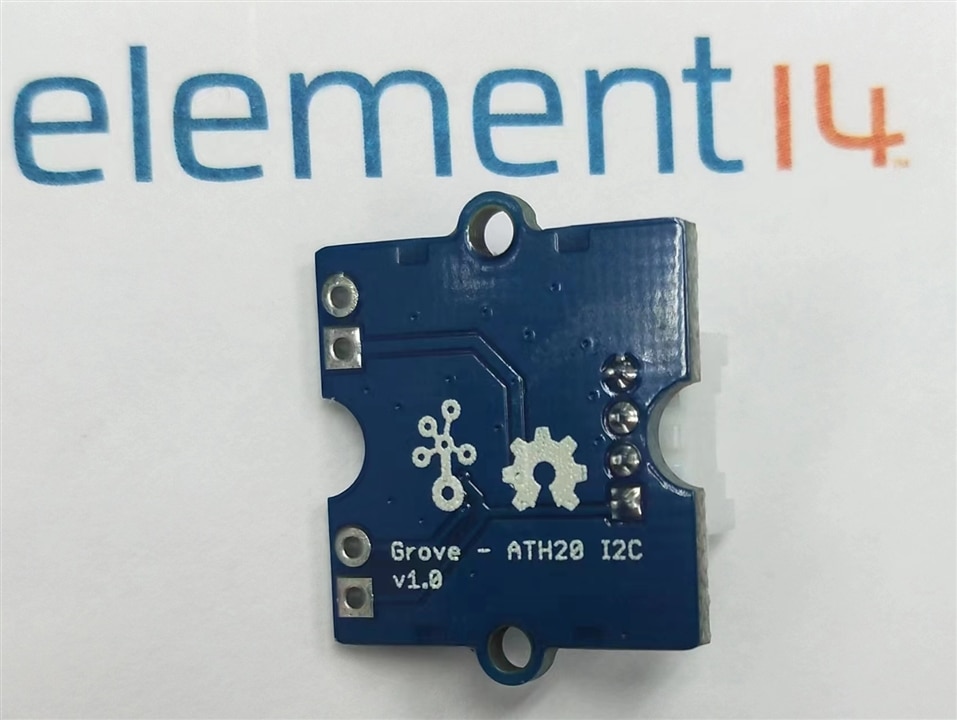
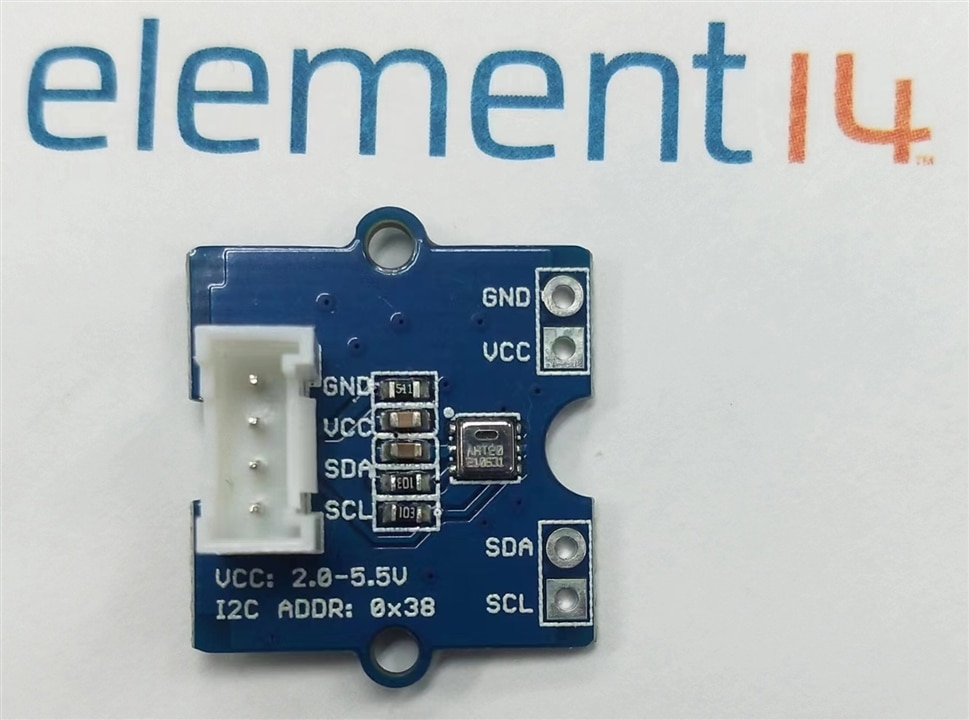
Grove - AHT20 I2C Industrial Grade Temperature&Humidity Sensor comes with I2C address of 0x38H
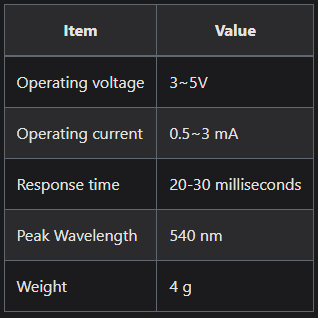
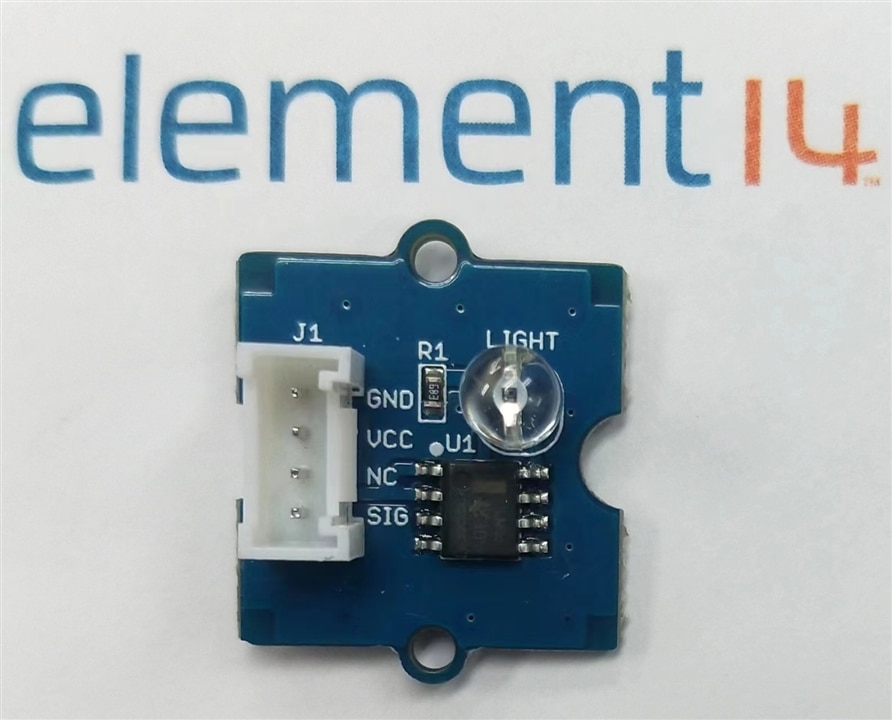
The Grove - Light sensor integrates a photo-resistor(light dependent resistor) to detect the intensity of light. The resistance of photo-resistor decreases when the intensity of light increases. A dual OpAmp chip LM358 on board produces voltage corresponding to intensity of light(i.e. based on resistance value). The output signal is analog value, the brighter the light is, the larger the value.
4 Add ESPhome
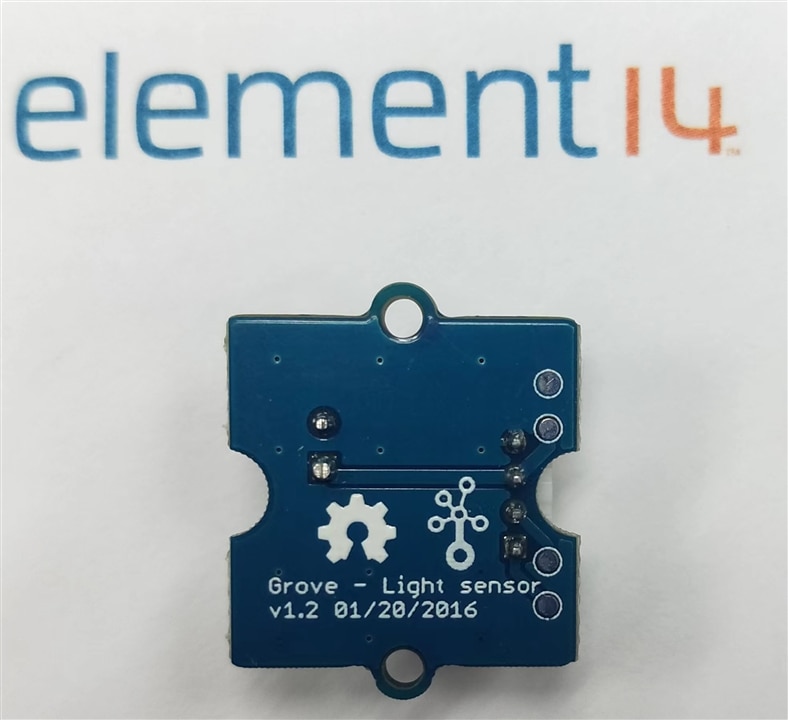
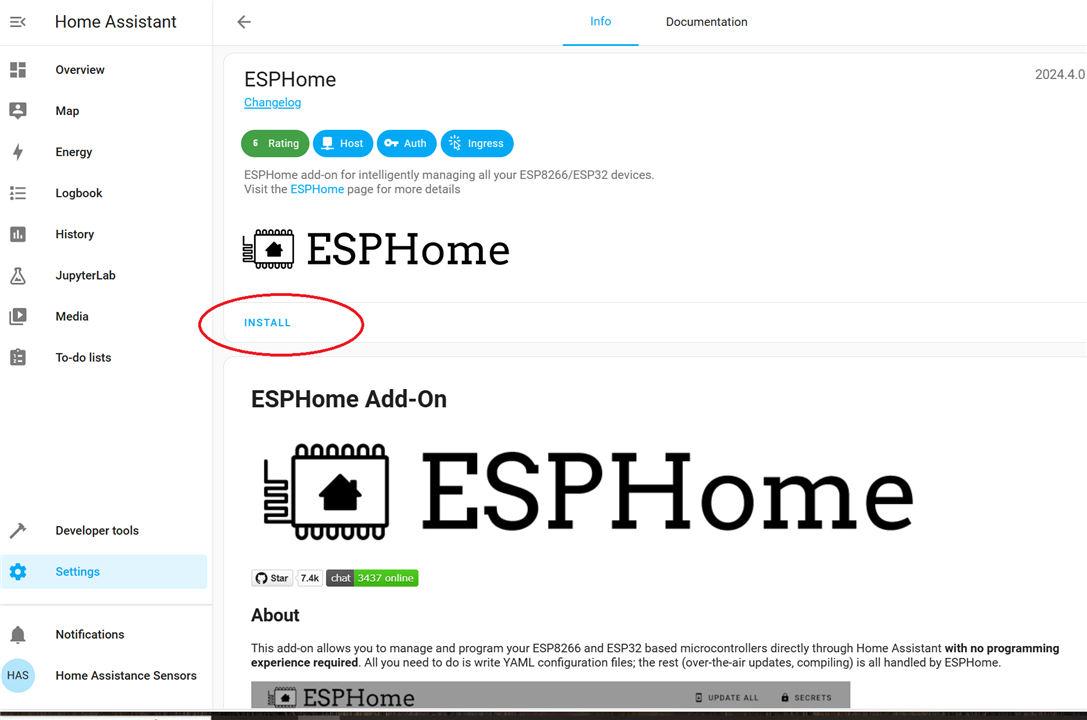
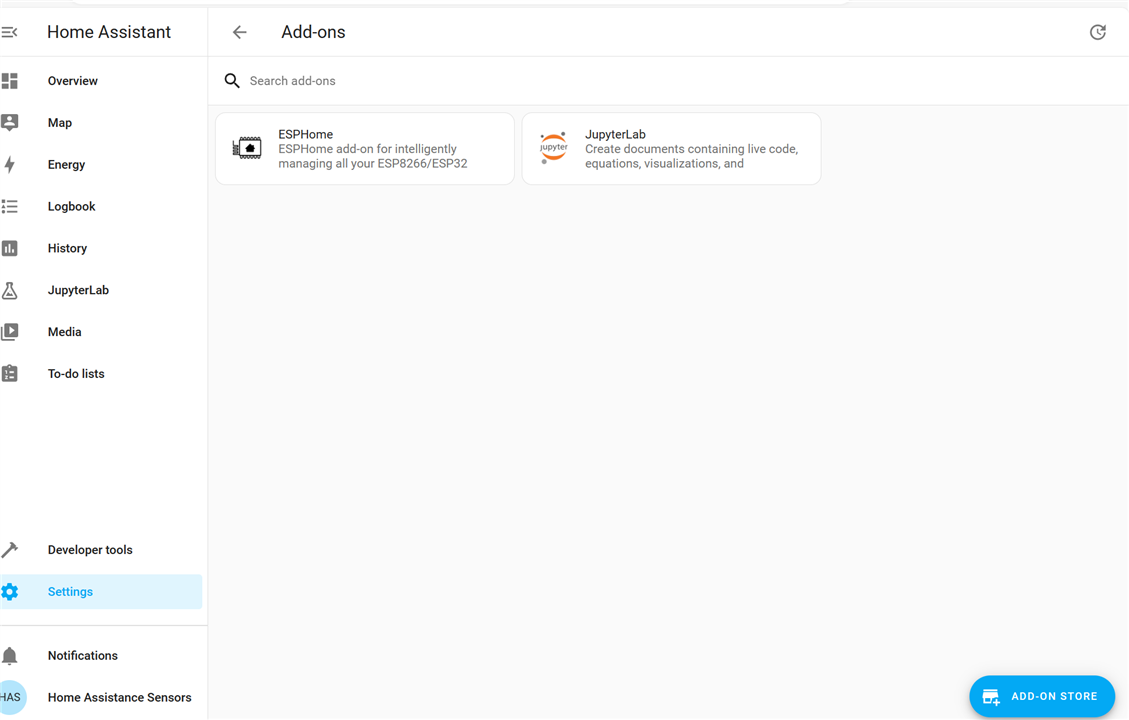
4.1 As previous blog Extreme Environment Home Assistance Sensors #3 Home Assistant on Raspberry Pi Compute Module 4 (CM4) - element14 Community, locate the ESPhome in Add-on Store list,
Then tick INSTALL to install it,
The START can trigger the ESPhome
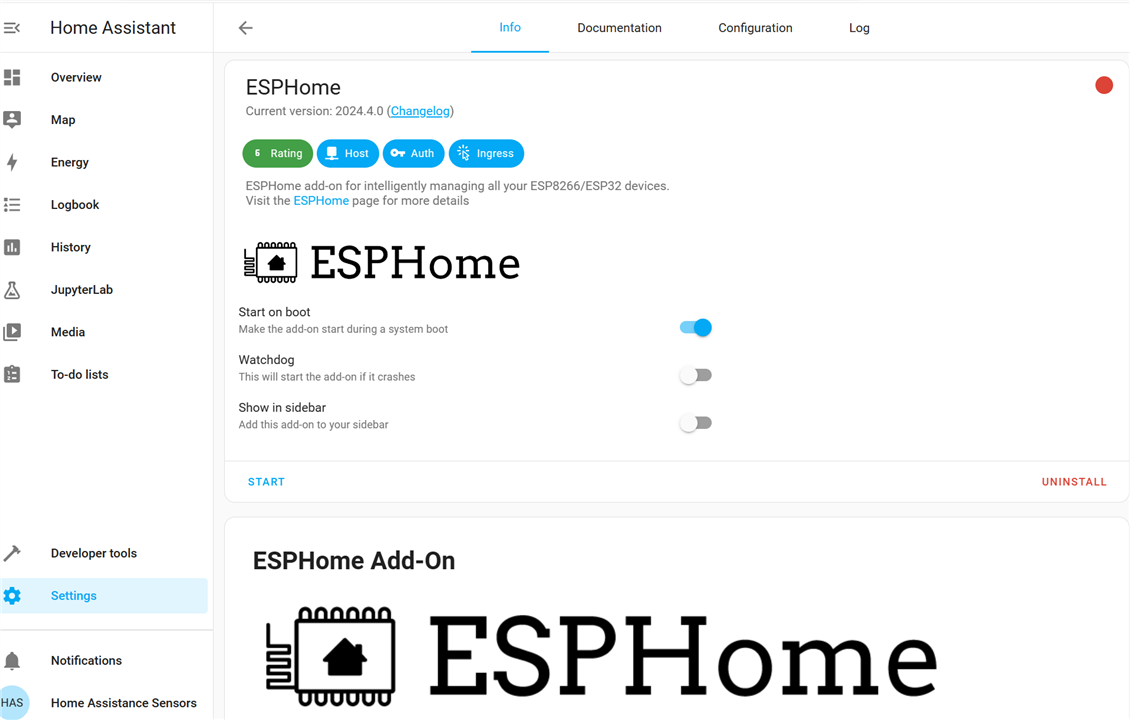
After start , it can be stopped or uninstalled.
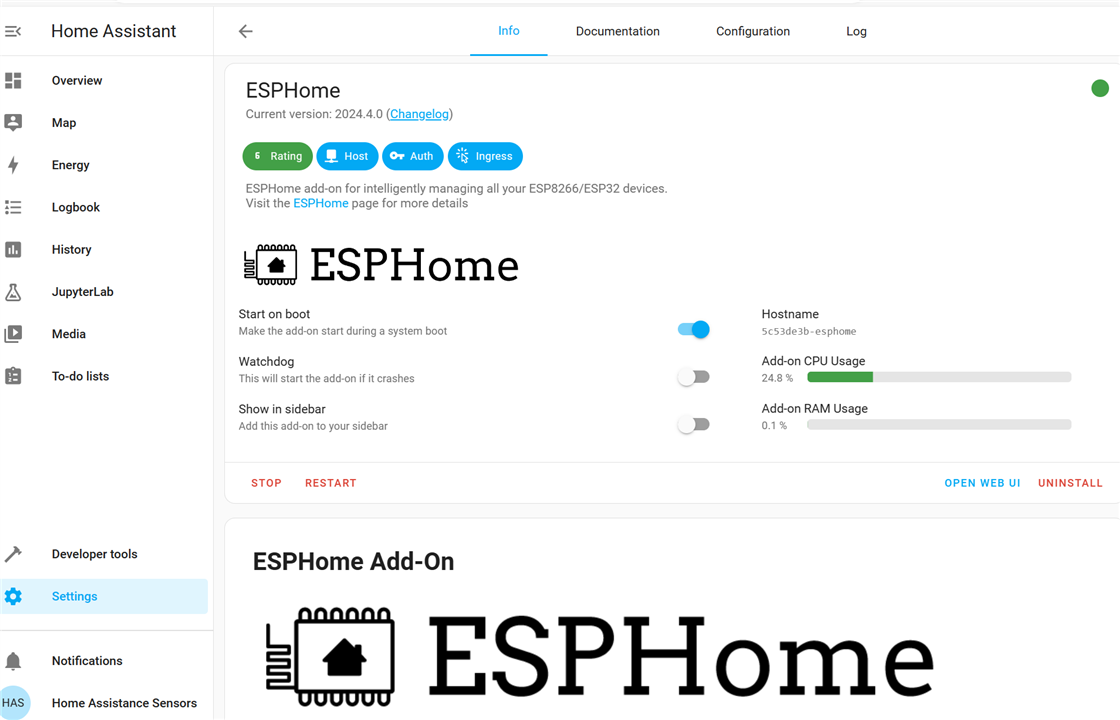
Open Web UI to configure the ESPHome
After installed, ESPHome can be found in Settings--Add-Ons, same as JupyterLab
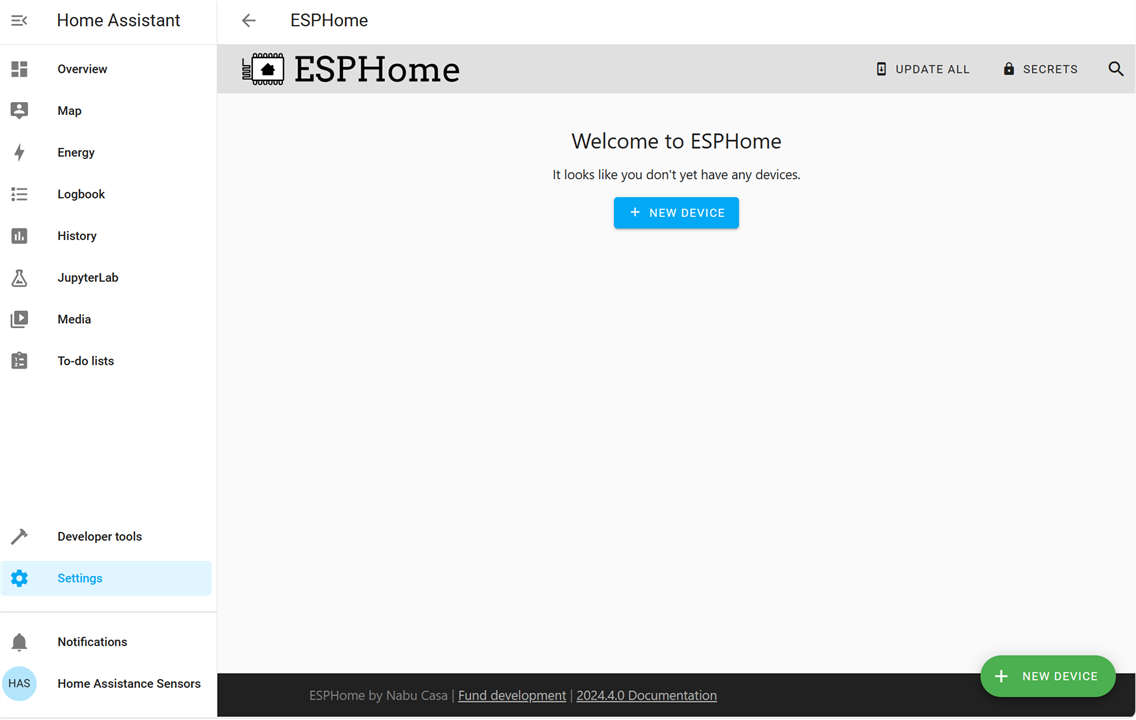
4.2 Add New Device
Press +New Device button,
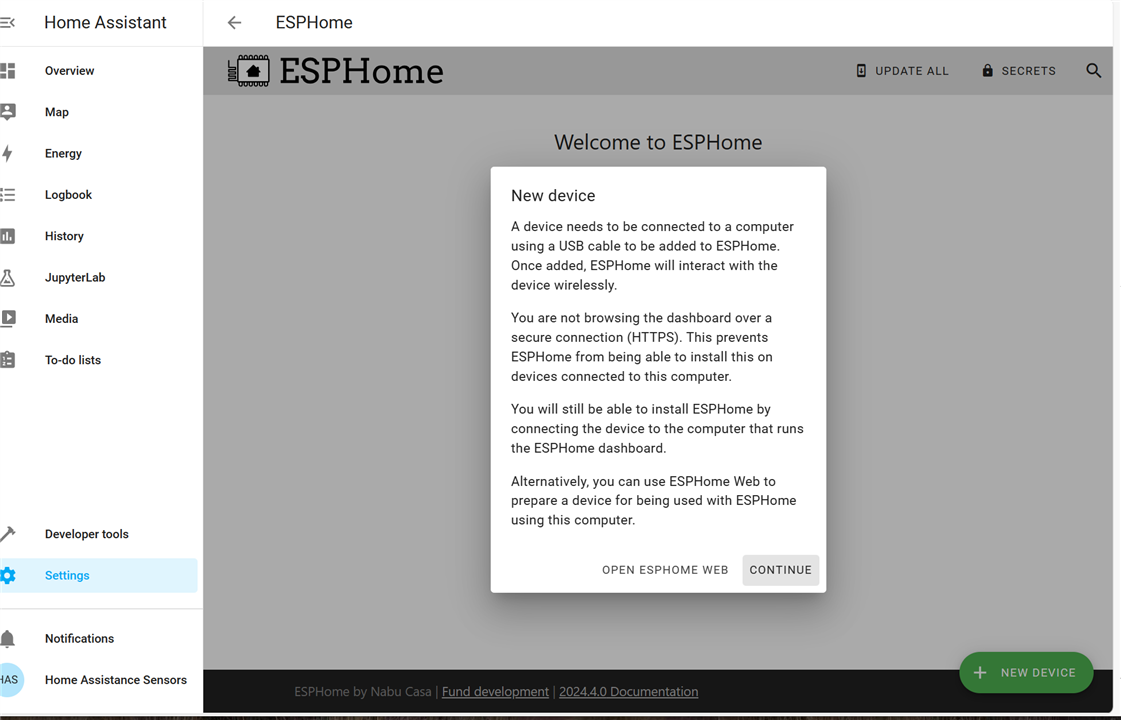
Continue to set Name of this ADD-on and network SSID to be connected

select ESP32-C3 as hardware platform
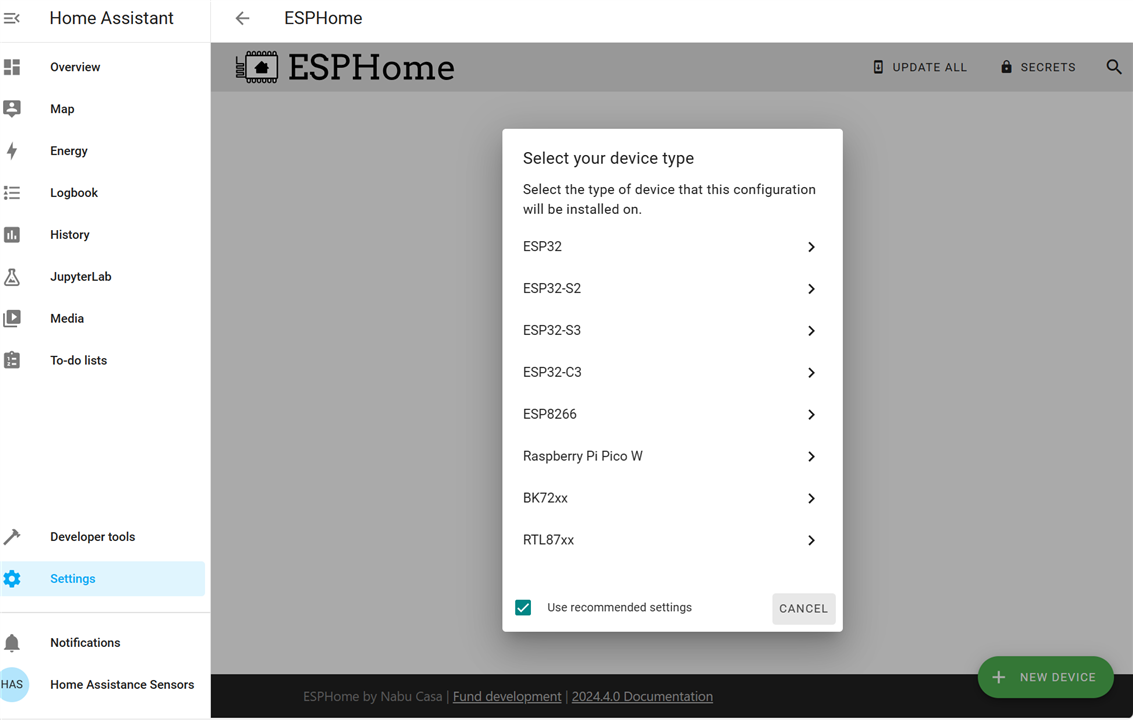
create configuration with unique name

The New device is created

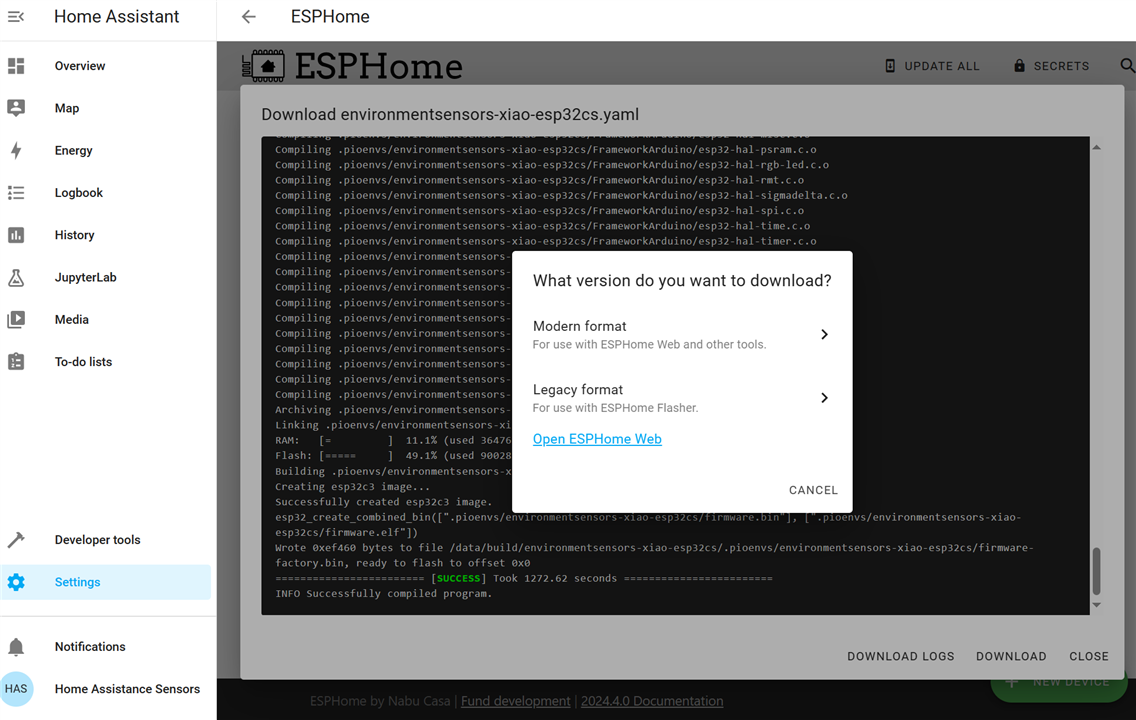
Press INSTALL for first firmware installation, one terminal popup to show progress,
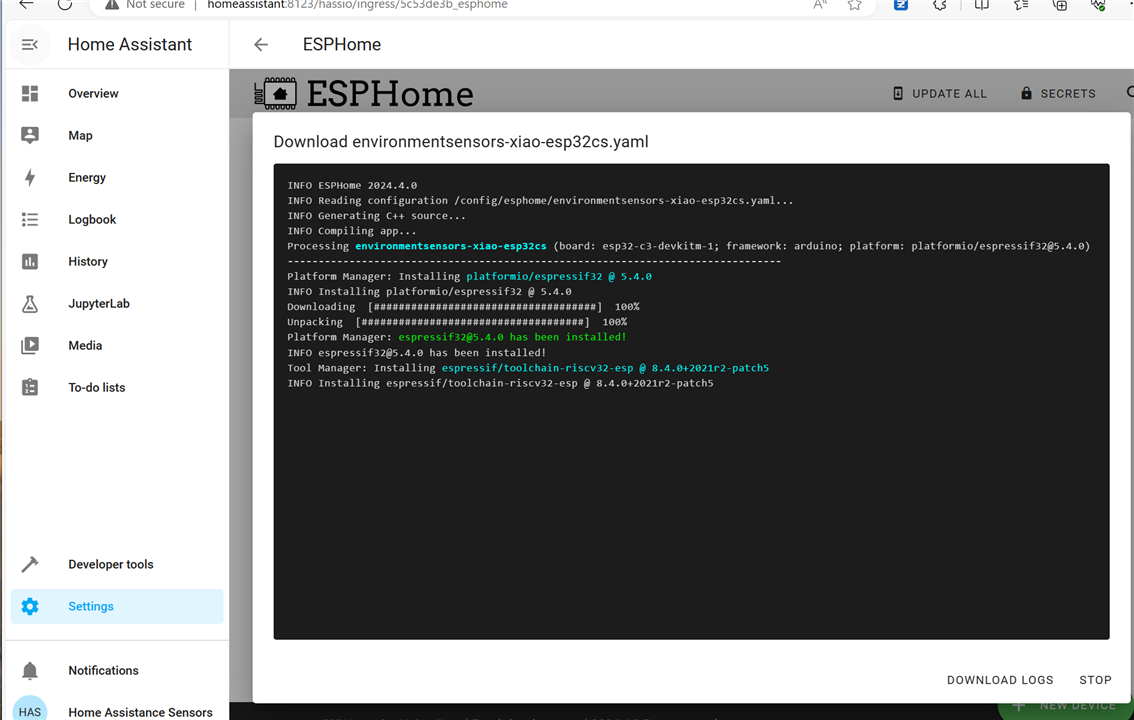
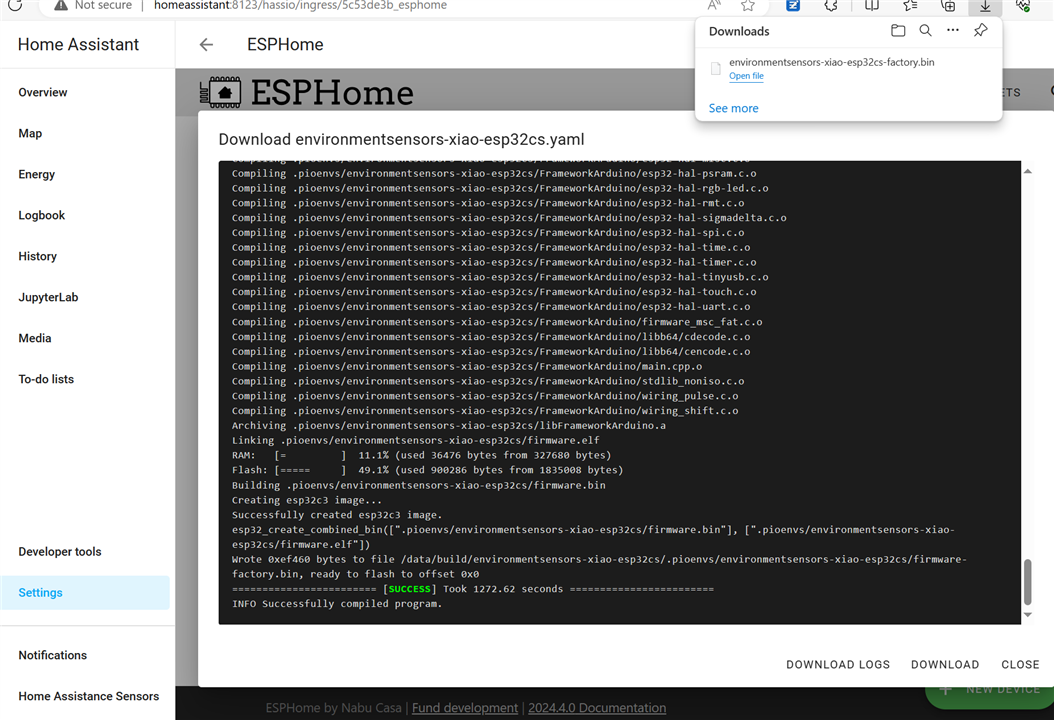
download the firmware in any of the two format after firmware is generated.
It is downloaded into local drive
5 Build and Compile
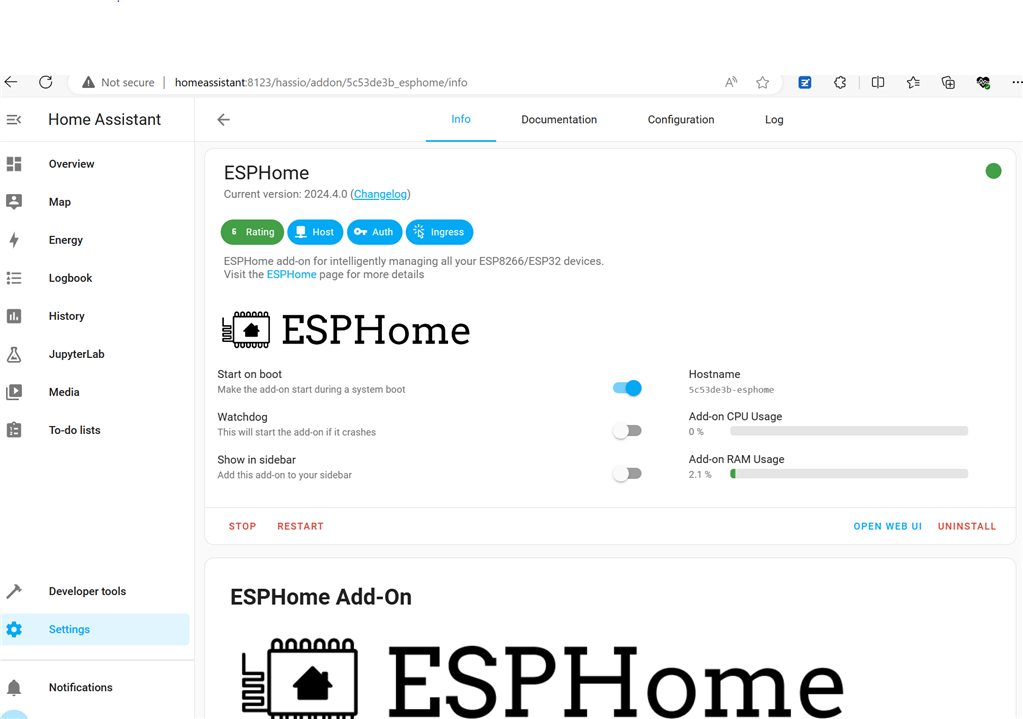
Go back ESPHome pilot page again, cpu and memory usage can be shown.
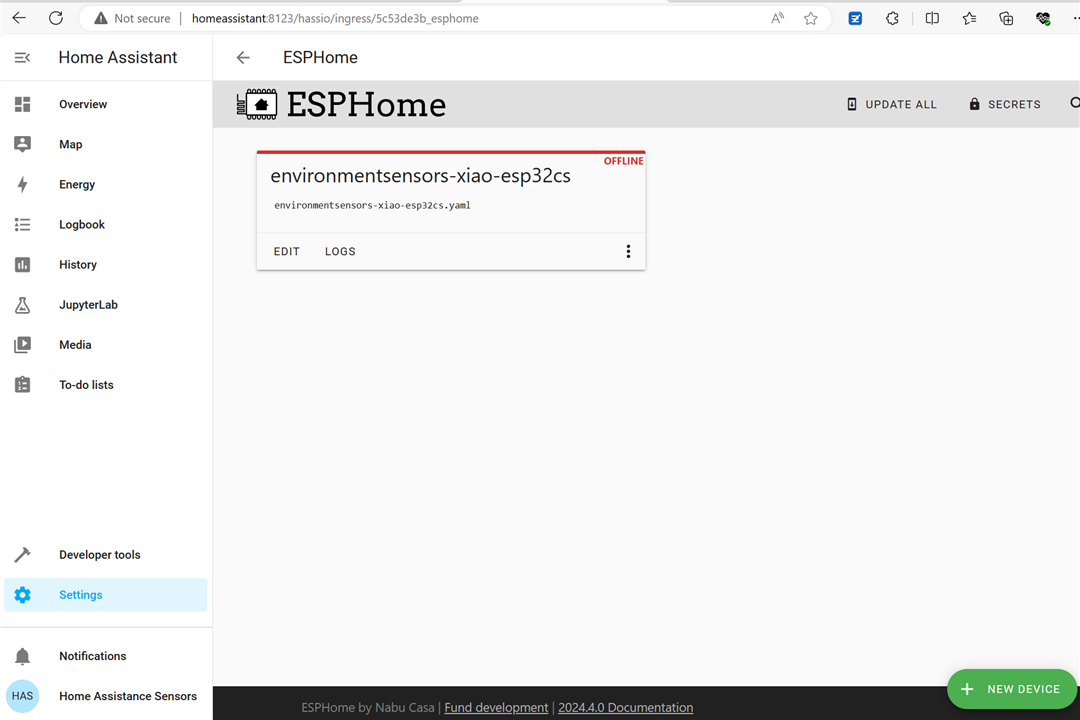
The WebUI show the add-on just define and installed, OFFLINE in red means the XIAO-ESP32 in not properly work and link into the HAOS
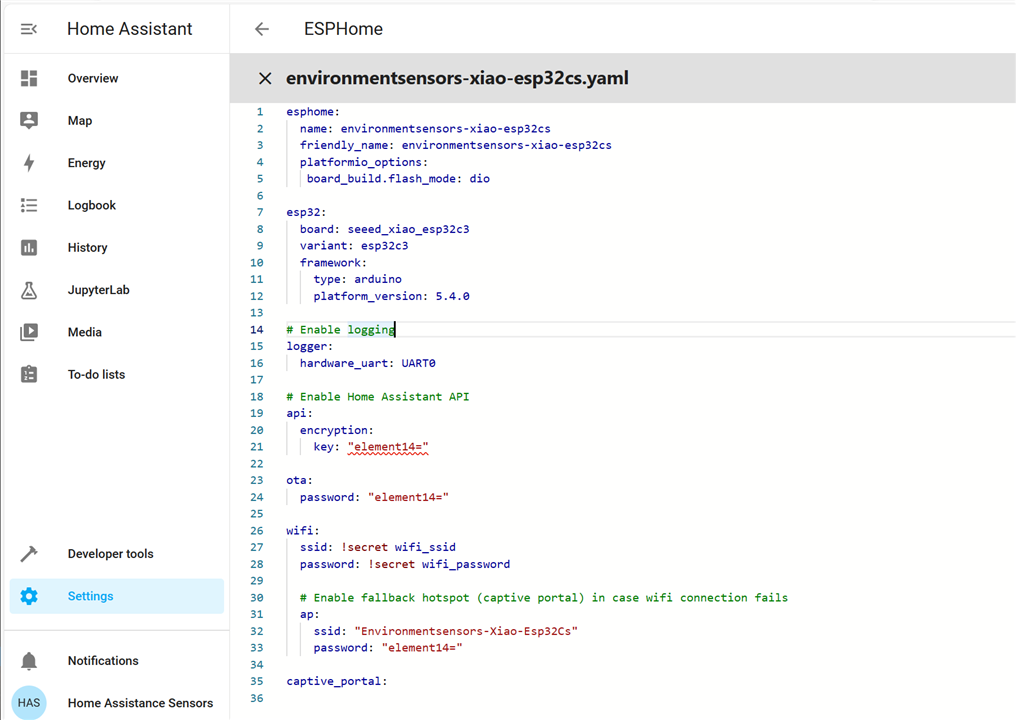
EDIT the YAML file

the SSID and Password is not set
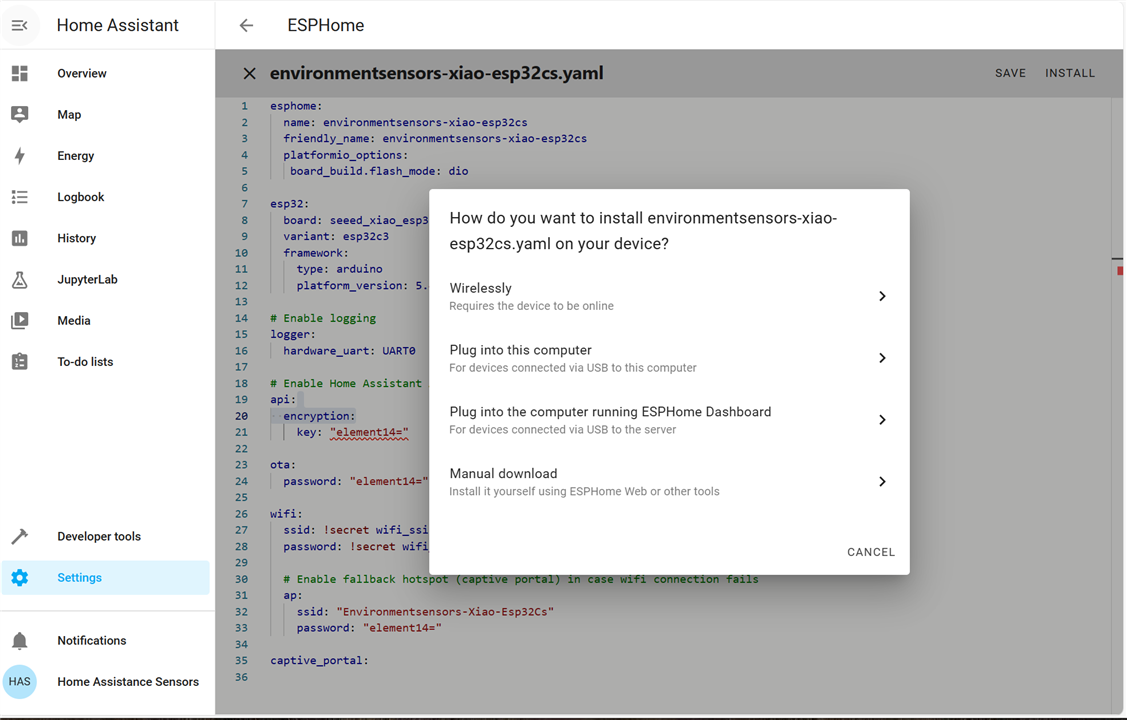
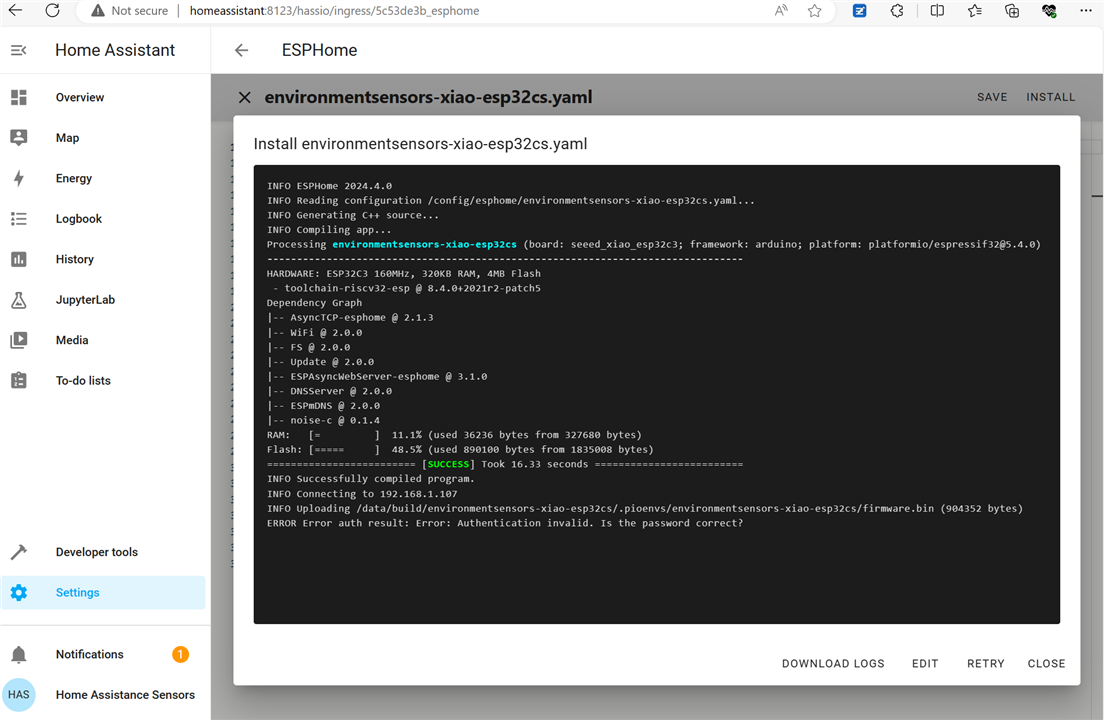
Press INSTALL and select any of the four download means, the wirelessly is not possible since it is still OFFLLINE
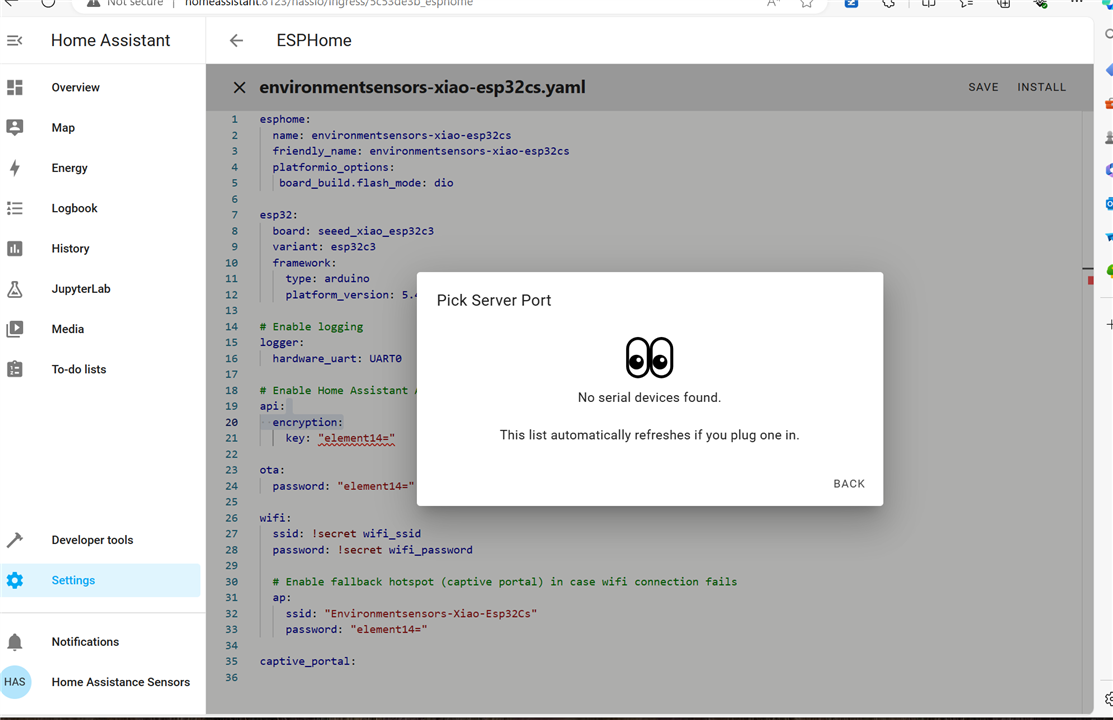
Plug the ESP32 in the Raspberry CM4 with HAOS, it can not linked for now,
6 Download and Flash
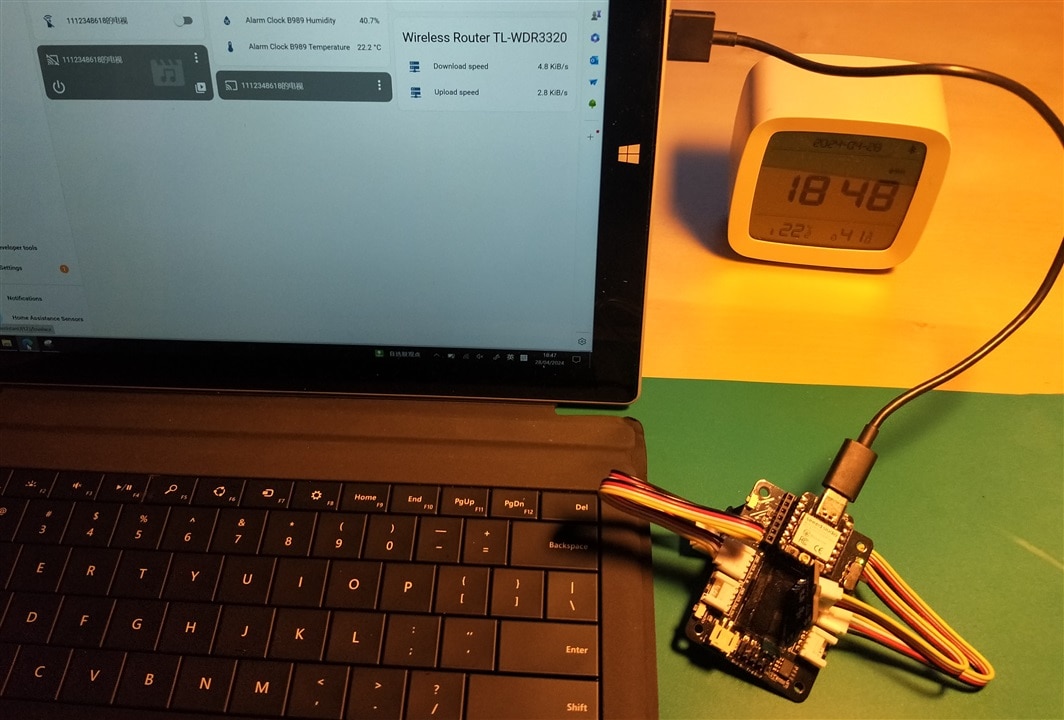
Now, change to third selection and plug it in computer
First Download Project,
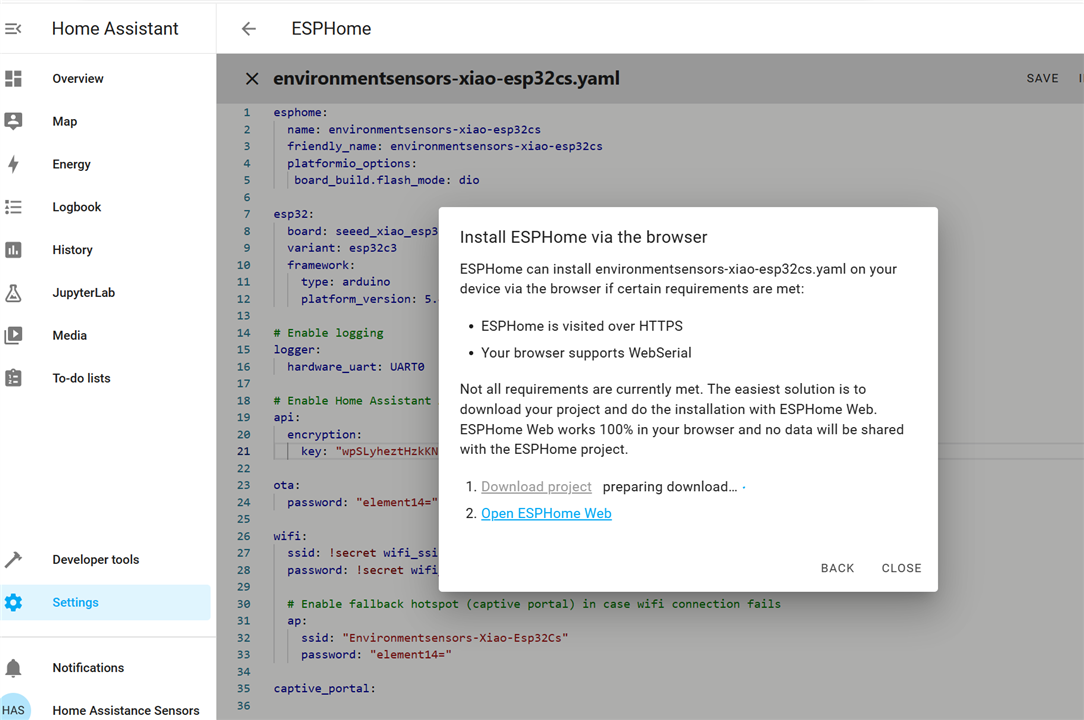
it turns grey until project is build and ready for download
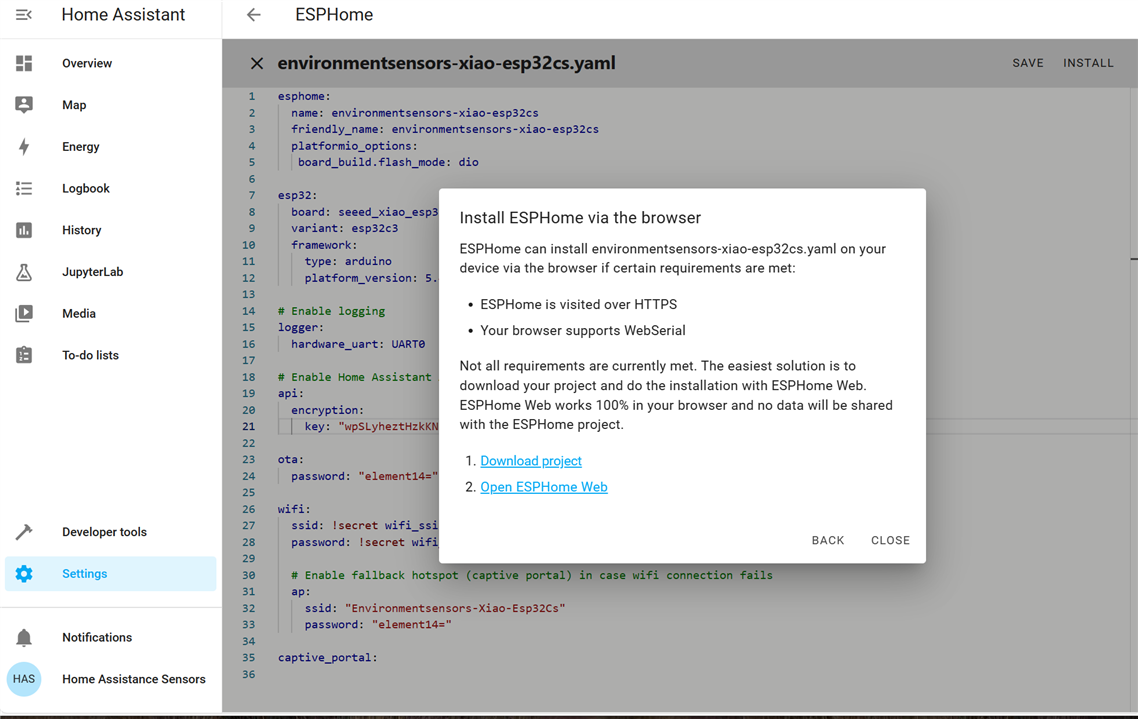
Press Download Project and select format again,

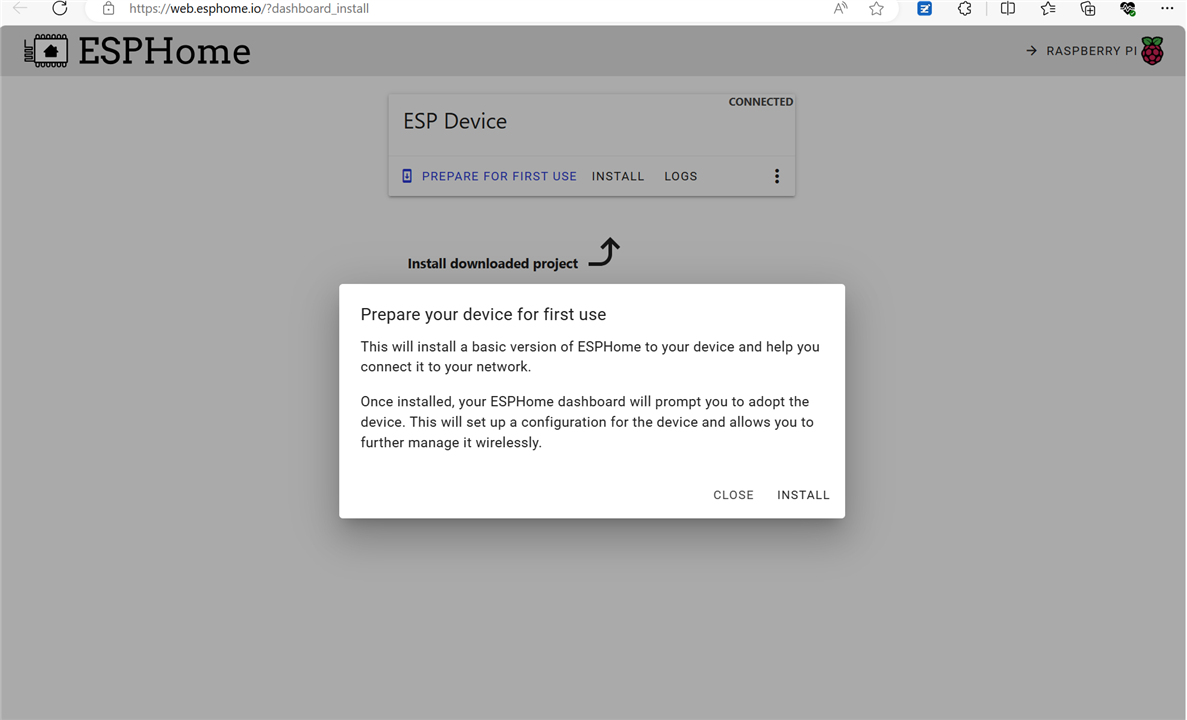
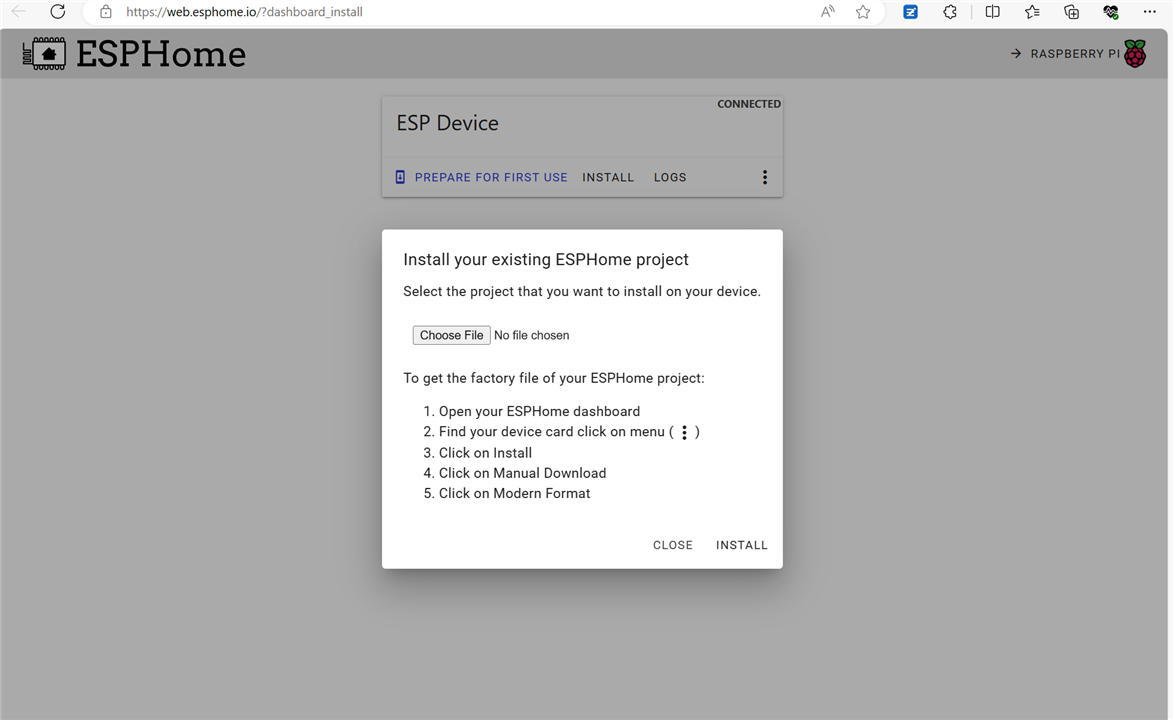
Open ESPHOME web
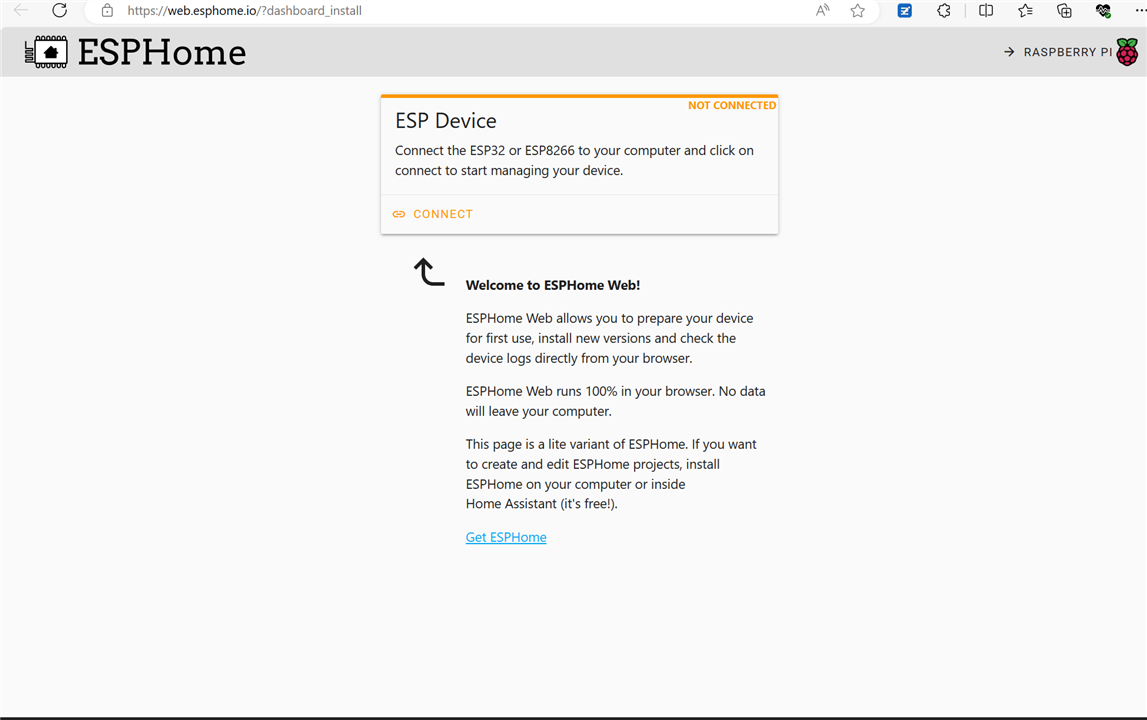
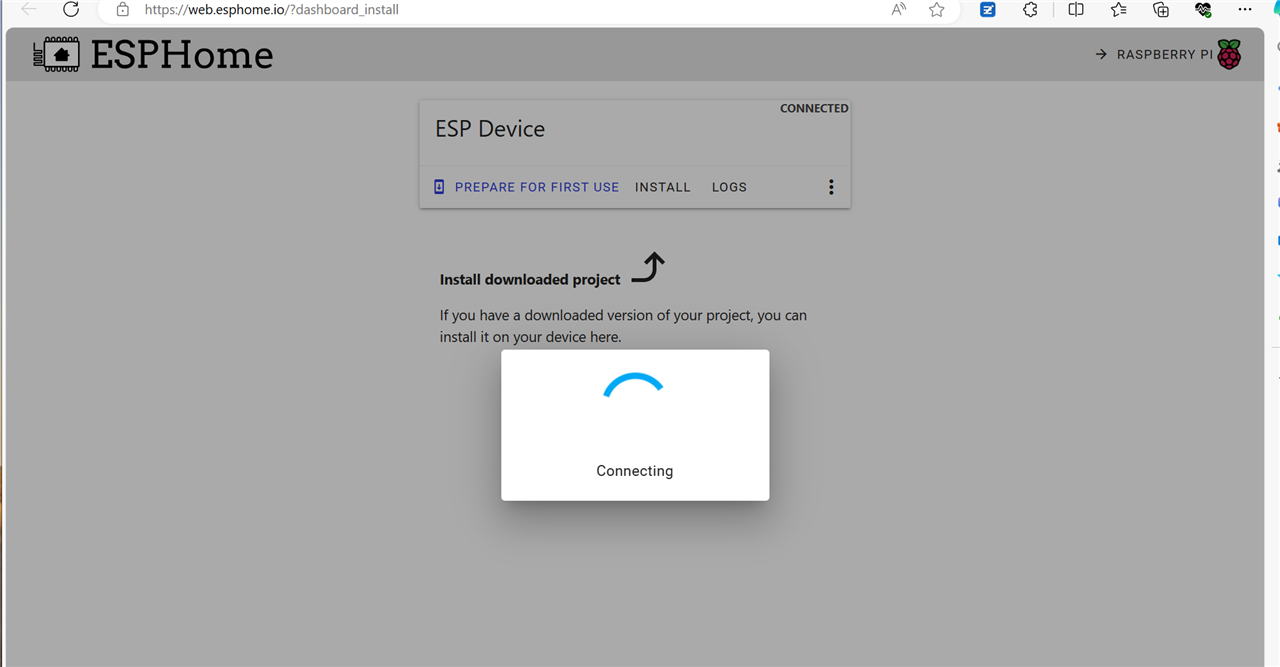
Connect the device, it shows progress and connected if everything goes fine,
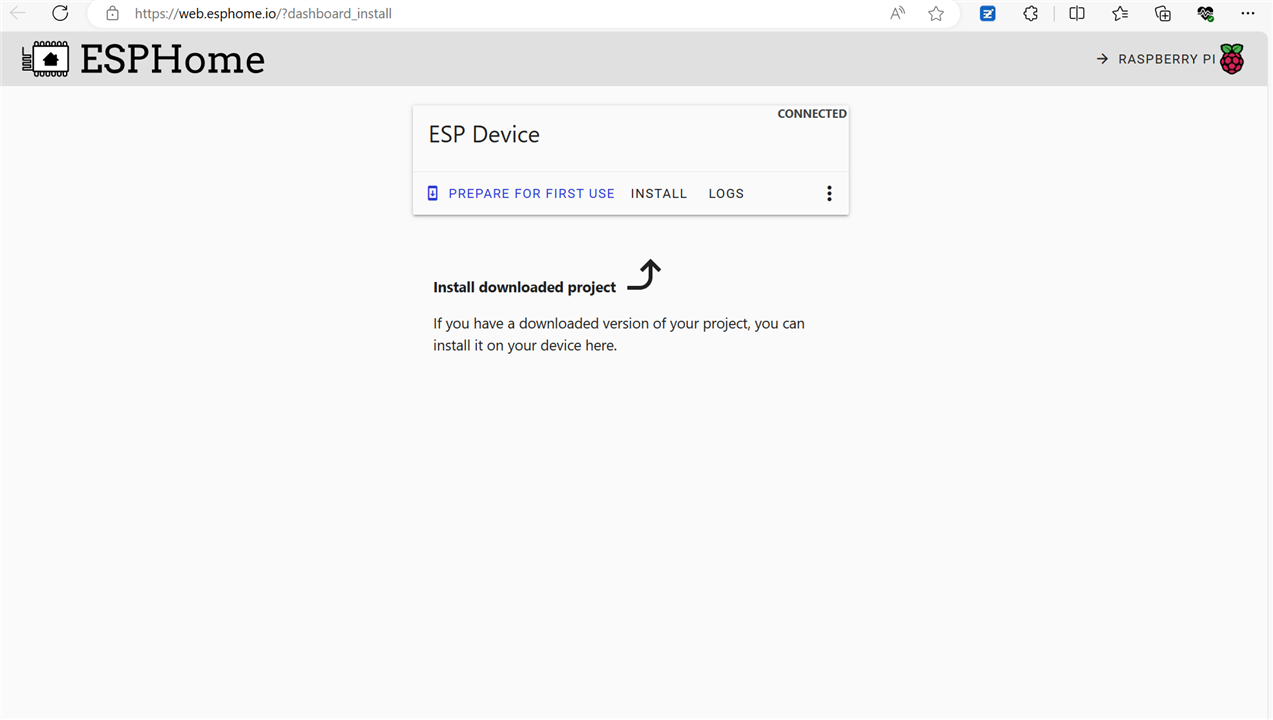
INSTALL it , it is first time to use,
Install start with Connect, Download and verify
now Install,
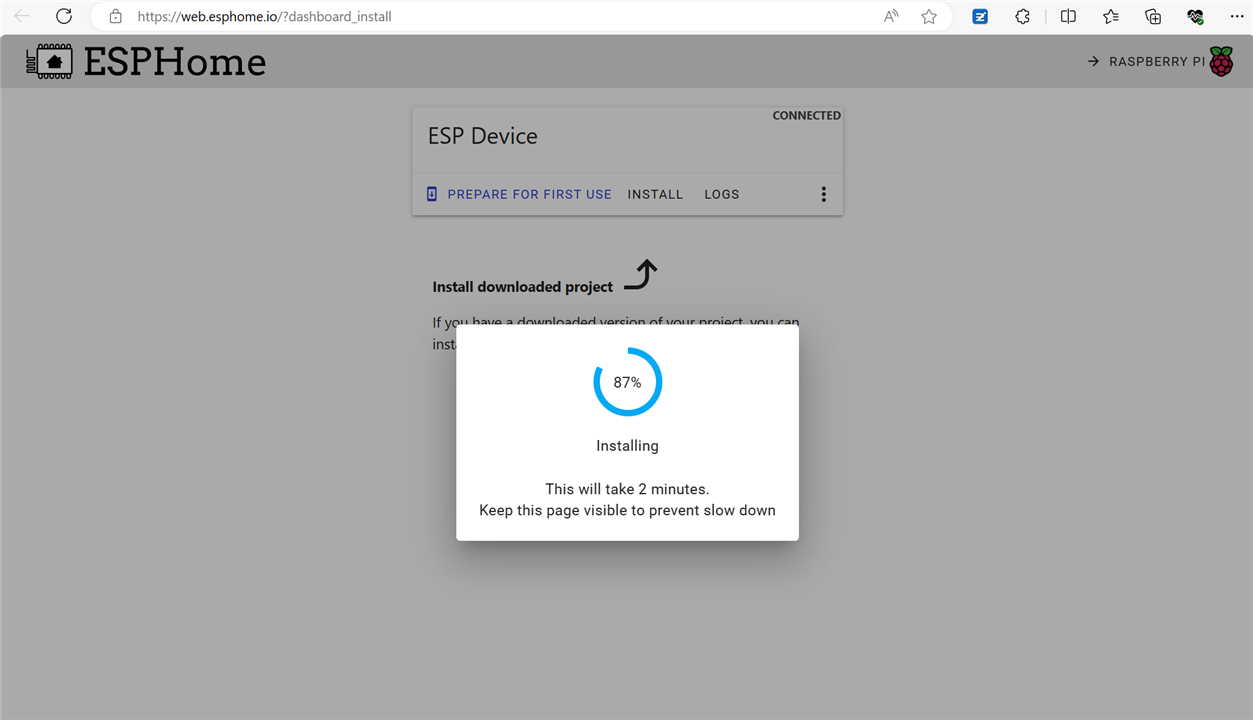
success after verified

If download again, it can hint what is on this device,
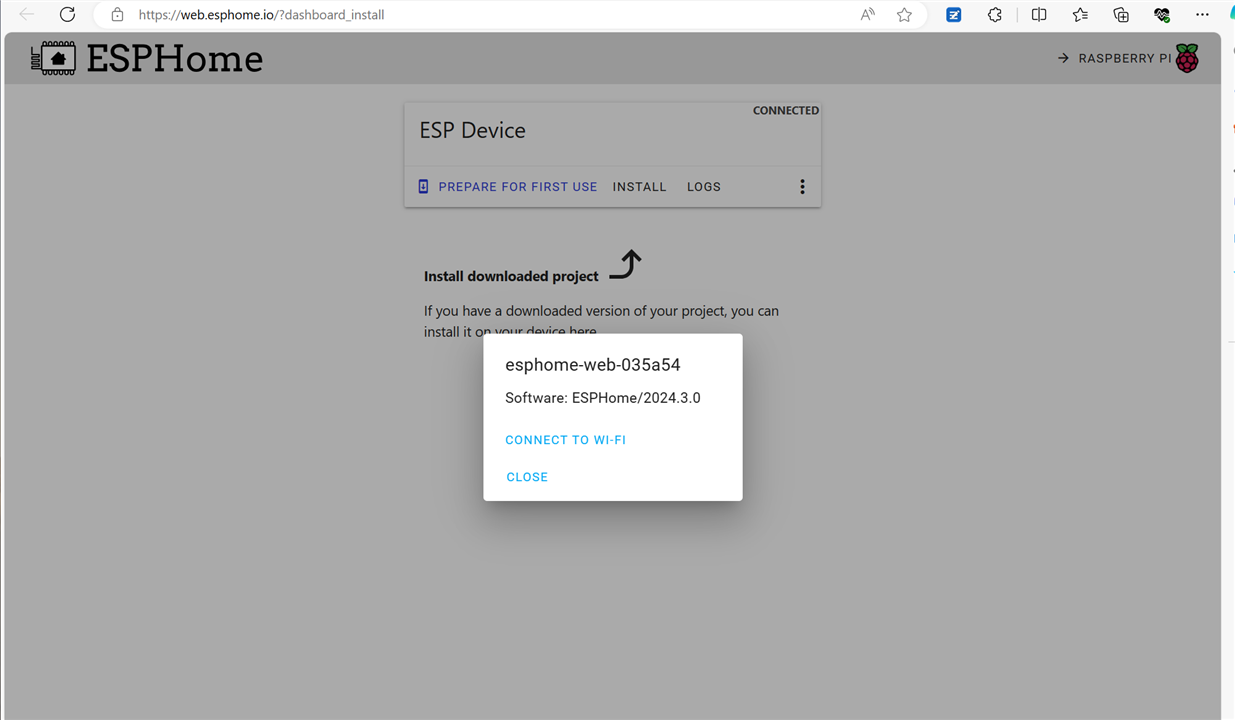
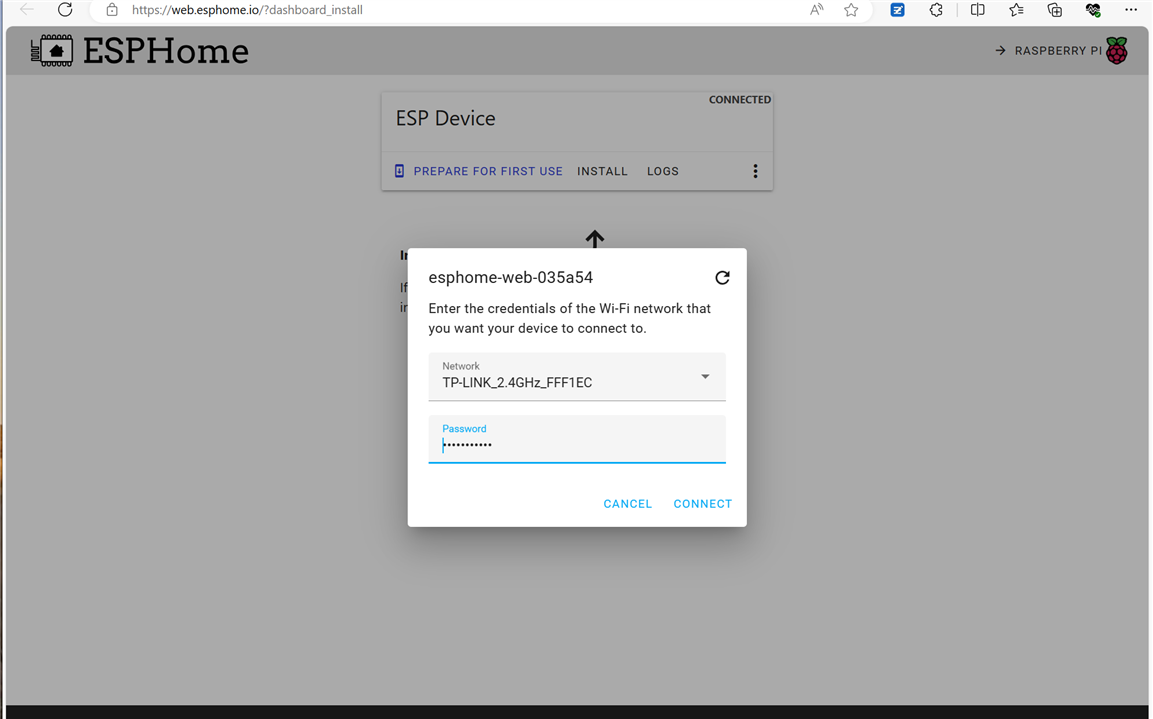
if connected to WIFI, set the SSID and password
it works.
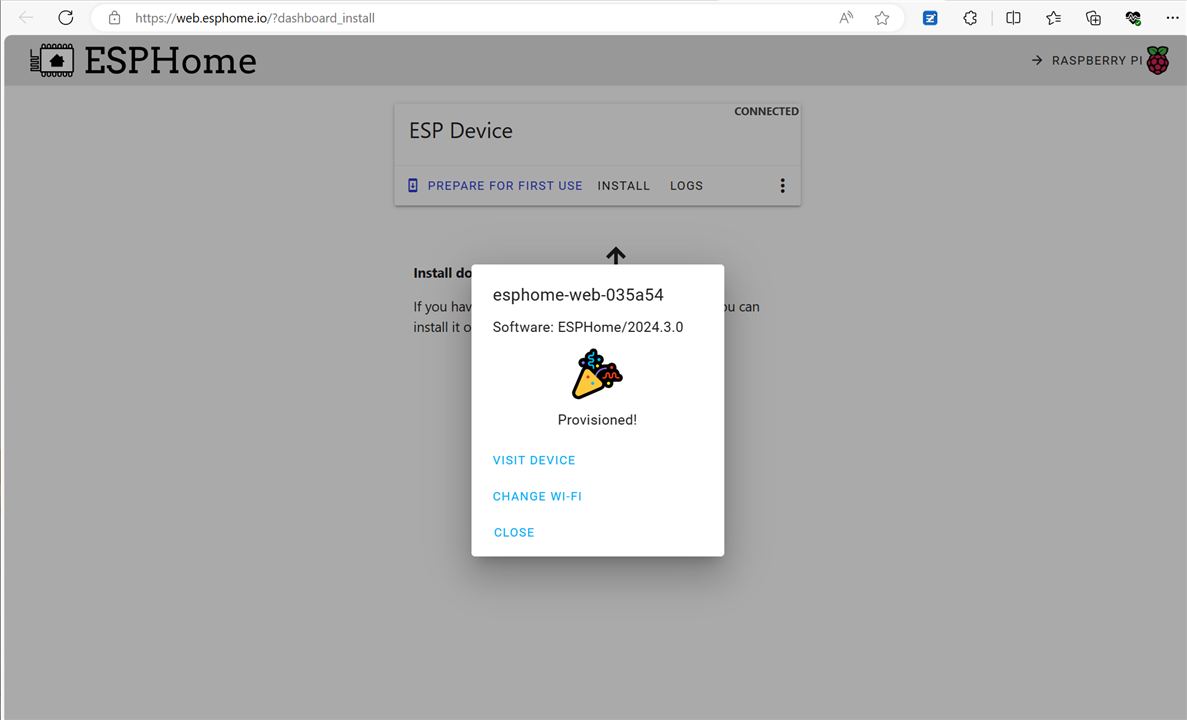
Visit device , to see scheme
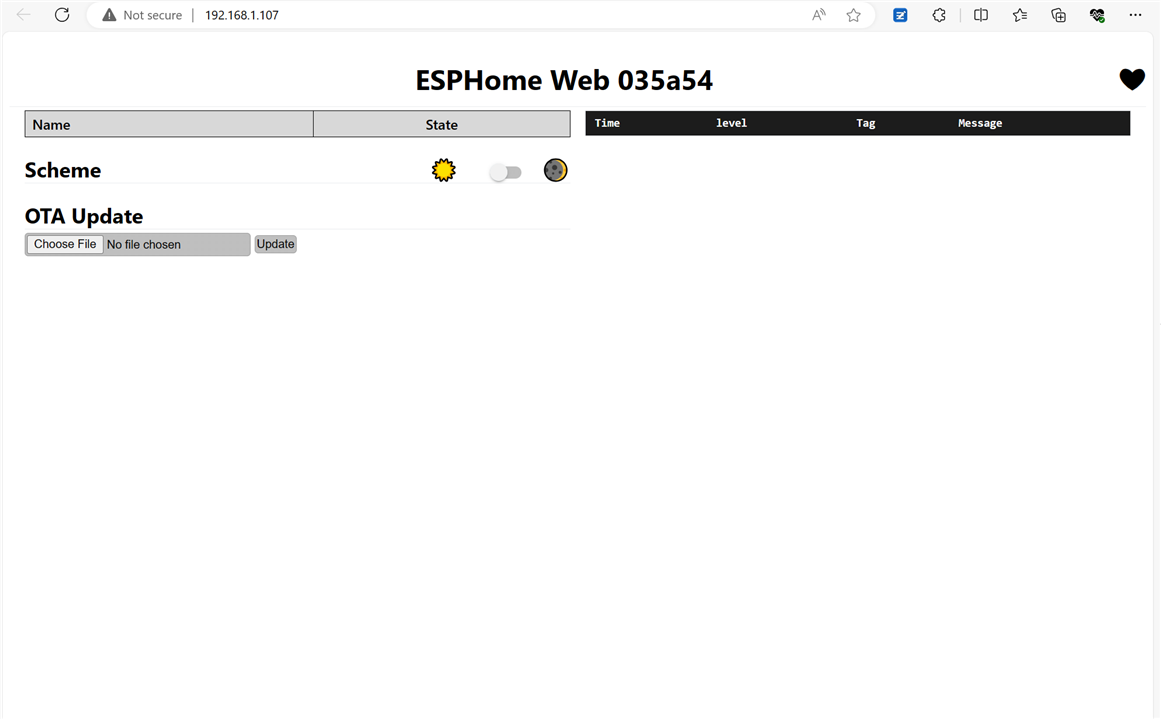
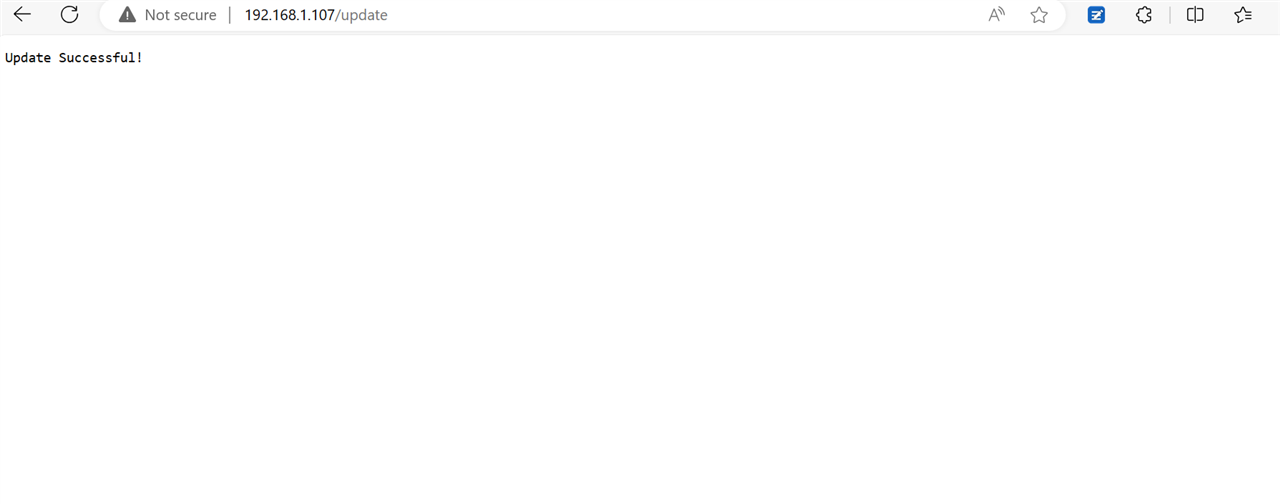
update the message
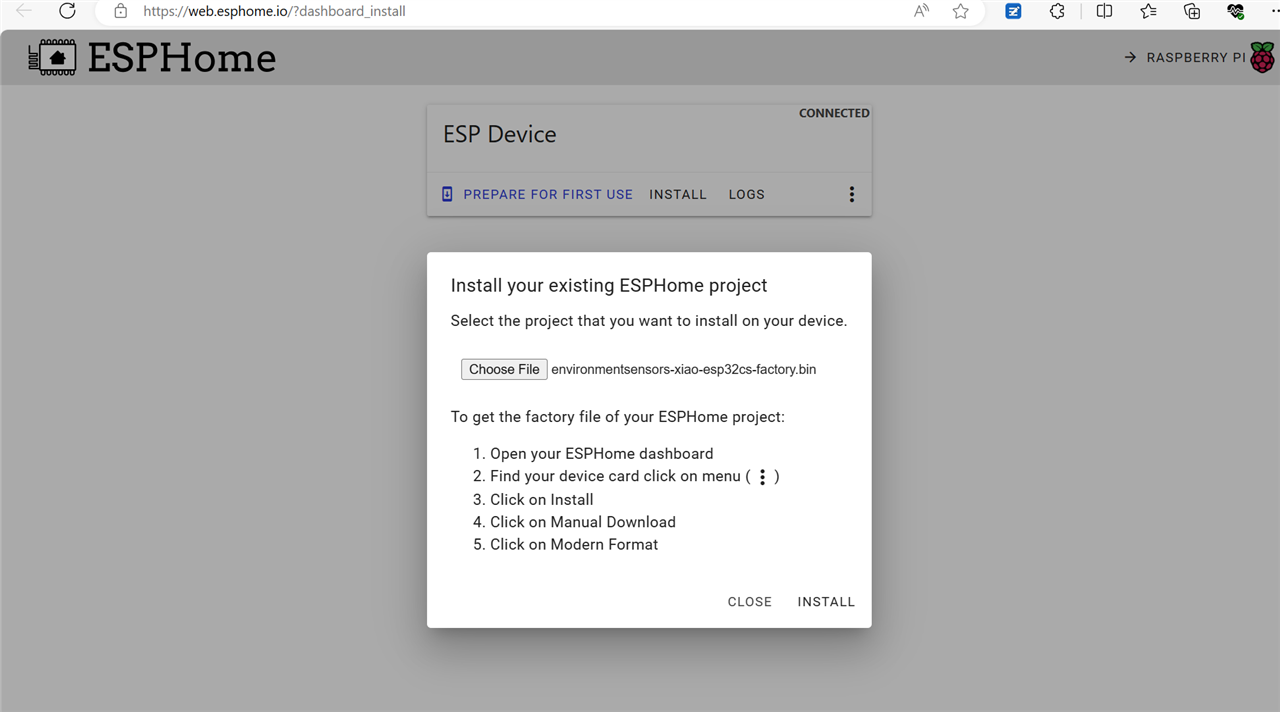
Another download choice, download bin directly to ESP32C3 plugged in this computer, select local bin file
Install it,
Again Erase memory
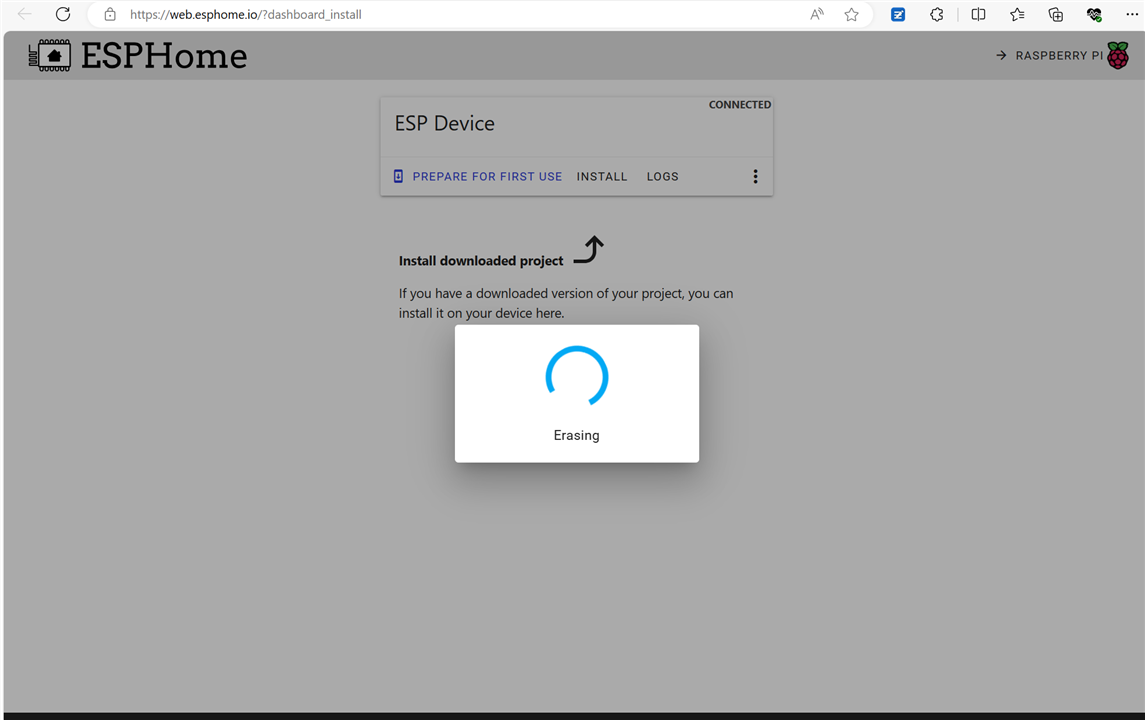
terminal popup for progress
The system discover the new device as Smart Alarm Clock in previous blog,
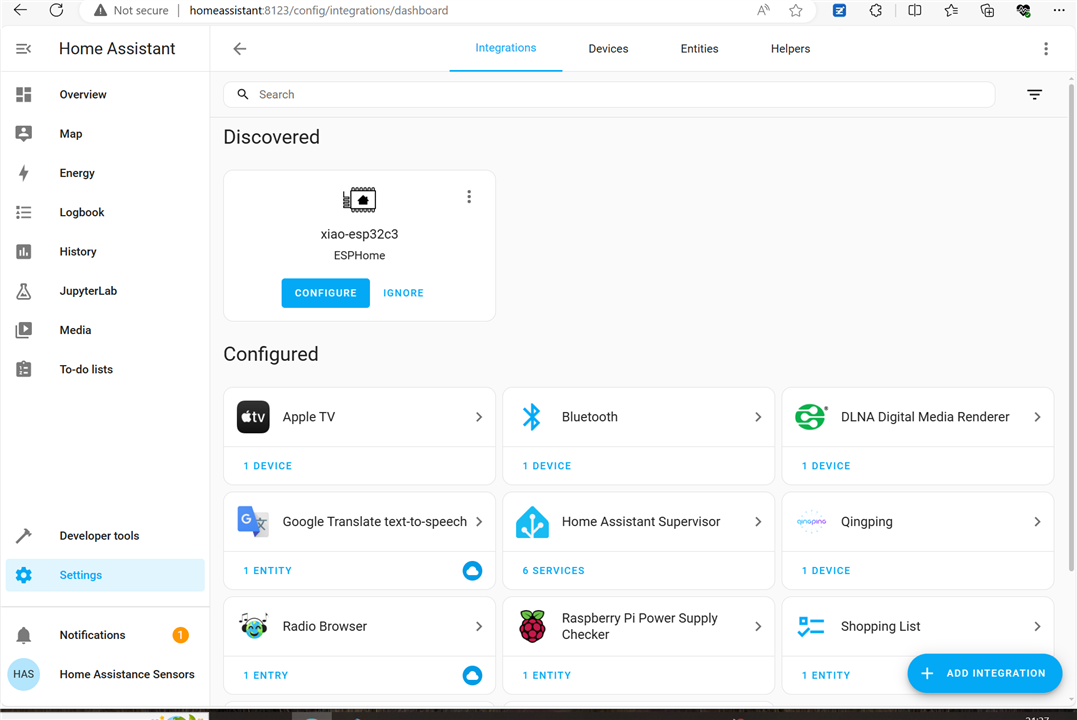
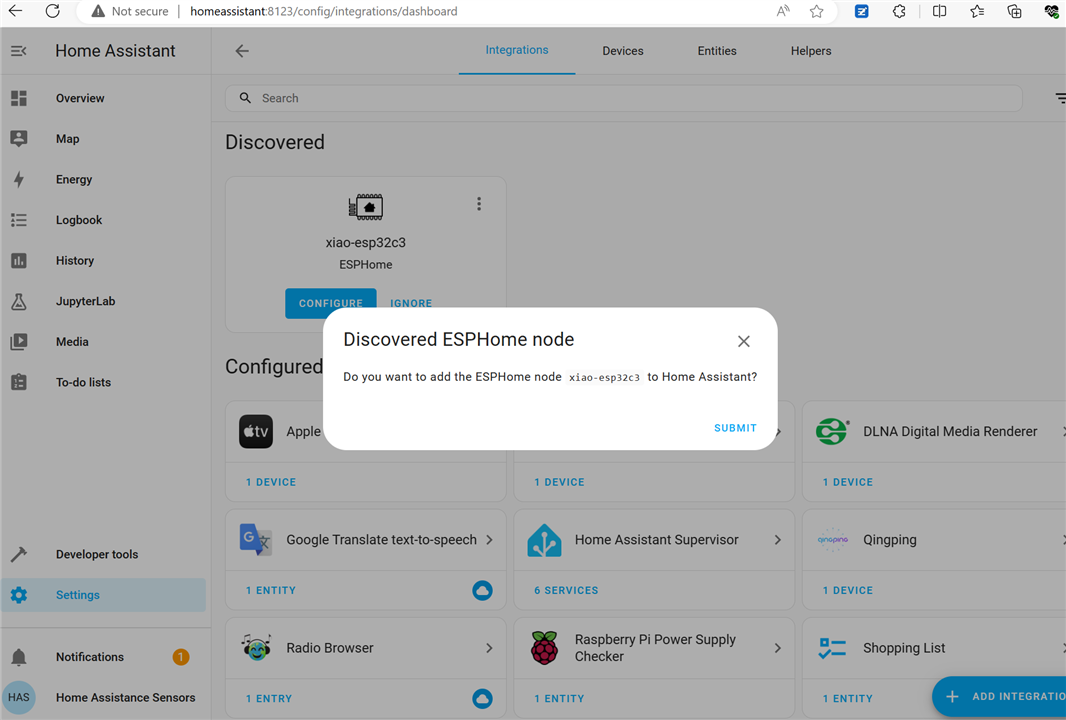
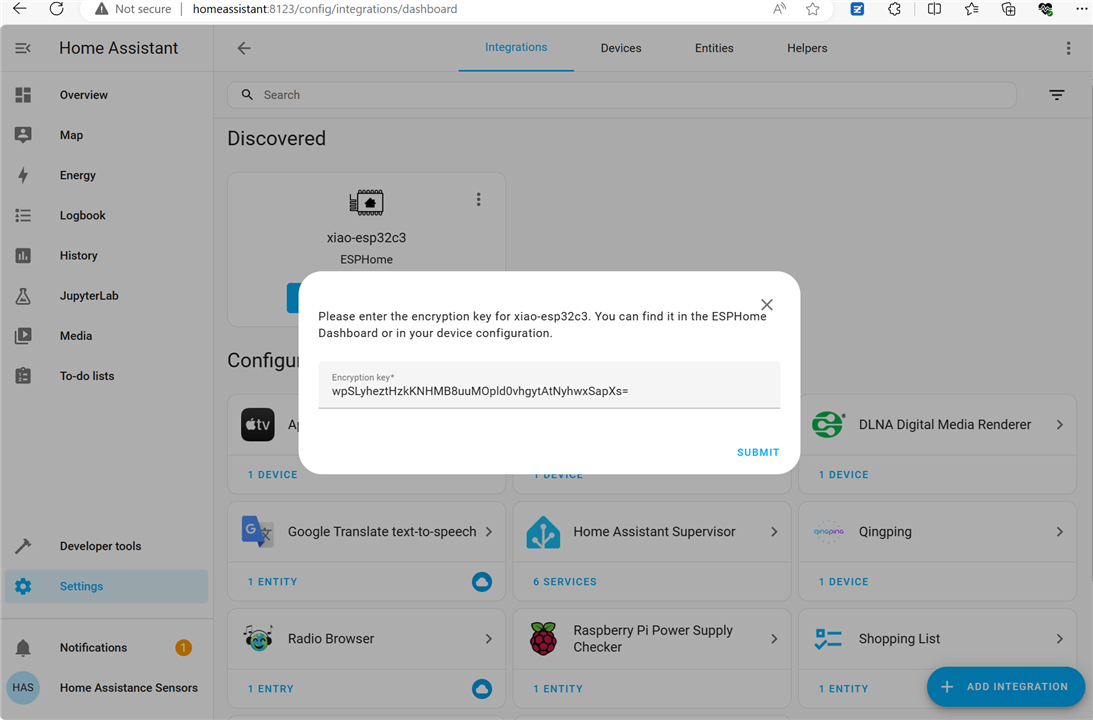
Configure it
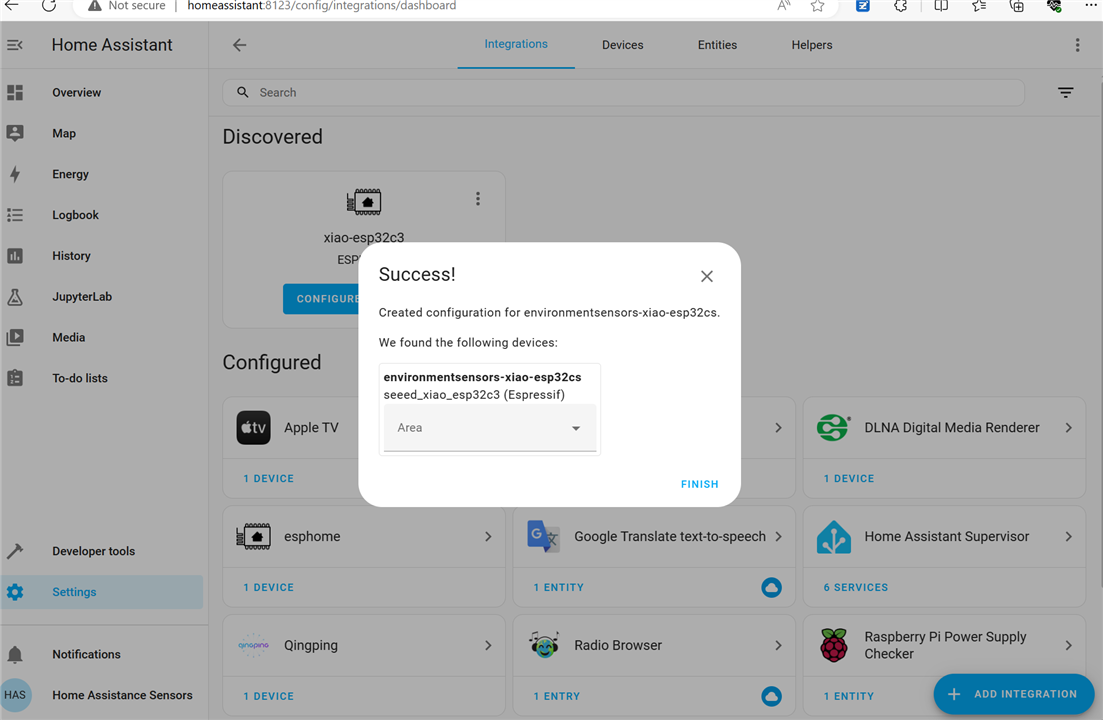
Success!
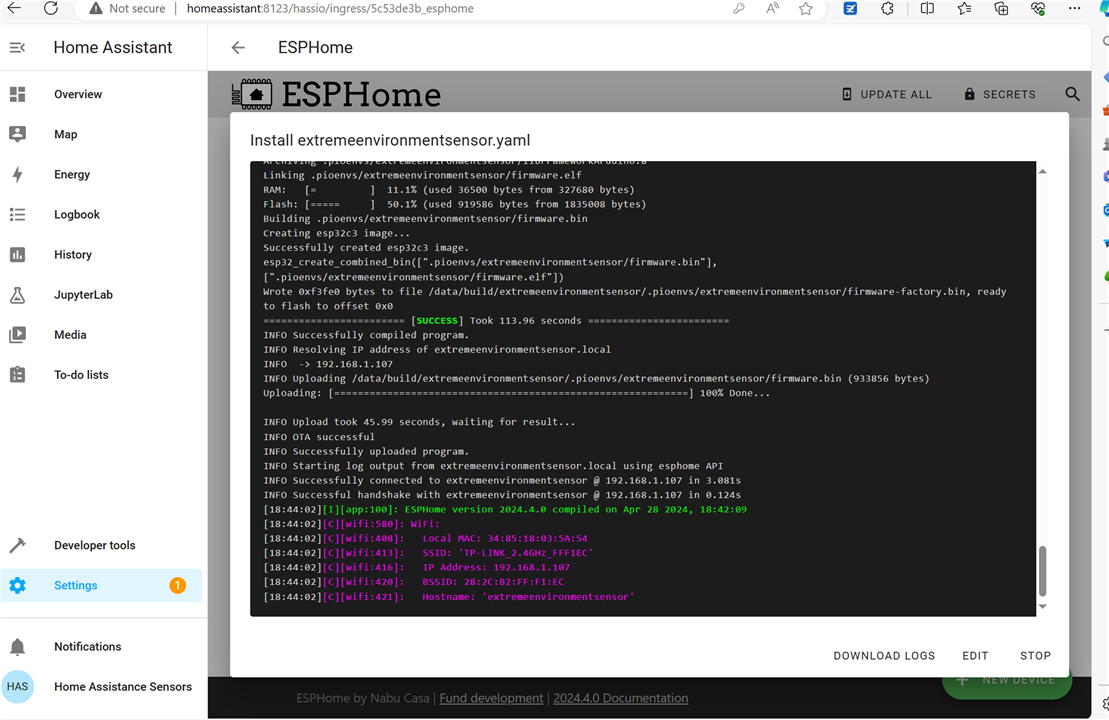
As mentioned before Install from WIFI is not possible at start, Now it is ready. Select install from WIFI, the progress is same, erasing,

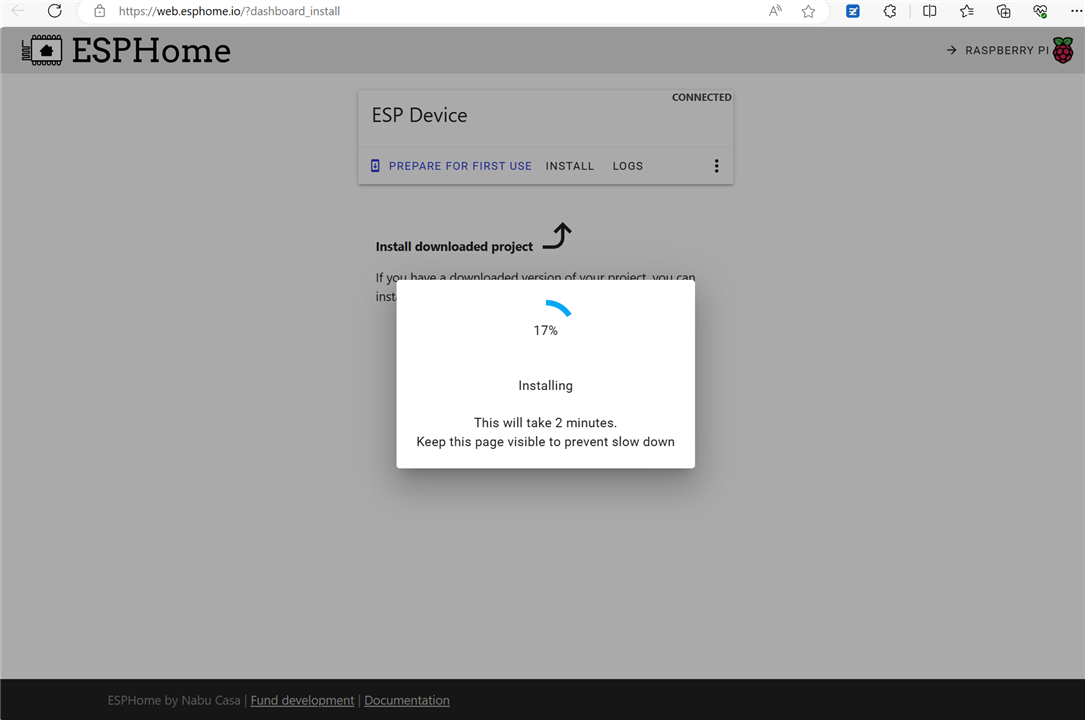
Installing
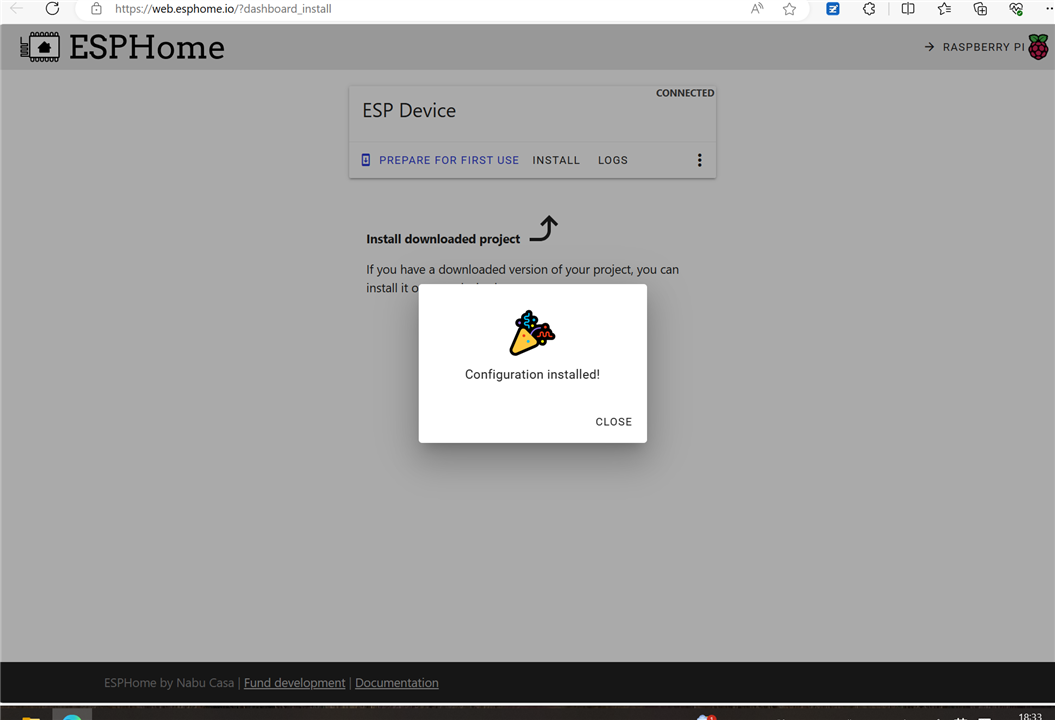
Success, it is perfect.
The terminal tells more, wait,

There is WIFI status!
7 Summary
With all the efforts, what I have got?
It is ONLINE now.
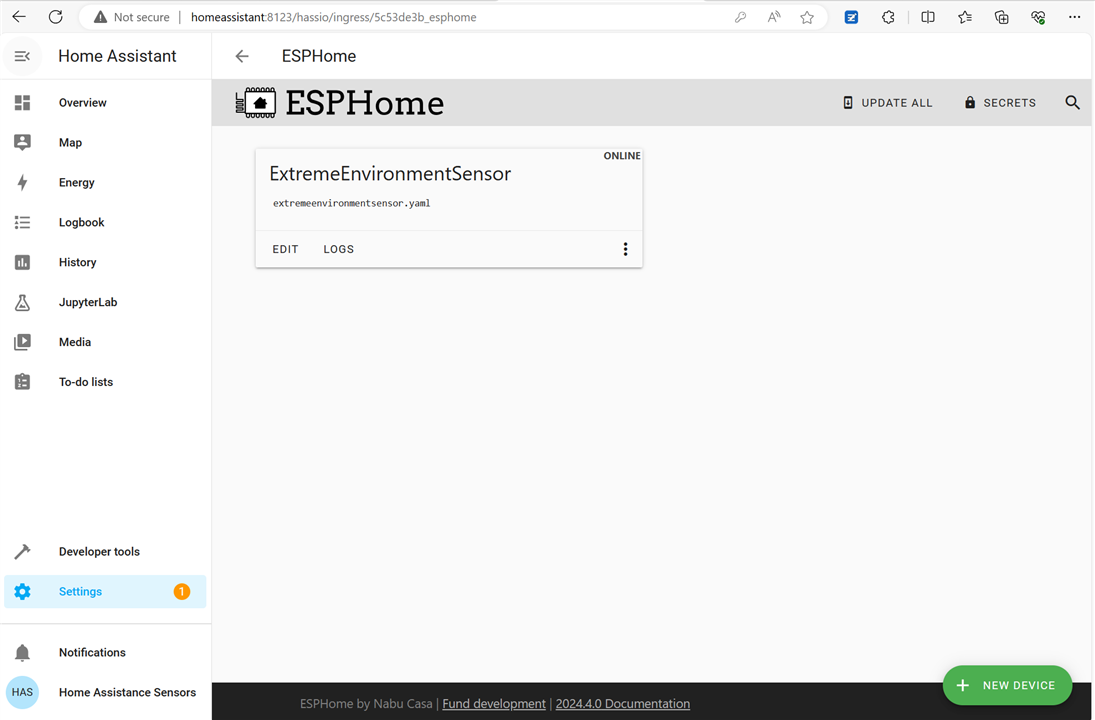
That is how Seeed Studio XIAO ESP32C3 and Grove Sensors is added as add-on in HAOS ESPHome. In general, it shall not take much time if the YAML file is correct.
Not as easy as Getting Started with ESPHome and Home Assistant — ESPHome, but easy enough for most person even with limit experience on coding.
Reference
[1] Concepts and terminology - Home Assistant (home-assistant.io)
[3] Getting Started with Seeed Studio XIAO ESP32C3 | Seeed Studio Wiki
[4] Grove Entry-level Sensors Guide | Seeed Studio Wiki
[5] Grove - AHT20 I2C Industrial Grade Temperature&Humidity Sensor | Seeed Studio Wiki