The first step in the automation journey is designing the process to control. For this challenge, I decided that a conveyor is one of the first concepts in the automation courses, consequently, this blog brings the situation about the academic mechanical design of the conveyor to test the Schneider Electric equipment.
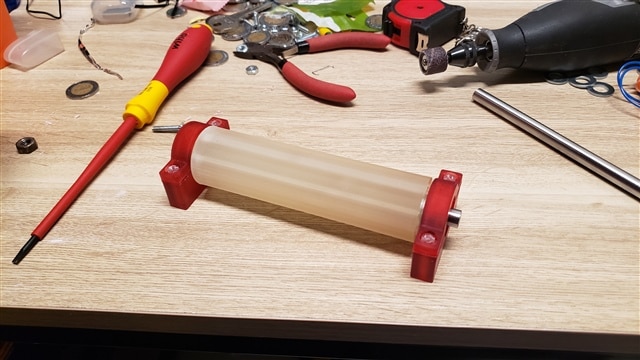
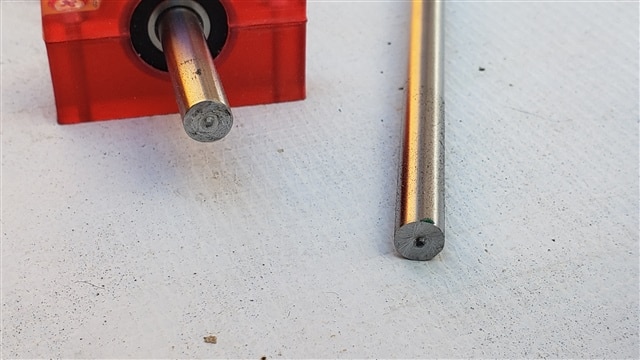
I started with a proof-of-concept for a conveyor roller implementation. For this, I have a 3D printer to manufacture all the solid or objects that cannot be acquired with the specifications required. Furthermore, this is an integration problem that will use raw material to achieve an acceptable project. The final design does not use the full roller concept, but it was used as a trimmer for the steel shafts.
In order to bring the conveyor to reality a preliminary design was ideated to minimize the error mounting the device. This was created using the following tools and materials.
- 3D Printer
- Laser cutter
- 12V Low noise DC Motor
- Power Source
- Bearings
- Acrylic Panel
- Steel Shafts
- Screws
- Some of the equipment provided in past roadtests and design challenges

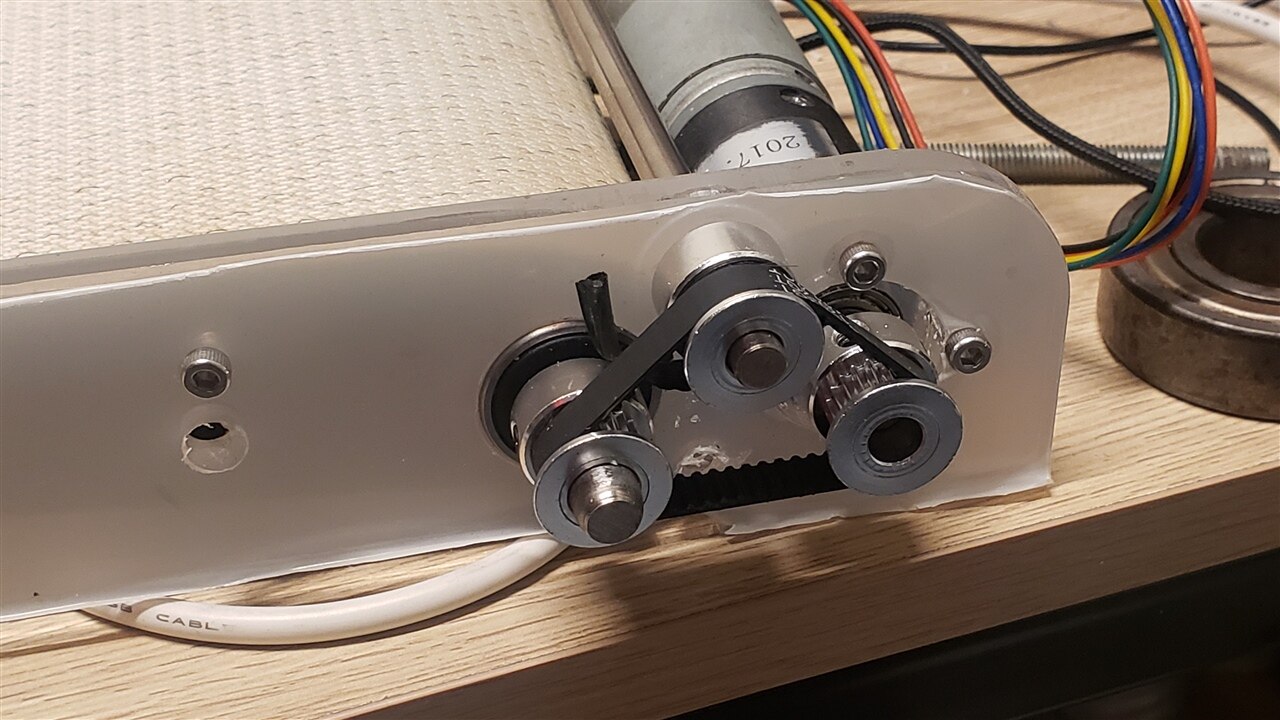
These materials allowed the design below to start to cut all pieces and mounting the "final" design to implement some controls or ladder logic for future blogs.
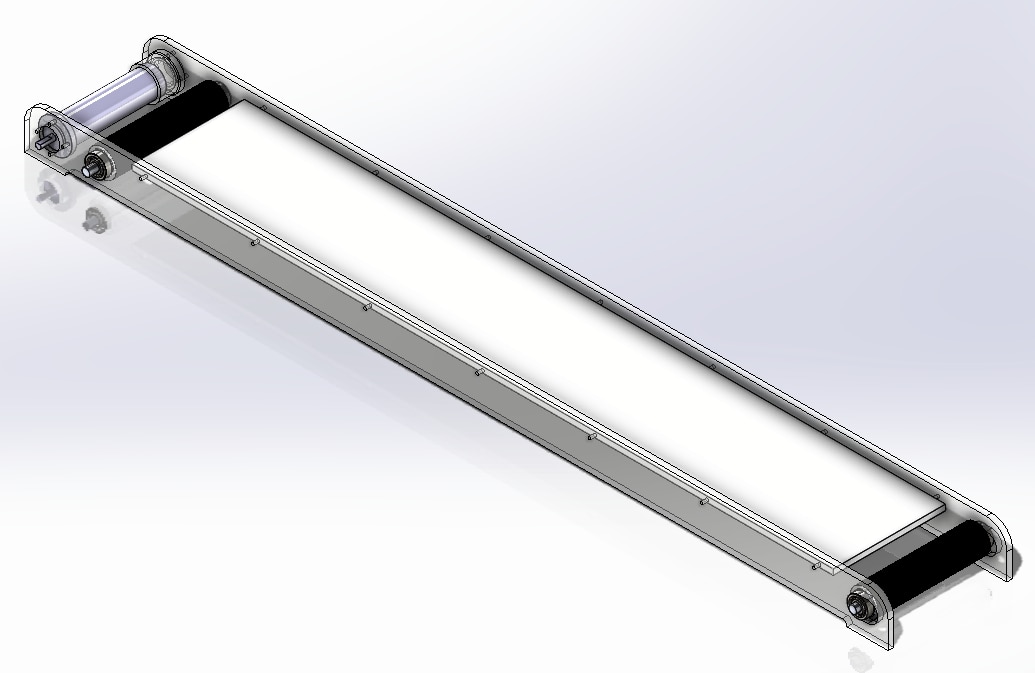
Unfortunatelly, not all the parameters considered meet the mechanical challenges with the conveyor belt, but as good enginner we are able to adapt the issue to bring a solution that will be considered for future designs.
This is the first stage in the ideation of the Schneider Electric equipment usage. I hope this was useful and all the tips for the improvements are welcome. Thanks for your time
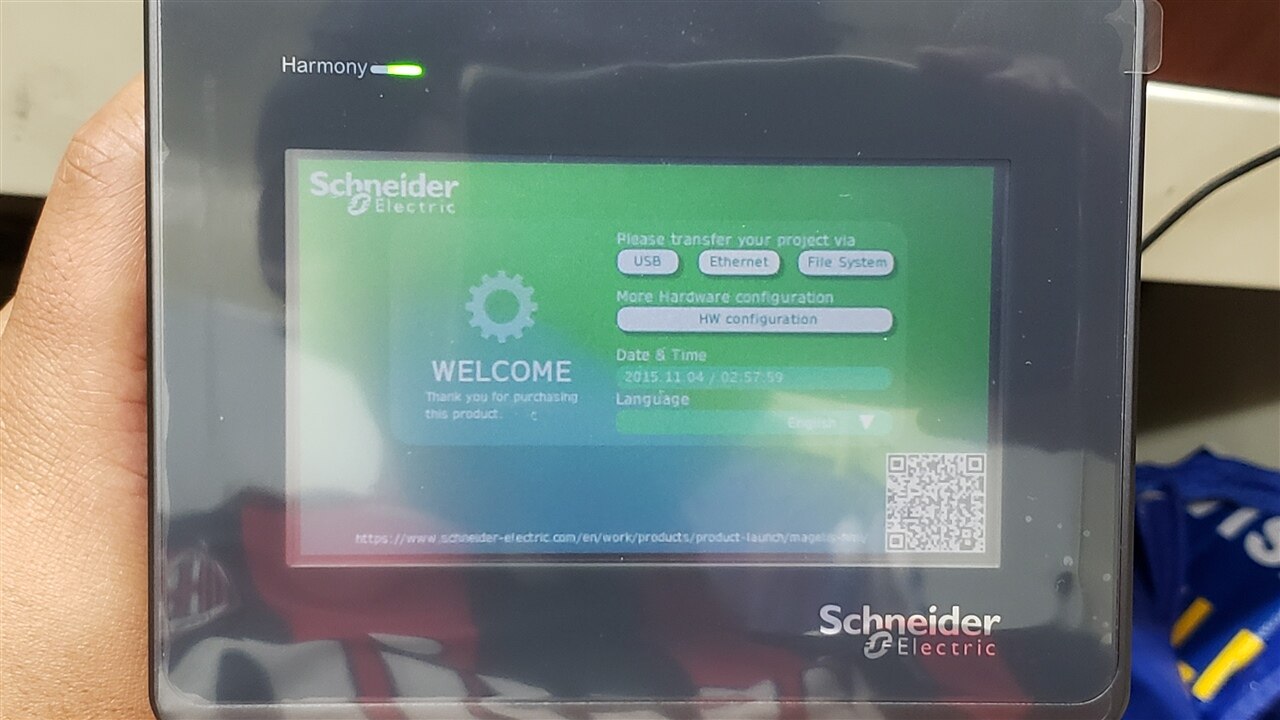
P.D. I leave from this blog with the main screen of the HMIST6200 available in the road test