element14 Community
element14 Community
    Register Log In
  • Site
  • Search
  • Log In Register
  • About Us
  • Community Hub
    Community Hub
    • What's New on element14
    • Feedback and Support
    • Benefits of Membership
    • Personal Blogs
    • Members Area
    • Achievement Levels
  • Learn
    Learn
    • Ask an Expert
    • eBooks
    • element14 presents
    • Learning Center
    • Tech Spotlight
    • STEM Academy
    • Webinars, Training and Events
    • Learning Groups
  • Technologies
    Technologies
    • 3D Printing
    • FPGA
    • Industrial Automation
    • Internet of Things
    • Power & Energy
    • Sensors
    • Technology Groups
  • Challenges & Projects
    Challenges & Projects
    • Design Challenges
    • element14 presents Projects
    • Project14
    • Arduino Projects
    • Raspberry Pi Projects
    • Project Groups
  • Products
    Products
    • Arduino
    • Avnet Boards Community
    • Dev Tools
    • Manufacturers
    • Multicomp Pro
    • Product Groups
    • Raspberry Pi
    • RoadTests & Reviews
  • Store
    Store
    • Visit Your Store
    • Choose another store...
      • Europe
      •  Austria (German)
      •  Belgium (Dutch, French)
      •  Bulgaria (Bulgarian)
      •  Czech Republic (Czech)
      •  Denmark (Danish)
      •  Estonia (Estonian)
      •  Finland (Finnish)
      •  France (French)
      •  Germany (German)
      •  Hungary (Hungarian)
      •  Ireland
      •  Israel
      •  Italy (Italian)
      •  Latvia (Latvian)
      •  
      •  Lithuania (Lithuanian)
      •  Netherlands (Dutch)
      •  Norway (Norwegian)
      •  Poland (Polish)
      •  Portugal (Portuguese)
      •  Romania (Romanian)
      •  Russia (Russian)
      •  Slovakia (Slovak)
      •  Slovenia (Slovenian)
      •  Spain (Spanish)
      •  Sweden (Swedish)
      •  Switzerland(German, French)
      •  Turkey (Turkish)
      •  United Kingdom
      • Asia Pacific
      •  Australia
      •  China
      •  Hong Kong
      •  India
      •  Korea (Korean)
      •  Malaysia
      •  New Zealand
      •  Philippines
      •  Singapore
      •  Taiwan
      •  Thailand (Thai)
      • Americas
      •  Brazil (Portuguese)
      •  Canada
      •  Mexico (Spanish)
      •  United States
      Can't find the country/region you're looking for? Visit our export site or find a local distributor.
  • Translate
  • Profile
  • Settings
Experimenting with Vibration Sensors
  • Challenges & Projects
  • Design Challenges
  • Experimenting with Vibration Sensors
  • More
  • Cancel
Experimenting with Vibration Sensors
Blog Experimenting with Vibration Sensors - Characterize RPM of Spinning Devices #2 (Introduction & Unboxing)
  • Blog
  • Forum
  • Documents
  • Polls
  • Files
  • Events
  • Mentions
  • Sub-Groups
  • Tags
  • More
  • Cancel
  • New
  • Share
  • More
  • Cancel
Group Actions
  • Group RSS
  • More
  • Cancel
Engagement
  • Author Author: zst123
  • Date Created: 3 Dec 2020 5:09 PM Date Created
  • Views 898 views
  • Likes 3 likes
  • Comments 2 comments
Related
Recommended

Experimenting with Vibration Sensors - Characterize RPM of Spinning Devices #2 (Introduction & Unboxing)

zst123
zst123
3 Dec 2020


Introduction & Unboxing


The Kit

I have just received the Vibration Sensor Kit in the mail! Just in time this weekend for me to experiment my first tests!


image


In the box, we have the vibration sensor itself (VS-BV203-B) bundled with a Nucleo Board (NUCLEO-H743ZI) and a Bluetooth Expansion Board (X-NUCLEO-IDB05A1X-NUCLEO-IDB05A1).


Let’s go through each item together!


Thank you to the sponsor KEMET for this experiment.

(I was confused at first due to the labelling but I realised that the Tokin brand is owned by Kemet)
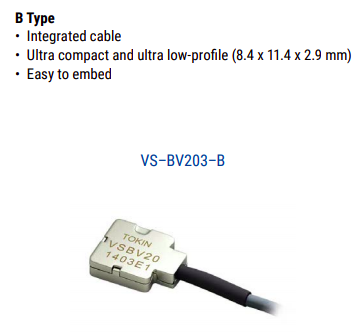


image


Vibration Sensor


The vibration sensor is packaged in a small but simple cardboard box.


image


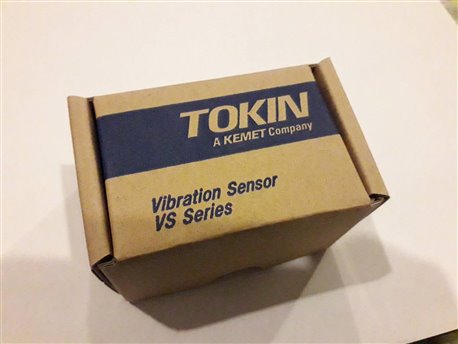
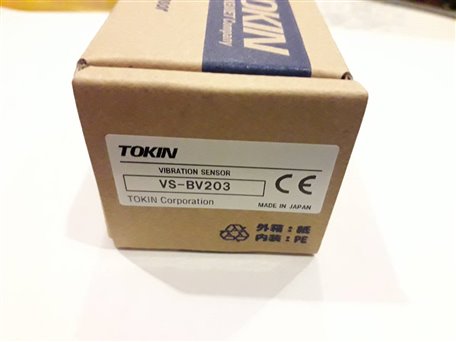
The text on top states that it is part of the “VS Series”. There are many types of vibration sensors in the VS Series and there is also a sticker at the side to indicate which model is in this box (VS-BV203).

image


In the box, we have the vibration sensor itself wrapped in plastic. It also comes with a hardcopy instruction manual.

image


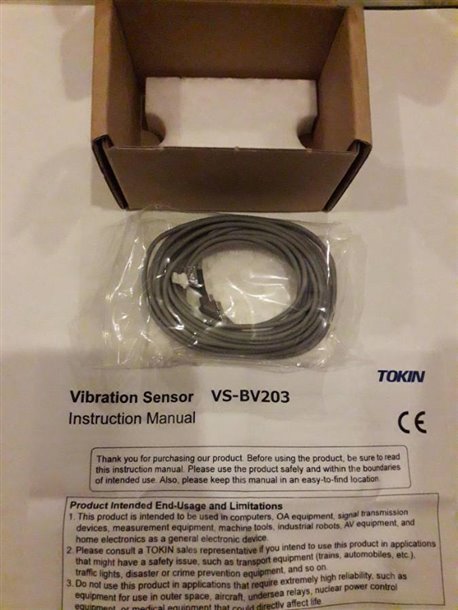
While we are at it, these are the relevant documents for the Kemet/Tokin VS-BV203-B vibration sensor which you can find online:

  • Long Datasheet
  • Brief Datasheet
  • Product Slides


Unfortunately, the instruction manual contains a lot more information that cannot be found online.  It is also stated in the manual that it “may not be copied without direct permission from TOKIN” so I am not sure if I am allowed to scan a soft copy for you all to see.
Nevertheless, I will state some facts about this sensor which I think are important.
image


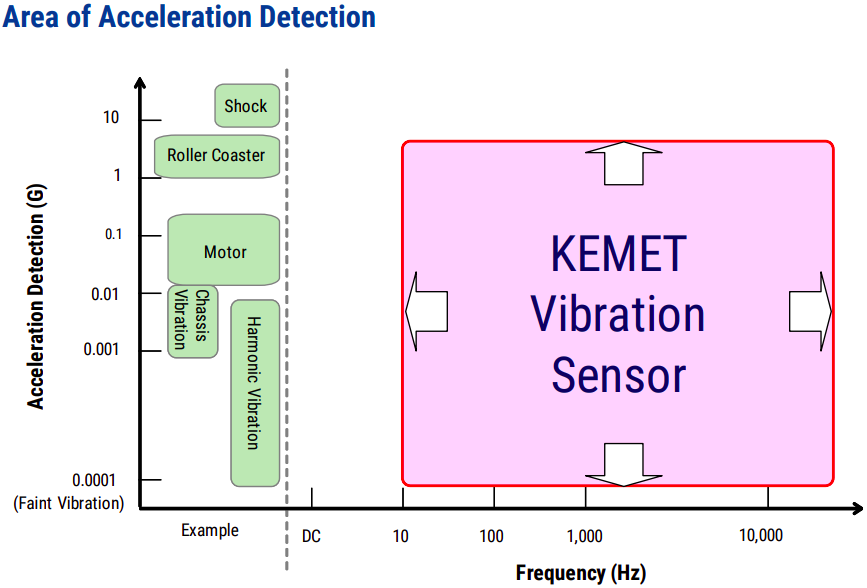
The instruction manual states it is of a “Piezoelectric” sensor type. And in the datasheet, this graph shows that the sensor can detect a frequency range from 10 Hz up to 15kHz.


image


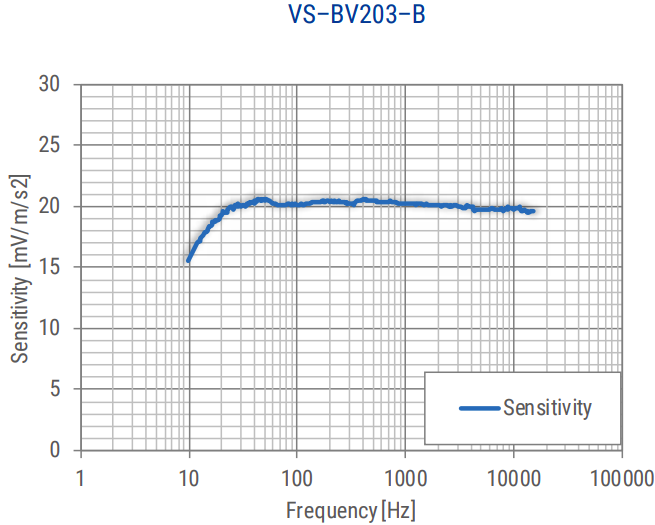
Note also that the resonant frequency is rated as above 30Hz, which you can see from this sensitivity graph below. This means that the sensor is slightly less sensitive at low frequencies and performs normally above 30Hz.
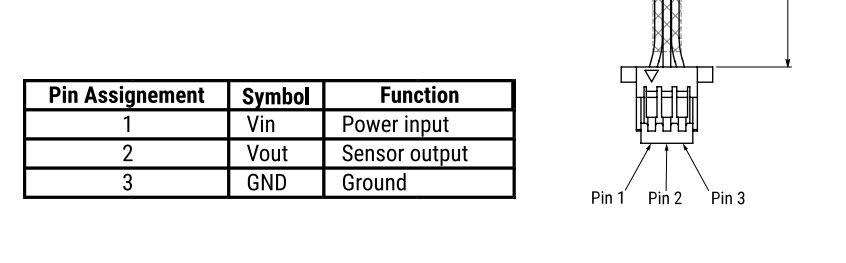
image

Pinout Connector


Prior to receiving the kit, I also tried to find out what connector to use but it is not stated in the online datasheet. The illustration appears to be a JST connector of some sort.

image

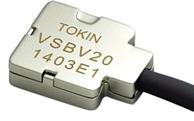
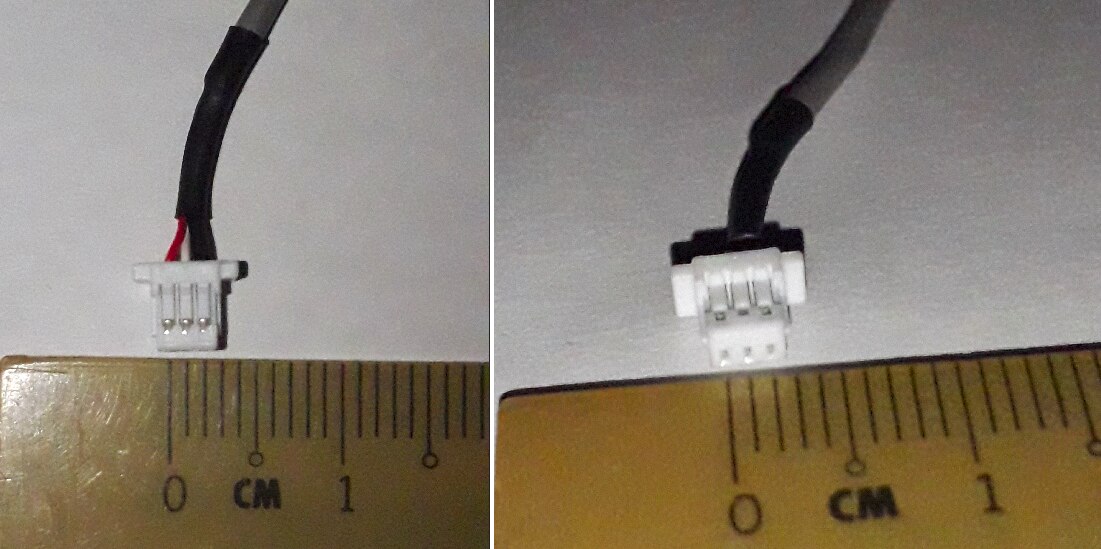
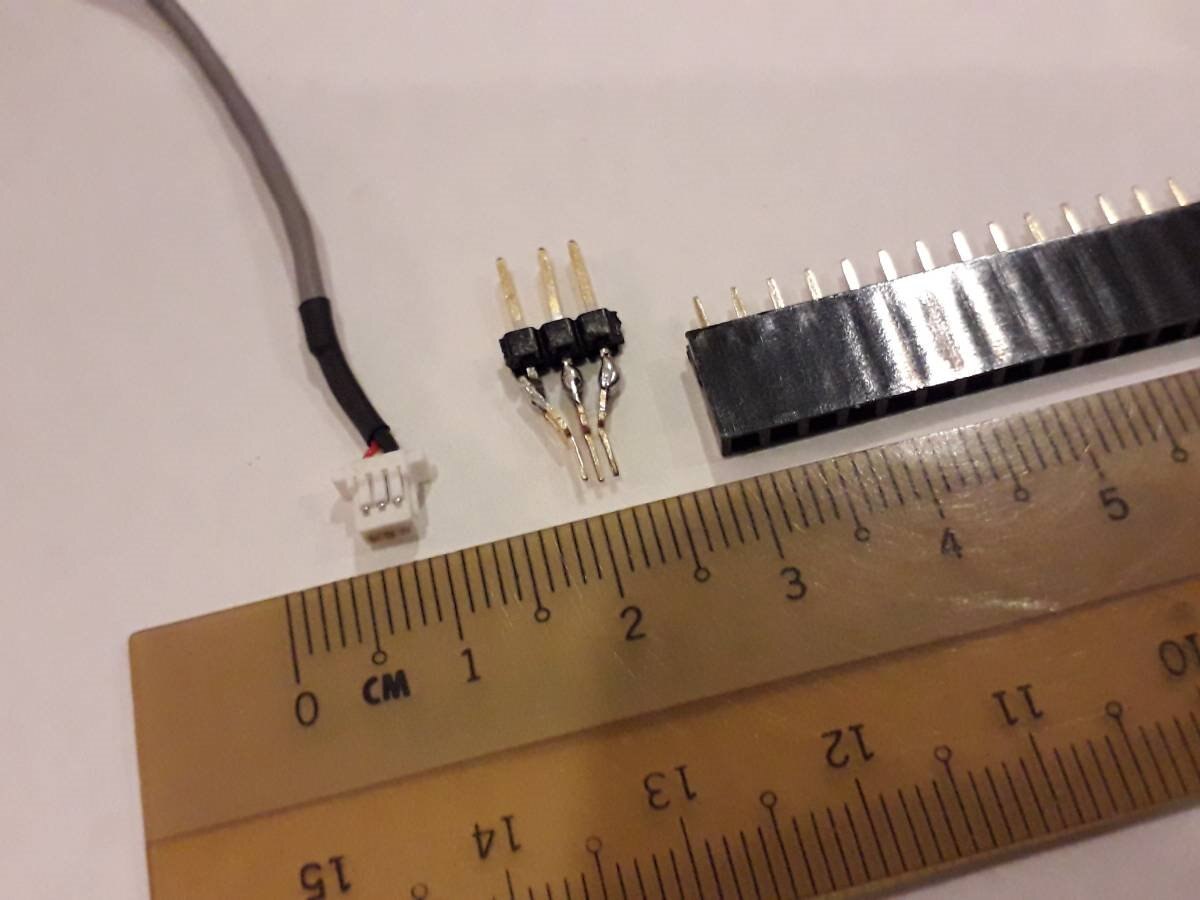
With hands on the actual product, this is how the connector looks like. I think some of you have also talked about it in the forums. It is tiny with a pin pitch of 1 mm!

image


The hardcopy manual recommends these connectors to mate with the sensor:

  • SM03B-SRSS-TB or BM03B-SRSS-TB


But it was inconvenient for me to order and wait for a connector. I decided to make do with whatever I had at home.

My last resort will be to cut the connector off (Spoiler: I managed to keep the connector intact)


Main thing to note that the holes are also extremely slim. Your typical breadboard wires are way too fat for it. I had those small 28 AWG wire-wrapping wires also, yet it could not fit in, it was still too big!


I eventually found out that these common Female Header Pins will work well.

image

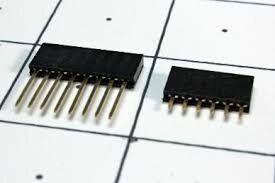
It can barely fit tightly into the connector, but it is indeed thin enough.

image


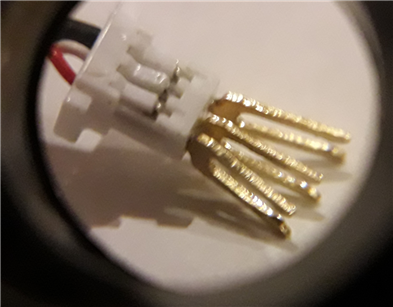
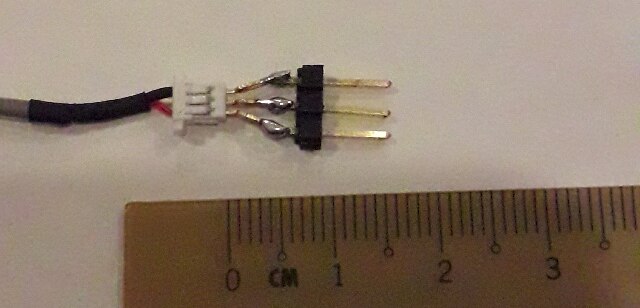
I just bent the side outwards and soldered the standard 2.54mm male pin headers to it.

imageimage

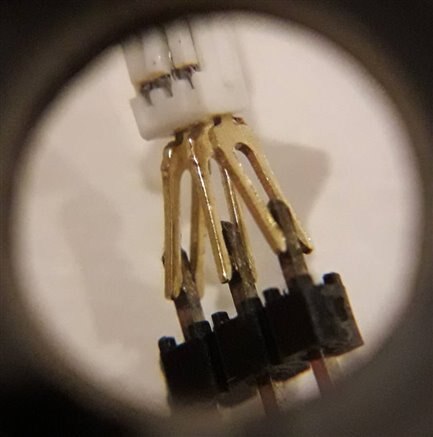
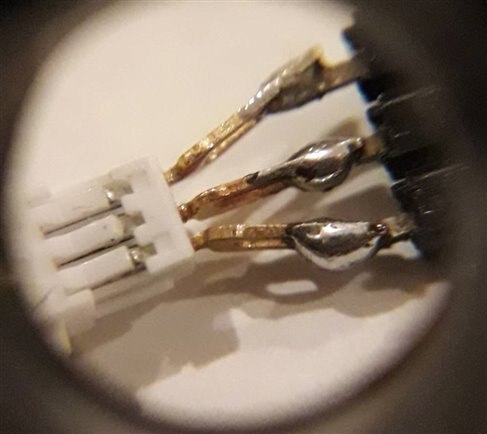
Sweet! I have a nice adapter which I can easily remove and insert back in whenever I want.

image

image


Microcontroller


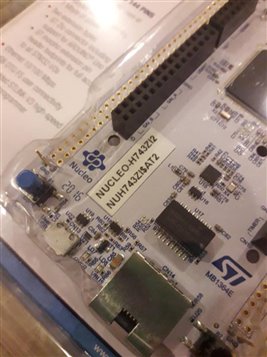
The microcontroller board is the Nucleo Board, NUCLEO-H743ZI.

image


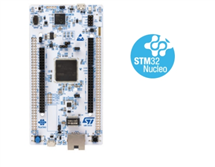
It has a Cortex M7 core with a maximum of 480MHz system clock frequency and it also supports DSP instructions. This is an extremely powerful MCU that is good since we will be using it for analysis.


To be pedantic, this is actually the NUCLEO-H743ZI2. The main difference between the NUCLEO-H743ZI and the NUCLEO-H743ZI2 is that the former has an ST-LINK-V2 while the latter has the newer ST-LINK-V3. But it should be noted that there are a few other differences too, such as the LED pinout and board layout.


image


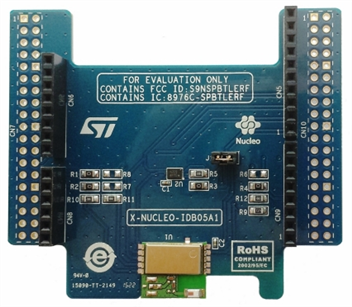
It also came with a Bluetooth Expansion Board, X-NUCLEO-IDB05A1X-NUCLEO-IDB05A1.

The Bluetooth Expansion is a nice plus but I don’t have much experience with BLE. This board uses the BlueNRG-MS processor which is quite recent in the past 3 years too. I hope to try it out but only if I have extra time for this project…


image


Conclusion


I hope this post is useful for those of you who are getting started especially with the sensor hardware. I’m quite proud of my hacked-together adapter hehe.


I will be doing my first few experiments with the vibration sensor and the microcontroller. In the next post, I hope to share with you the “Hello World” of Vibration Sensors.

  • Sign in to reply

Top Comments

  • yosoufe
    yosoufe over 4 years ago +1
    I like your hack with the pin adapter. I may do something similar. If I were you, I would use bunch of hot glue as well to somehow isolate the exposed conductors. How did you took those zoomed images?
  • zst123
    zst123 over 4 years ago in reply to yosoufe +1
    Great idea! I have misplaced my hot glue gun for now, but I'll try adding some next time. Hope to see how you try out yours. I used those cheap eye loupes and placed it against my phone camera. It's something…
  • zst123
    zst123 over 4 years ago in reply to yosoufe

    Great idea! I have misplaced my hot glue gun for now, but I'll try adding some next time. Hope to see how you try out yours.


    I used those cheap eye loupes and placed it against my phone camera. It's something like this... https://sg.element14.com/linear-tools/59-605-005/eye-loupe-magnifier-10x/dp/2517570

    • Cancel
    • Vote Up +1 Vote Down
    • Sign in to reply
    • More
    • Cancel
  • yosoufe
    yosoufe over 4 years ago

    I like your hack with the pin adapter. I may do something similar. If I were you, I would use bunch of hot glue as well to somehow isolate the exposed conductors. How did you took those zoomed images?

    • Cancel
    • Vote Up +1 Vote Down
    • Sign in to reply
    • More
    • Cancel
element14 Community

element14 is the first online community specifically for engineers. Connect with your peers and get expert answers to your questions.

  • Members
  • Learn
  • Technologies
  • Challenges & Projects
  • Products
  • Store
  • About Us
  • Feedback & Support
  • FAQs
  • Terms of Use
  • Privacy Policy
  • Legal and Copyright Notices
  • Sitemap
  • Cookies

An Avnet Company © 2025 Premier Farnell Limited. All Rights Reserved.

Premier Farnell Ltd, registered in England and Wales (no 00876412), registered office: Farnell House, Forge Lane, Leeds LS12 2NE.

ICP 备案号 10220084.

Follow element14

  • X
  • Facebook
  • linkedin
  • YouTube