


Experiment 4 (FFT Dashboard with Mbed DSP)
Please read my other blog posts too if you haven't
Experimenting with Vibration Sensors - zst123's Blog Posts
Introduction
Since I still have time for one last experiment before the deadline, I decided to try out a live FFT plot using the Digital Signal Processing (DSP) functionality on this powerful microcontroller.
I actually saw from the other challengers on how they use ARM DSP inside STM32Cube for FFT. It is very interesting and I thought of trying it out myself.
Since the Mbed compiler is by ARM, there is also an official Mbed DSP that can be used. I will demonstrate using the Mbed Online Compiler with the Mbed DSP library.
Objective
To create an embedded dashboard for real-time vibration analysis on-the-go.
Explanation and Plan
Software will be done entirely using the Mbed online compiler and there's no need to download any tools.
The Nucleo board will collect readings from the vibration sensor and perform the Fourier Transform on the readings afterwards.

For an FFT function, the usable output will be half of the sampling frequency due to the Nyquist theorem. If I choose the FFT function size of 512, I will get an array with output size of 512 but there is mirroring occuring for half the output. Hence the actual usable results are in the first 256 outputs. To make things simple, I will use an ADC sampling frequency of 1024 Hz and Nyquist frequency of 512 Hz. With a function size of 512, this means each output result is at an interval of 1 Hz. So for the first 256 usable outputs, I will have usable results from 0 Hz to 255 Hz.

Setup of Mbed DSP
Right-click your project and import a library from a URL.

Enter the official mbed-dsp library:

If you try to compile now, you will get an error because the online Mbed compiler does not support building of assembly files (files with the .S extension). Building assembly files are only supported if you compile locally on your PC.
For the sake of convenience (to keep the entire workflow on the cloud compiler), we will replace the assembly with C source codes. Take note that this results in some performance loss as ARM has created the assembly version to optimise for speed. But for our experiment the speed is not an issue.
Go to the directory mbed-dsp/cmsis_dsp/TransformFunctions/, and replace arm_bitreversal2.S (the assembly version) with arm_bitreversal2.c (the C version).
Delete arm_bitreversal2.S first. Then create a new file arm_bitreversal2.c and use the source code for arm_bitreversal2.c from here.

The project should be able to compile now
This is the basic code to do an FFT process. Note that you must place your ADC sample input in the array called FFT_Input.
Imports and declarations
// ARM Math and Mbed-DSP library
#include "arm_math.h"
#include "arm_common_tables.h"
#include "arm_const_structs.h"
#include "math_helper.h"
Variables to store FFT results
#define FFT_SIZE  (512)
#define SAMPLING_FREQ  (FFT_SIZE*2)

// FFT variables
float32_t FFT_Output[FFT_SIZE];
float32_t FFT_Input[FFT_SIZE*2]; // Real and imaginary parts
float     FFT_maxValue;          // Max FFT value is stored here
uint32_t  FFT_maxIndex;          // Index in Output array where max value is
Function to run the process.
void FFT_Process() {
    // Init the Complex FFT module, intFlag = 0, doBitReverse = 1
    // using predefined arm_cfft_sR_f32_lenXXX
    arm_cfft_f32(&arm_cfft_sR_f32_len512, FFT_Input, 0, 1);

    // Complex Magniture Module put results into Output(Half size of the Input)
    arm_cmplx_mag_f32(FFT_Input, FFT_Output, FFT_SIZE);

    // Calculates maxValue and returns corresponding value (up to half of sampling frequency)
    arm_max_f32(&FFT_Output[0], FFT_SIZE/2, &FFT_maxValue, &FFT_maxIndex);
    //FFT_maxIndex += 0;
}
Adding an LCD display
I went a step further by adding a TFT LCD display. I used the Adafruit 2.8" TFT LCD module. It essentially displays a live graph on the display.
I won’t be explaining in detail here, but I have published documentations and pinouts on my Github page as well.
| {gallery} My Gallery Title |
|---|
|
Final Setup: The LCD sheld with vibration sensor and a piece of metal to serve as a weight |
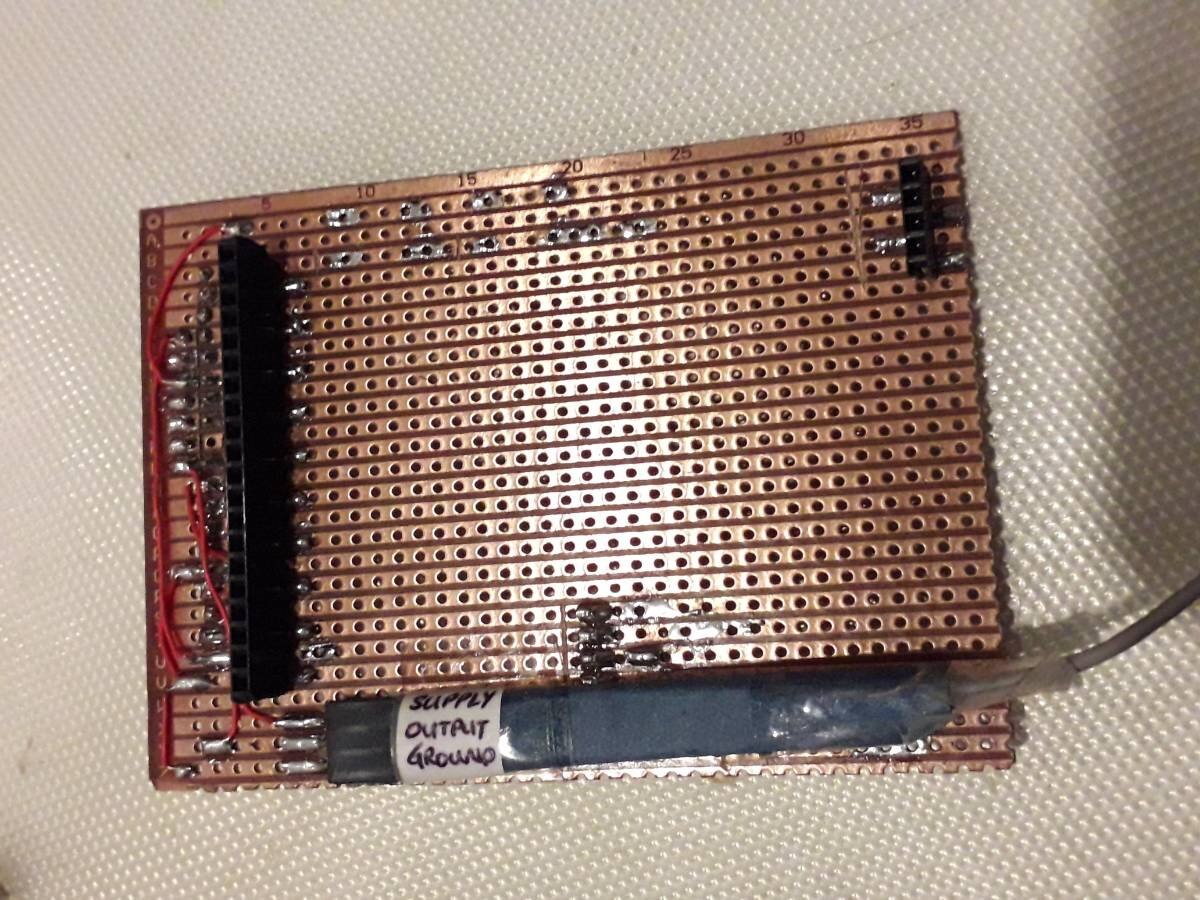
Soldered on shield: The LCD shield I made myself with a stripboard |
Soldered on shield: The LCD shield I made myself with a stripboard |


Live-testing
Now to test with the new dashboard program.
Hard disk test on my 5400rpm external hard disk.

A video showing different positions of the hard disk being sensed.
It is noted that the best results are to put the sensor off-center. At the center, the results are not as defined and in this case, there are harmonics being seen too. The wrong placement can distort your results, be very careful!
Handheld fan test which shows the result at 41 Hz (low speed setting)

That's all I have for now. Feel free to discuss about my results in the comments!