Pas Home - Index
The days seem shorter, I'm not sure it's just because of the sun that sets earlier.
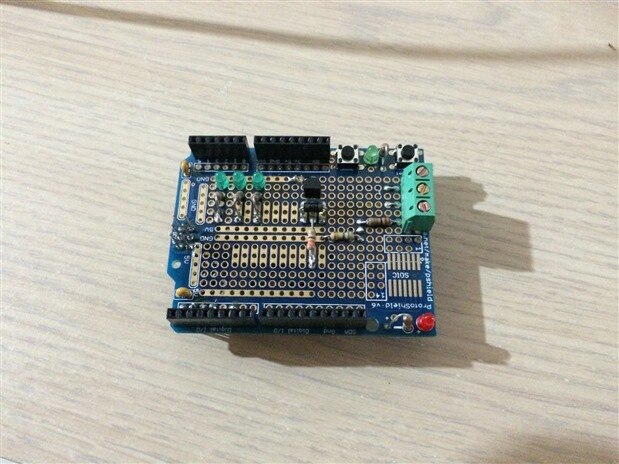
From Proto board to ProtoShield
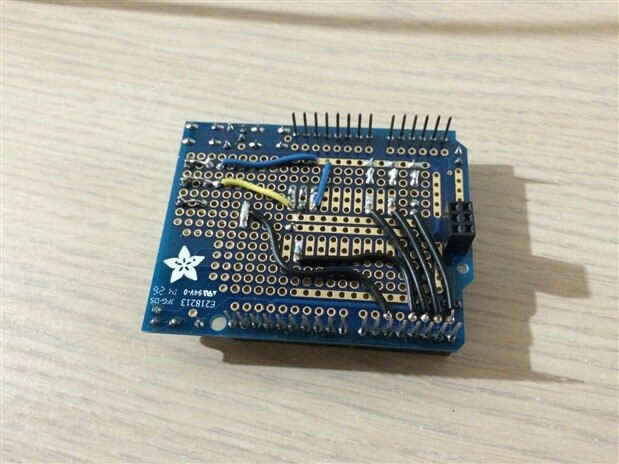
Last week i made a more final version of my home ventilation proto.
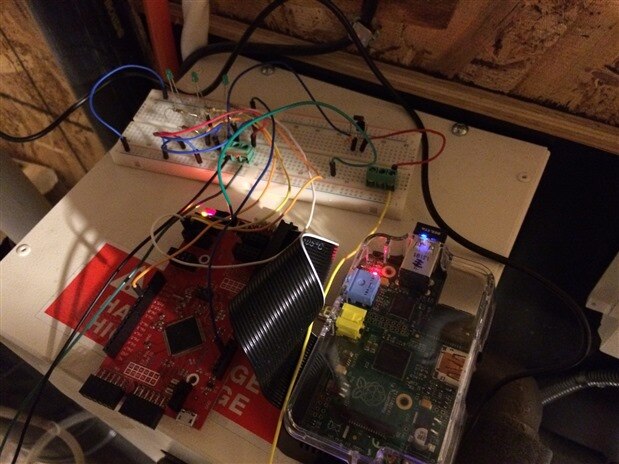
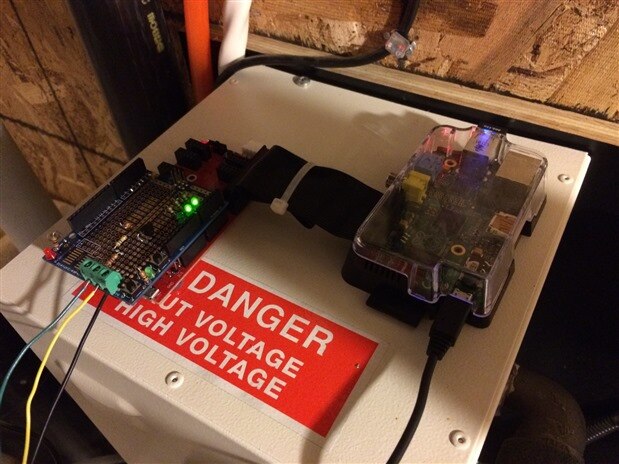
I use an arduino proto shield https://www.adafruit.com/products/2077 directly on the RPiSoC but with minor modif to the RPiSoC software because the shield cause RPiSoC reset loop. On the shield the ICSP Reset pin and Reset Pin beside 3.3v pin are connected an cause RPiSoC reset. Robert Barron from embedit electronics send me a working fix for this trouble.
As for the reset situation I think I have found you a software solution. However, we have used multiple Arduino shields that have reset buttons and ICSP headers without issue, so I'm not sure why this one caused an issue. I will look a little further into it to see if we should change anything on our board.
Either way here are the steps that will hopefully resolve your issue:
1. Open up the psoc_2_pi psoc creator project.
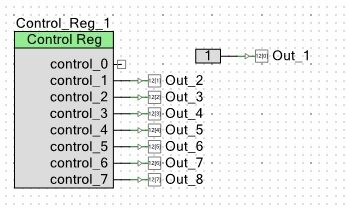
2. In the top design file (the schematic view) go to page 3.
3. Disconnect the pin labeled "Out_1" from the control register. You can do this by clicking the green wire that connects them, and then hitting delete.
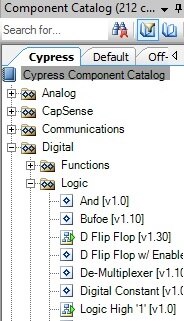
4. Attach a "Logic High '1'" component to the "Out_1" pin. You can find the component on the right pane under the Cypress tab, then Digital -> Logic -> Logic High '1'
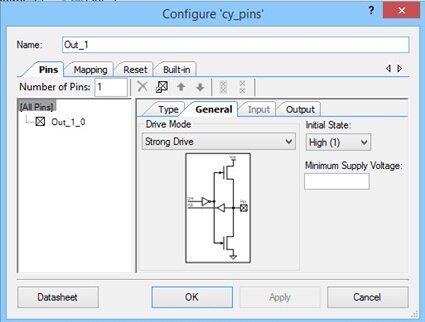
5. Right-click the "Out_1" pin and then click on Configure.
6. Click on the General tab in the middle. Set the Initial State setting to "High(1)" if it isn't already set to that.
7. Rebuild the project and then reprogram the RPiSoC with it.
This should stop the reset loop from occurring. This pin controls the LED. If you want to use it you might be able to get away with only setting the initial state high without disconnecting it from the control register. I have attached pictures that should help guide you through making these changes. Let me know how this goes.
I also setup my OpenHab for parsistence on postgresql server using this step
Installation of PostgreSQL on the pi
Some useful reference
- https://github.com/pascalmartin/ForgetMeNot/tree/master/bundles/openhab
- http://c-mobberley.com/wordpress/2013/10/18/raspberry-pi-installation-of-postgresql-its-simple/
- http://www.rpimicrocomputing.com/2/post/2012/10/postgresql-on-raspberry-pi.html
sudo apt-get install postgresql

#Once installed, create the password (Element14) for the postgresql user (Press CTRL-D to exit)
sudo -u postgres psql postgres
\password postgres

sudo sed -i '$ a\host all all 192.168.0.0/24 md5' /etc/postgresql/9.1/main/pg_hba.conf
sudo sed -i "s/#listen_addresses = 'localhost'/listen_addresses = '*'/g" /etc/postgresql/9.1/main/postgresql.conf
sudo /etc/init.d/postgresql start

#sudo /etc/init.d/postgresql start
#/etc/init.d/postgresql status
#sudo /etc/init.d/postgresql stop
#sudo /etc/init.d/postgresql restart

# PostSQL prompt (Press CTRL-D to exit)
# sudo -u postgres psql postgres
# Create database
# sudo -u postgres createdb openhab
OpenHab addons
I use this version found here https://github.com/lewie/openhab/tree/master/bundles/persistence
compile and is working great, i put the jar i use in attachement
My openhab openhab.cfg extra config (https://github.com/pascalmartin/ForgetMeNot/blob/master/bundles/openhab/openhab/configurations/openhab.cfg)
############################ PostgreSQL Persistence Service ##################################


# the database url like 'jdbc:postgresql://<host>:<port>/<database>'
postgresql:url=jdbc:postgresql://127.0.0.1:5432/openhab


# the database user
postgresql:user=postgres


# the database password
postgresql:password=Element14


# the reconnection counter
#postgresql:reconnectCnt=
And some item configuration (https://github.com/pascalmartin/ForgetMeNot/blob/master/bundles/openhab/openhab/configurations/persistence/postgresql.pe…)
// persistence strategies have a name and a definition and are referred to in the "Items" section
Strategies {
  everyHour : "0 0 * * * ?"
  everyDay : "0 0 0 * * ?"


  // if no strategy is specified for an item entry below, the default list will be used
  default = everyChange
}


/*
* Each line in this section defines for which item(s) which strategy(ies) should be applied.
* You can list single items, use "*" for all items or "groupitem*" for all members of a group
* item (excl. the group item itself).
*/
Items {
  // persist all items once a day and on every change and restore them from the db at startup
  // careful, this might result in huge databases - that's why it is in comment here ;-)
  // * : strategy = everyChange, everyDay, restoreOnStartup

  // persist all temperature and weather values at every change and every hour
  // Temperature*, Weather* : strategy = everyChange, everyHour

  activeGroupTemperature*, firstFloor_Bathroom_Humidity  : strategy = everyChange, restoreOnStartup
}
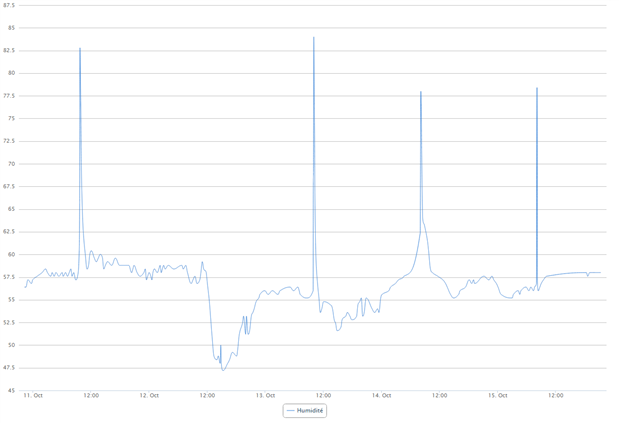
And i and one simple rule to detect fast humidity increase. On the above picture you can easy see when i take my shower. To detect the humidity fast increase i just calculate the Slope from the two last humidity point and if is bigger than a treshold i start the vent. Slope - Wikipedia, the free encyclopedia
This is my OpenHab rule (https://github.com/pascalmartin/ForgetMeNot/blob/master/bundles/openhab/openhab/configurations/rules/default.rules)
import org.openhab.core.library.types.*


// http://en.wikipedia.org/wiki/Slope
// http://fr.wikipedia.org/wiki/Pente_(math%C3%A9matiques)
// Valeur humidity précédente
var Number xA = 0
var Number yA = 0
// Valeur humidity courante
var Number xB = 0
var Number yB = 0


rule "Check fast humidity increase"
    when
        Item firstFloor_Bathroom_Humidity received update
    then
        var Number currentValue = firstFloor_Bathroom_Humidity.state as DecimalType
        var Number currentEpoch = now().getMillis() / 1000.0
        if (xA == 0){
            xA = currentEpoch
            yA = currentValue
        } else if(xB == 0){
            xB = currentEpoch
            yB = currentValue
        } else {
            xA = xB;
            yA = yB;
            xB = currentEpoch
            yB = currentValue
        }

        if (xB != 0){
            var Number pente = (yB-yA)/(xB-xA)
            logInfo("Humidity increase", "********************************")
            logInfo("Humidity increase", "(" + xA + ","+ yA +") (" + xB + "," + yB + ")")
            logInfo("Humidity increase", "Current humidity pente: " + pente)
            if (pente > 0.01){
                logInfo("Humidity increase", "Auto start the ventillation because fast humidity increase")
                global_Vent_Status.sendCommand(3);
            }
        }
end
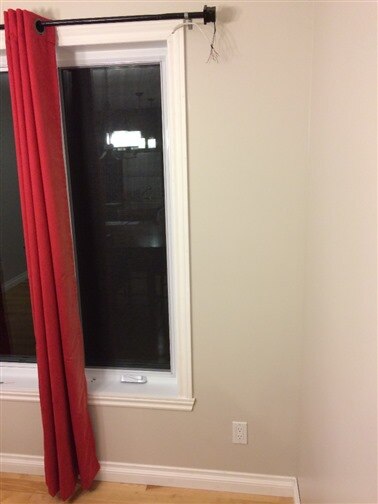
Curtain progress
I do some progress with my proto, i think It is relatively reliable now, see this 2 demo video
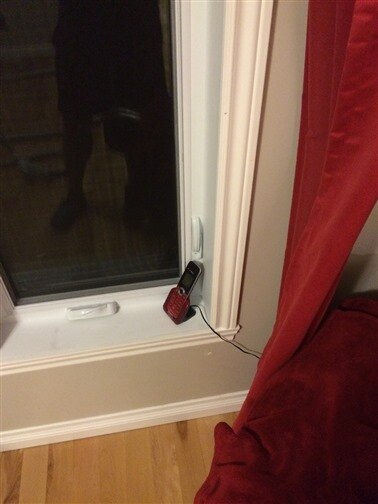
Now i will finalyse the remote control with openhab and the connection. Last weekend i do the big job of passing the cable in the wall for my 3 windows on the ground floor.
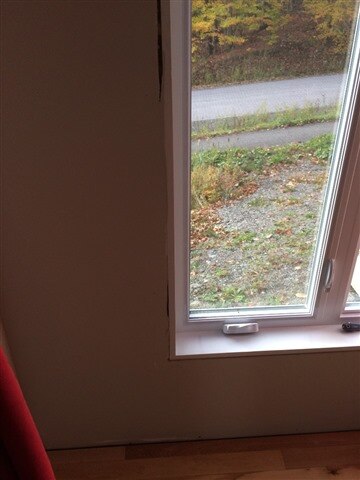
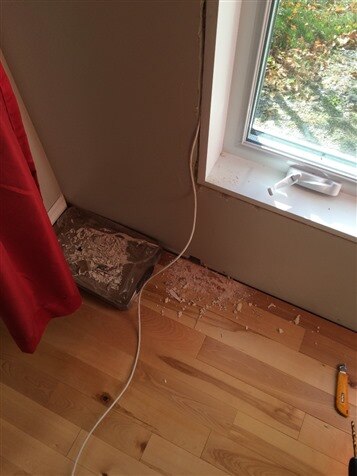
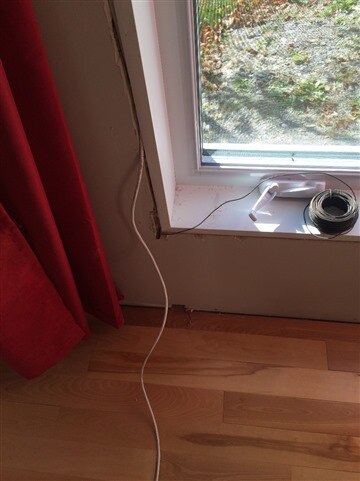
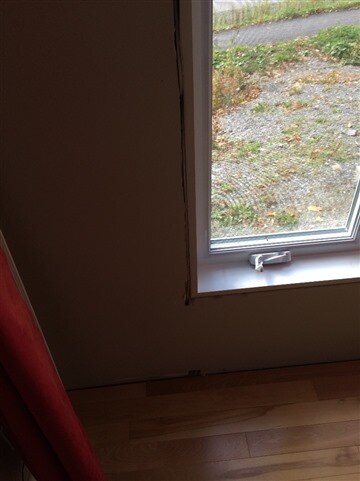
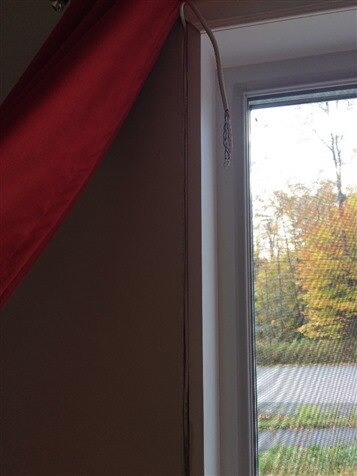
The result is great, I'll just have to do a little touch up paint because it has a nail that reissue the wall (Near the phone in the picture)