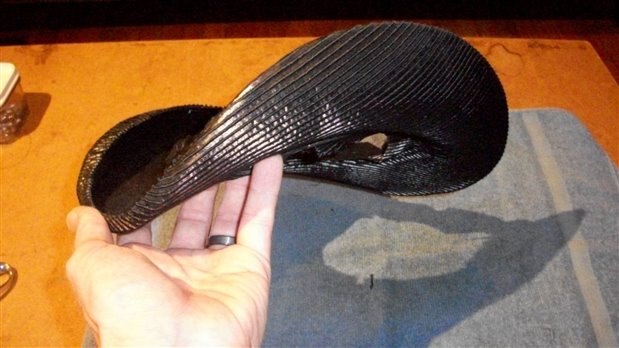
Today I covered the underside of my brim with fabric. Top hat underbrims, the side of the brim that is closest to the face when worn, are traditionally covered in satin or faille. I like the ribbed, textured look of faille and I found this grey and black ottoman fabric that has an even chunkier texture.
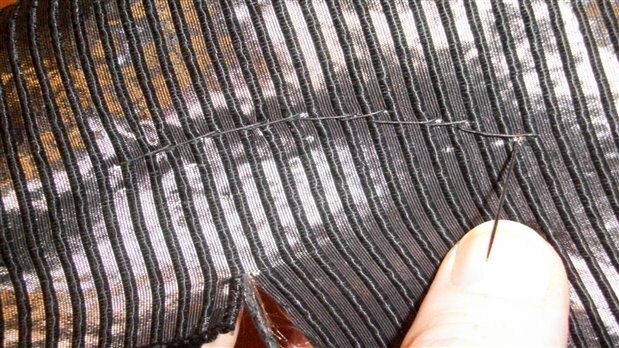
I am holding the front of the brim. I like the effect of the rib going up on the left side where all the decoration will be. The center front and center back of the brim should be placed along the bias of the fabric. This is a 45 degree angle to the grain and cross grain. In the fabric I am using here, the black ribs run along the cross grain and make a ladder going up the grain. I sewed the fabric at the headsize on the inside of the wire using a back stitch. This means that for every long forward moving stitch there is a small backward moving stitch. One side will look like little pick stitches, the other site will have a continuous line of thread. I made this side be the underbrim side to create a line to put the sweatband to later.
After the fabric was secured at the headsize, I glued the rest smoothly to the brim with a water soluble fabric glue. Using this type of glue will leave me the option to slightly reshape the brim later using steam to lightly soften the glue and smooth out wrinkles. Once you start covering the brim or any other hard object in fabric, you should always work over a towel. This will protect your brim from scuffs and dust on your work surface and help keep it looking fresh while you work on it.
Here is another step by step video outlining the entire procedure. (no sound)
Coming up next...
Swirling the velvet for the cover and diving back into the code.


Top Comments
-

DAB
-
Cancel
-
Vote Up
+1
Vote Down
-
-
Sign in to reply
-
More
-
Cancel
Comment-

DAB
-
Cancel
-
Vote Up
+1
Vote Down
-
-
Sign in to reply
-
More
-
Cancel
Children