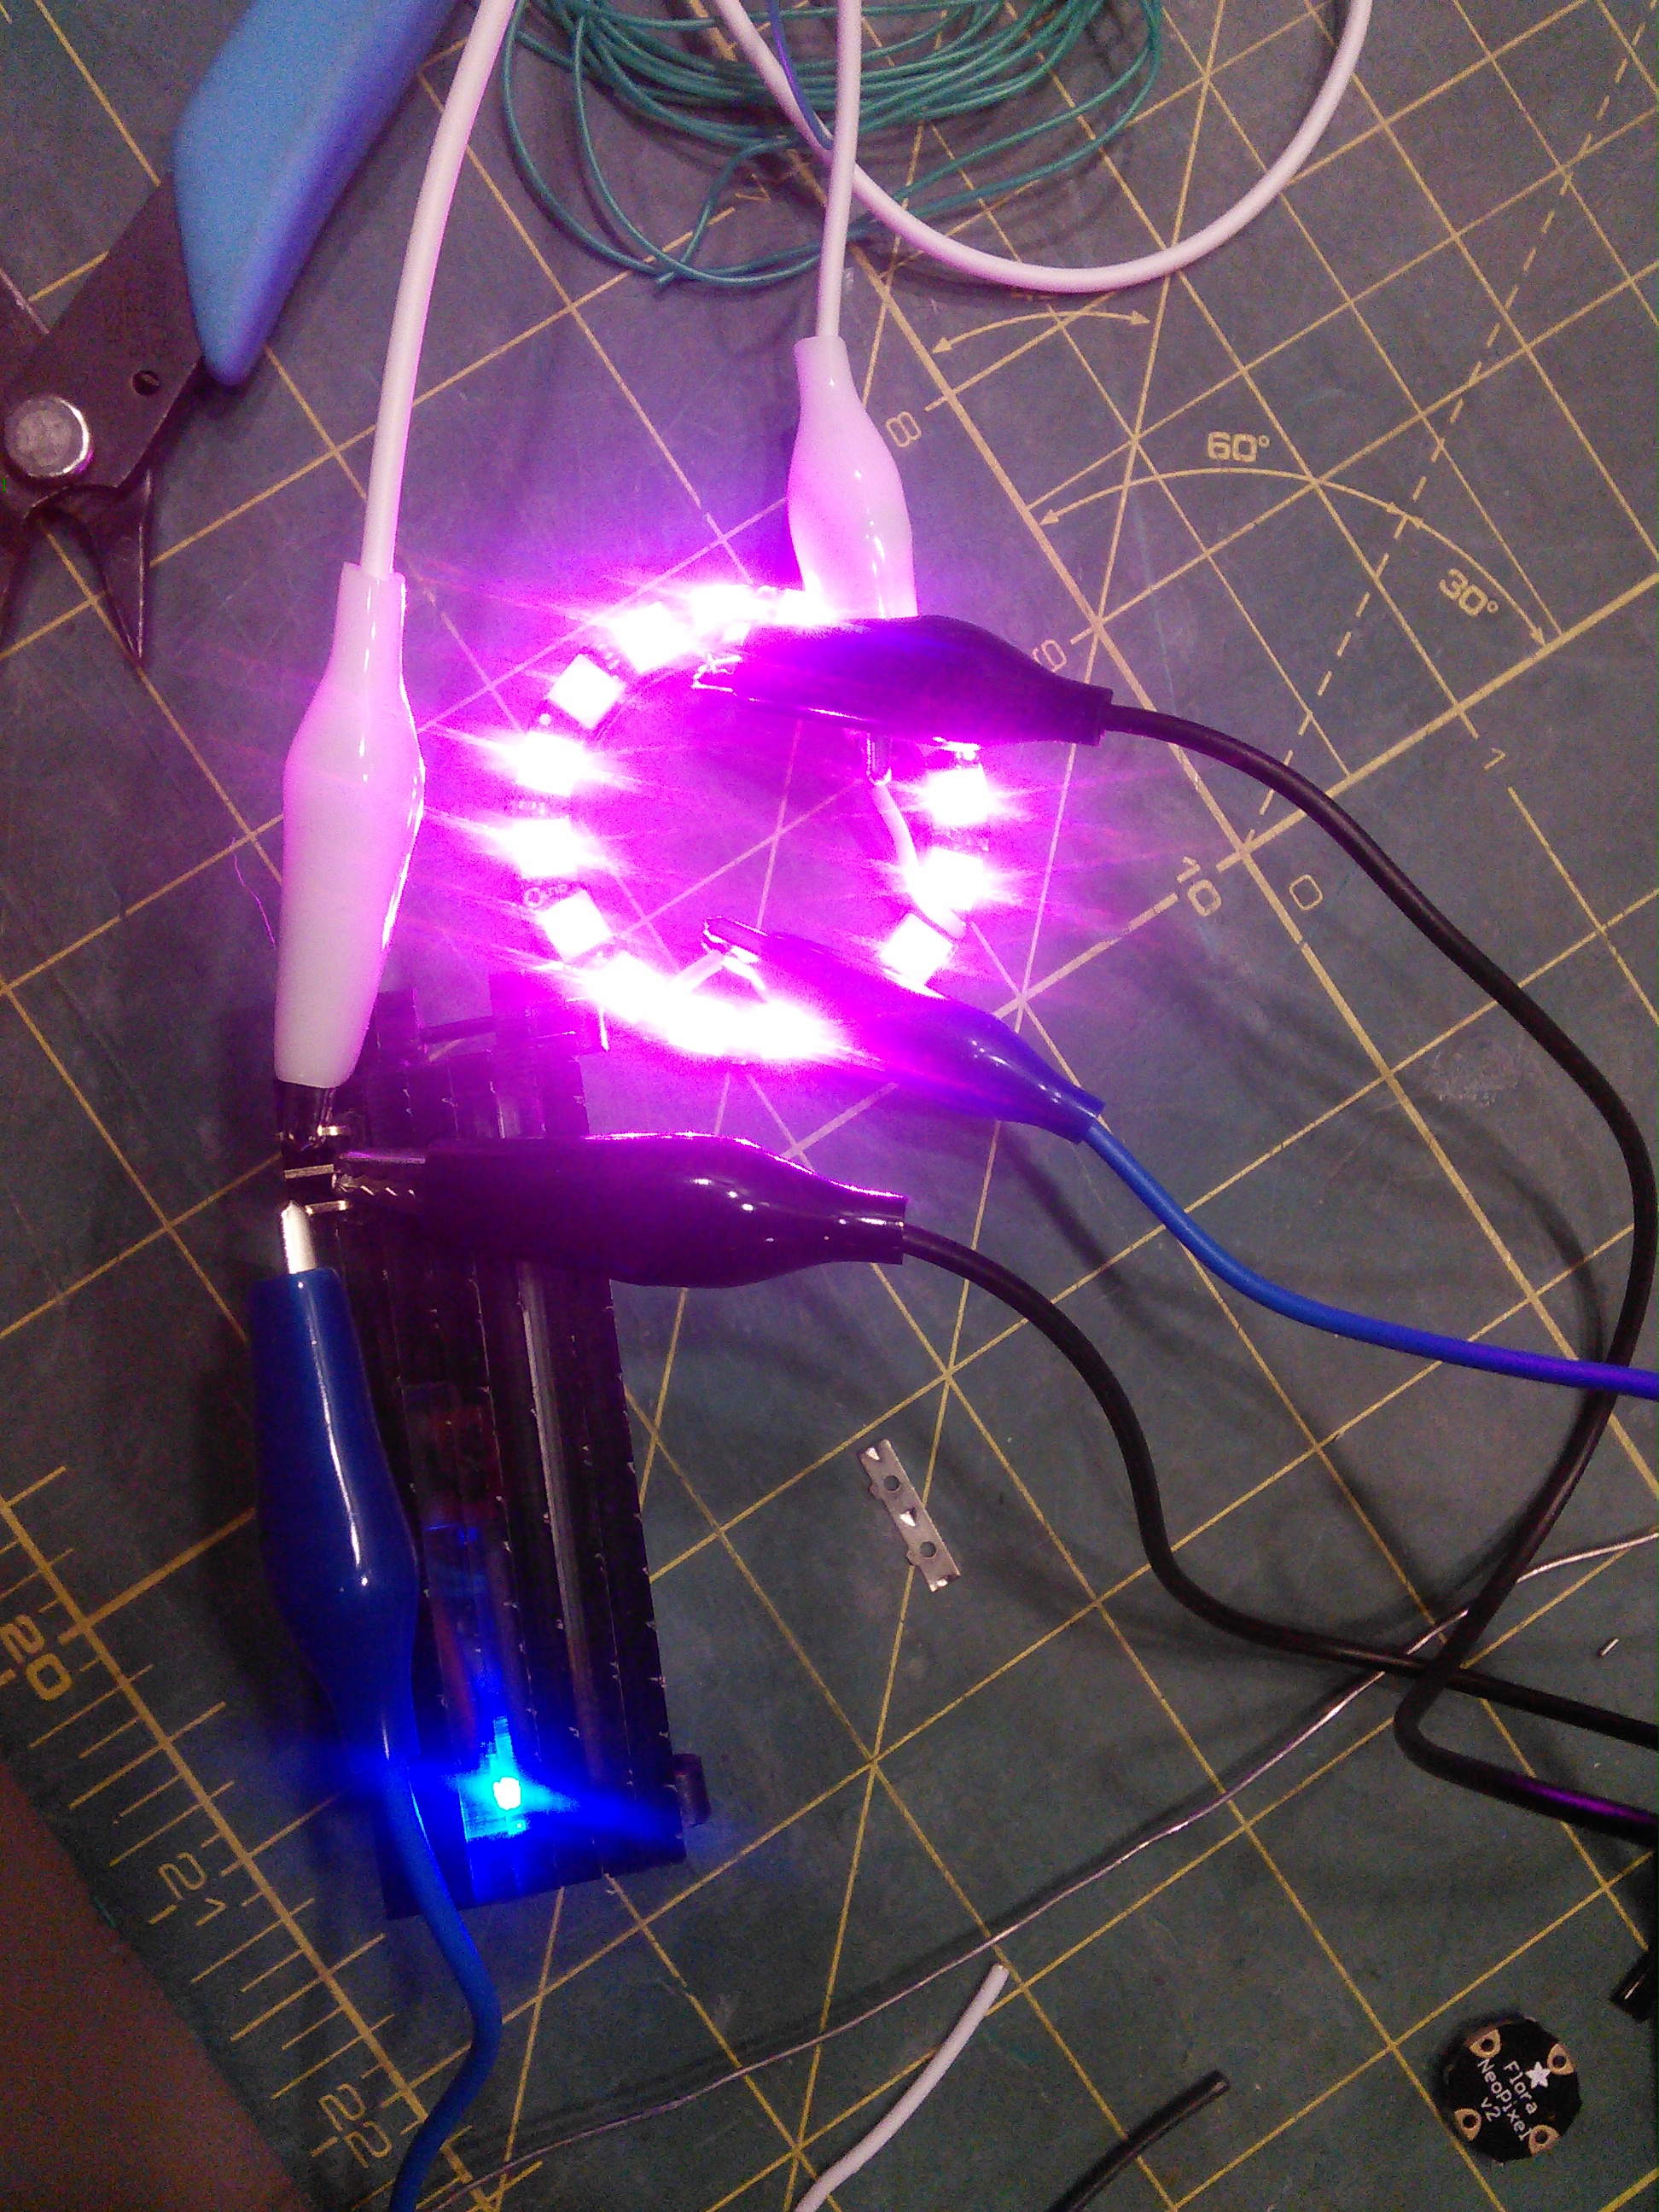
 OK. Building the brains. First thing was to figure out the code for the neopixes. I dug through the various adafruit tutorials. Found how to use the adafruit neopixel library using the uber-guide and pixel ring projects. Next bit was to figure out how to use the vibration sensor. Off to the forums and found the code sample. Threw togethor simple test of gemma, battery and one light. Super simple; shake the sensor and increment the light value.
The test code is here: http://arcnet01.com/storage/gas-mask/sensor_test.ino This code works for 16 pixels and will cycle through red and blue values.
OK code works. Now lets pack it.
One note: Charge/booster was added because the fan would not run off 3v  (is a 12v CPU fan so lucky 5v works)
On the fan: Due to removing the exhaust valve from the mask; the air path is broken. This causes the lenses to fog up;
no good for Halloween party. In place of the filter can I built a duct / fan mount out of acrylic. the duct is made of laser cut acrylic laminated to build the part.
Brain box: Built out of acrylic. Stacked layers cut to hold each part. Box is glued into 3 parts; creating 2 compartments boards and battery. The box is closed with zip ties. This thing took a bit to get to. Was a dilemma as to where things would land. Played with inside the mask and different places on the outside. In the end I decided to pack all the stuff in one box. Side effect is now I have a handy Led controller with a vibration sensor and 1000mah battery.
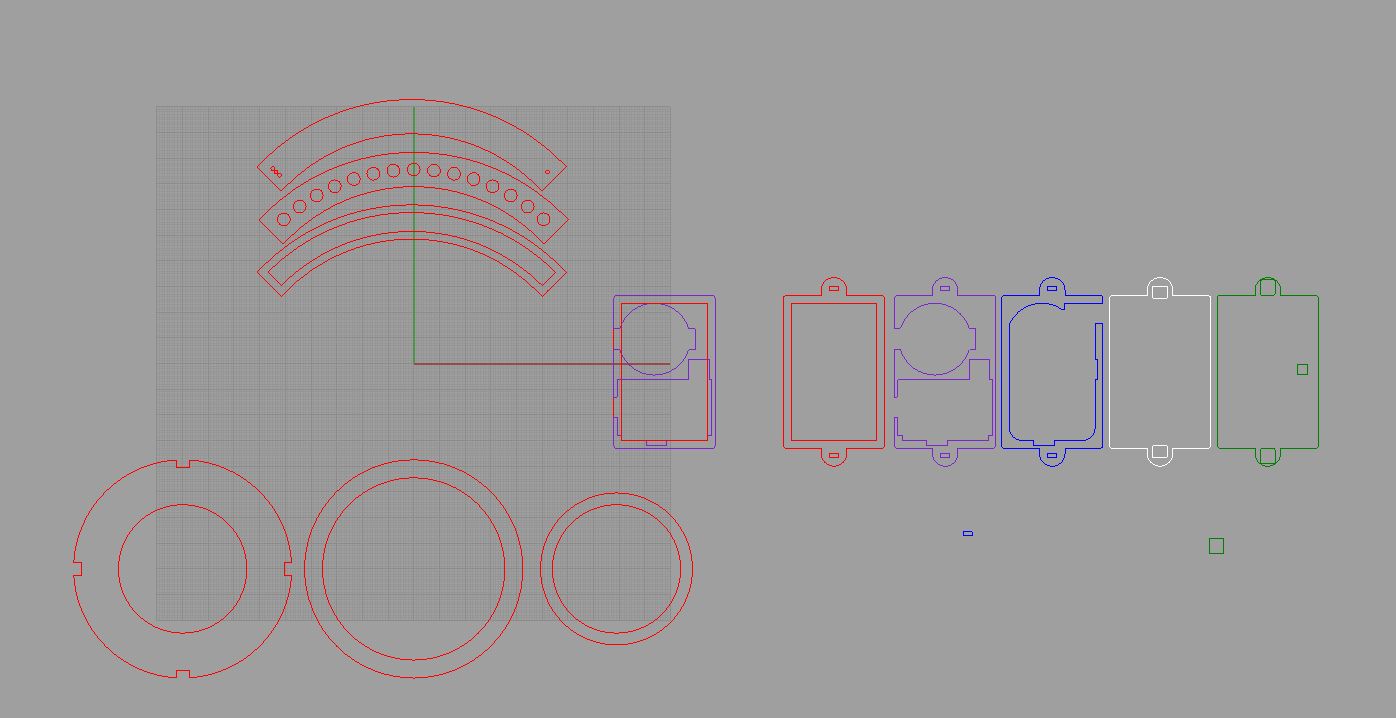
Image shows the duct components (round), the brain box layers and the curved parts are the box for a 1/4 60 pixel ring. this will be used to mount the fibre optics.
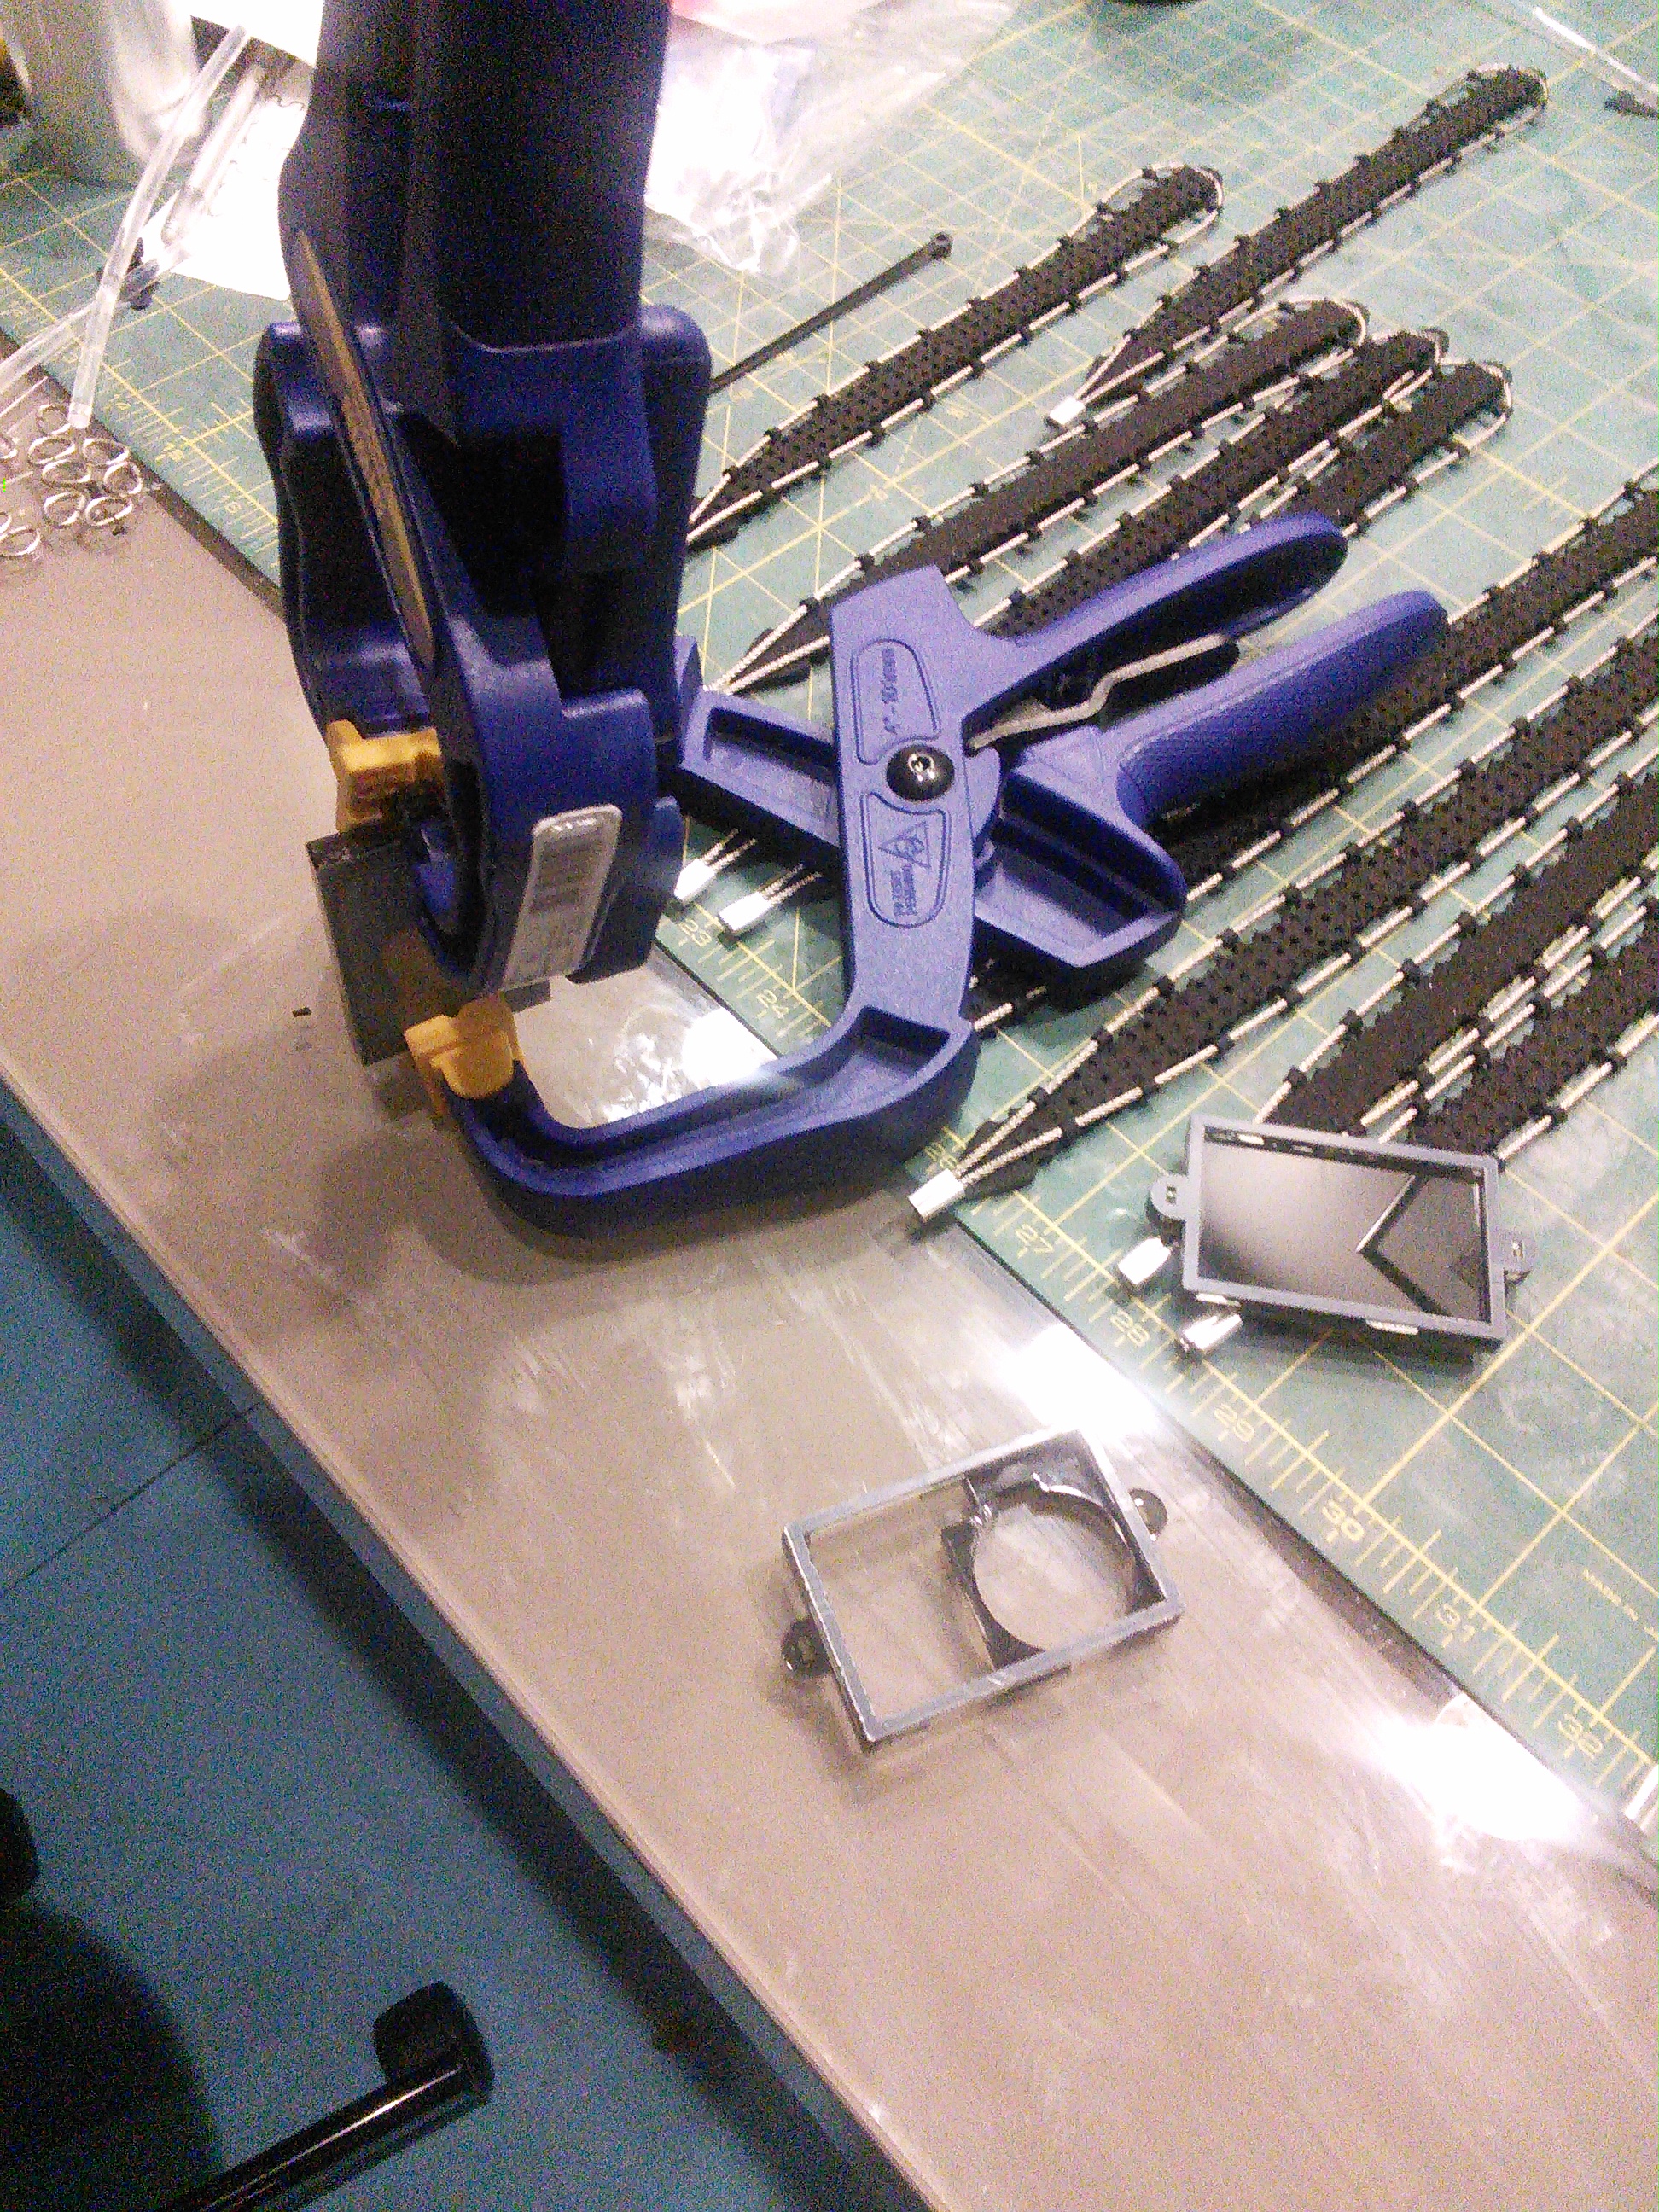
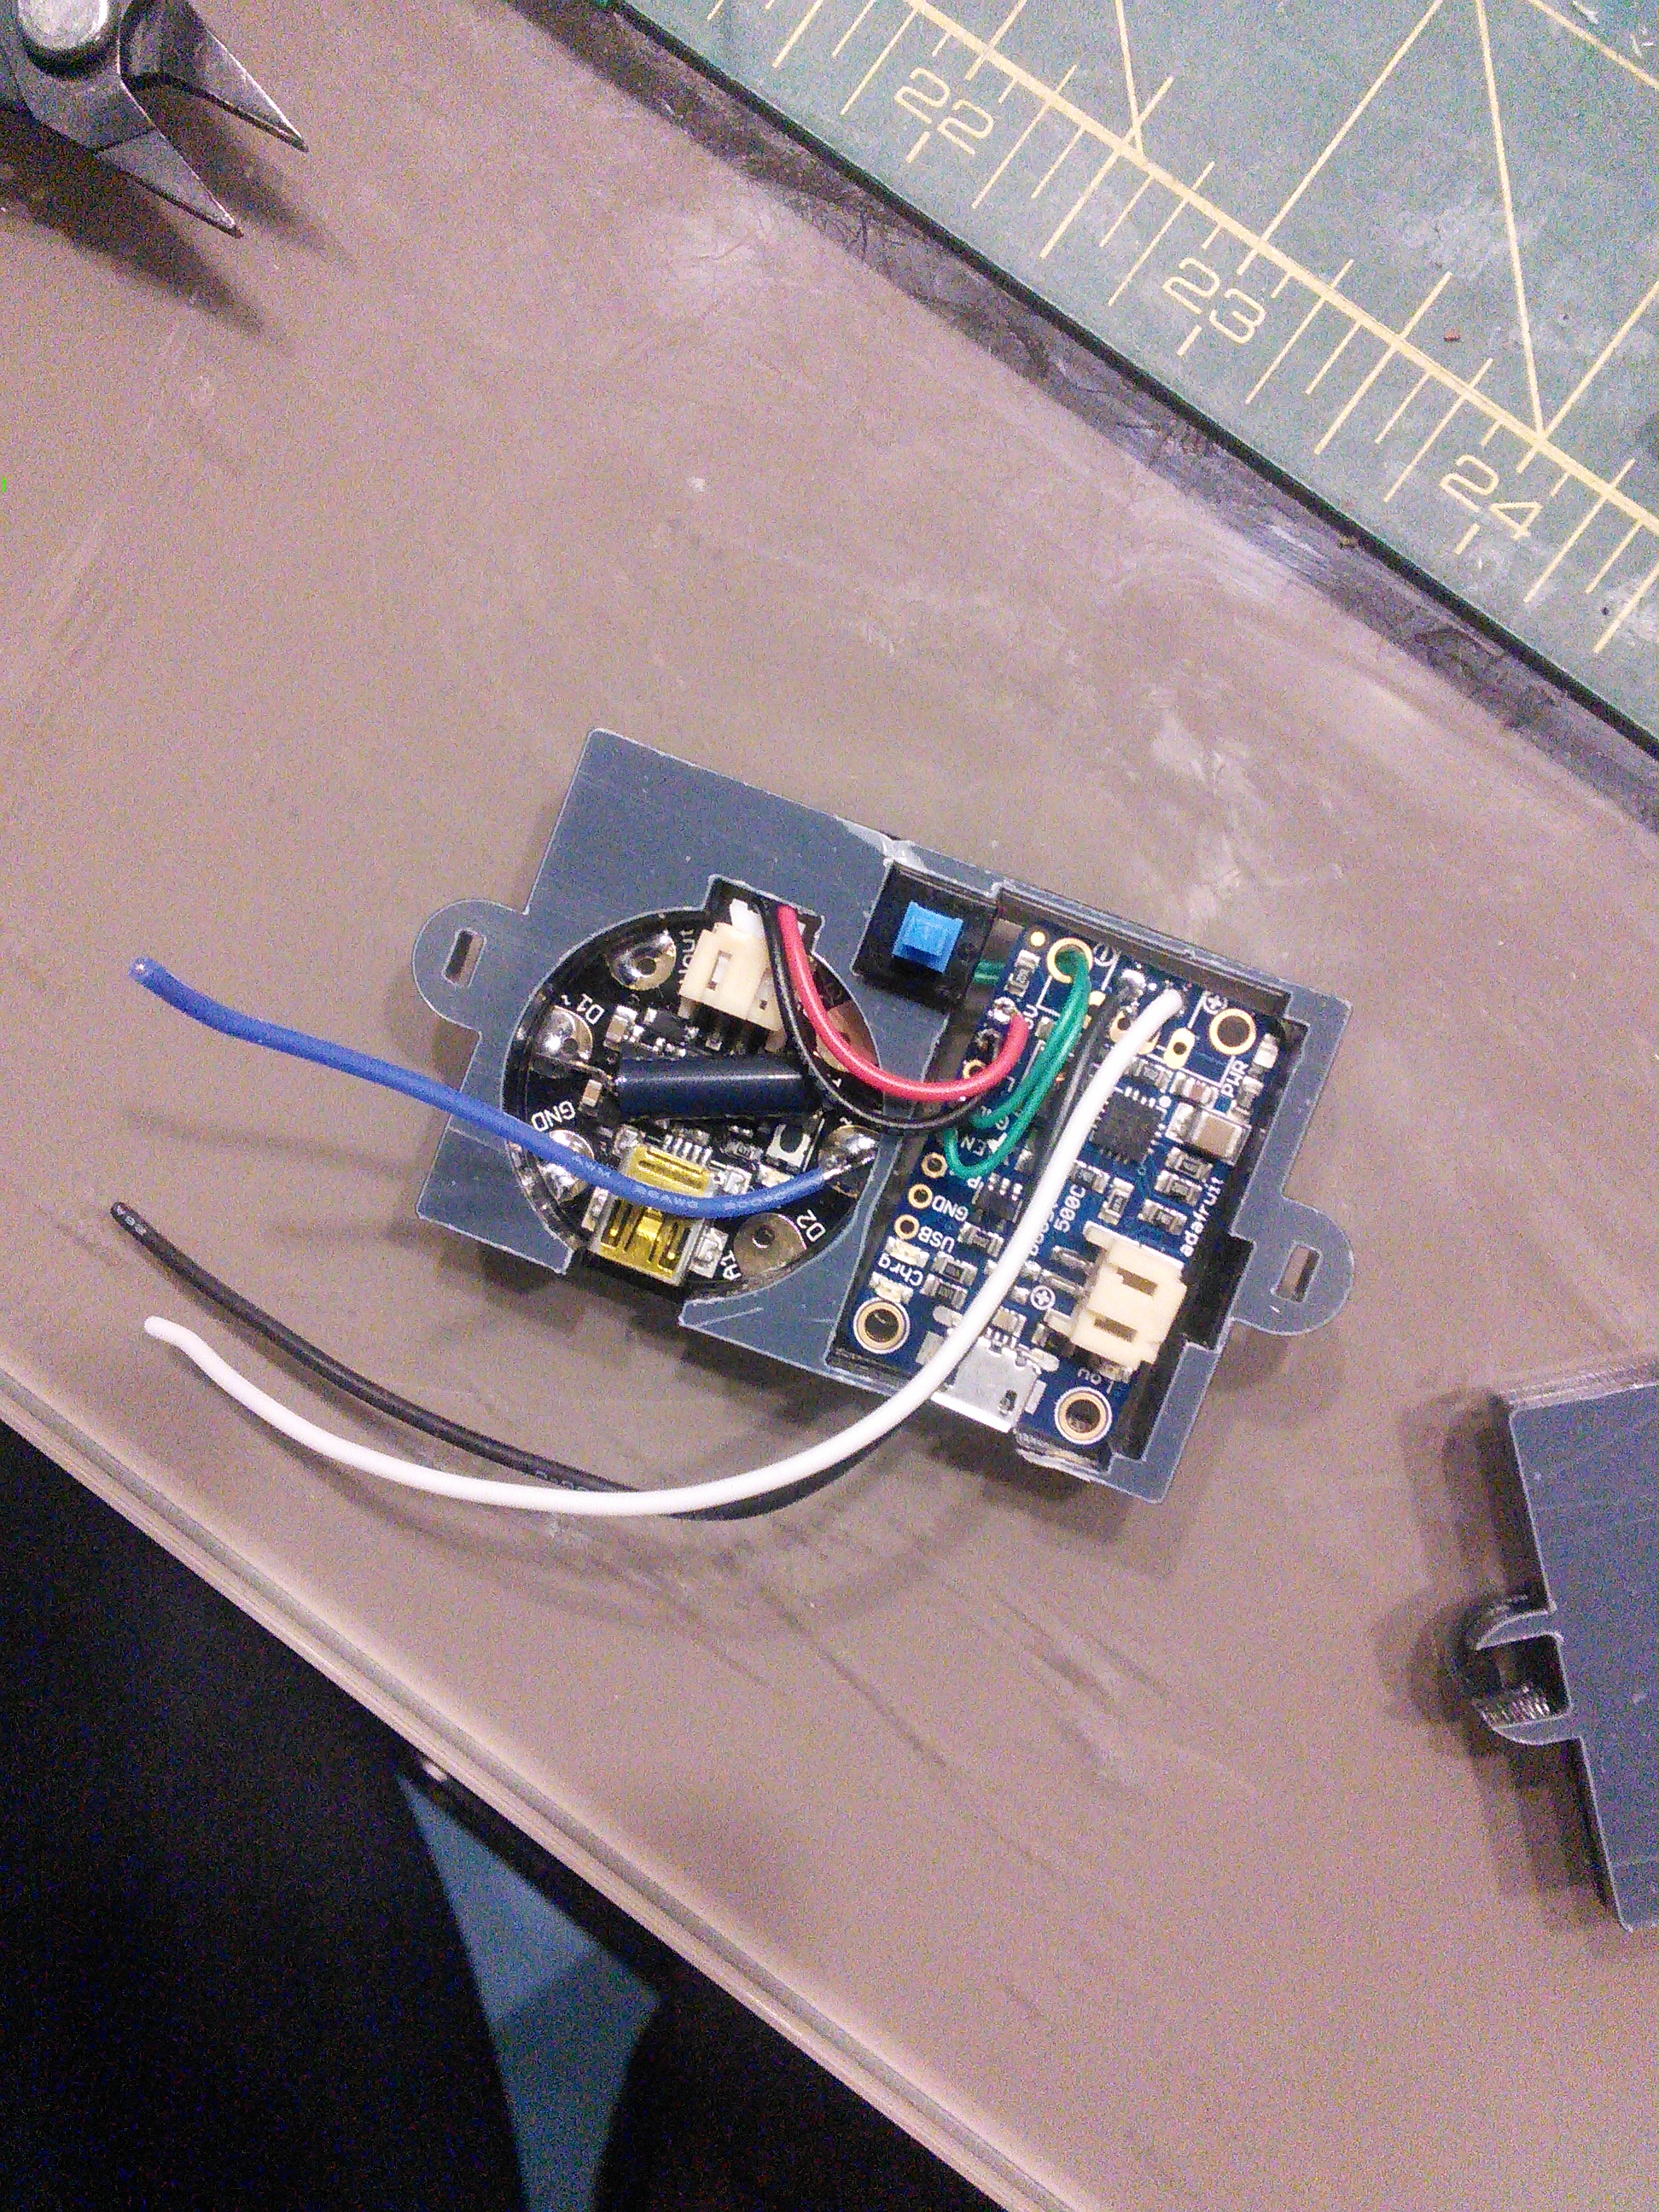
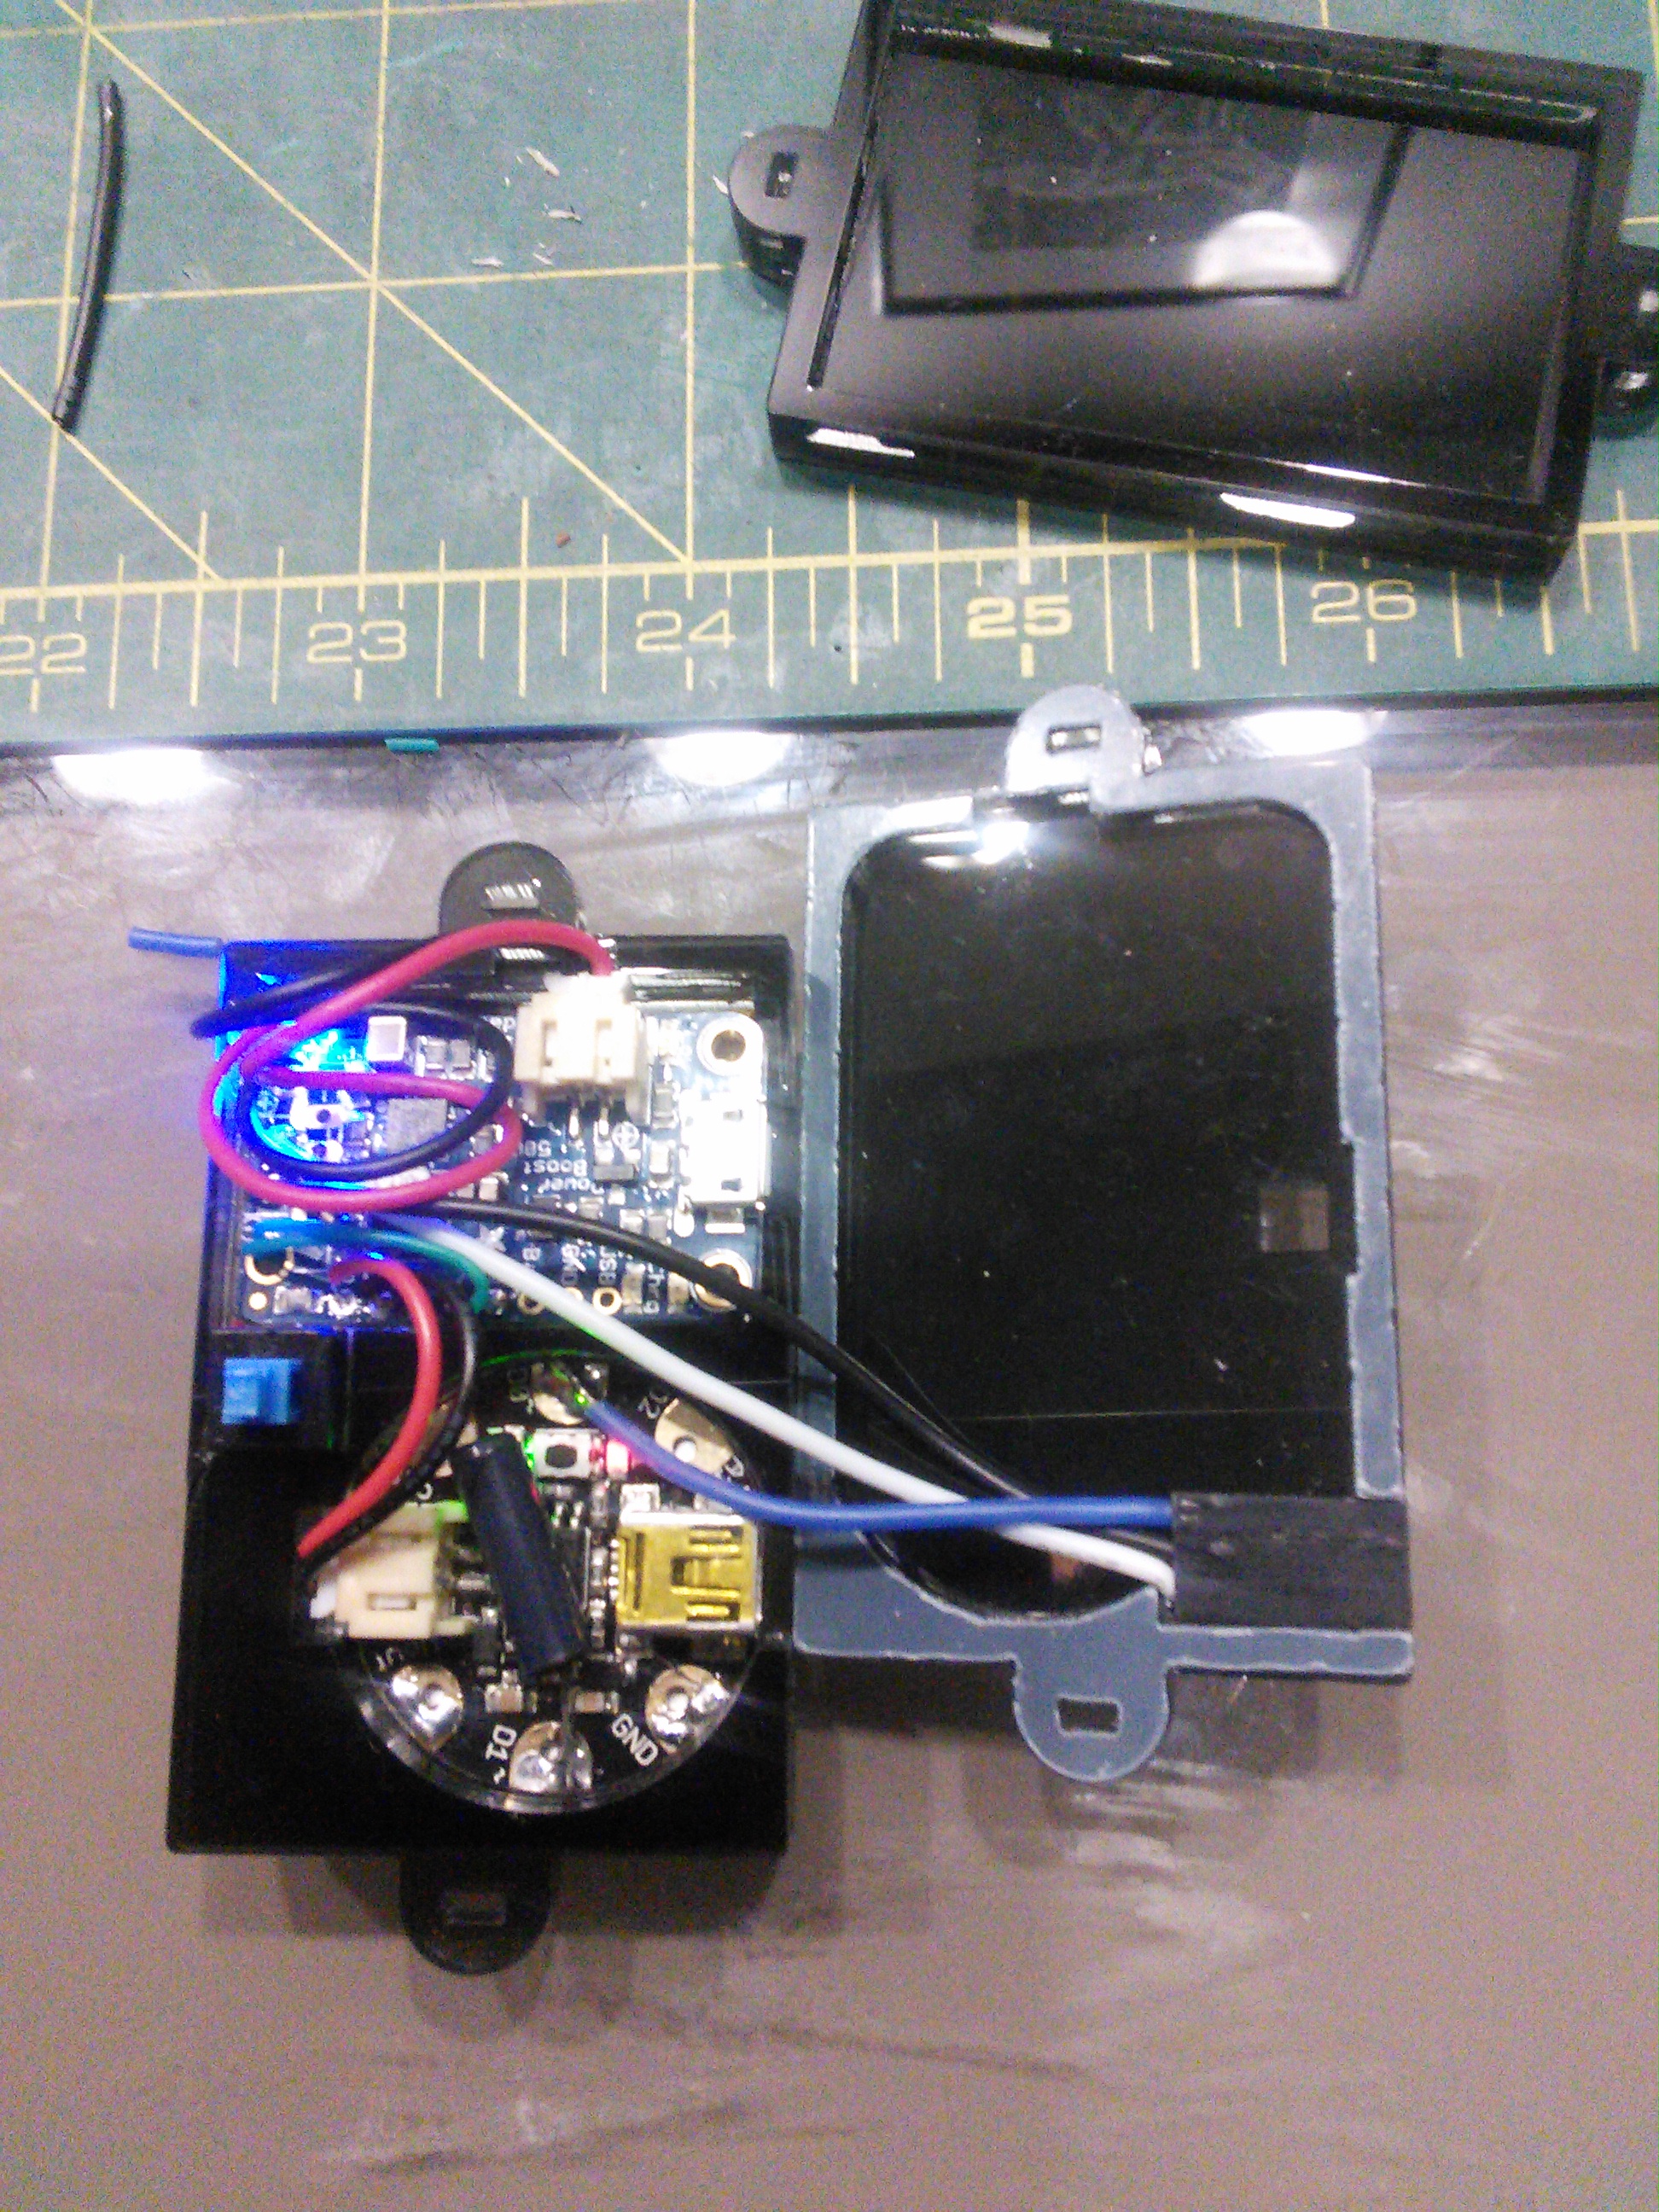
Below are a series of assembly photos. Glueing, soldered wires and then test.

