


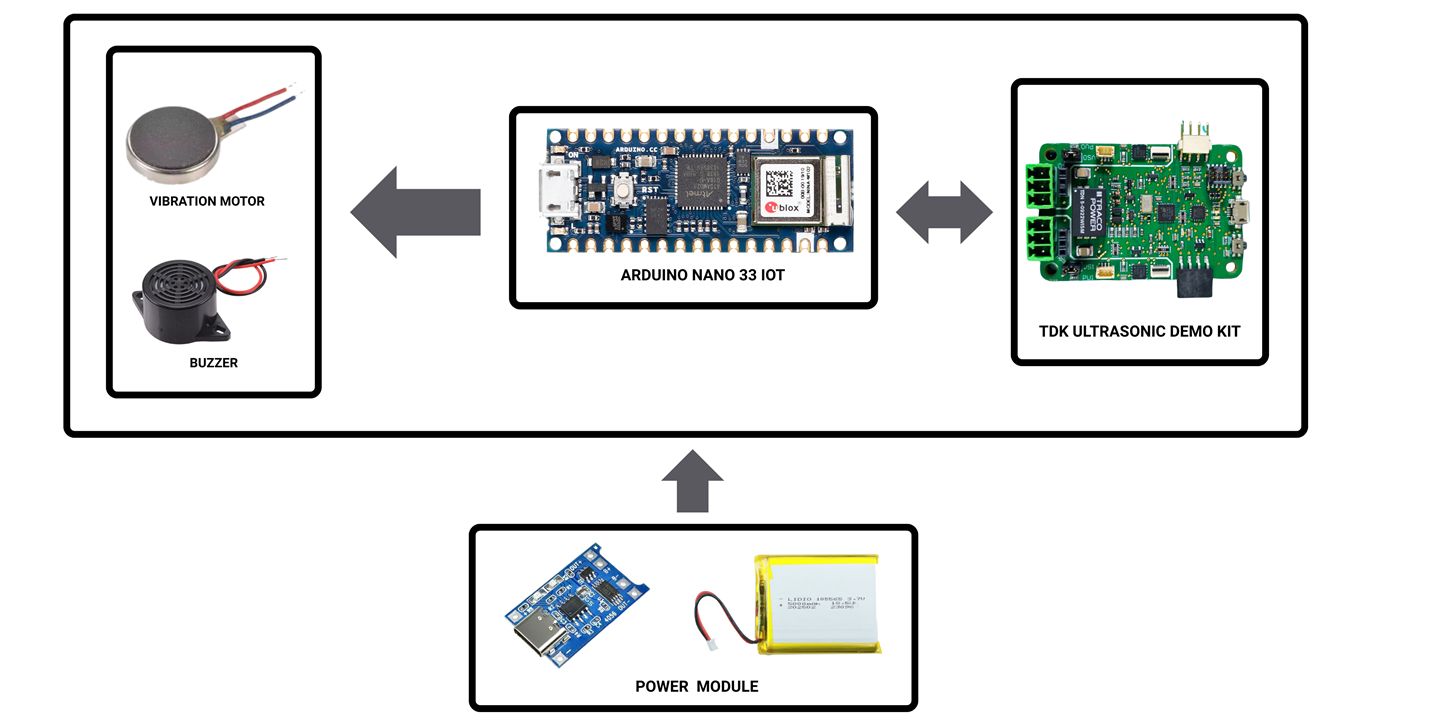
Block Diagram
The figure below shows the simple block diagram for this project.
The Hardware
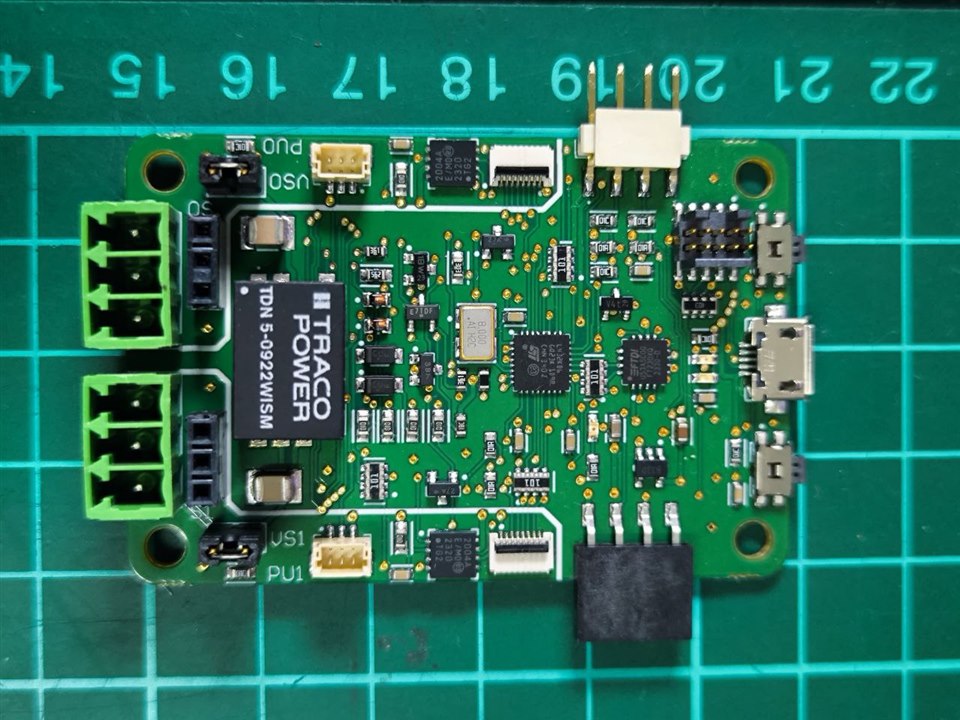
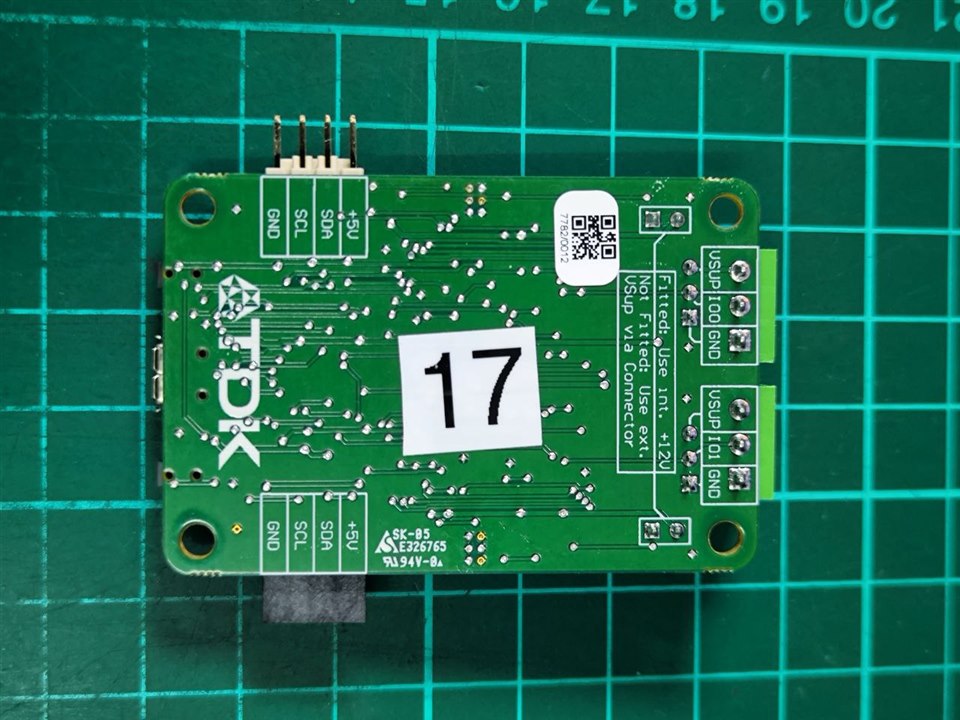
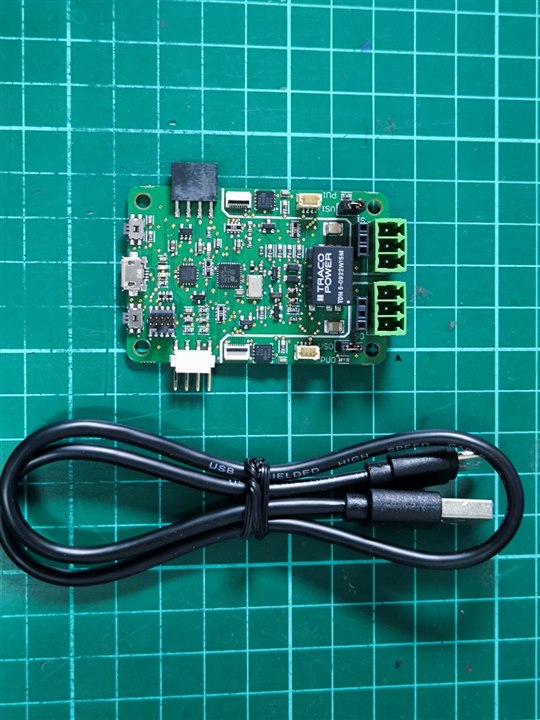
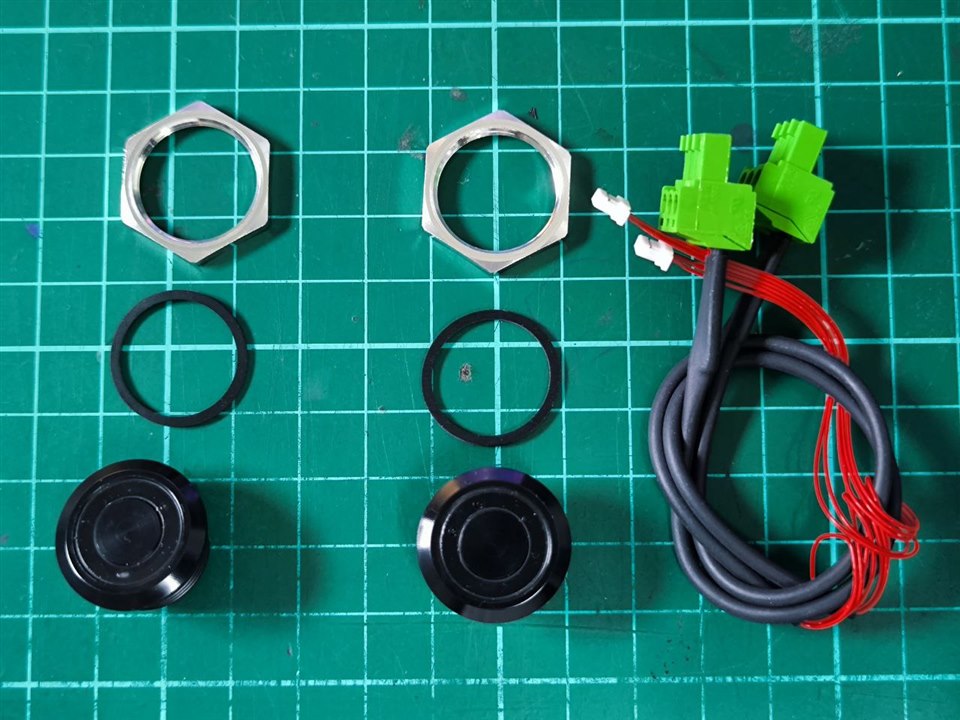
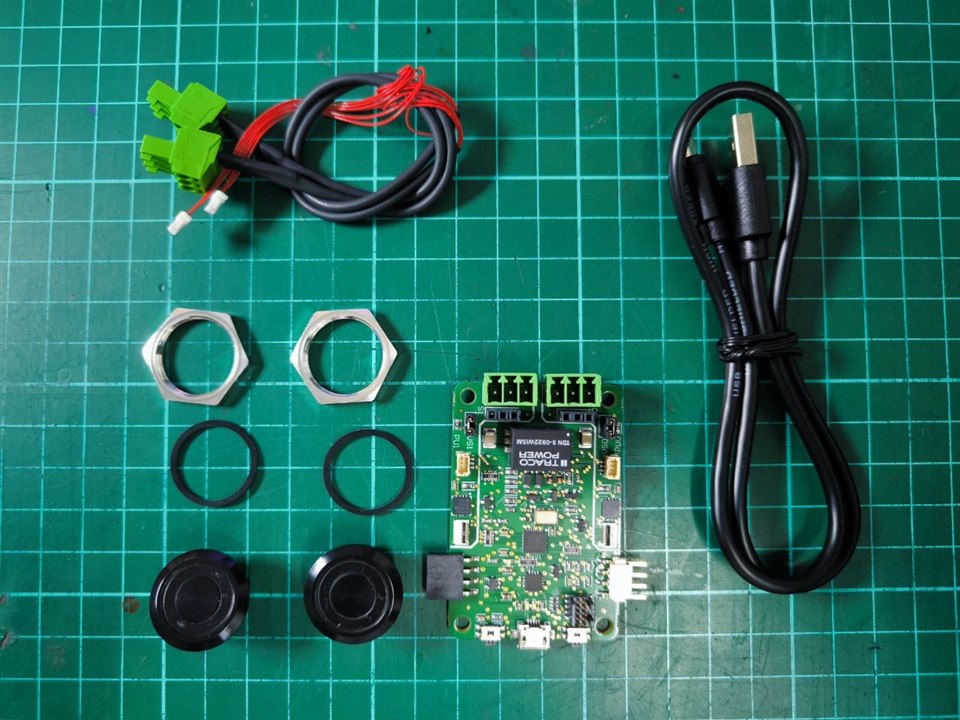
Ultrasonic Sensor Demo Kit
The first hardware that we would like to look at is the TDK Demo Kit.
| {gallery}My Gallery Title |
|---|
 |
 |
 |
 |
 |
 |
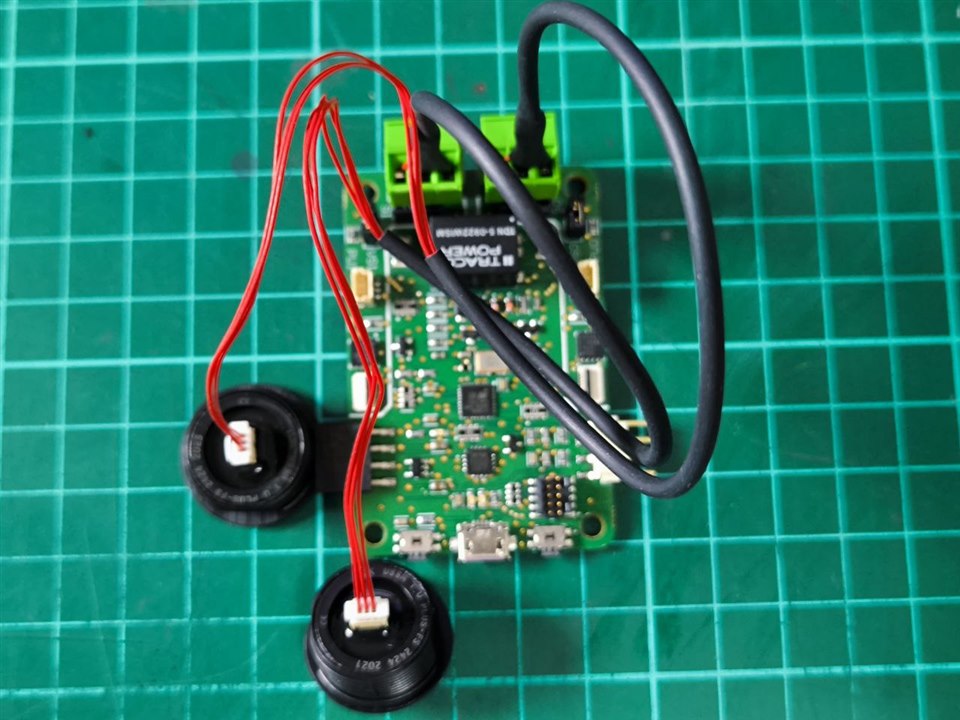 |
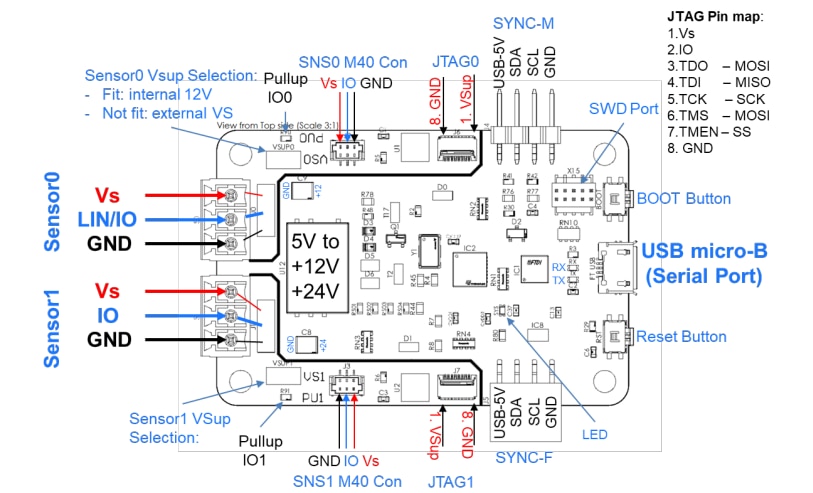
Figure below illustrate the hardware reference design of the TDK USSM Demo Board.
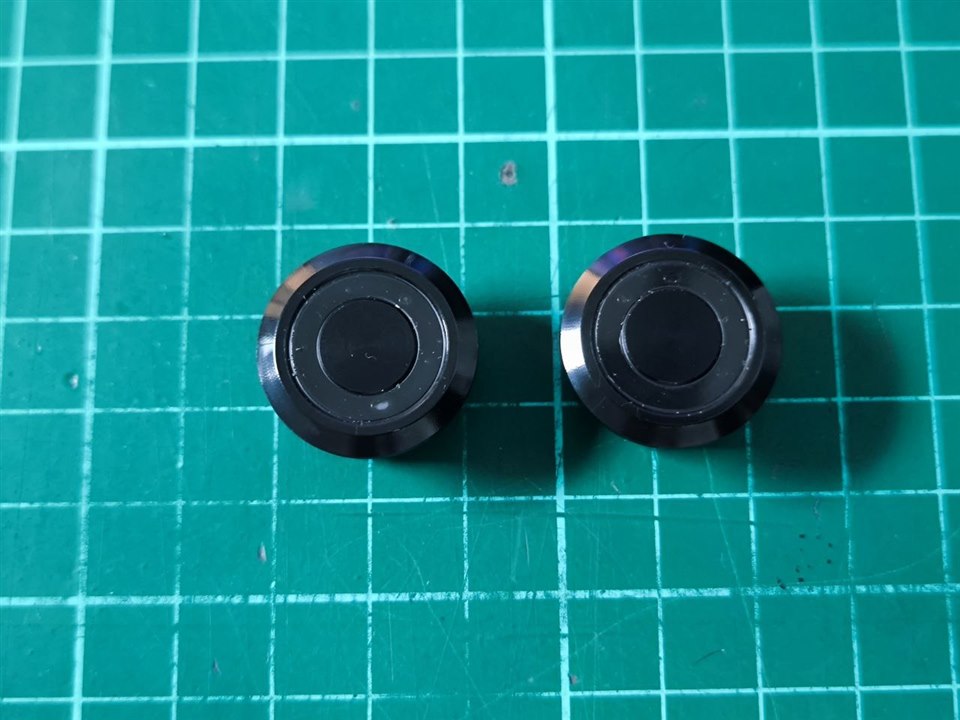
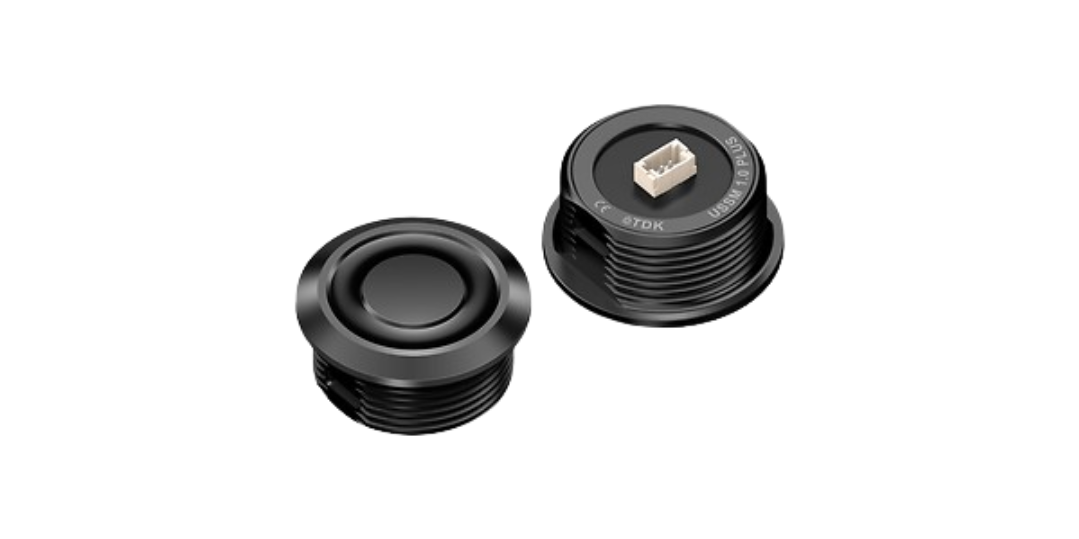
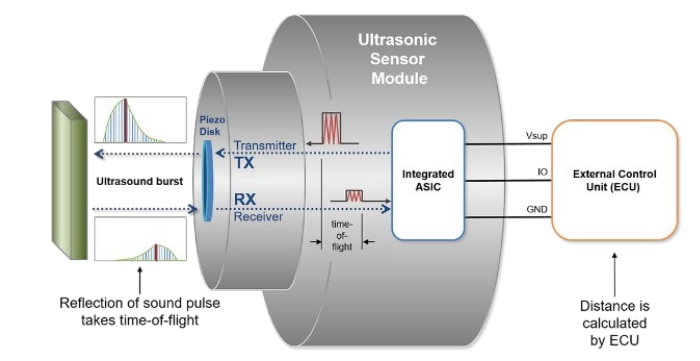
And below is the TDK B59110W2111W032 Ultrasonic sensor and its overview
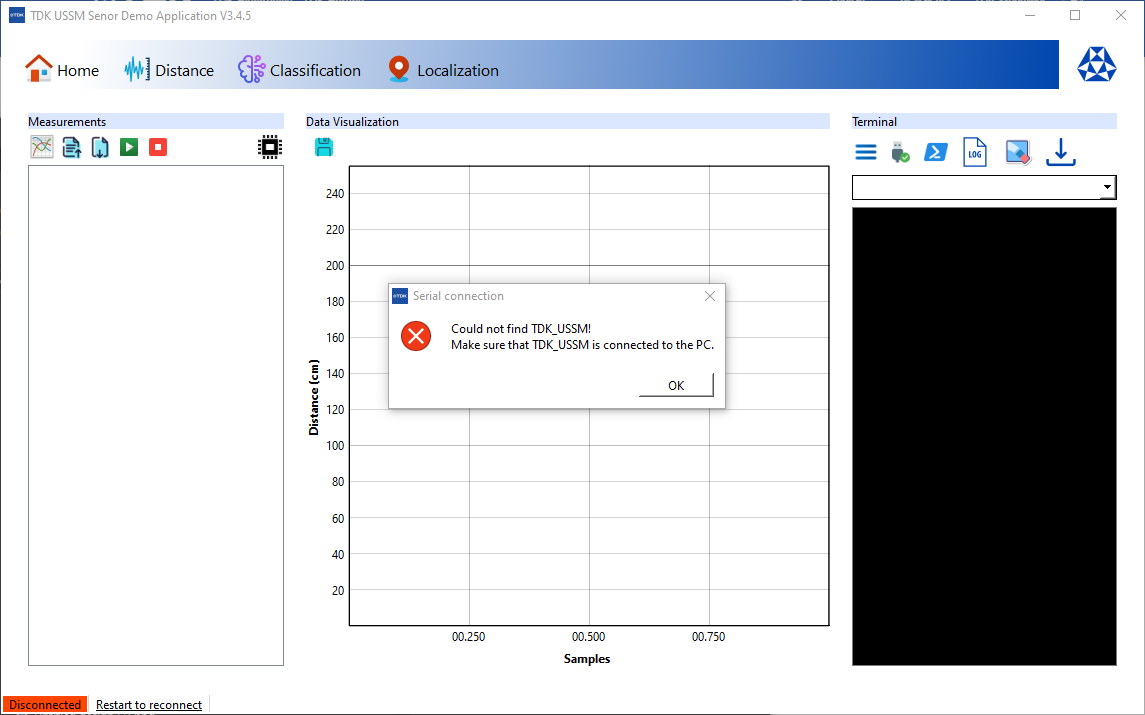
The kit comes with the user interface software which can be downloaded here. The file is an executable file hence no installation is required. The figure below shows how the User Interface
Before we go in details into the demo board, lets go through the other main hardware that is used in this project as well
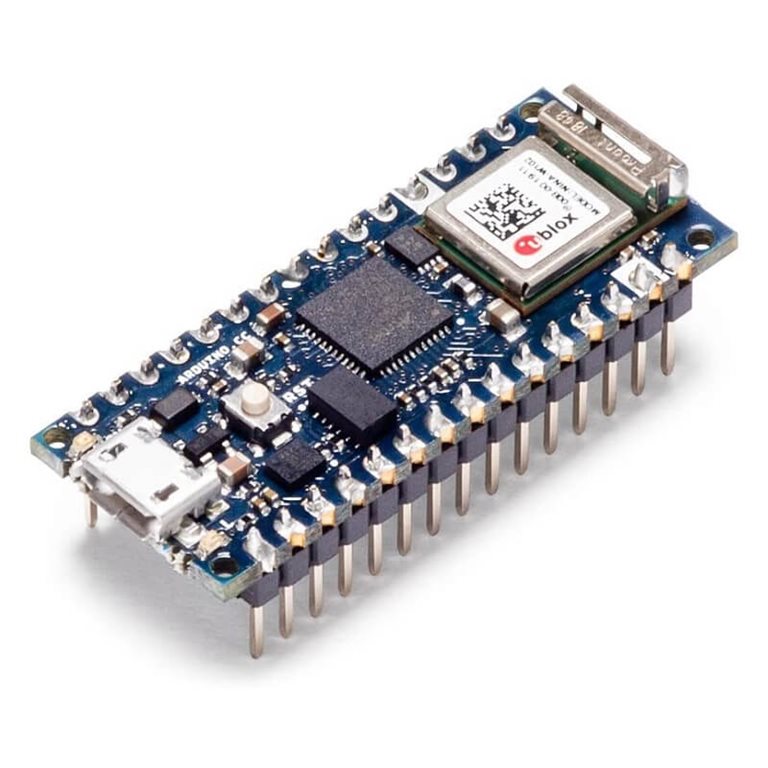
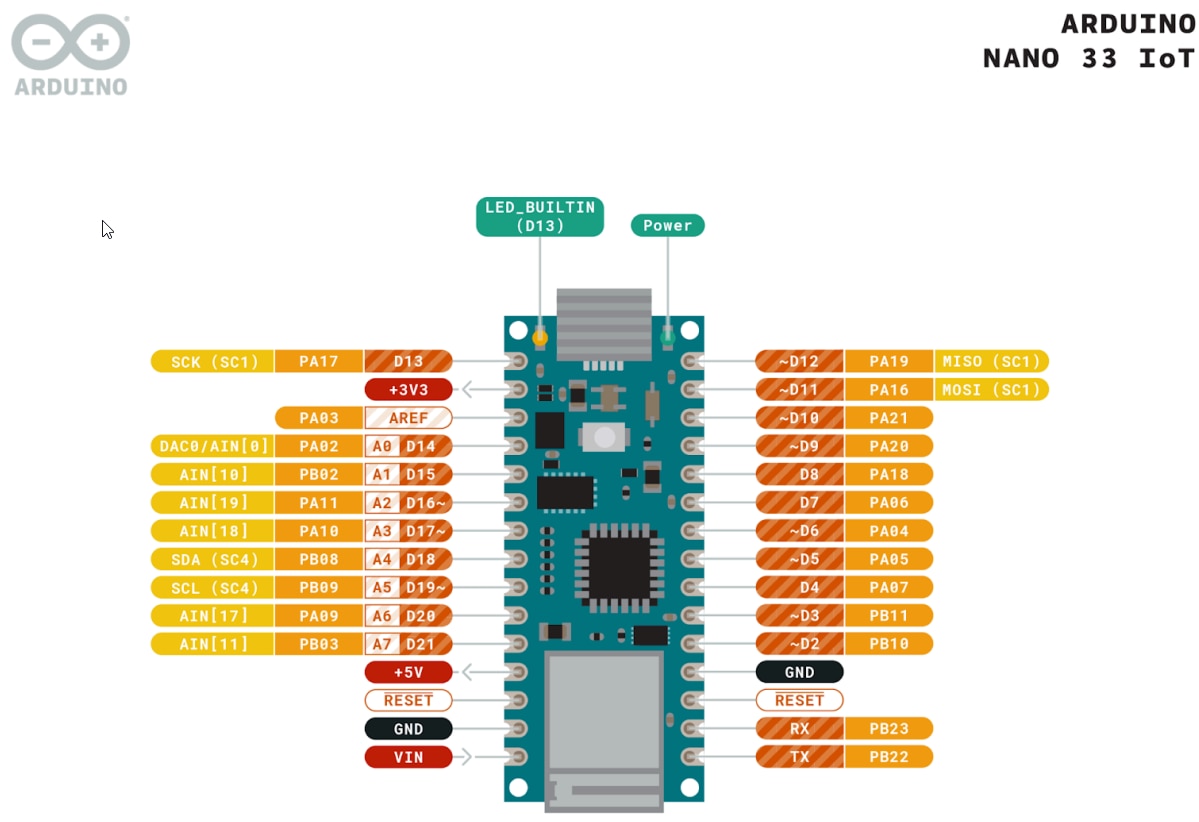
Arduino Nano 33 IoT
The next hardware that we would like into is the Arduino Nano 33 IoT. One of the main reason for me to choose this controller is because it comes with the on-board Wi-Fi module which is pretty much similar to ESP32.
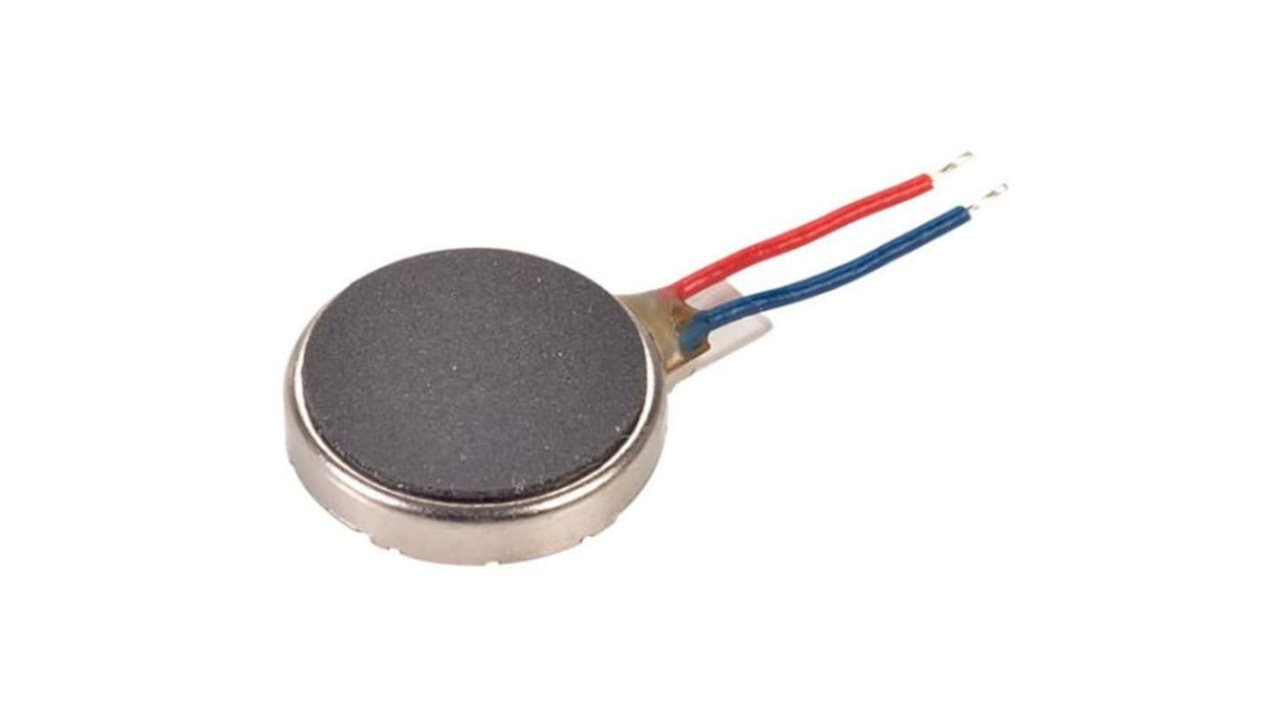
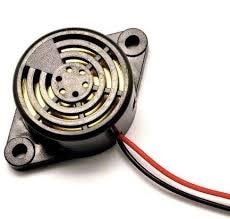
Vibration Sensor & Buzzer
For the vibration sensor i will be using the Seeed Studio Mini Vibration Motor
And as for the buzzer, i will be using the
Power Supply Module
At the time of designing this, i am thinking of using the Lithium Battery TP4056 1A USB-C Charger with Protection as the charger controller 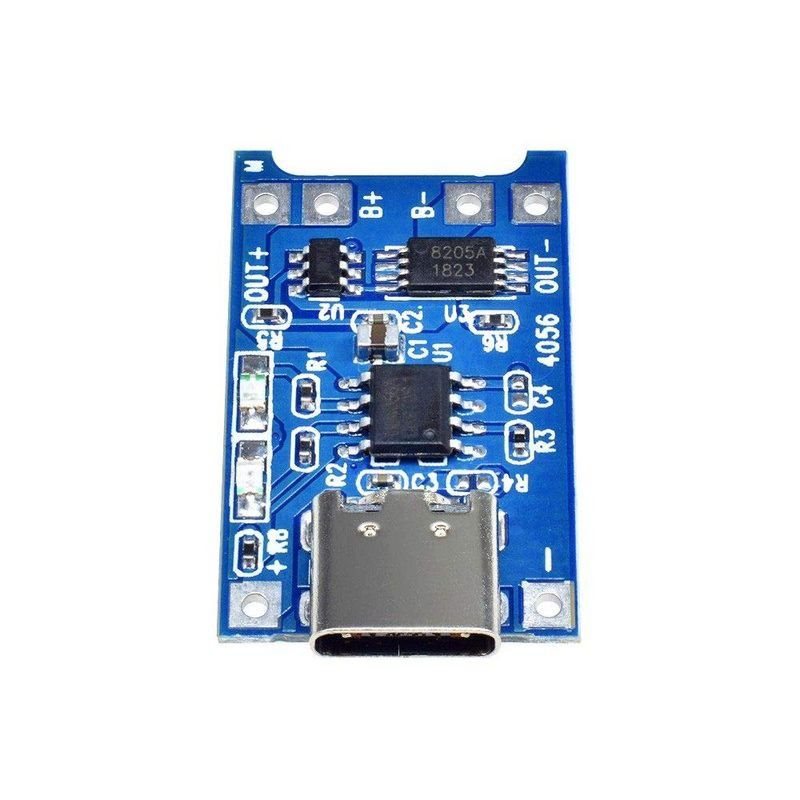
and the 3.7V 5000mAh LiPo Battery with JST-PH2.0 as the power source
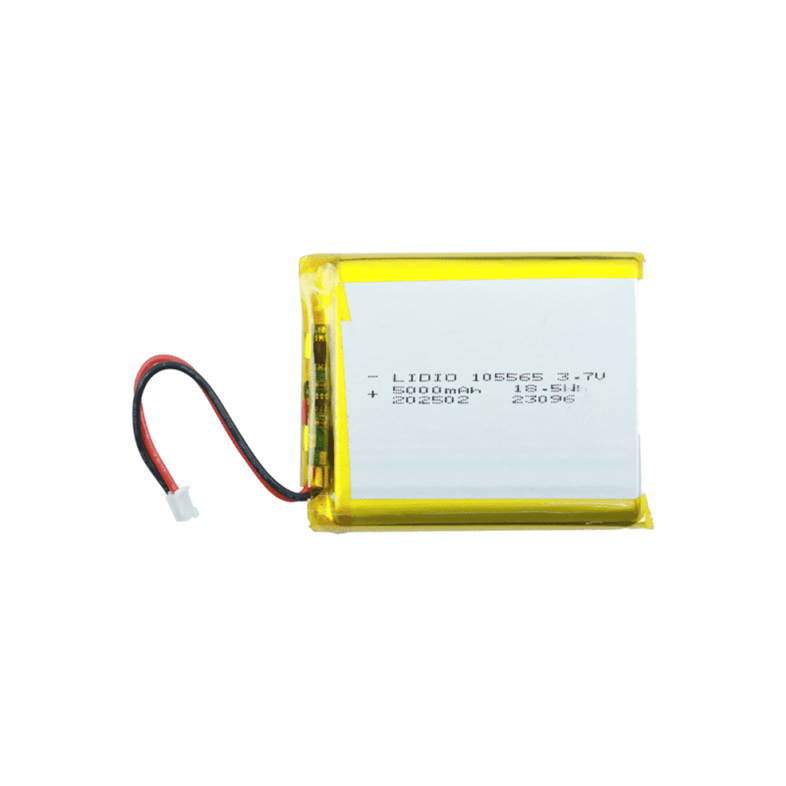
Please note that, the hardware the charging module may need to be changed in the future based on the testing.
Now we have looked at the main hardware that is used in this project. The other hardware that is used in developing this project will be discussed later in other upcoming post. Now let's move on to the software part.
The Software
There will two main software that we will be using in this project. First is the TDK Ultrasonic Sensor User Interface and Arduino IDE. Since Arduino IDE is pretty straight forward, i will not be covering it here. We will look more into the TDK Ultrasonic Sensor User Interface.
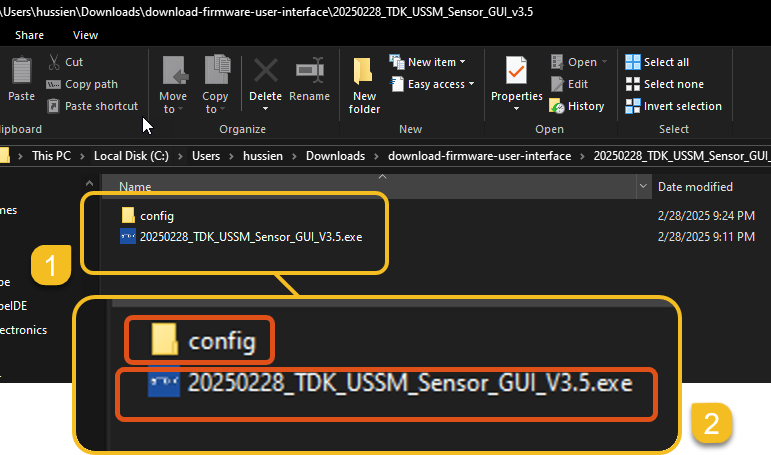
Inside the the Zip file there will be two files. One is the config folder and second is the executable file.
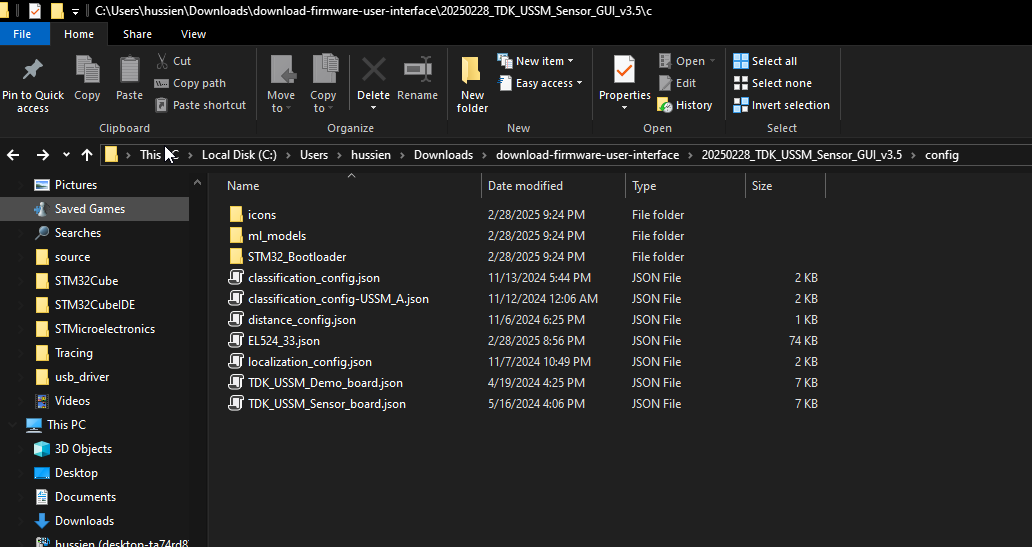
The config files consists the ml_models, STM32_Bootloader and other files
The functions of each button in the GUI window is as explained below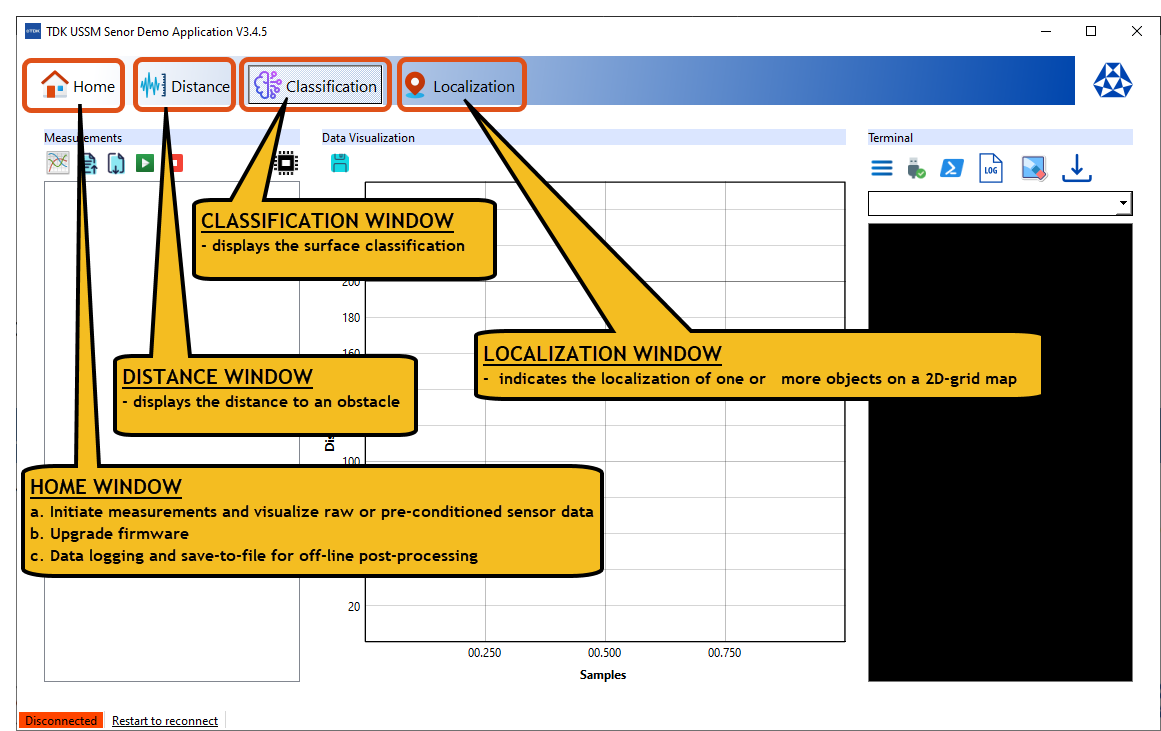
That's about the hardware and software used in this project. In the next post, we shall see how to get started with the TDK Ultrasonic Demo Kit
