element14 Community
element14 Community
    Register Log In
  • Site
  • Search
  • Log In Register
  • Community Hub
    Community Hub
    • What's New on element14
    • Feedback and Support
    • Benefits of Membership
    • Personal Blogs
    • Members Area
    • Achievement Levels
  • Learn
    Learn
    • Ask an Expert
    • eBooks
    • element14 presents
    • Learning Center
    • Tech Spotlight
    • STEM Academy
    • Webinars, Training and Events
    • Learning Groups
  • Technologies
    Technologies
    • 3D Printing
    • FPGA
    • Industrial Automation
    • Internet of Things
    • Power & Energy
    • Sensors
    • Technology Groups
  • Challenges & Projects
    Challenges & Projects
    • Design Challenges
    • element14 presents Projects
    • Project14
    • Arduino Projects
    • Raspberry Pi Projects
    • Project Groups
  • Products
    Products
    • Arduino
    • Avnet & Tria Boards Community
    • Dev Tools
    • Manufacturers
    • Multicomp Pro
    • Product Groups
    • Raspberry Pi
    • RoadTests & Reviews
  • About Us
  • Store
    Store
    • Visit Your Store
    • Choose another store...
      • Europe
      •  Austria (German)
      •  Belgium (Dutch, French)
      •  Bulgaria (Bulgarian)
      •  Czech Republic (Czech)
      •  Denmark (Danish)
      •  Estonia (Estonian)
      •  Finland (Finnish)
      •  France (French)
      •  Germany (German)
      •  Hungary (Hungarian)
      •  Ireland
      •  Israel
      •  Italy (Italian)
      •  Latvia (Latvian)
      •  
      •  Lithuania (Lithuanian)
      •  Netherlands (Dutch)
      •  Norway (Norwegian)
      •  Poland (Polish)
      •  Portugal (Portuguese)
      •  Romania (Romanian)
      •  Russia (Russian)
      •  Slovakia (Slovak)
      •  Slovenia (Slovenian)
      •  Spain (Spanish)
      •  Sweden (Swedish)
      •  Switzerland(German, French)
      •  Turkey (Turkish)
      •  United Kingdom
      • Asia Pacific
      •  Australia
      •  China
      •  Hong Kong
      •  India
      • Japan
      •  Korea (Korean)
      •  Malaysia
      •  New Zealand
      •  Philippines
      •  Singapore
      •  Taiwan
      •  Thailand (Thai)
      • Vietnam
      • Americas
      •  Brazil (Portuguese)
      •  Canada
      •  Mexico (Spanish)
      •  United States
      Can't find the country/region you're looking for? Visit our export site or find a local distributor.
  • Translate
  • Profile
  • Settings
Just Encase
  • Challenges & Projects
  • Design Challenges
  • Just Encase
  • More
  • Cancel
Just Encase
Blog Blog 3: Landslide monitoring for the Himalayan region - Wireless communication between two Arduinos using RF modules and remote event triggering
  • Blog
  • Forum
  • Documents
  • Events
  • Polls
  • Files
  • Members
  • Mentions
  • Sub-Groups
  • Tags
  • More
  • Cancel
  • New
Join Just Encase to participate - click to join for free!
  • Share
  • More
  • Cancel
Group Actions
  • Group RSS
  • More
  • Cancel
Engagement
  • Author Author: rsjawale24
  • Date Created: 23 Feb 2022 6:00 PM Date Created
  • Views 419 views
  • Likes 1 like
  • Comments 0 comments
  • Arduino MKR WAN 1300
  • just encase design challenge
  • landslide_monitoring
  • just_encase
  • just encase
Related
Recommended

Blog 3: Landslide monitoring for the Himalayan region - Wireless communication between two Arduinos using RF modules and remote event triggering

rsjawale24
rsjawale24
23 Feb 2022

Blog 3: Wireless Communication and Remote Event Triggering

In the last blog, I interfaced the vibration sensor with Arduino to detect the landslides. This pretty much completes the sensing enclosure box, however, this vibration detected signal has to be sent to another Arduino at a remote location and trigger the alarm. In this blog, I will communicate between two Arduinos using the ASK RF modules operating at 433 MHz to send the vibration detected signal to another Arduino and trigger the audio-visual alarm. For the sake of simplicity, this blog will be divided into three subsections - Interfacing the LCD, wireless data transmission, and remote event triggering.

Interfacing the Grove LCD

The grove starter kit provided in the design challenge is really helpful as it contains almost all the parts that I will be using for this project. I will be using the Grove

LCD, the grove LEDs, and the grove buzzer from the starter kit.

kit

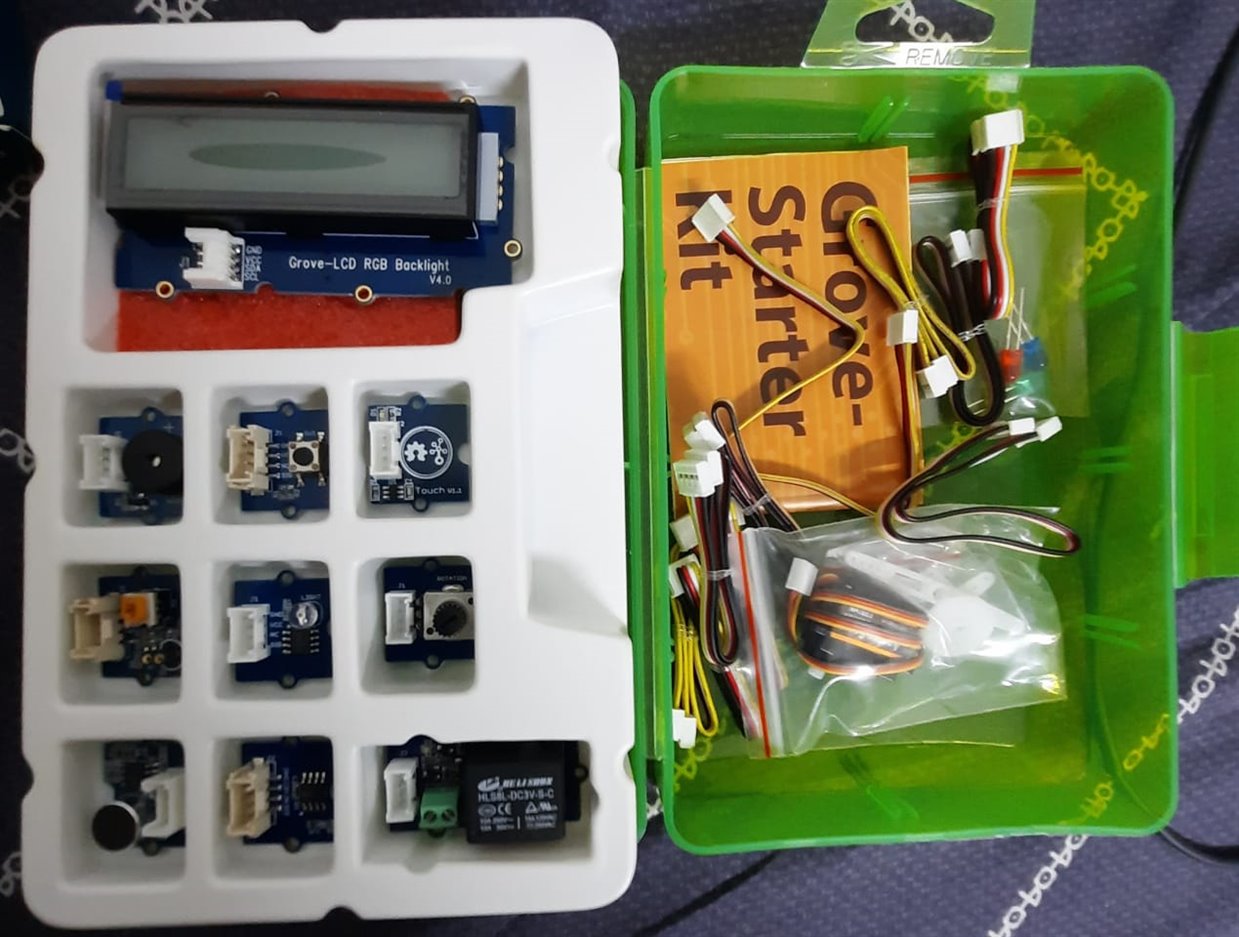
I used an Arduino UNO for the alarm box as the grove sensors can be easily connected with the shield provided in the starter kit and the shield is only UNO compatible due to its form factor.

Here is the code for interfacing the Grove LCD with Arduino-

#include <Wire.h>
#include "rgb_lcd.h"

rgb_lcd lcd;

void setup() {
    // set up the LCD's number of columns and rows:
    lcd.begin(16, 2);
    // Print a message to the LCD.
    lcd.print("Just Encase");
}

void loop() {
}

I'm using the grove rgb_lcd.h library for this. The library can be downloaded from the grove website. Many examples are also loaded with the library.

Here's the output of the above code-

lcd

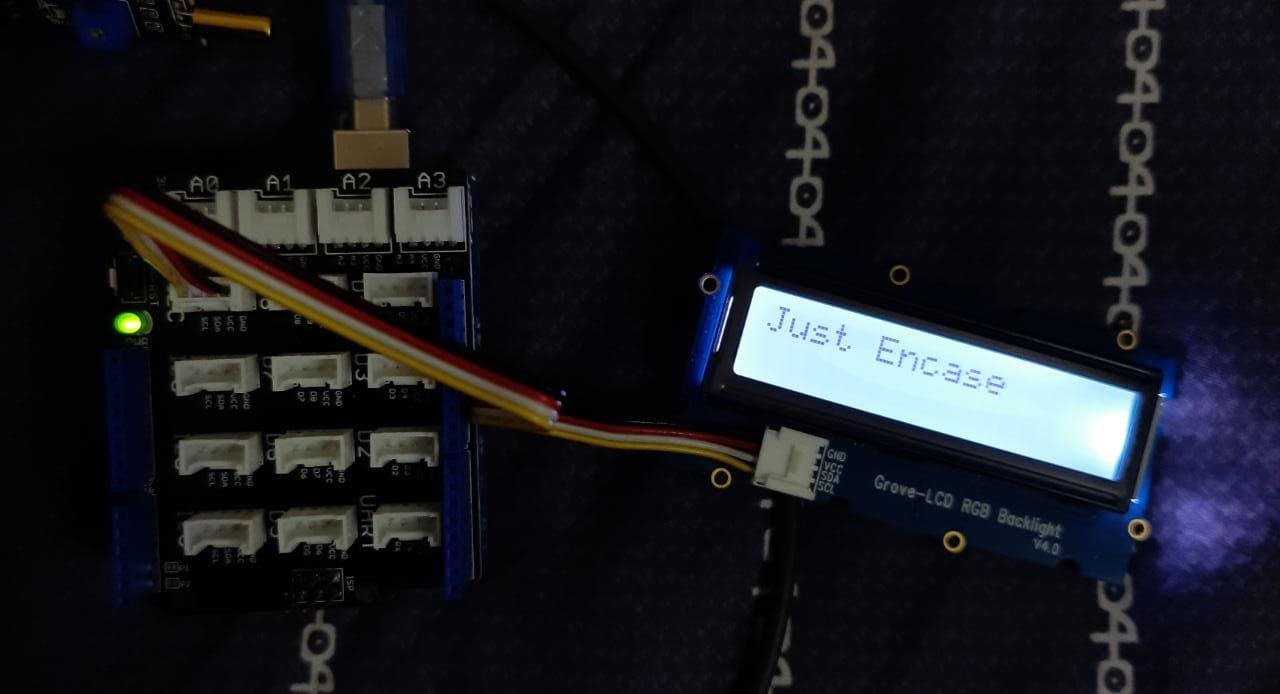
The good thing about this LCD is that it uses I2C communication. It saves a lot of pins on the Arduino to connect other peripherals/sensors.

Wireless Data Transmission between Arduinos

The next step is to transmit the data wirelessly from the first Arduino (the sensor enclosure box). In the previous blog, I used an Arduino MKR WAN 1300 provided in the design challenge kit and interfaced a vibration sensor with it. Now, it's time to transmit the vibration detected signal from Arduino MKR WAN 1300 to this alarm enclosure box with an Arduino UNO. For this, I will use the ASK RF Tx/Rx module working at 433 MHz.

Here's the code for the transmitter -

//Transmitter code

int a;    //variable to store the vibration sensor signal
void setup() {
  // put your setup code here, to run once:
pinMode(5,INPUT);
Serial.begin(300);
}

void loop() {
  // put your main code here, to run repeatedly:
  a = digitalRead(5);
  if(a==0)
  {
      Serial.write(a);  //send the signal to ta Tx module 
      Serial.println("Vibration Detected");
    }
  }

Code for the receiver

//Receiver Code
#include <Wire.h>
#include "rgb_lcd.h"

rgb_lcd lcd;
int b;    //variable to store the received signal from transmitter 
void setup() {
  Serial.begin(9600);
    // set up the LCD's number of columns and rows:
    lcd.begin(16, 2);
    // Print a message to the LCD.
   
}

void loop() {
  if(Serial.available()>0)
  {
  b=Serial.read();
  }
   lcd.print(b);
    delay(1000);
    lcd.clear();
   delay(1000);
}

The wiring diagram is as follows -

The Tx is made of Arduino MKR WAN 1300, the vibration sensor and the RF Tx module.

The Rx consists of Arduino UNO, LCD and the RF Rx module.

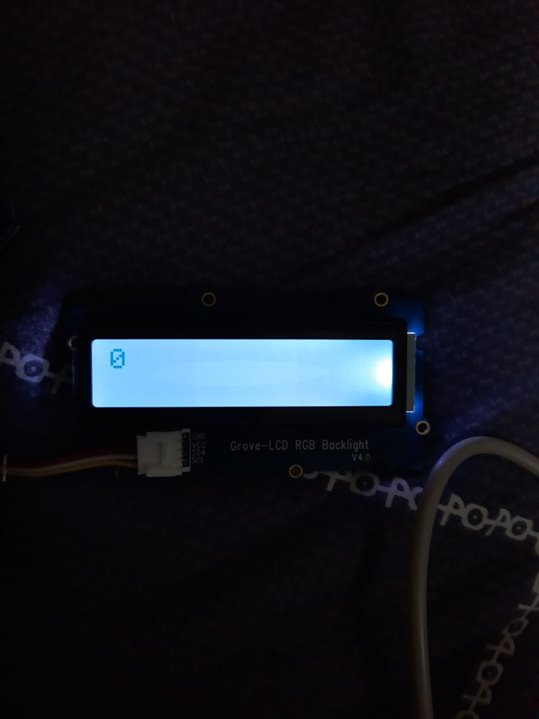
I tried a couple of tests with this, but it seems there is some problem with the RF modules. Irrespective of the vibration sensor's output, the received signal at the receiver end is corrupted and it always showed a 0 on the LCD.

image

I plan to drop this idea of having to separate boxes and went ahead with a single box with all the necessary components - The arduino MKR, vibration sensor, buzzer and LED for alarm.
The only limitation of this system is that the remote event triggering mechanism is not implemented and hence an early warning at a far distance cannot be provided. However, this will still do the intended task as well as evaluate and test the performance of the enclosure boxes which is the main aim. I'll look into the RF link problem in the near future.

  • Sign in to reply
element14 Community

element14 is the first online community specifically for engineers. Connect with your peers and get expert answers to your questions.

  • Members
  • Learn
  • Technologies
  • Challenges & Projects
  • Products
  • Store
  • About Us
  • Feedback & Support
  • FAQs
  • Terms of Use
  • Privacy Policy
  • Legal and Copyright Notices
  • Sitemap
  • Cookies

An Avnet Company © 2025 Premier Farnell Limited. All Rights Reserved.

Premier Farnell Ltd, registered in England and Wales (no 00876412), registered office: Farnell House, Forge Lane, Leeds LS12 2NE.

ICP 备案号 10220084.

Follow element14

  • X
  • Facebook
  • linkedin
  • YouTube