


Happy New Year everyone!
Pandoras Box 
Time to get things ready and installed to its Hammond enclosure.
Where it started.
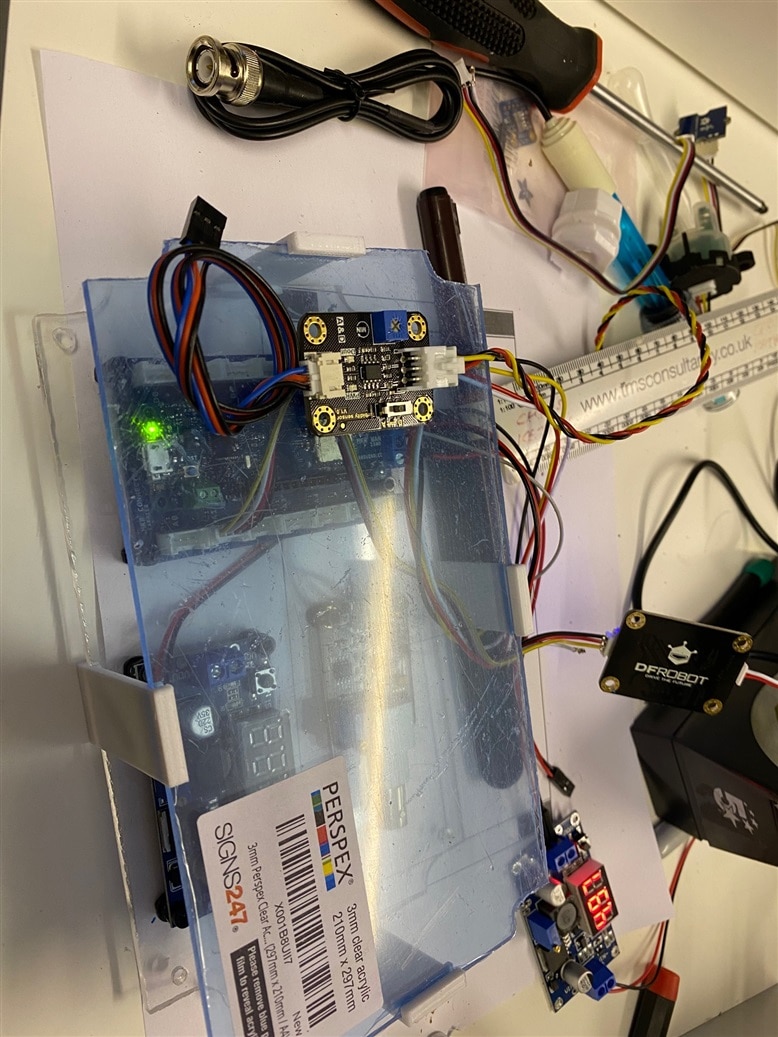
On my desk the sensor - MKR1300 connection arrangement is relatively tidy. I am concious that with a mix of analogue inputs, keeping tidy wire runs is going to be important, as well as as short as possible (1. for my CDO about cabling and 2. the potential for interference).
$4.00 for a A4 sized sheet of 3mm Perpex seemed like a bargain to me, better still, I can get 3 back plates from it. 2 for my main enclosure the really really watertight 11554UGY Hammon enclosure and then 1 for 1554H2GYCL enclosure which will live inside my home office, as the receiver.


Prototype stand off, version 1 vs version 2 - the screw it together version - nope.
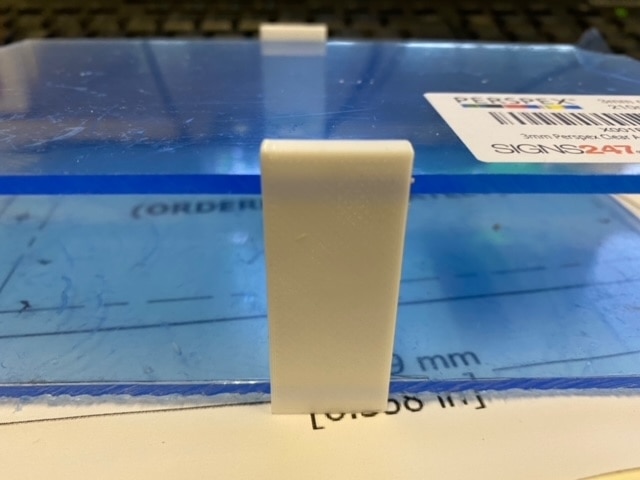
Prototype stand off, version 2 - 3mm recess slot for the bottom and top sheets which my components will be mounted on. Succcess.
Must rember to add a screw access for each stand off on the bottom to secure to the main enclosure.
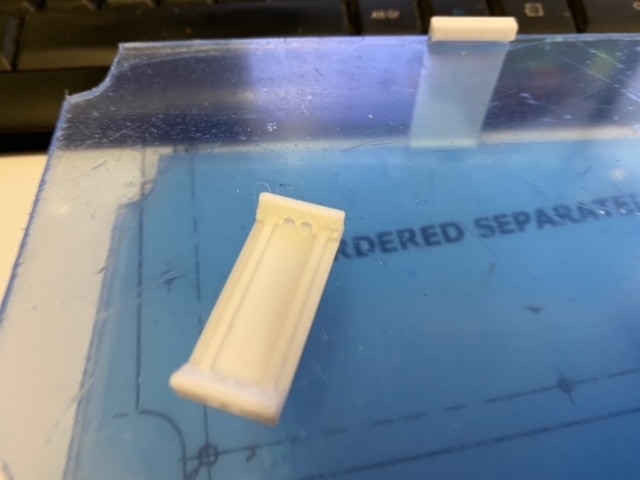
Another view of version 1, a good idea, but too fidly and required tiny bolts and I have clumsy fingers
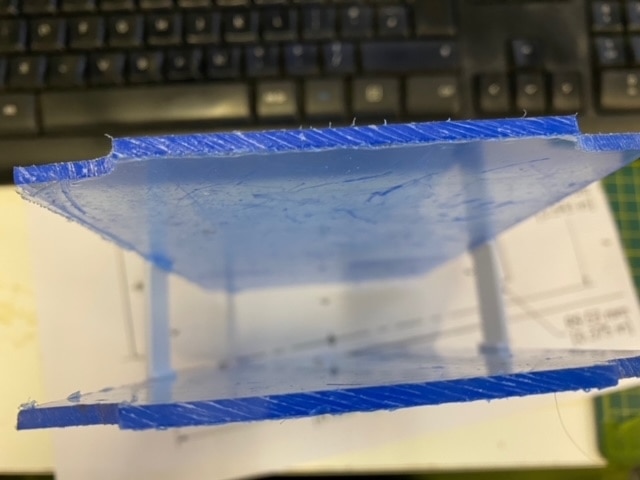
side view of the version 2 stand off between bottom and top sheets. Will use 4 in all. 2 each side along the length of the sheets.
there is enough friction between the slot and sheet to accomodate and retain them nicely, all in, a very snug fit with c.1mm clearance eitherside of the main enclosure inner wall.
Must remember to measure twice before drilling for cable glands and take into account mounting heights.
Back Plate
If anyone else needs a template for cutting their own backplate for the project enclosure, please find attached below a to scale PDF.
Print at A4 and this will give you what you need, I have extracted and scaled this from the 1554UGY Plastic Enclosure, Watertight, Multipurpose, ABS, 89 mm, 119 mm, 201 mm, IP66, datasheet (here)
Stand Offs - Mezzanine.
I also attach the STL and Autodesk Fusion file for the standoff I am using. (the second file whcih is zipped, I was not able to upload the .f3d file)
Printed in PLA, 50% infill, no suports required, 15 mins print time. Designed for use with a 3mm perspex (or other material) plate.
STL file for printing
Fusion 360 file for modifiying the design / remix. I have a learning edition of the Autodesk Fusion software, no cost to obtain, just limited to no commercial application :) Having tried other 3d design for printing and CNC, this is by far my favourite. Solidworks would be lovely to get my hands on byt is tres expensive and I have not used in a long time, so expect a high learning curve to boot!
Gah. OK, makes sense you can only upload specific file types, to save anyone else the trouble of finding this out:
Only known URLs and the following file extensions are allowed: 123, aac, ai, aiff, art, asf, asx, avi, bmp, csd, db, dmg, doc, docx, drw, eml, flac, flv, gif, gz, ics, jpeg, jpg, log, m4a, m4p, m4v, mdb, mdbx, mid, midi, mmv, mov, mp3, mp4, mpeg, mpg, mpp, msg, ogg, ogv, pdf, png, pps, ppt, pptx, ps, psd, qt, ram, rar, rm, rtf, sit, sitx, sql, tif, tiff, txt, vcf, vcs, wav, webm, wma, wmv, wpd, wps, xls, xlsx, xml, zip. Please select a valid file or enter a valid URL.
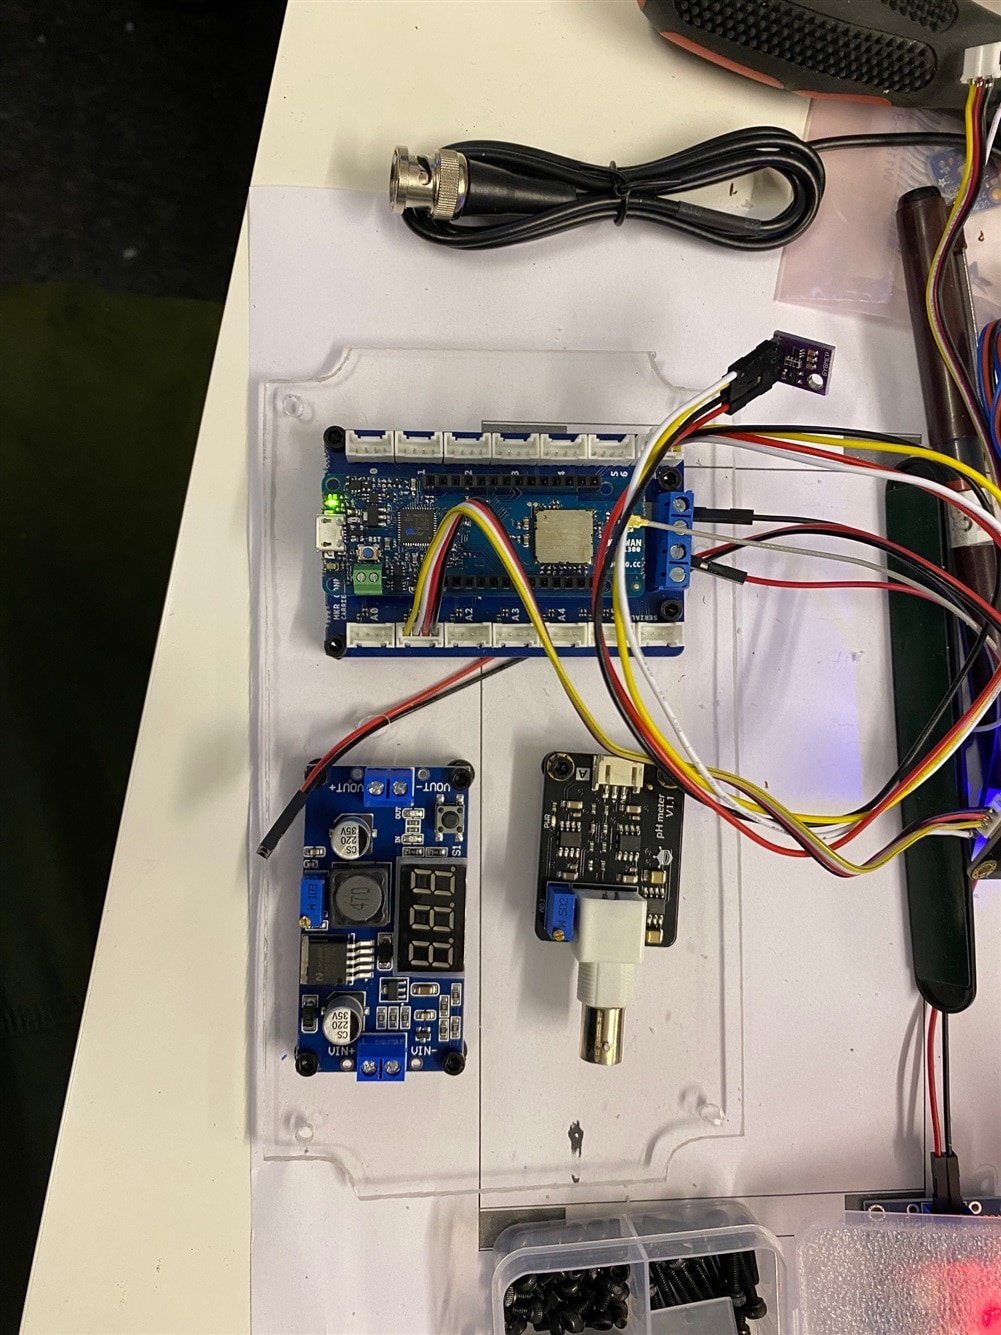
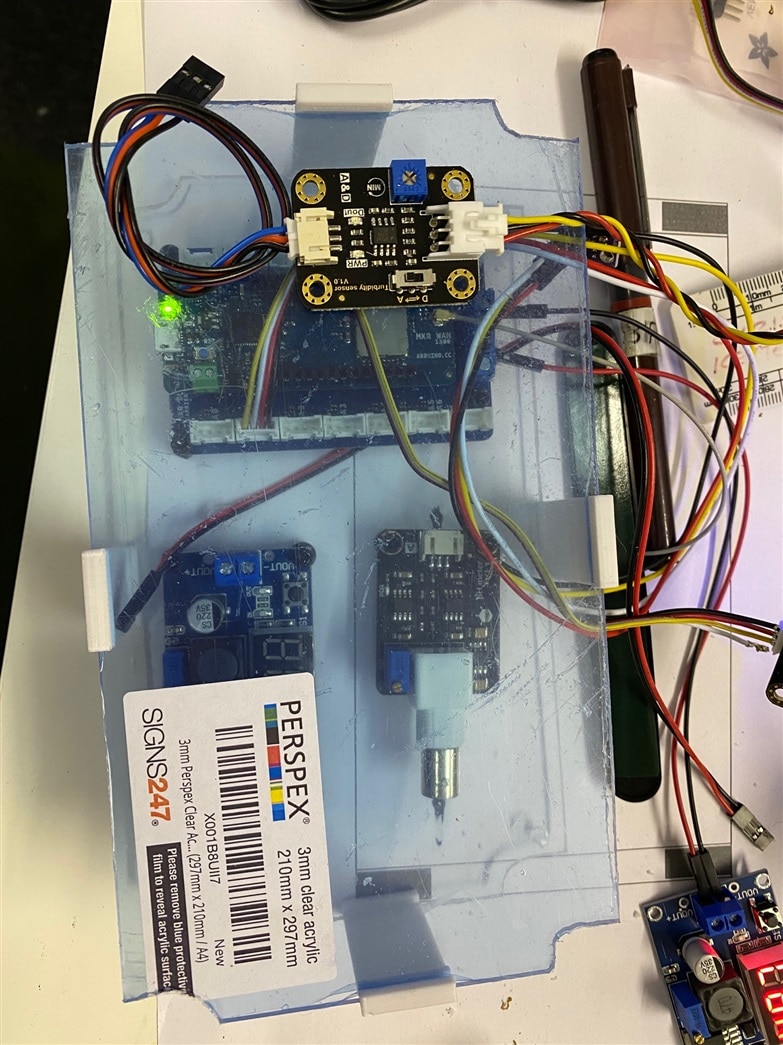
Bottom plate,
- 12v -> 5v DC buck
- pH sensor board (because with a BNC connector and a huge tail, it needs all the space)
- MKR 1300 mounted on Arduino grove sensor board
Top plate on, with stand offs, amended to one on each side.
Next: mount the top plate sensor boards and reconnect everything.
Progressing
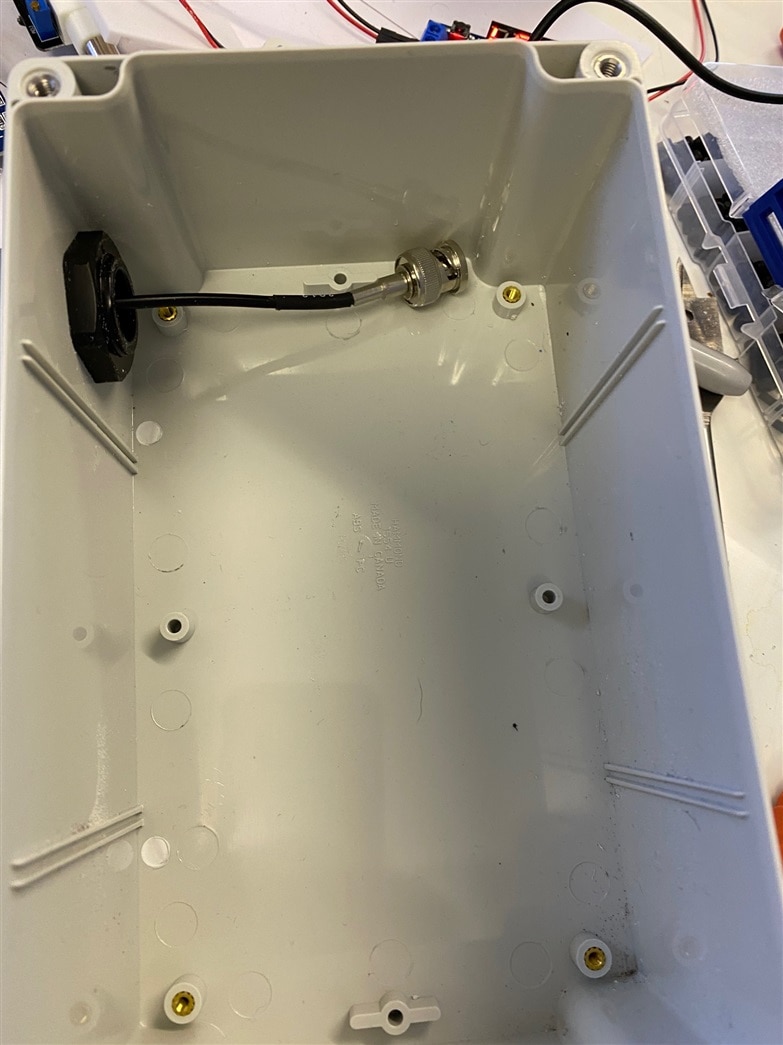
First cable gland installed. Hammond Enclosures glands, solid additions to the enclosure.
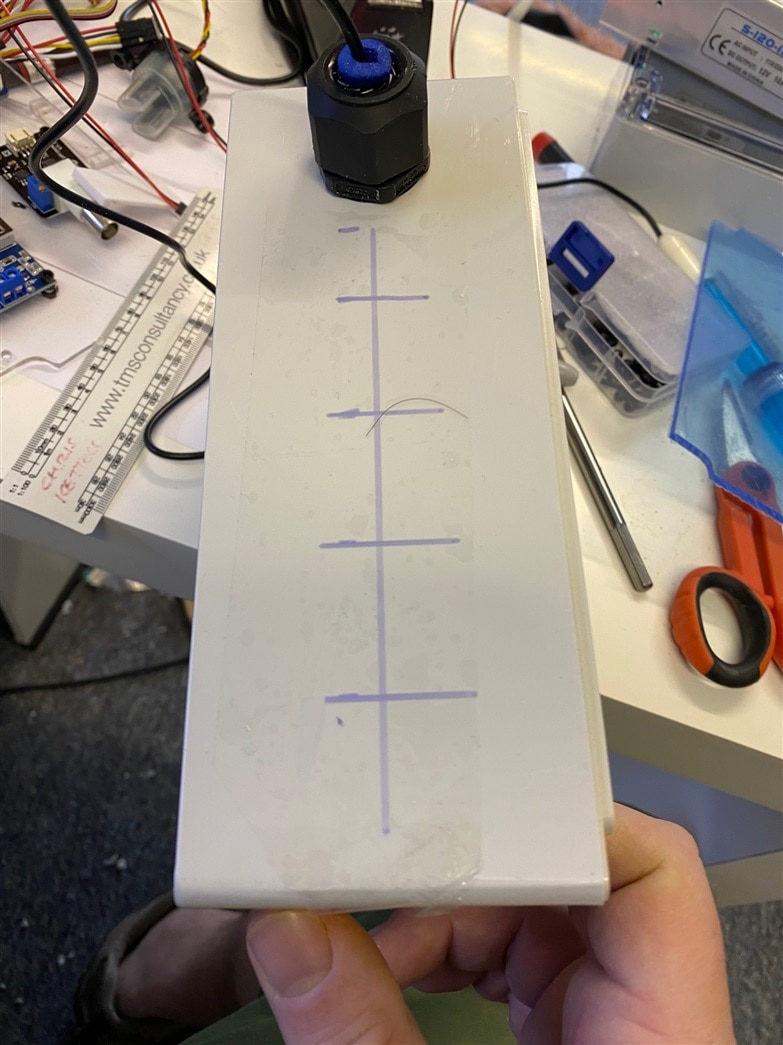
Measuring twice, drilling once.
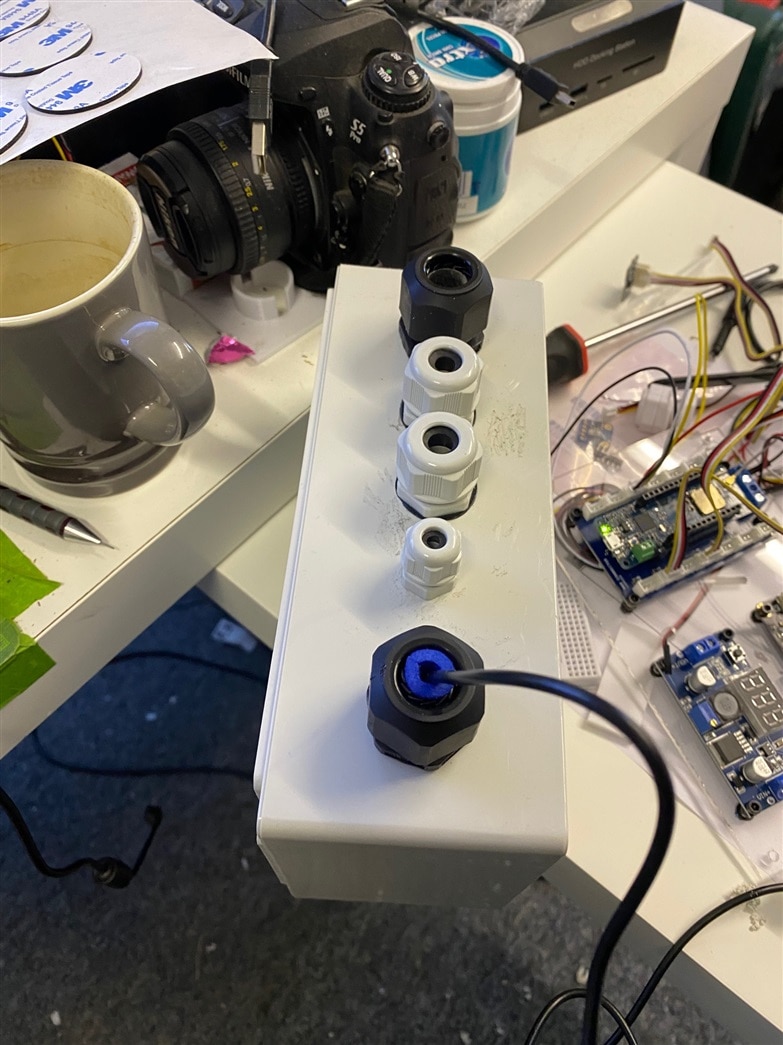
All cable glands now installed. pH probe installed - this was a very tight fit because of the BNC connector for the probe. (I promise the trimmed nerf dart is a temporary measure)
There will be hoovering later!
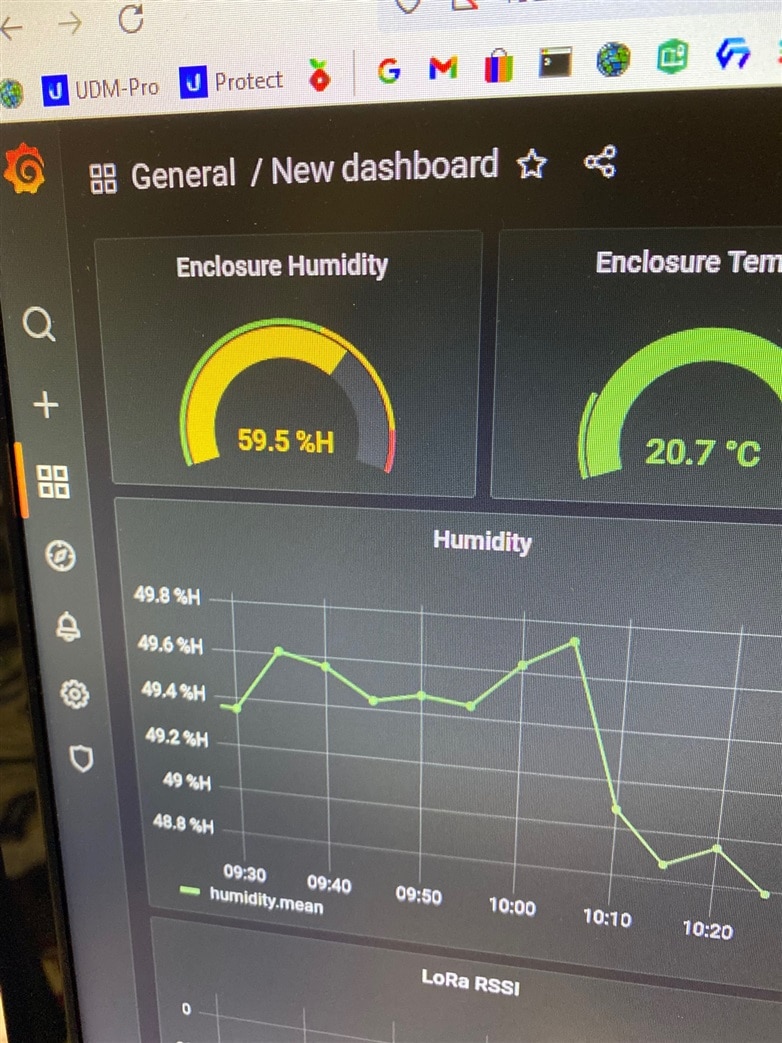
More sensors added, to now include enclosure internals, temp and humidity and using the LDR, if there is light in there, the enclosure is open, if its dark, it should be closed :) flow added for an alarm if there is any sudden change in temp/humidity/ light status - as these would all indicate a problem.
Stretch Objective
Having decided to go with the Arduino MKR form grove shield, I now have an unused element of the parts supplied (well two, but I will come back to that).
So time for a stretch objective. I think I have enough sensors to also include some "control room" monitoring monitoring. So will be extending the original functional and non functional requirements to give me the stats on my own environment, the home office. So Whats happening in the pond, whats happening in the home office. Watch this space.
ON the point of the second unused element, this is the linear actuator. Its a nifty little Mini Push-Pull Solenoid (5V), but as of yet I am to settle on how to best encorporate into my design and build. I amy go for something as simple as, push a grove button to increment the sensor count and display, perhaps.
Top Comments