Hi, I'm Carlo Russo and I would like to talk today about the Arduino MKR1300 boards and the LoRa protocol.
The Just Encase kit is full of interesting components and I decided to start using the Arduino MKR1300.
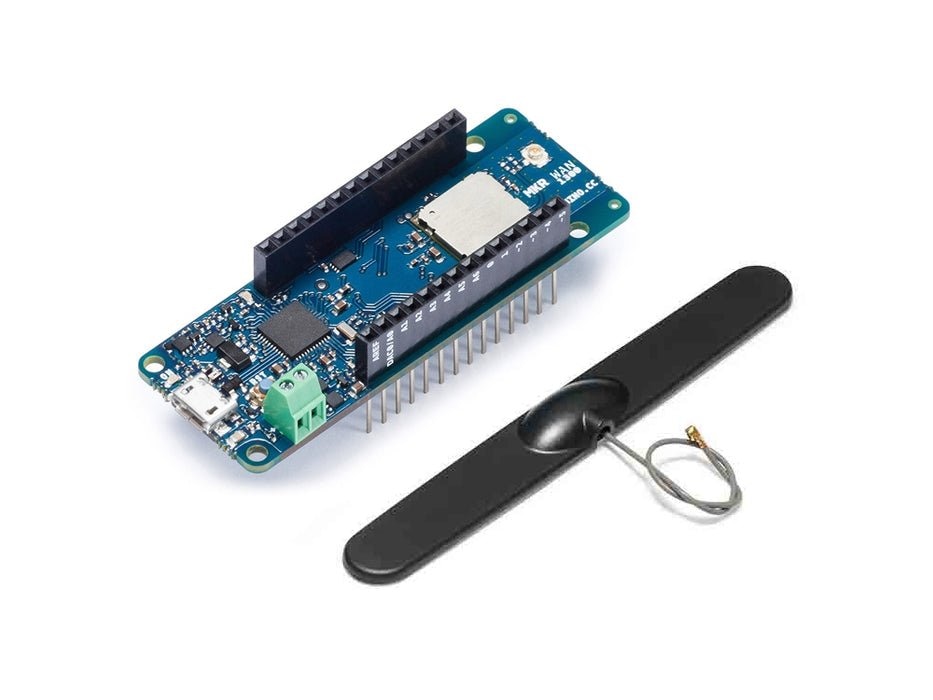
I've been wanting to test LoRa connectivity for a long time now. As a network teacher, I find this technology very interesting, as it combines considerable distances covered with reduced power consumption.
This is the right opportunity to work with LoRa connectivity and I will start, step by step, to use the board starting from a simple initial configuration and gradually adding the sensors and the boards that will be needed to complete my project.
The first step is to study the connectivity between the two boards.
From the hardware point of view, I will only have to power the boards after connecting the antenna (not included in the Arduino MKR1300 package!).
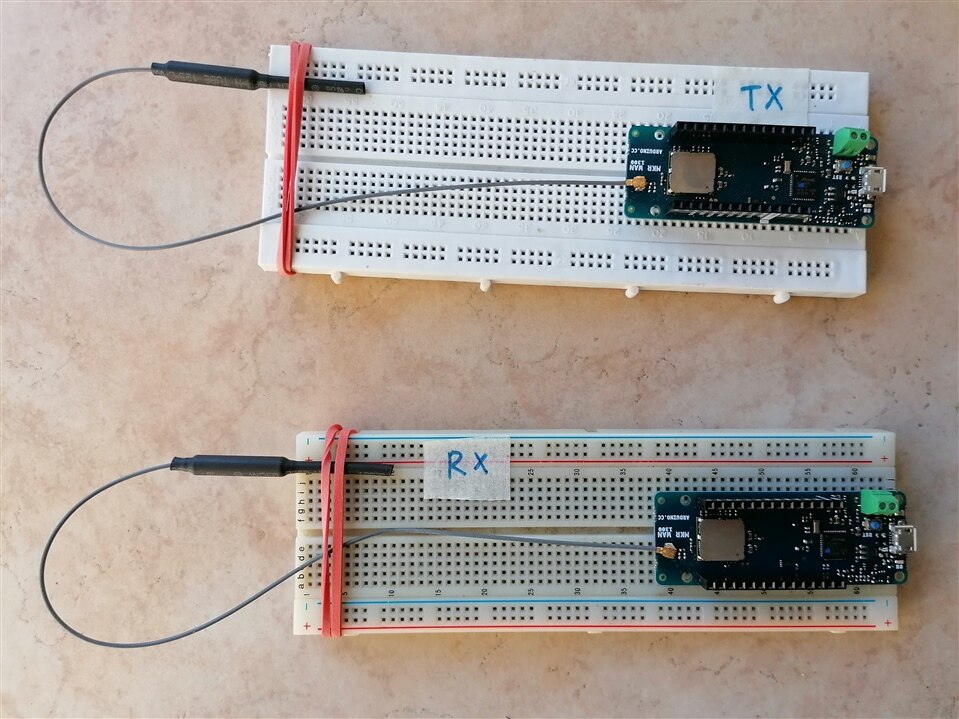
The programming of the two boards was done using two example codes contained in the LoRa library, in particular the two codes are LoraSender.ino and LoRaReceiver.ino.
Here you will find the two codes.
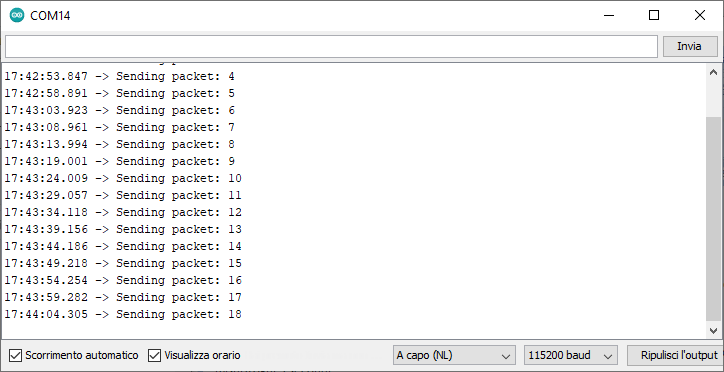
LoRaSender:
#include <SPI.h>
#include <LoRa.h>

int counter = 0;

void setup() {
  Serial.begin(9600);
  while (!Serial);

  Serial.println("LoRa Sender");

  if (!LoRa.begin(915E6)) {
    Serial.println("Starting LoRa failed!");
    while (1);
  }
}

void loop() {
  Serial.print("Sending packet: ");
  Serial.println(counter);

  // send packet
  LoRa.beginPacket();
  LoRa.print("hello ");
  LoRa.print(counter);
  LoRa.endPacket();

  counter++;

  delay(5000);
}
and LoRaReceive:
#include <SPI.h>
#include <LoRa.h>

void setup() {
  Serial.begin(9600);
  while (!Serial);

  Serial.println("LoRa Receiver");

  if (!LoRa.begin(868E6)) {
    Serial.println("Starting LoRa failed!");
    while (1);
  }
}

void loop() {
  // try to parse packet
  int packetSize = LoRa.parsePacket();
  if (packetSize) {
    // received a packet
    Serial.print("Received packet: ");

    // read packet
    while (LoRa.available()) {
      Serial.print((char)LoRa.read());
    }

    // print RSSI of packet
    Serial.print(" with RSSI ");
    Serial.println(LoRa.packetRssi());

  }
}
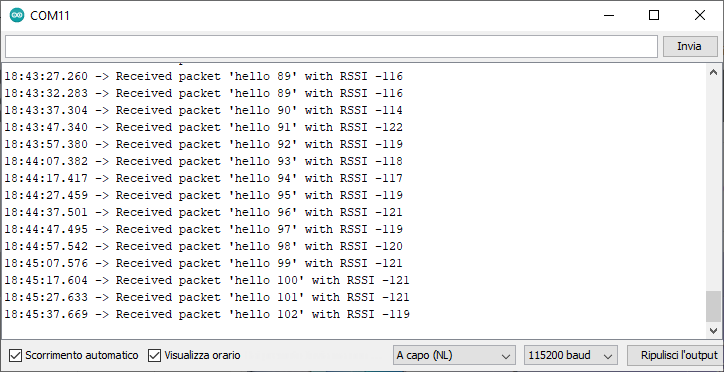
It is impressive to see how with very few lines of code, the two boards begin to communicate with each other.
As always, Arduino devices are noteworthy for their extreme ease of use.
We will start from these two simple sketches to realize our project, modifying the code and adding more to adapt it to our needs.
In the next blog, I will discuss the use of sensors in this project.
Now I would like to talk about LoRa and LoRaWAN technologies, to briefly describe them (https://lora-alliance.org/about-lorawan/) and highlight the advantages and disadvantages of their use.
LoRa
LoRa® is the physical layer or the wireless modulation utilized to create the long-range communication link. LoRa® is based on chirp spread spectrum modulation, which maintains the same low power characteristics as FSK modulation but significantly increases the communication range.
Chirp spread spectrum has been used in military and space communication for decades due to the long communication distances that can be achieved and robustness to interference, but LoRa® is the first low-cost implementation for commercial usage.
The great advantage of LoRa® is in the technology’s long-range capability. A single gateway or base station can cover entire cities or hundreds of square kilometers but, obviously, the range highly depends on the environment or obstructions in a given location.
One technology cannot serve all of the projected applications and volumes for IoT.
WiFi and BTLE (Bluetooth Low Energy) are widely adopted standards and serve the applications related to communicating personal devices quite well. Cellular technology is a great fit for applications that need high data throughput and have a power source. LPWAN offers a multi-year battery lifetime and is designed for sensors and applications that need to send small amounts of data over long distances a few times per hour from varying environments
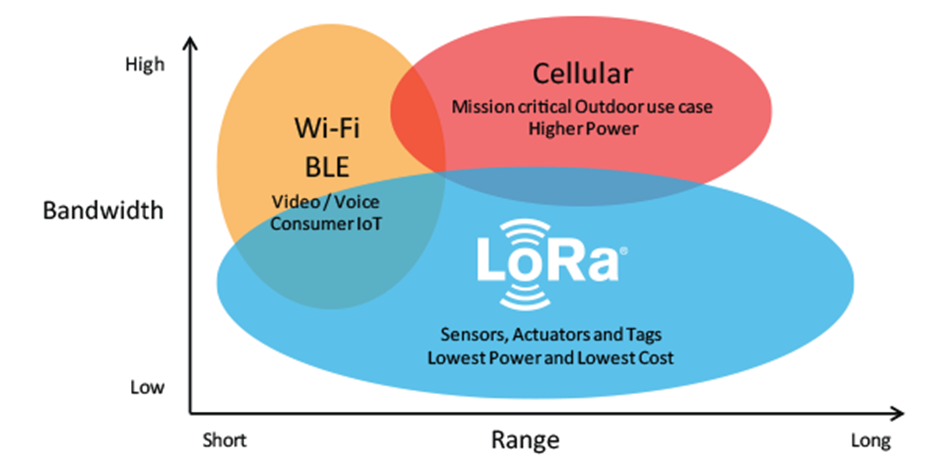
Figure 1. Bandwidth Vs Range (https://www.semtech.com/lora)
LoRaWAN
LoRaWAN defines the communication protocol and system architecture for the network while the LoRa® physical layer enables the long-range communication link.
The protocol and network architecture have the most influence in determining the battery lifetime of a node, the network capacity, the quality of service, the security, and the variety of applications served by the network.
Network Architecture
Many existing deployed networks utilize a mesh network architecture. In a mesh network, the individual end-nodes forward the information of other nodes to increase the communication range and cell size of the network.
While this increases the range, it also adds complexity, reduces network capacity, and reduces battery lifetime as nodes receive and forward information from other nodes that is likely irrelevant for them.
In a LoRaWAN network, nodes are not associated with a specific gateway. Instead, data transmitted by a node is typically received by multiple gateways. Each gateway will forward the received packet from the end-node to the cloud-based network server via some backhaul (either cellular, Ethernet, satellite, or Wi-Fi).
Problems with LoRaWAN
Despite its strenghts, LoRaWAN has a couple of serious drawbacks as well.
- Lack of network infrastructure: while with cellular IoT you can deploy anywhere in the world and find a carrier with coverage, that's not usually the case with LoRaWAN. There are a lot of LoRaWAN service providers but many countries, regions and cities have none, so if you want to deploy there, you have to build the infrastructure
- Extremely limited messaging capabilities: LoRaWAN networks can’t handle very much communication. In fact, with LoRaWAN, you can only send a limited number of messages per day. For example, you may only allow a device to use the frequency band as little as 1% of the time.
- LoRaWAN gateways can’t transmit and receive at the same time: you need to limit traffic, for example, acks to message arrived, even sending firmware updates to your device to fix bugs or vulnerabilities will make them unavailable.
Next time we will talk about sensors.
Bye
