


Hi, I'm Carlo Russo and I'd like to introduce you to my third blog for the Design Challenge: Just Encase.
We have already made the connection between the two Boards using the LoRaWAN protocol and in this blog we will consider the sensors to be added to the transmitter board and we will see how to send the data obtained to the receiver board.
As sensors, the kit includes the "Grove Starter Kit for Arduino", a collection of sensors and actuators of all kinds.
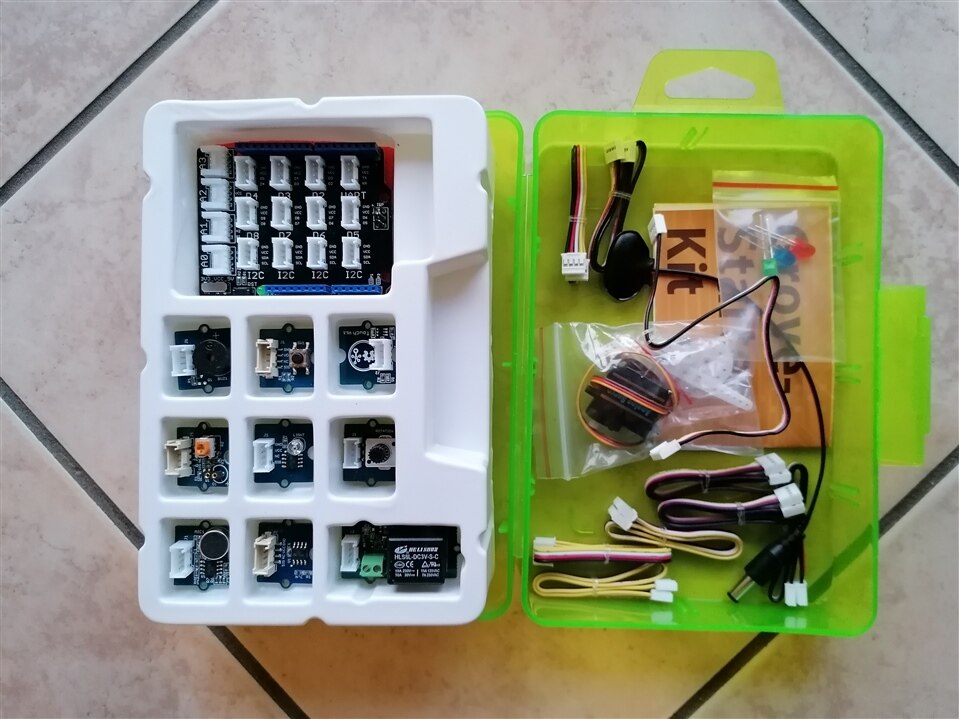
There are sensors for temperature, brightness, audio signals, touch, etc. All these sensors are easily integrated into the Base Shield which is compatible with Arduino Uno.
In our case, we don't want to burden the project too much by using another board and always keeping in mind the consumption constraint (I don't want to open the box often to replace the batteries), I chose not to use the Base Shield and to connect the sensor boards that I intend to use directly on the Arduino MKR1300 it's not a pretty solution but it works!.
By acting in this way, obviously, we will not have an orderly and compact realization but we will be forced to manage wires that connect the various boards.
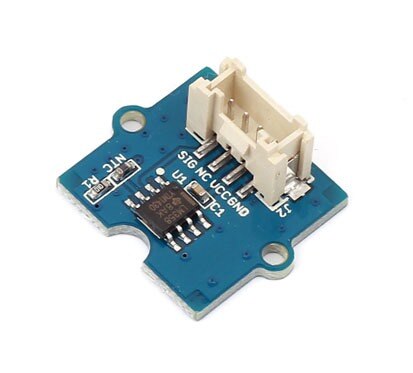
We will use the temperature sensor to measure temperature inside the case.
Another sensor that I will use is the "High Temp Waterproof DS18B20" temperature sensor, a sensor with three wires, resistant to liquids and which uses a digital technology that makes it easy to use even at relatively long distances.
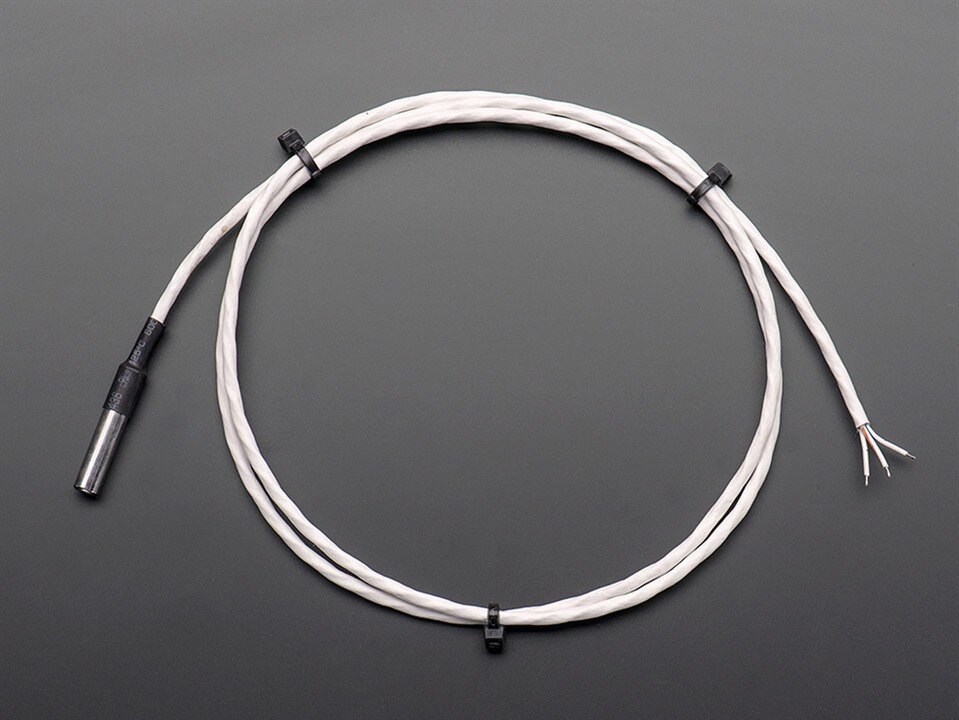
This sensor uses a Dallas 1-Wire protocol technology that allows the transport of digital data through 1 wire only and has a resolution of up to 12 bits. This protocol also provides for the identification of each individual sensor through a unique 64-bit code that allows you to connect multiple sensors on the same wire and be able to recognize and manage them individually via their respective ID. This protocol is quite complex but, by downloading and using the library in the Arduino IDE, using this sensor becomes really simple.
In our case we do not have large requirements related to accuracy so we can safely use the sensor at a lower resolution.
Now it's time to see the board with the two sensors.
This is the photo of the transmitting board with the two sensors mounted. There is a bit of a mess of cables but, when we put everything in the box, we will arrange the cables in an orderly manner.
Using two temperature sensors we will be able to simultaneously monitor the temperature inside the box (through the sensor of the Grove Kit) and the outside temperature (thanks to the sensor DS18B20) of the channel water.

I had to add a few lines of code to the transmitter sketch to read the data from the second sensor and transmit it via the LoRaWAN protocol.
As soon as I started the sketch for a while I feared that something had gone wrong as I got two too different temperature values. I made a couple of checks and verified the accuracy of the formula used to obtain the temperature in degrees Celsius. Only after minutes of confusion did I understand the mystery ... the sensor of the Adafruit was right under the jet of hot air from my laptop and therefore measured a temperature significantly higher than that measured by the other!
The sender:
#include <OneWire.h>
#include <DallasTemperature.h>
#include <SPI.h>
#include <LoRa.h>
//#include <math.h>

#define ONE_WIRE_BUS 2

const int B = 4750;               // B value of the thermistor
const int R0 = 100000;            // R0 = 100k
const int pinTempSensor = A0;     // Grove - Temperature Sensor connect to A0

OneWire oneWire(ONE_WIRE_BUS); // Imposta la connessione OneWire
DallasTemperature sensore(&oneWire); // Dichiarazione dell'oggetto sensore
int counter = 0;

void setup() {
  Serial.begin(9600);
  sensore.begin();

  if (!LoRa.begin(868E6)) {
    Serial.println("Starting LoRa failed!");
    while (1);
  }
  delay(1000);
}


void loop() {
  int a = analogRead(pinTempSensor);
  float R = 1023.0/((float)a)-1.0;
  //convert to temperature via datasheet ;
  float temperature=(1.0/((log(R)/B)+(1/298.15)))-273.15;

  Serial.print("Box temperature = ");
  Serial.println(temperature);
  sensore.requestTemperatures(); // richiesta lettura temperatura

  Serial.print("Sending packet: ");
  Serial.print(counter);
  Serial.print("  ");
  float celsius = sensore.getTempCByIndex(0);
  Serial.print(celsius);
  Serial.println("°C");

  // send LoRa packet
  LoRa.beginPacket();
  LoRa.print(counter);
  LoRa.print("   OutTemperature ");
  LoRa.print(celsius);
  LoRa.print("°C  ");
  LoRa.print("   BoxTemperature ");
  LoRa.print(temperature);
  LoRa.println("°C");
  LoRa.endPacket("!");

  counter++;

  delay(10000);
}

The receiver:
#include <SPI.h>
#include <LoRa.h>

void setup() {
  Serial.begin(9600);
  while (!Serial);
  Serial.println("LoRa Receiver");
  if (!LoRa.begin(868E6)) {
    Serial.println("Starting LoRa failed!");
    while (1);
  }
}

void loop() {
  // try to parse packet
  int packetSize = LoRa.parsePacket();
  if (packetSize) {
    // received a packet
    Serial.print("Received packet: ");

    // read LoRa packet
  String LoRaLabel = LoRa.readStringUntil('!');
  Serial.print(LoRaLabel);
  }
}

With this third blog we have completed the transmitter, in the next part we will modify the receiver.
Until next time!
Carlo