


Hi, I'm Carlo Russo and this is the fourth part of my work.
In the past blogs I have presented the kit received, I have tried the LoRaWAN connectivity and I have added a couple of sensors to the transmitter.
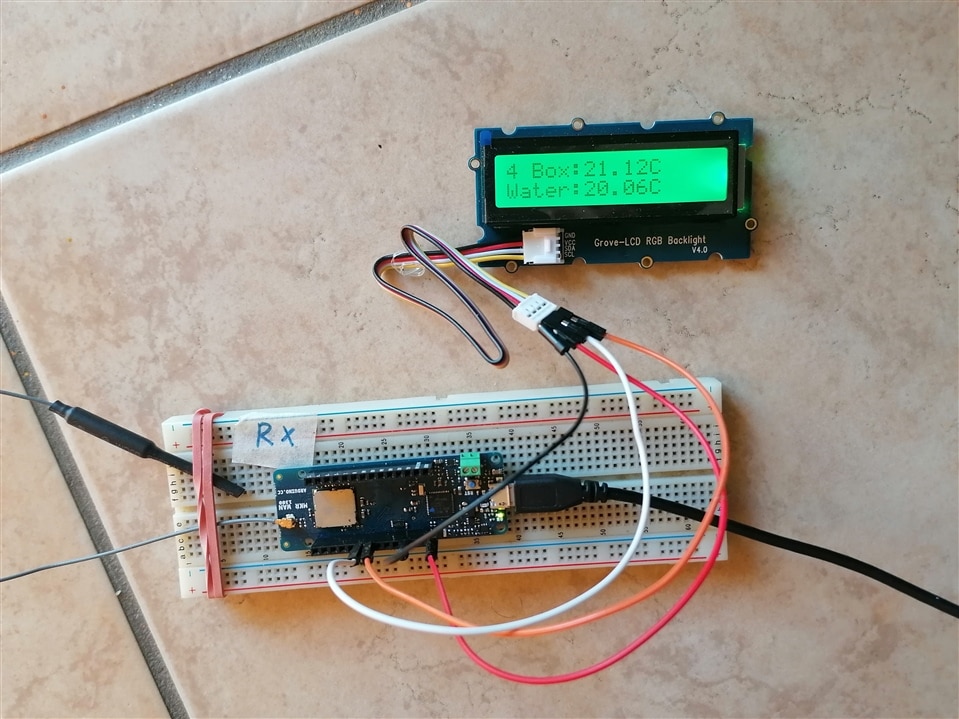
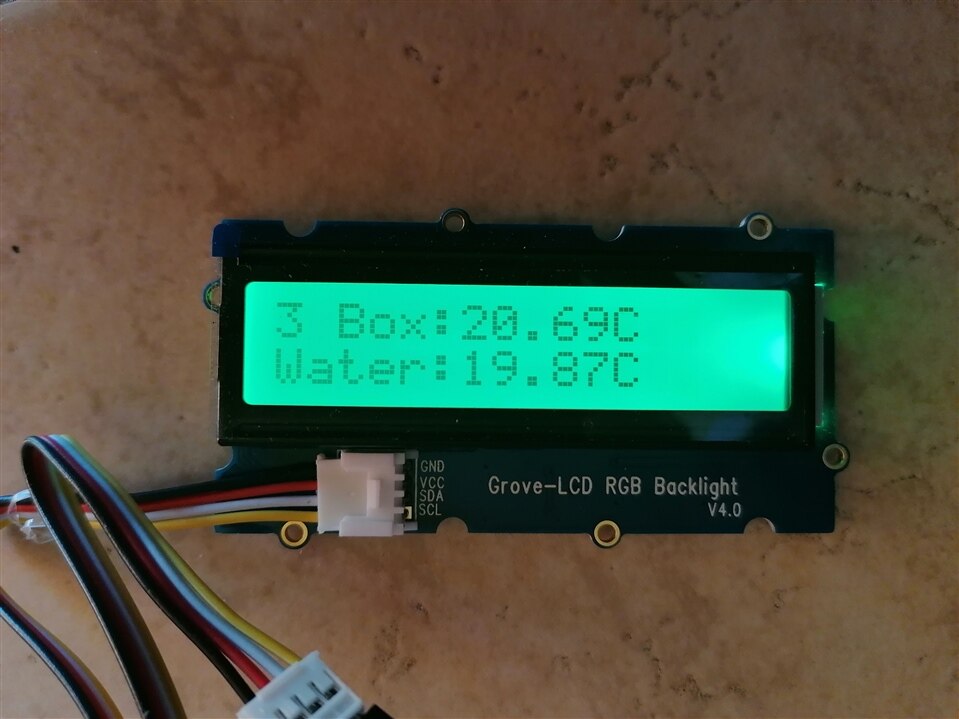
Today I will take care of the receiver and, I will use the wonderful LCD display of the Grove kit to view the temperature values of both the water in the irrigation channel and inside the transmitter box.

The use of the display is facilitated by the fact that the second box I received in the kit to be tested has a transparent lid and this makes it possible to view the display without having to make holes in the box which, inevitably, would reduce its water resistance.

The display can represent 2 lines of 16 characters for which it is necessary to reduce the size of the message to be displayed so that it can be fully displayed.
The format I think looks like this:
Packet No. Box:xx.xxC
Water:yy.yyC
for example:
345 Box:21.98C
Water:27.98C
I must therefore modify the transmitter and the receiver codes to display this message.
The receiver sketch will also be modified in order to manage the LCD display of the Grove kit.
I used the information contained on the device's web page: https://www.seeedstudio.com/Grove-LCD-RGB-Backlight.html.
First you need to install the library. https://github.com/Seeed-Studio/Grove_LCD_RGB_Backlight
Simply search using the keywords LCD and RGB to find the Grove LCD RGB Backlight library.
I installed version 1.0.0 and everything worked perfectly.

Mounting the display is also very simple. It is managed using only four pins, two for the power supply and 2 for the controls.
It uses the I2C protocol and is easily managed by the Arduino MKR1300.

Also in this case, as for the transmitter, I will not use the Arduino Base Shield, but I will connect the display directly to the I2C ports on the Arduino MKR1300 board.
Now let's see how the changes to be made to the receiver and transmitter sketches to obtain the temperature readings as described above.
The transmitter:
#include <OneWire.h>
#include <DallasTemperature.h>
#include <SPI.h>
#include <LoRa.h>

#define ONE_WIRE_BUS 2

const int B = 4750;               // B value of the thermistor
const int R0 = 100000;            // R0 = 100k
const int pinTempSensor = A0;     // Grove - Temperature Sensor connect to A0

OneWire oneWire(ONE_WIRE_BUS); // Set OneWire Connection
DallasTemperature sensore(&oneWire);
int counter = 0;  //message counter

void setup() {
  sensore.begin();
  if (!LoRa.begin(868E6)) {
    Serial.println("Starting LoRa failed!");
    while (1);
  }
  delay(1000);
}


void loop() {
  int a = analogRead(pinTempSensor);
  float R = 1023.0/((float)a)-1.0;
  //convert to temperature via datasheet ;
  float temperature=(1.0/((log(R)/B)+(1/298.15)))-273.15;

  sensore.requestTemperatures(); // richiesta lettura temperatura
  float celsius = sensore.getTempCByIndex(0);
  // send packet
  LoRa.beginPacket();
  LoRa.print(counter);
  LoRa.print(" Box:");
  LoRa.print(temperature);
  LoRa.print("C ");
  LoRa.print("Water:");
  LoRa.print(celsius);
  LoRa.println("C");
  LoRa.endPacket("!");

  counter++;
  delay(10000);
}
The receiver:
#include <SPI.h>
#include <LoRa.h>
#include <Wire.h>
#include "rgb_lcd.h"
rgb_lcd lcd;

// Setting green LCD
const int colorR = 0;
const int colorG = 255;
const int colorB = 0;
int len;
String first,secondo;

void setup() {
  if (!LoRa.begin(868E6)) {
    Serial.println("Starting LoRa failed!");
    while (1);
  }
  // set up the LCD's number of columns and rows:
  lcd.begin(16, 2);
  lcd.setRGB(colorR, colorG, colorB);
  delay(1000);
}

void loop() {
  // try to parse packet
  int packetSize = LoRa.parsePacket();
  if (packetSize) {  // received a packet
  // read packet
  String LoRaLabel = LoRa.readStringUntil('!');
  lcd.clear();
  len = LoRaLabel.length();
  first = LoRaLabel.substring(0,len-15);
  lcd.setCursor(0, 0); //write on first row
  lcd.print(first);
  secondo = LoRaLabel.substring(len-14,len-2);
  lcd.setCursor(0, 1); //write on second row
  lcd.print(secondo);
  }
}
With these changes I will get the data on the display formatted as I had already described.
This activity is now over.
In the next one we will provide the boxing of the two circuits and the field test!
Greetings
Carlo