Hi, I'm Carlo Russo and this is the fifth part of my job.
In the four blogs already made, I explained how I used the two Arduino MKR1300 boards. I have seen how to use the LoRaWAN protocol and how to manage data transfer. Then I used the two temperature sensors present in the kit. I used the first, of the water resistant type, for measuring the temperature of the water in the channel and the second for measuring the temperature inside the transmitter box.
This box will be hermetically sealed and placed near the irrigation channel from where it will start transmitting information to the receiving station.
Unfortunately we will start talking about the protagonists of this contest only now.
The two boxes that came with the kit are two truly exceptional containers. They are made of resistant materials and have a sober and functional line.
The first, which we will use for the transmitter, is slightly larger than the other and is gray in color.

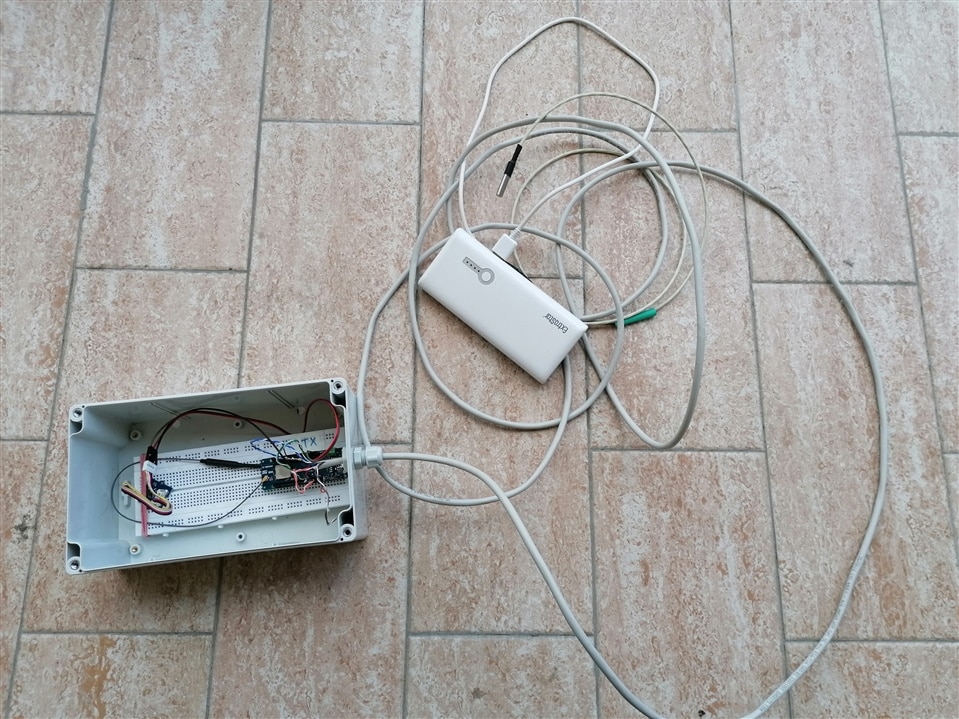
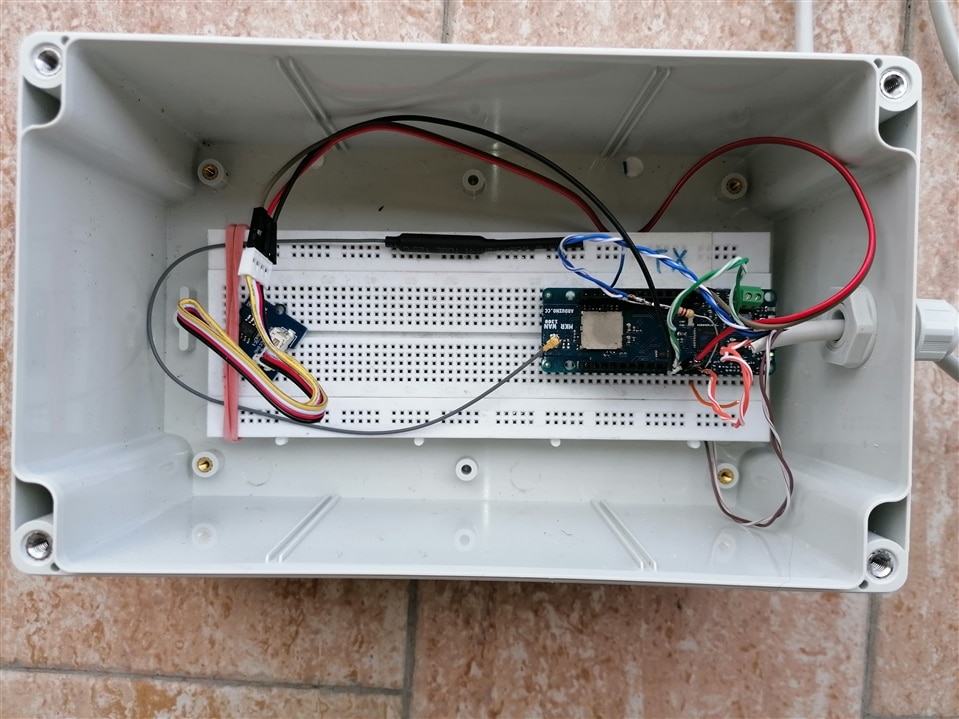
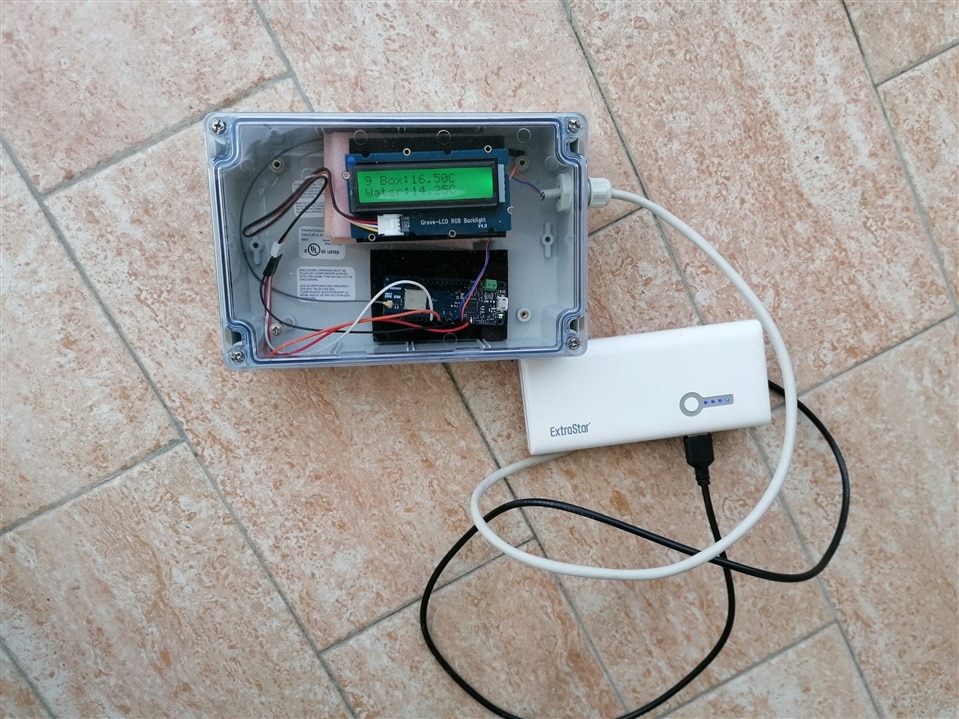
The second is instead slightly smaller and has a transparent lid.
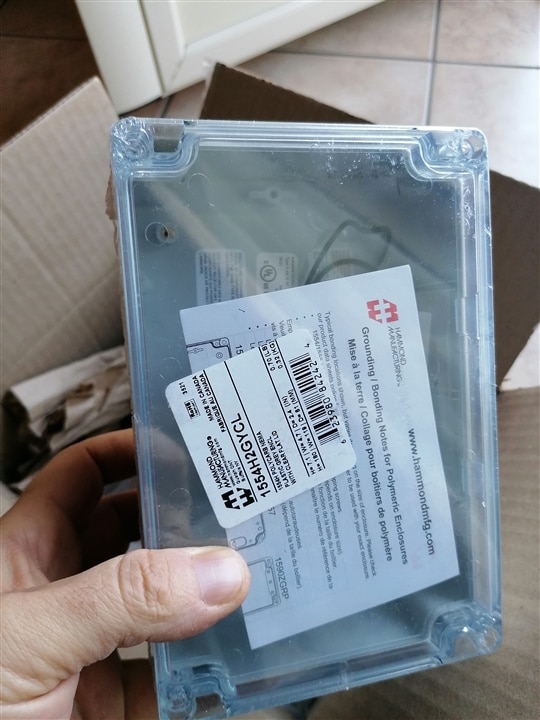
It is ideal if you want to see what happens inside the box or if devices such as LEDs or LCD displays have been used (as in our case!).
Both have a seal inside that makes them waterproof and perfectly suitable for outdoor use.
Both boxes have been pierced to allow external power supply and, in the case of the transmitter, to allow the passage of the power-signal cable of the temperature sensor.
I used UTP cables for the connection to the power supply, both in the receiver and in the transmitter. UTP cables have the right size to be used with one of the cable gland arrived with the kit.
Both boxes will be placed outdoors and left to atmospheric agents.
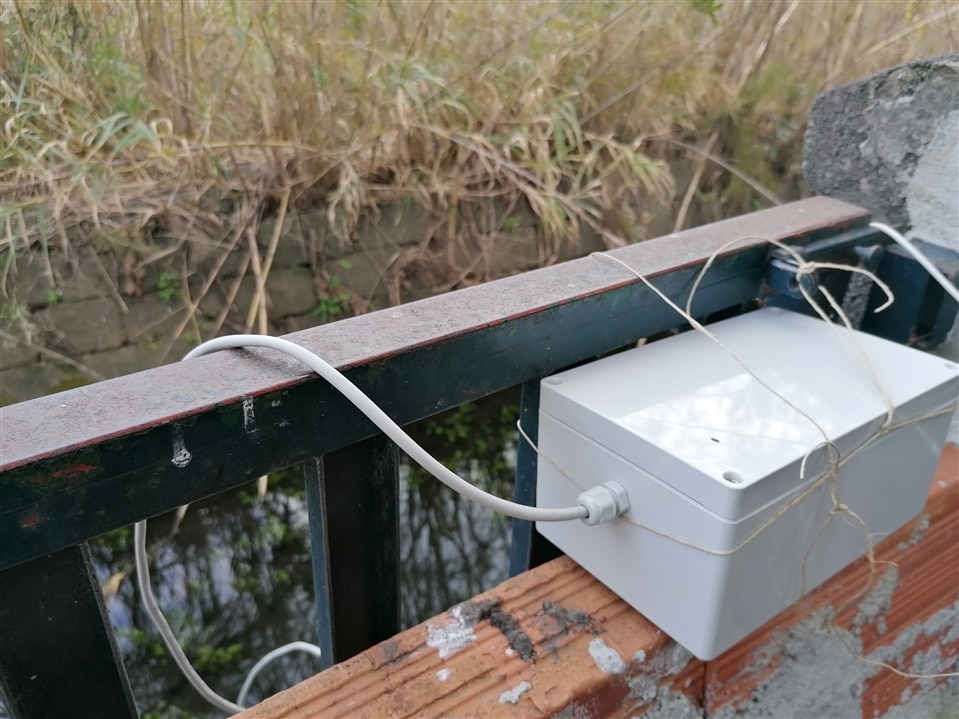
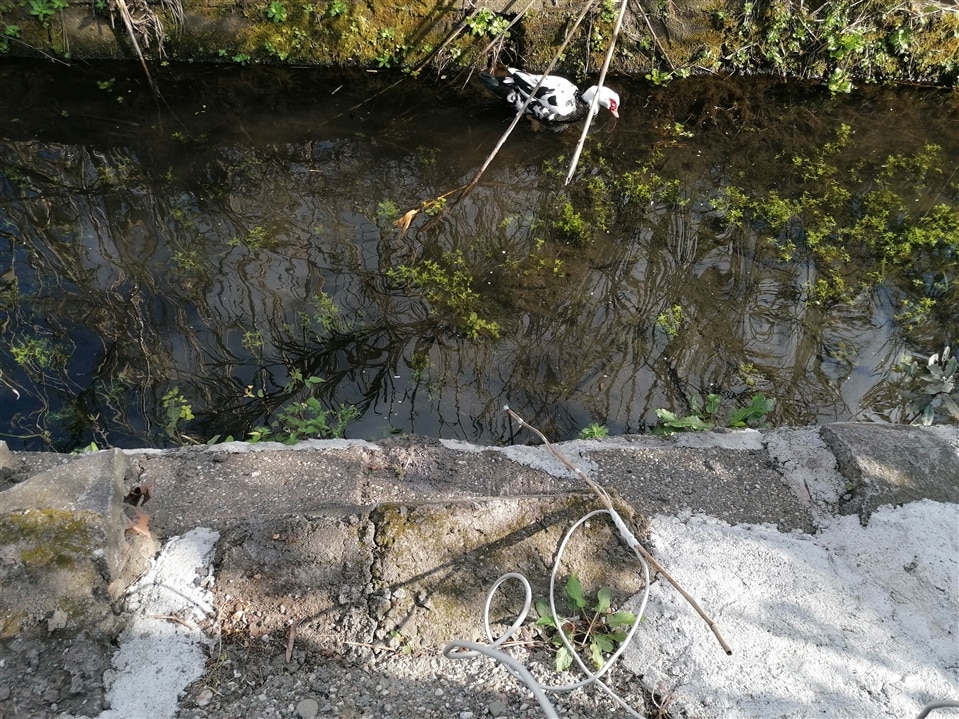
The transmitter, in particular, will be a few tens of centimeters from the irrigation channel in a very humid environment.
The sensor, tied to a bamboo rod, was immersed in the water of the irrigation channel to make it remain immersed at a depth of about 5 cm.
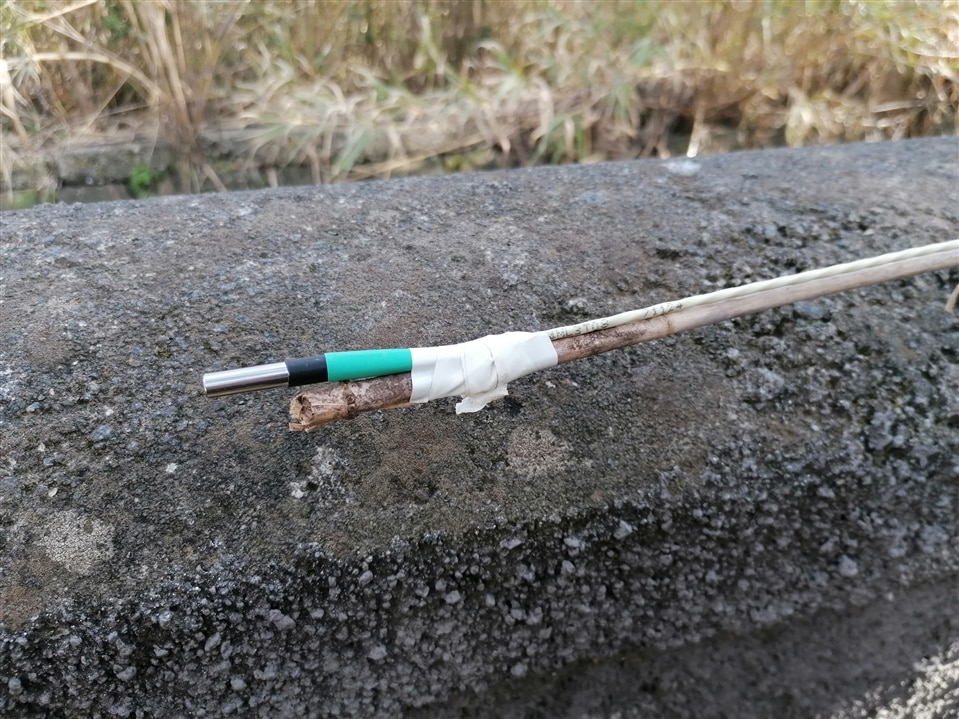
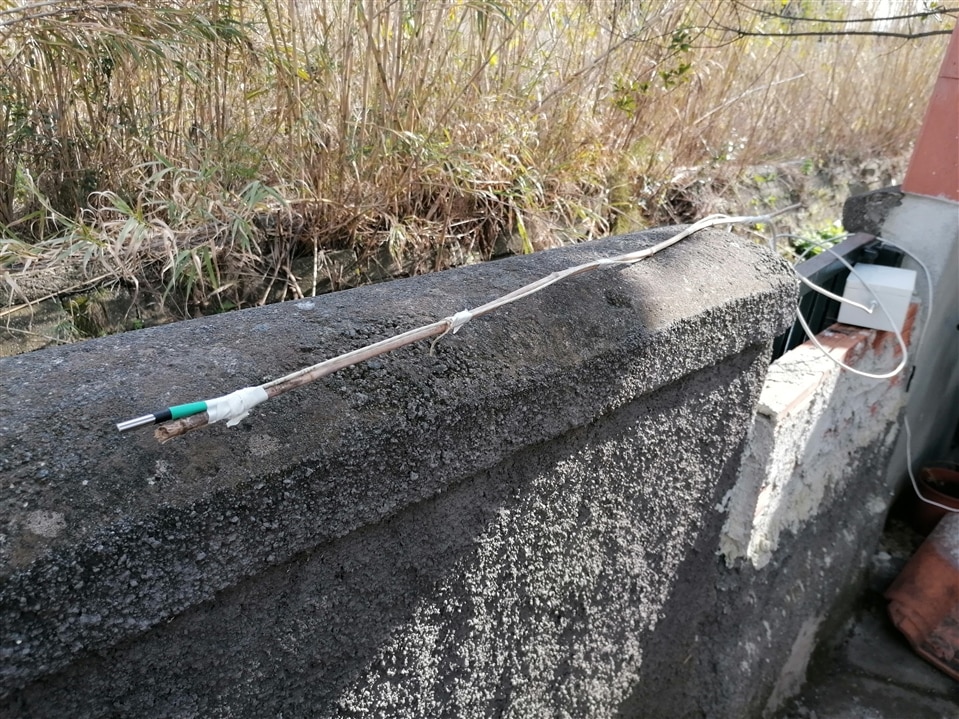
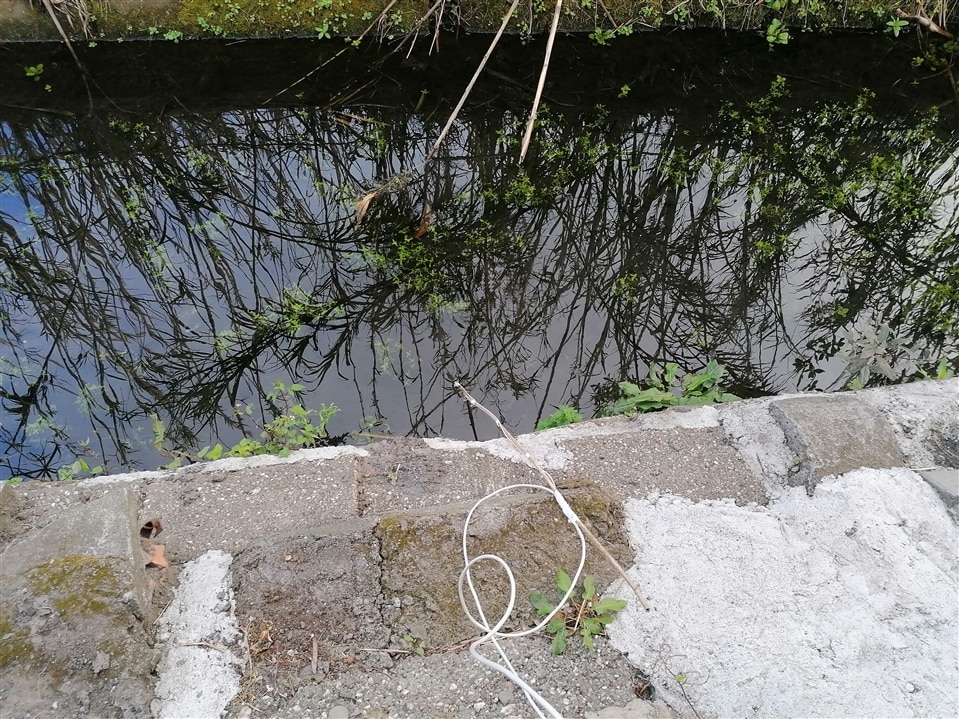
Once the transmitter was placed on a low wall near the irrigation channel, I was finally able to test the range of the LoRaWAN transmission in the field.
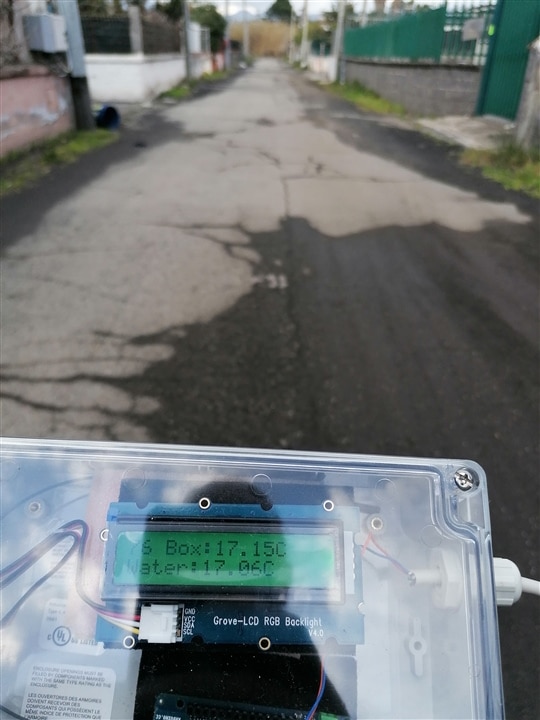
Powering the receiver with a power bank and moving away from the transmitter, I saw that the transmission takes place correctly up to a hundred meters but that, in the presence of houses or concrete walls, the signal no longer reaches the receiver.
The receiver is placed approximately 80 meters away from the transmitter. There are no obstacles or walls and the reception is therefore optimal.
I conclude this fifth part by commenting on the work done so far.
I am very happy and satisfied for what I have achieved. The contest immediately made me think about the realization of a project to be used outdoors and the presence of the water-resistant sensor convinced me to create a system for monitoring and transmitting the water temperature.
Obviously, the creation of a system that monitors the water temperature of an irrigation canal is nothing new but this contest was an opportunity to test some technologies that I had not yet used.
For example, for a long time, I have been very intrigued by LoRa technology and I have some boards at home with which I could have tested it but, taken from other commitments, I have never started any projects. When the "Just Encase" contest was published, I took advantage of the opportunity to get involved and to finally be able to use this technology.
This contest then gave me the opportunity to ask myself the problem of creating projects to be used outdoors, exposed to atmospheric agents and to the curiosity of wild an very dangerous animals!
Very often we make circuits and projects at home or in the laboratory and we do not ask ourselves the problem of how to use that project in a "hostile" environment. For me it was an opportunity to review the regulations relating to protection from liquids and dust.
Obviously the work is only at the beginning, there are several things that I would like to add to my project and that I will probably resume in the summer, when I have more free time.
In particular, the question of maximum range using LoRaWAN remains open, and I'm also curious to know how to minimize board energy consumption to maximize battery life.
What I have created works and does exactly what you can see in the photos.
The code is available to everyone but it is not optimized, it is just a way of using the technologies that have been made available to me.
Thanks to Element14 for the opportunity it gave me and to the whole community for the always interesting contributions.
Carlo
