Now that I have a concept for my project and have done background research on particulate matter (PM), the next step was material procurement. The Hammond Manufacturing Enclosures and Arduino MRK WAN 1300’s were coming in the mail along with the Grove Starter Kit, some cable glands, and a weatherproof temperature sensor thanks to the element14 organizers of the Just Encase design challenge. But for my project I still needed a few more things. Before I integrated all the sensors, I tested them individually with some built-in examples from the libraries I had to download for each sensor. The next sections I will go into more specifics of each sensor and how I tested it. (More detail on the wiring will be included in another blog).
PM sensor
It’s kind of impossible to have a drone-mounted particulate matter device without a particulate matter sensor, so that’s the first thing I ordered! There were a few cheaper sensors that measured PM2.5 but I wanted a PM sensor that could also measure PM10. Some of the sensors I looked at were more for home air quality applications which wasn’t really what I wanted. Finally, I found the Sensirion SPS30 PM sensor (part number: SEN-15103) which can measure PM1.0, PM2.5, PM4.0, and PM10. I got the sensor with the cable connection so it would be easier to plug into the breadboard. When it came in the mail, I was surprised at how small and light it was!
I first tried using the UART configuration with the PM sensor because the research I had done seemed to indicate that UART was better than the I2C configuration for this particular sensor. But after hours of looking at open-source code and downloading different libraries, my husband and I couldn’t get that connection to work. So, we tried wiring it for I2C and it was as simple as downloading the sensirion-sps library straight from Arduino IDE and opening the sps30 example. I uploaded the code to the Arduino and opened the serial monitor and lo and behold it worked! Below is a sample of the output I was getting. PM is the particulate matter concentration in micrograms per cubic meter and NC is the number concentration in counts per cubic centimeter. For example, the PM 10.0 value would give the concentration (μg/m3) of all particles with a diameter less than 10 μm, and the NC 2.5 value would give the number of particles with a diameter less than 2.5 μm in one cm3. I also lit a match, blew it out, and measured the PM of the smoke from the match, and it was four orders of magnitude higher than the background levels.
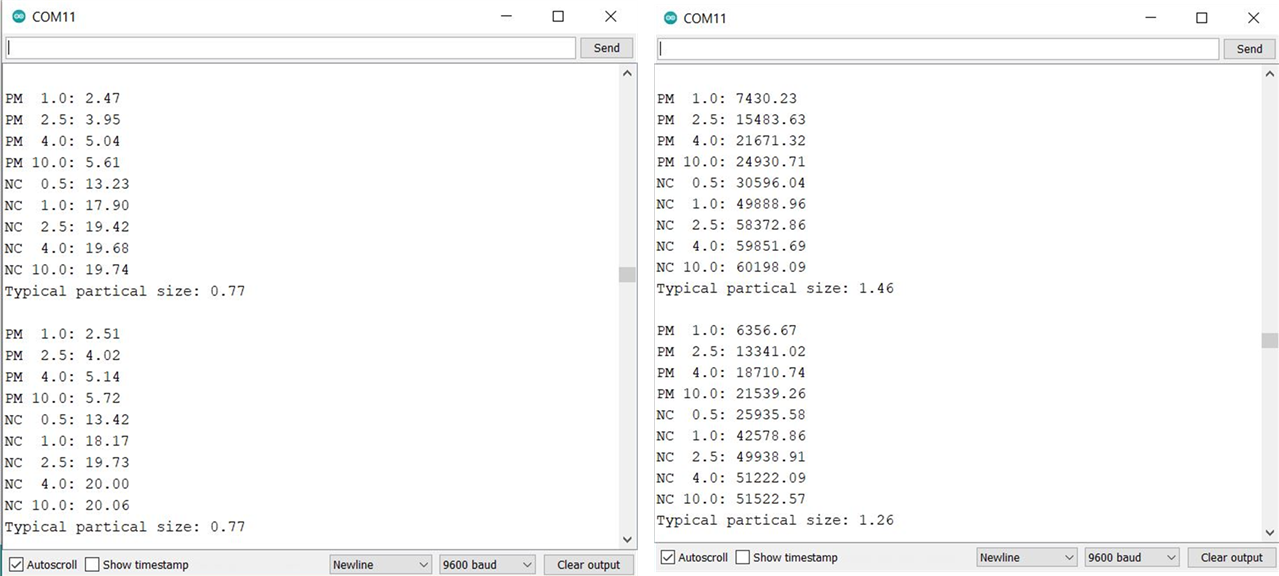
Sample output from the SPS30 PM sensor. Background levels (left) and after lighting and blowing out a match (right). PM values are in μg/m3, and NC values are #/cm3.
GPS sensor
Now that the PM sensor was working, I needed to get the GPS sensor working. For every measurement I take, I want to know the latitude, longitude, and elevation so I can map the PM plume with mapping software afterwards. I decided on the SAM-M8Q GNSS sensor (part number: GPS-15210) because it had a built-in antenna, was small and cheap, but still had good accuracy (2.5m horizontal). To test it, I wired it for I2C. I didn’t have to include external pull up resistors because they are built-in the sensor. I had to download two libraries: the SparkFun u-blox GNSS Arduino Library, and the Wire library which is needed for I2C to GNSS. I opened Example3_GetPosition from the GNSS library, uploaded it to the Arduino board and opened the serial monitor. After a few minutes, I still had no latitude or longitude because it was not connecting to any satellites, so I moved outside. After a minute I started getting location data and it was connecting to 6-8 satellites. Once it had the connection, I could move back inside and it was still working.

Unboxing the PM sensor (left) and GPS sensor (right). I was surprised at how small they were!
Digital waterproof temperature sensor
The next sensor I tested was the digital waterproof temperature sensor that came in the kit that was mailed to me from the competition organizers (Part number: DS18B20). This is the sensor that will be outside the enclosure to make sure that the drone does not get too hot, and if it does, it will light up an LED to indicate to the user that the environment is too hot for the drone. This was a simple one-wire connection, so after downloading the DallasTemperature and OneWire libraries, I opened the built-in example called “Simple” to test it.
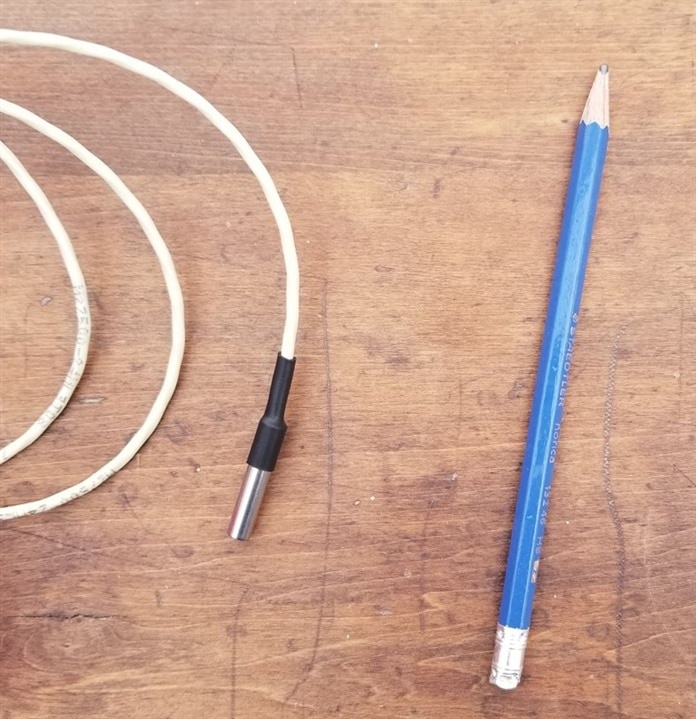
Digital Waterproof temperature sensor
TMP36 temperature sensor
I thought it might be interesting to test the temperature inside the enclosure as well as outside the enclosure, so I am using a TMP36 temperature sensor from another Arduino project to do this. This has an analogue voltage output, and I modified the code from the Love-O-Meter example in the built-in StarterKit_BasicKit examples to test the sensor.
LoRa communication
Finally, I tested the LoRa Wan protocol to communicate wirelessly between the two Arduino MKR 1300 boards. There were a few options for this. The first option would be to use only one MRK 1300 WAN board and connect it to The Things Network and access the data through the Arduino cloud on my computer. Since I don’t need the information to travel long distances and it looks like there isn’t The Things Network coverage in my area, I chose the second option to use two MKR WAN 1300 boards with one as a sender and the other as a receiver. To do this, I needed to order an antenna for each board (part number: X000016) with a micro U.FL connector. I was having a lot of trouble getting it to work though. It kept giving the error “Starting LoRa failed!” My husband and I were looking at it for quite a long time. Finally, I figured that someone else working on the Just Encase project would have probably run into the same problem we had, and christophesky had figured it out, so thank you! We needed to download an earlier version of the MRKWAN library (version 1.0.15) and update the firmware for the LoRa module on the Arduino. I uploaded the LoRaSender example code from the LoRa library to one Arduino, and the LoraReceiver code to the other Arduino using another laptop. This code just sends a simple message with a counter, but eventually I will modify the code so that it sends the data from all the sensors that will be on the drone.

Antenna with micro U.FL connection
Other materials
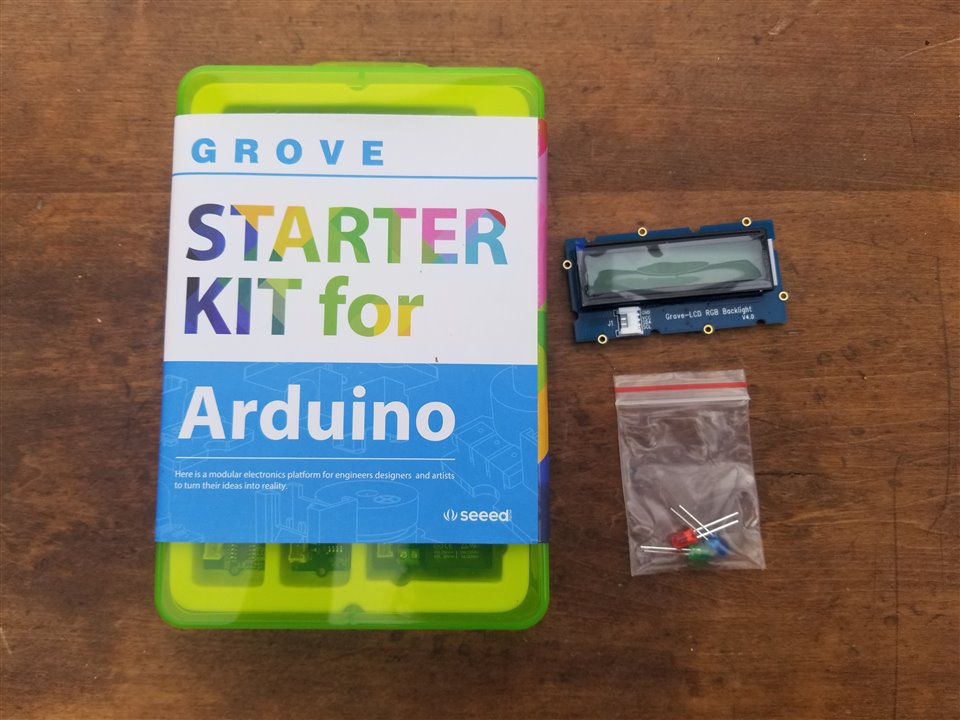
Listed below are the other materials that I procured from the kit that I intend to use:
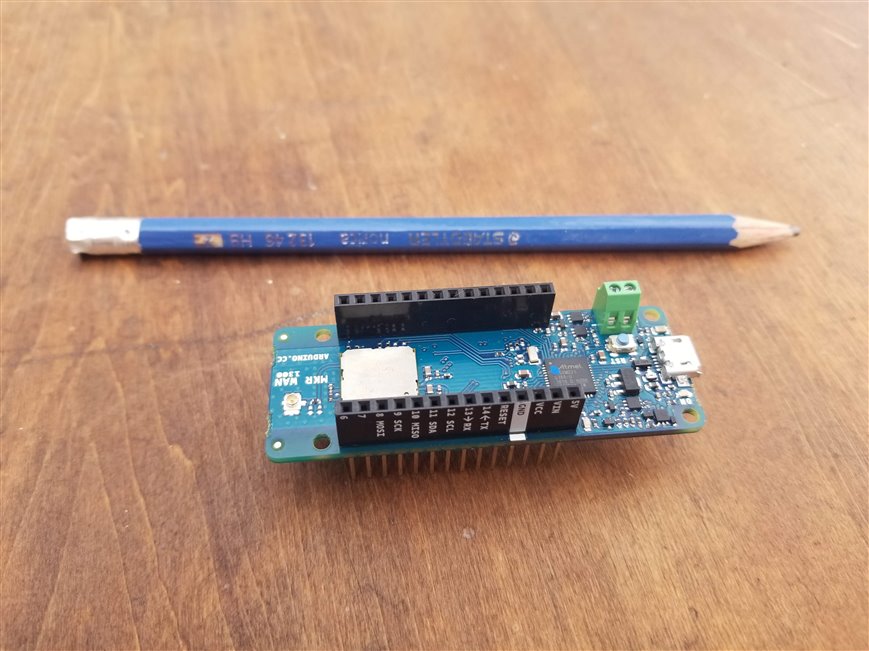
- 2 Arduino MKR WAN 1300 boards
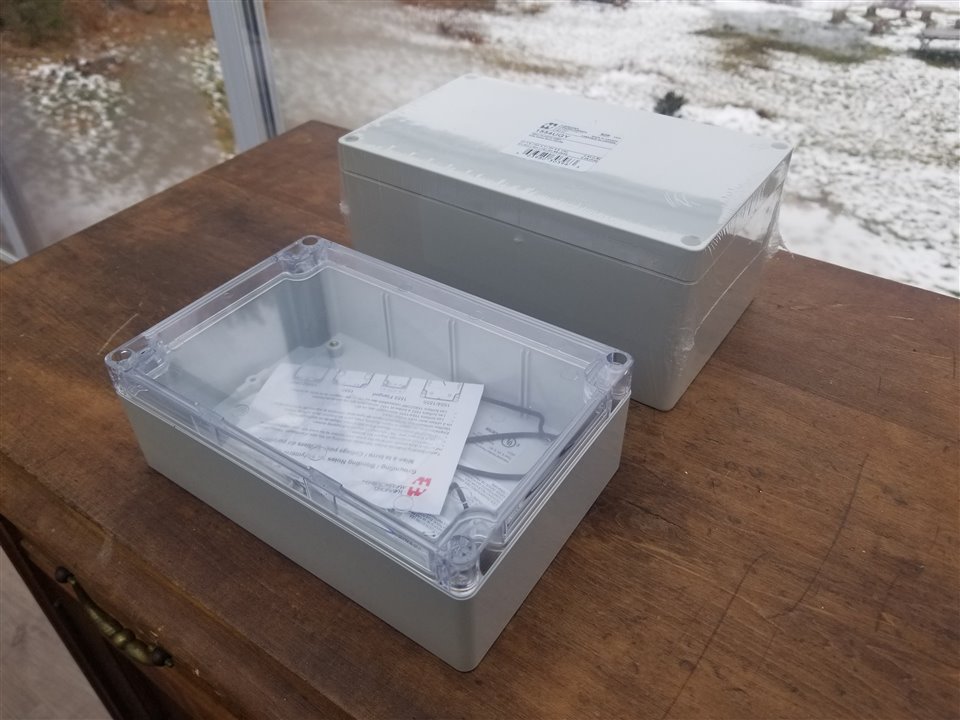
- Hammond enclosures
- The one in the front has a clear top so I can see my indicator LED, and it is shorter so will fit better on the drone.
- The one in the back is opaque and larger so I will probably use it to mount the receiver Arduino.
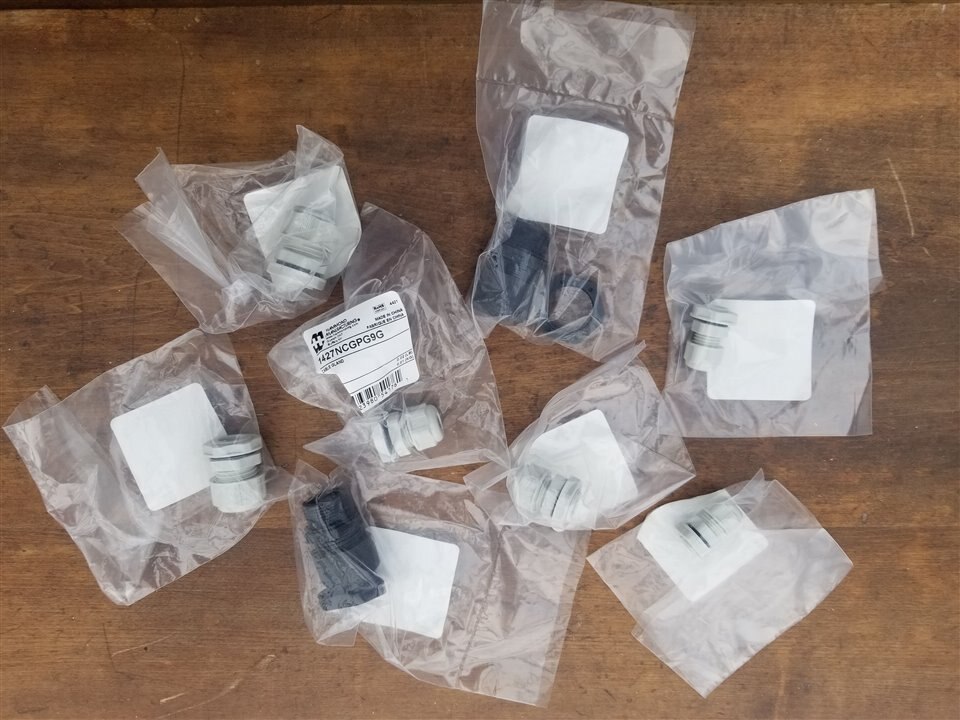
- Cable glands
- There is a large selection, so will choose which ones I will use when I am assembling my project.
- The Grove starter kit has many parts, but these are the ones I will likely be using:
- LCD display to show the current PM data and temperature
- LED to indicate if the device on the drone is powered on and transmitting data and one for the receiver to indicate to the user if it is receiving data and if the temperature is higher than the limit.