The Just Encase Design challenge comes at an opportune time, basically winter is a great season(temperature between 22 C to 30 C) here in Goa, India, where my family grows vegetable on my Dad’s farm. The farm is about 500 meters away from my house, which I think is a good enough distance distance for two Arduino MKR WAN 1300 to communicate with each other, if I can find the matching antenna’s to connect to the UFL connector on the
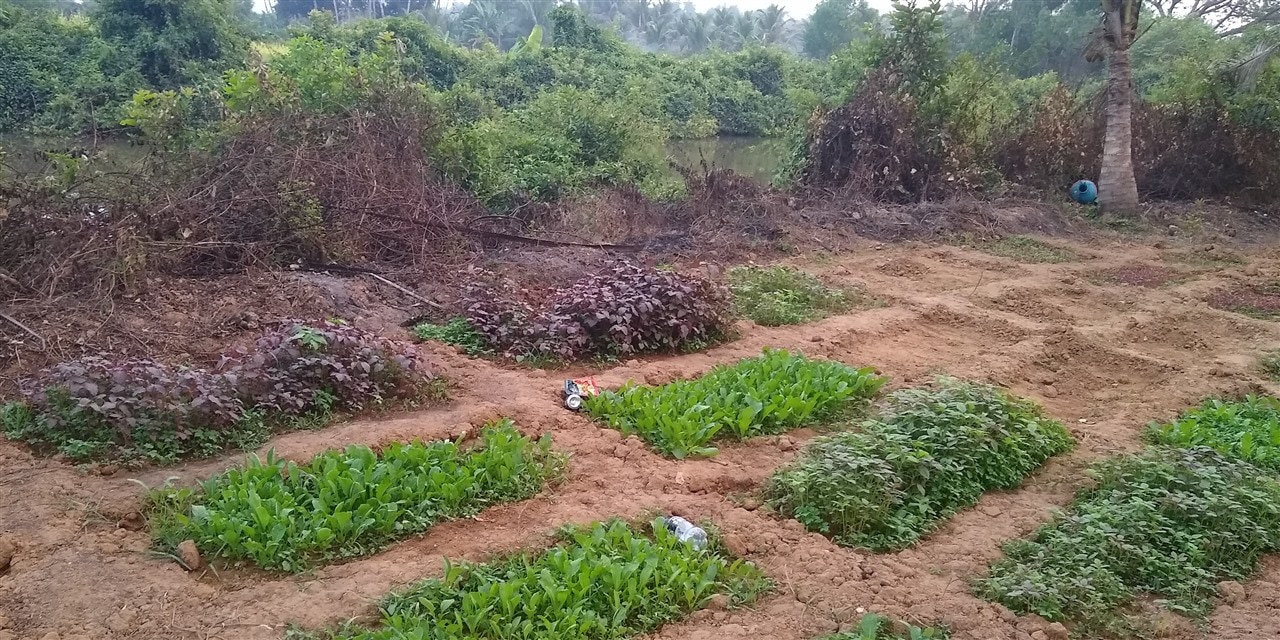
Arduino board. Here is picture from last year, of various type of veggies growing – we have spinach, Radish and a red leafy vegetable, which is a local variety here in Goa.
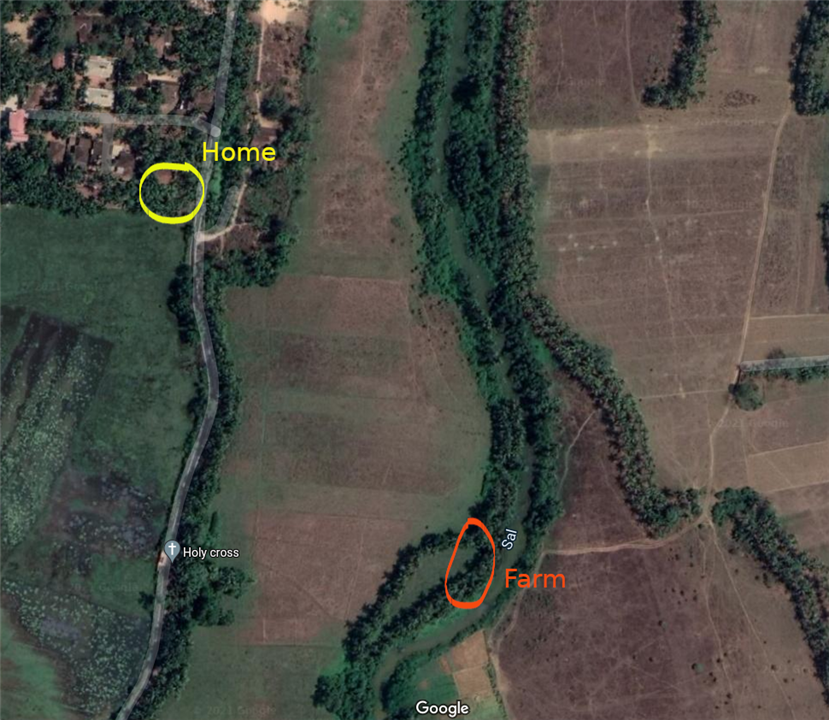
As part of the build, I will have one of the Ardino MKR WAN 1300 in a the plastic enclosures, connected to a temperature and humidity sensor and Water Level float sensor, on a stick/pole just above the water tank in the Farm marked in red on the map below. And the other Arduino MKR WAN 1300 will be at home marked in yellow on the map, connected to an OLED display, in the case with the transparent cover, which reads the data from the Arduino MKR WAN 1300 in the Farm, and can also sends data to start the pump connected to a relay to water the vegetables, when a switch is pressed.
I just received a package from UPS today, and all the components mentioned in Kit as part Encase Design Challenge came neatly packed in a Newark brown box, here is a picture of the components that are part of the kit. To read more about the components, check out the blog post on the design challenge page at /challenges-projects/design-challenges/just-encase/w/documents/23203/just-encase-design-challenge#kit
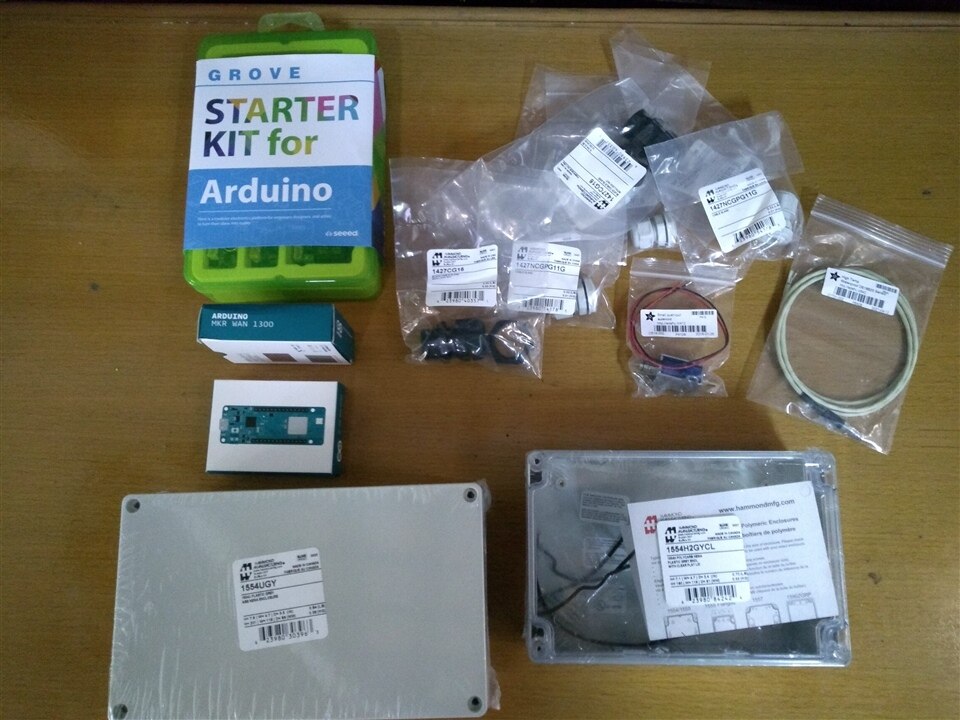
Once I was done unboxing, I had to say thank you to Element14 and Hammond Manufacturing for organizing the challenge using the provided Arduino MKR WAN 1300 and an OLED screen...
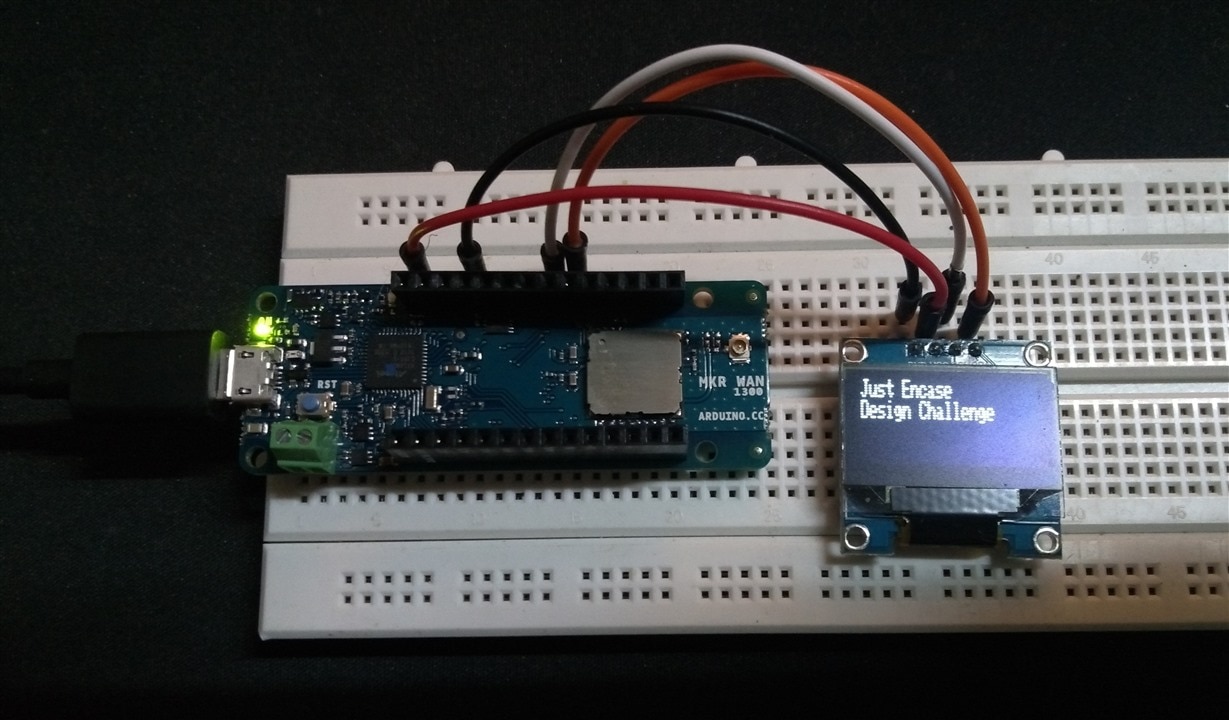
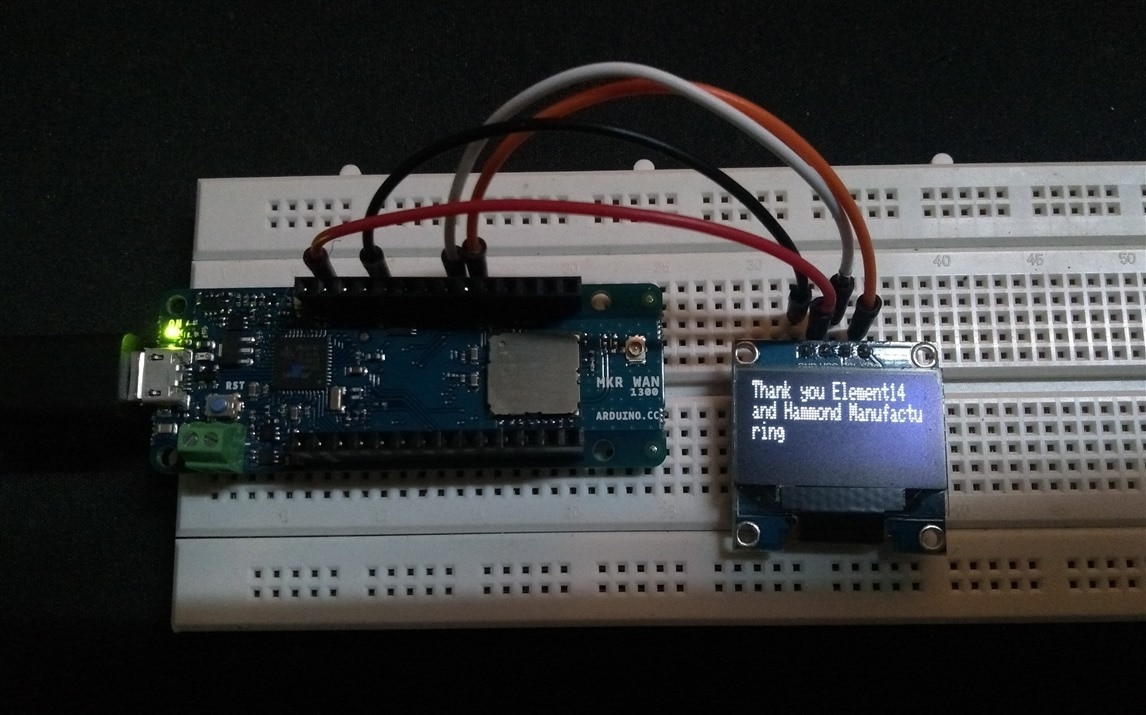
Here is the Arduino Code uploaded to the Arduino MKR WAN 1300 connect to the OLED screen (SSD1306)
//OLED screen connected to Arduino MKR WAN 1300, via I2C
#include <Adafruit_GFX.h>
#include <Adafruit_SSD1306.h>
#define SCREEN_WIDTH 128 // OLED display width, in pixels
#define SCREEN_HEIGHT 32 // OLED display height, in pixels

// Declaration for an SSD1306 display connected to I2C (SDA, SCL pins)
#define OLED_RESET     4 // Reset pin # (or -1 if sharing Arduino reset pin)
Adafruit_SSD1306 display(SCREEN_WIDTH, SCREEN_HEIGHT, &Wire, OLED_RESET);

void setup() {
  // SSD1306_SWITCHCAPVCC = generate display voltage from 3.3V internally
  if(!display.begin(SSD1306_SWITCHCAPVCC, 0x3C)) { // Address 0x3C for 128x32
    Serial.println(F("SSD1306 allocation failed"));
    for(;;); // Don't proceed, loop forever
  }
  display.display();
  delay(2000);
  display.clearDisplay();
}

void loop() {
  display.clearDisplay();
  display.setTextSize(1);
  display.setTextColor(SSD1306_WHITE);
  display.setCursor(0,0);
  display.println("Just Encase");
  display.println("Design Challenge");
  display.display();
  delay(5000);
  display.clearDisplay();
  display.setTextSize(1);
  display.setTextColor(SSD1306_WHITE);
  display.setCursor(0,0);
  display.println("Thank you Element14");
  display.println("and Hammond Manufacturing");
  display.display();
  delay(5000);
}
In addition, before you upload the code, please install the Arduino SAMD Board in the Arduino Board Manager, and install the Adafruit_GFX, Adafruit_SSD1306 Libraries from the Managed library section.

-

DAB
-
Cancel
-
Vote Up
0
Vote Down
-
-
Sign in to reply
-
More
-
Cancel
-

carmelito
in reply to DAB
-
Cancel
-
Vote Up
0
Vote Down
-
-
Sign in to reply
-
More
-
Cancel
Comment-

carmelito
in reply to DAB
-
Cancel
-
Vote Up
0
Vote Down
-
-
Sign in to reply
-
More
-
Cancel
Children