


Hardware Development
The blog here discusses the hardware development process for wind turbine monitoring projects. Please switch to blog #1 if you want to overview the project.
The hardware development starts with the selection of suitable components for the project. Thanks to Hammond for sending the groove starter kit and the Arduino MKR1300 to start the project.
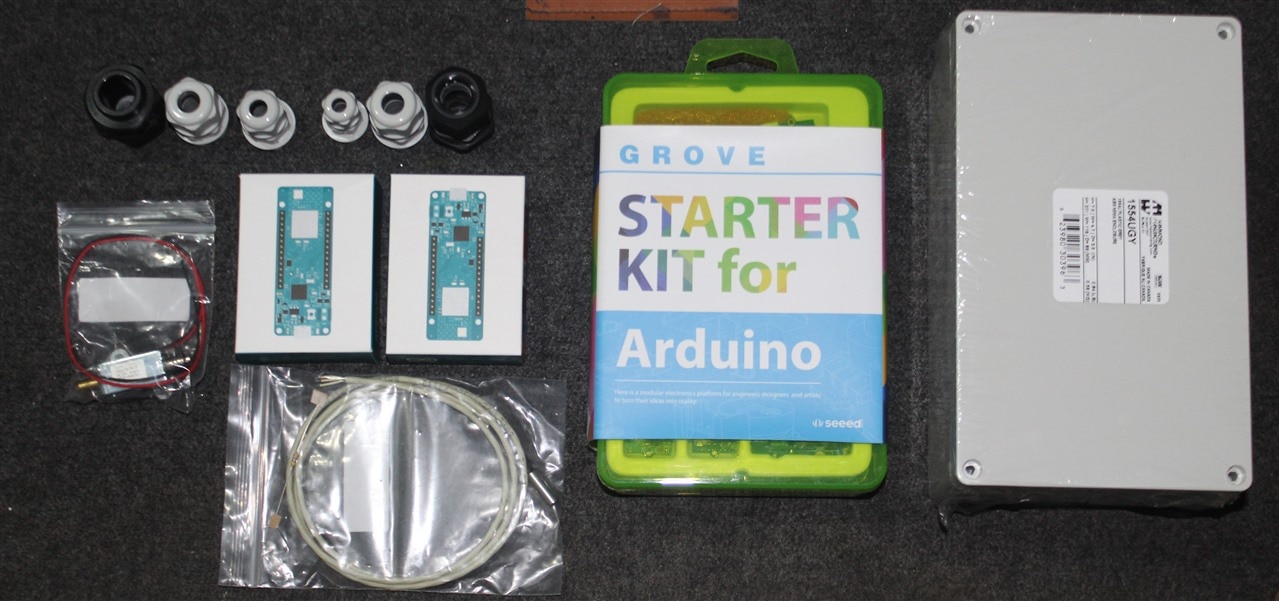
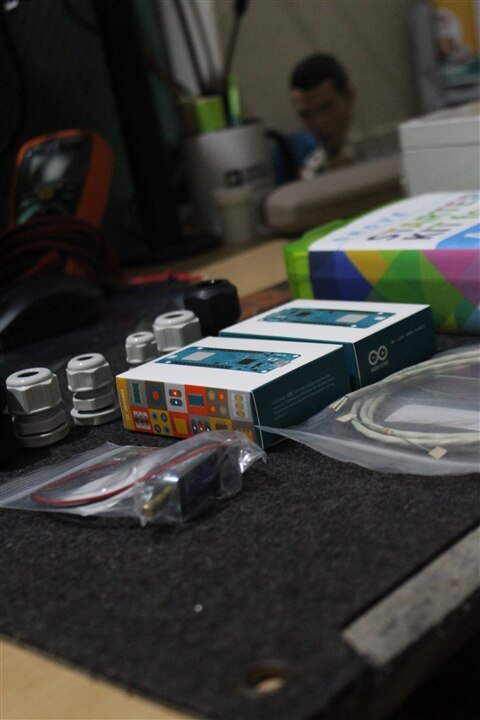
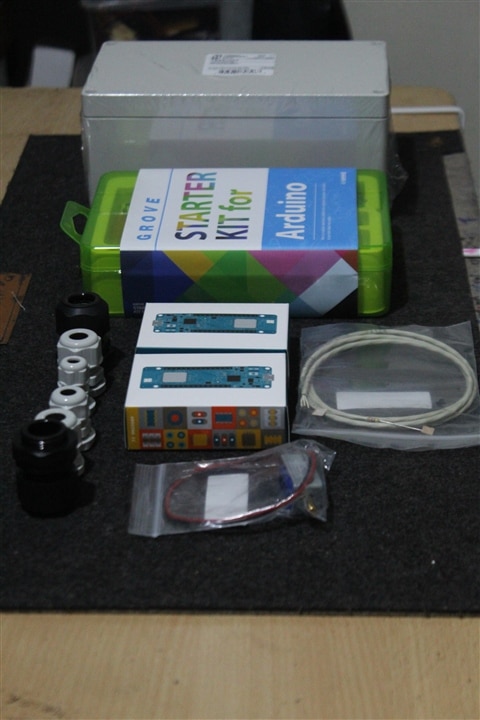
Here is a picture of the complete kit received from Hammond, including their world-class enclosures and glands.
| {gallery}Hammond Sponsored Hardware Kit |
|---|
|
|
|
|
|
|
Sensor Node:
For the sensor node, I choose the following components with justification mentioned below:
- Arduino MKR 1300 + Antenna: This was part of the sponsored kit. This acts as the brain of the sensor node. It collects the data from all the sensors and runs the edge AI model to classify the turbine state and then sends it to
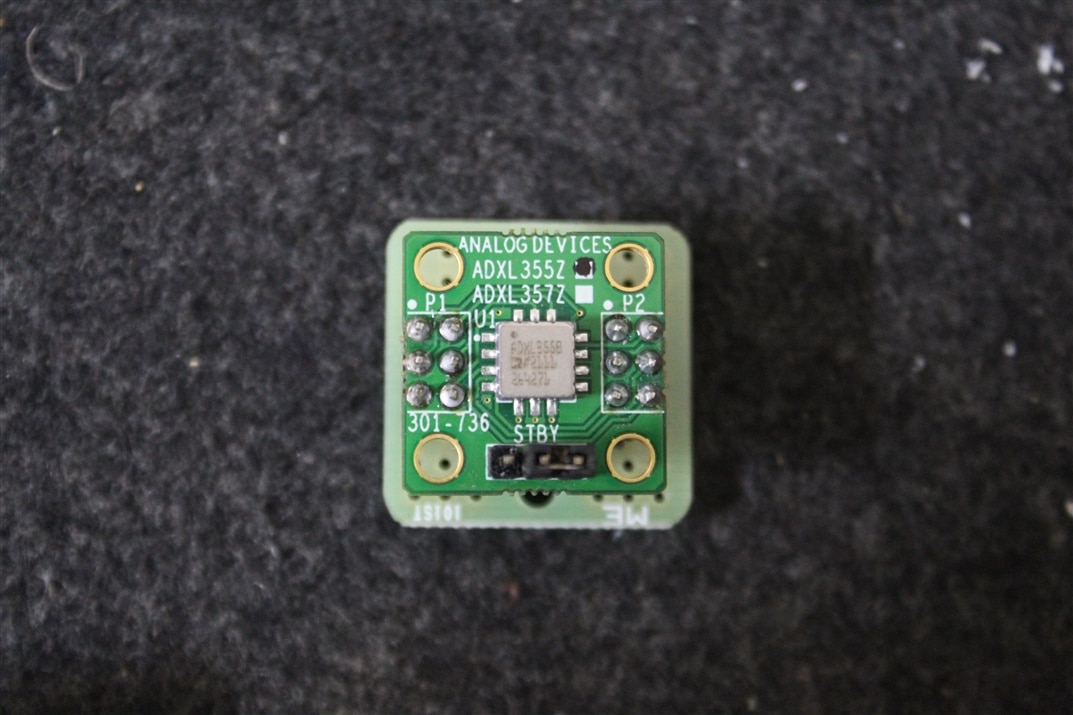
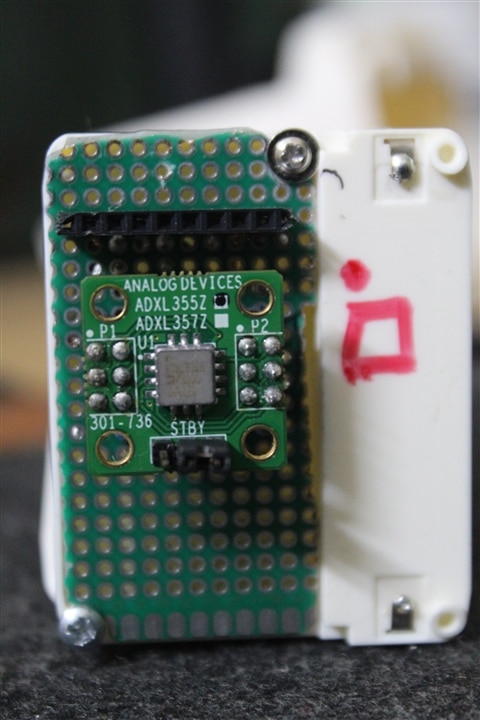
the gateway node. - AXL355: This is a low-power 3-Axis MEMS Accelerometer with inbuilt activity threshold detection. This would help us capture the different vibration patterns of the turbine rotor under different conditions/environments.
The device has a separate interrupt pin that can be programmed to wake up the MCU if the activity of a particular axis is detected. It also has an in-built temperature sensor, which can monitor the rotor cabinet temperature.
The size and cost of the accelerometer also make it a good candidate for such projects. - SparkFun Air Velocity Sensor Breakout - FS3000: This sensor here would provide real-time data on the wind speed and help us predict the condition of the wind turbine more accurately.
- DS18B20: This was part of the sponsored kit. The temperature sensor is used to monitor the surrounding temperature of the wind turbine.
- 1554H2GYCL: This was part of the sponsored kit. This is an IP68 rated enclosure that would protect the system from extreme climatic conditions. The enclosure comes with good documentation and additions nuts and bolts to mount the enclosure.
- Cable Glands: This was part of the sponsored kit. The gland is used to hang out the DS18B20 temperature sensor external to the enclosure, yet retaining the IP68 rating.
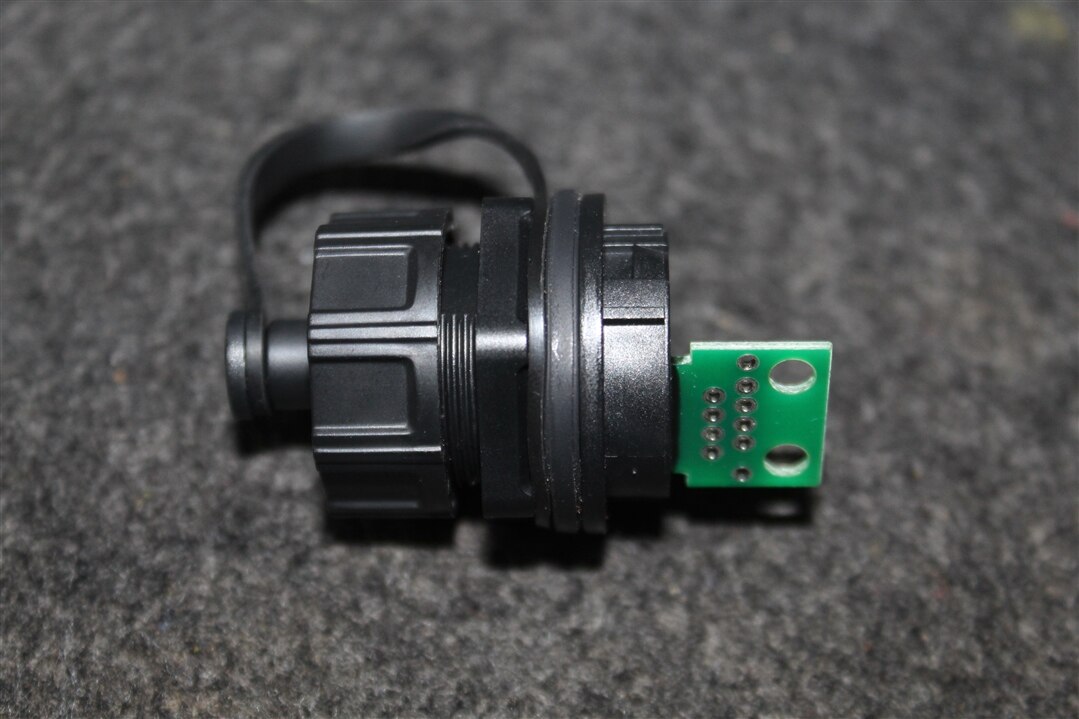
- YT-RJ45 IP67 Waterproof Male/Plug Plug Ethernet Connector: The female plug is fixed to the enclosure, and the male plug is connected to the end of the ethernet cable. The other end of the ethernet cable is connected to the sensors.
This makes a robust watertight pluggable connection to the sensors on the wind turbine. - 1551V1WH: This is a small vented enclosure that protects electronics from harmful contact with hands or tools, but allows air and moisture entry for applications requiring environmental exposure. This enclosure is used to house the windspeed sensor and is mounted on the top of the wind turbine.
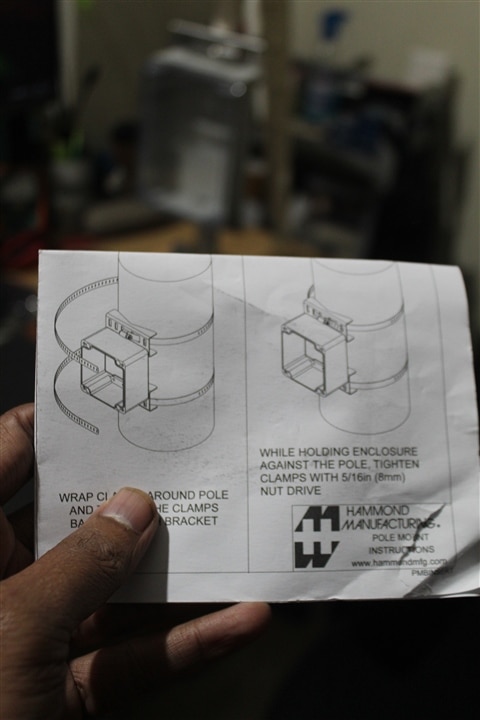
- Hammond Pole Mount Kit: This is required for firmly mounting sensor node to the wind turbine. The kit comes with an instruction manual for easy installation.
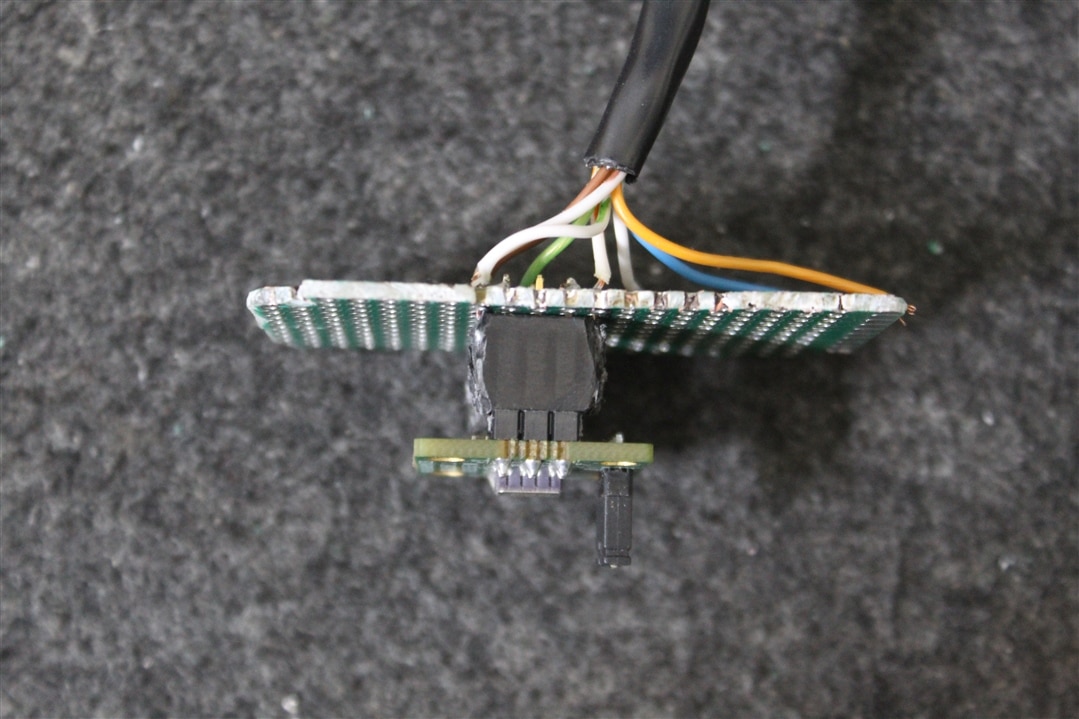
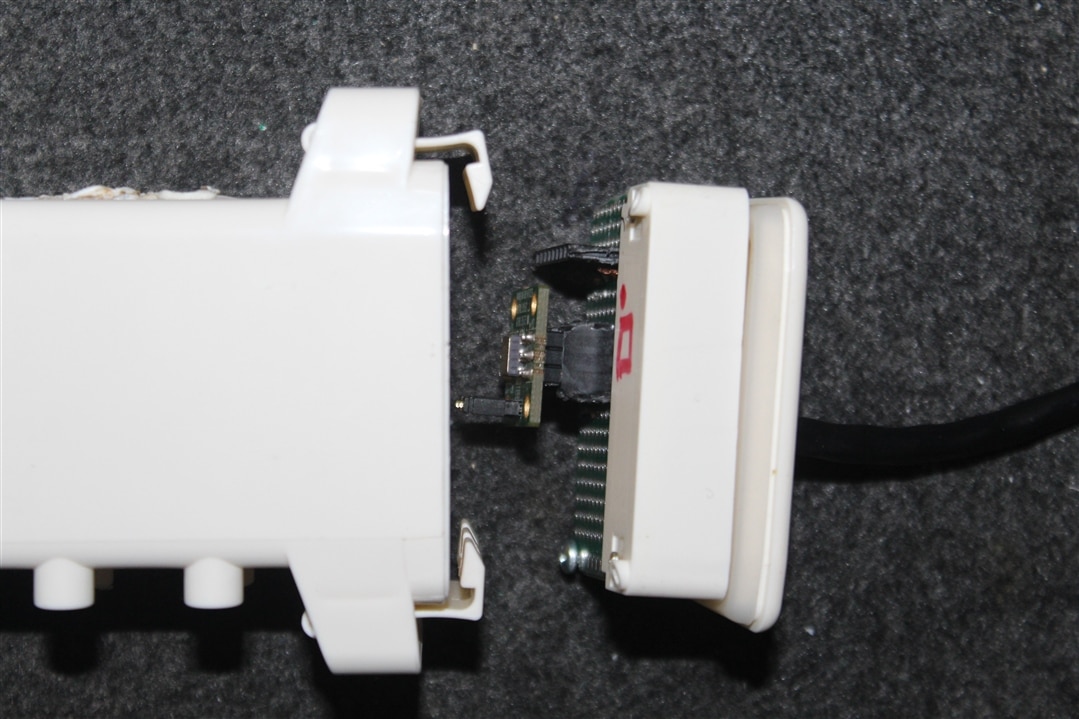
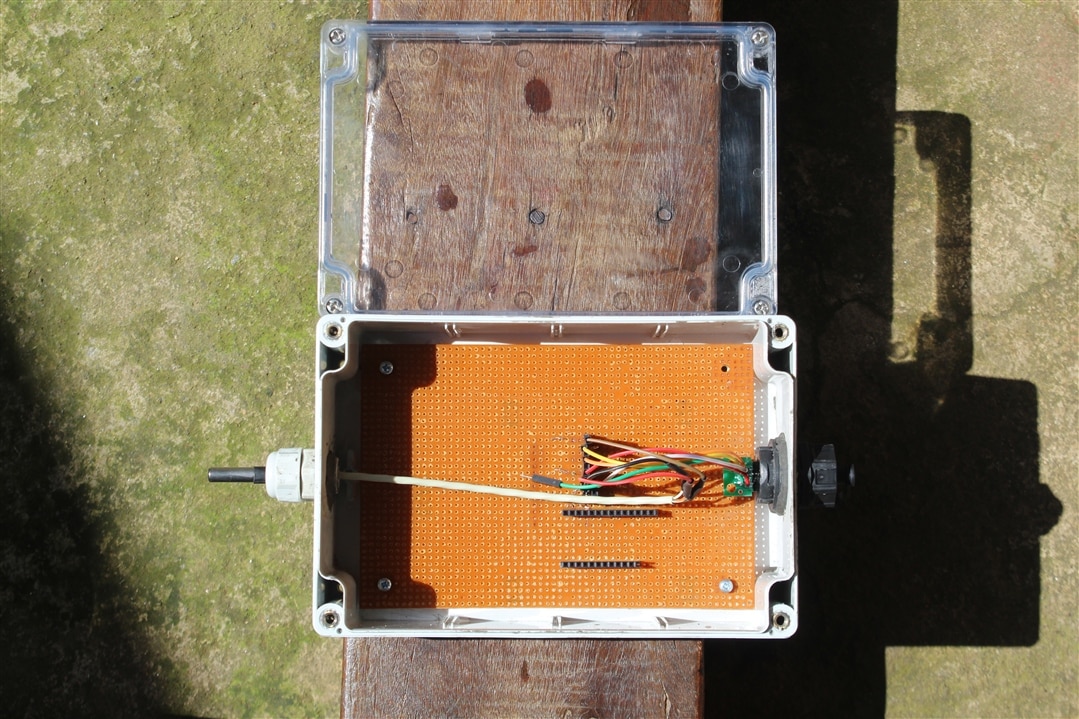
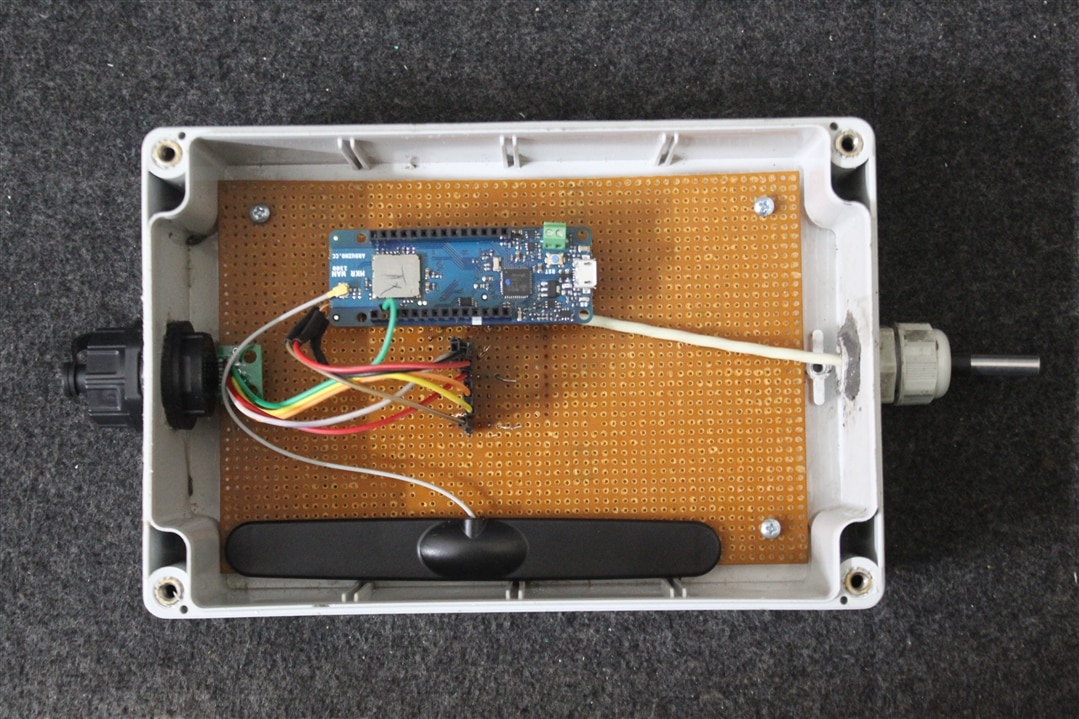
All these components were put together to form the sensor node. The accelerometer was mounted on PCB first, and then PCB was attached to inside the turbine. A LAN cable was used for connecting the sensor to the Arduino MKR1300. One end of the LAN cable was stripped off, and shared connections such as I2C, VCC, and GND pins were laid out on the prototyping board in the form of header pins. The sensor was then connected to these standard connections. The rest of the wires in the cable were used for mapping to specific pins, such as an Interrupt pin of the accelerometer and two other pins to rotor output. The other end of the LAN cable was intact with the RJ45 plug. The Ethernet socket bought separately was fixed to the Hammond enclosure. The free end of the LAN cable with the plug was connected to the socket, which has pin breakouts on the other side. The pin breakouts were then connected to the MCU for a firm connection. Thanks to the already provided grooves on the enclosure, a prototyping board can easily be fastened to the enclosure and, any peripheral can easily be connected to it. The header pin on the Arduino MKR1300 was fixed to the protoboard with other sensors. On the opposite of the ethernet socket, the wire gland was connected to the enclosure and persuaded a hanging temperature sensor. Once all the components were fixed, the enclosure was sealed, and using the Hammond mounting bracket was fixed to the wind turbine pole. Here are some snapshots of the outcome.
Hammond Enclosure & Mounting:
| {gallery}Hammond Enclosure Mounting |
|---|
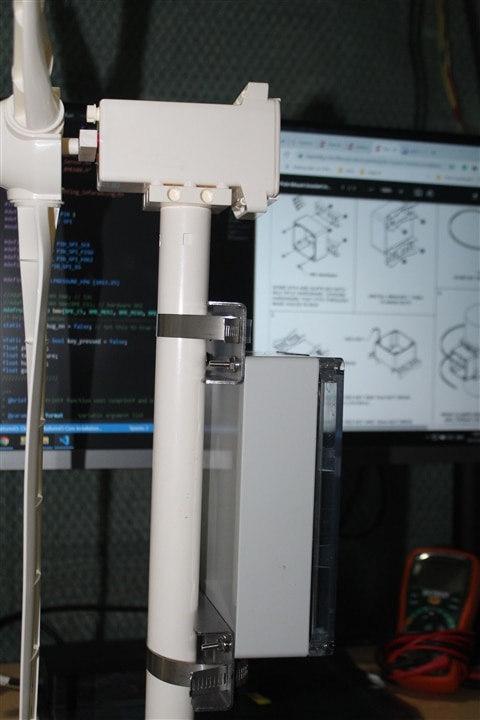
|
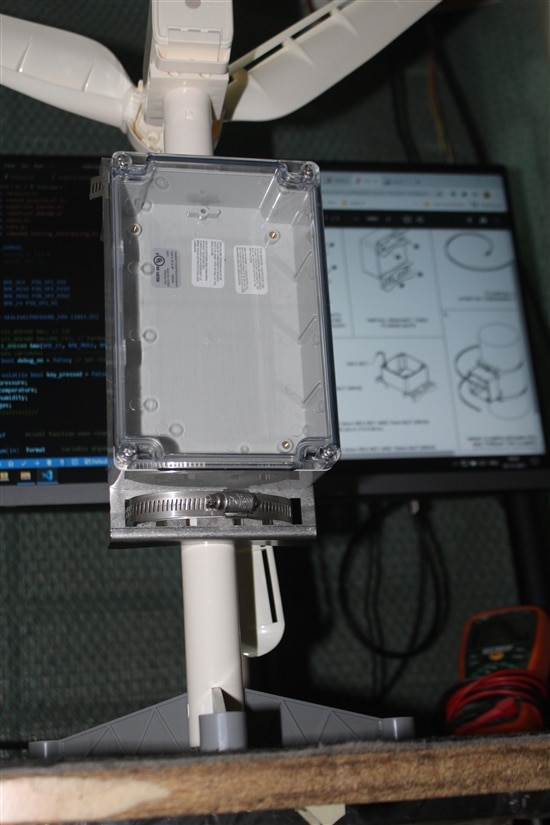
IMAGE TITLE: Enclosure Mounted Sideview |
|
IMAGE TITLE: Hammond Pole Mounting Instruction |
|
IMAGE TITLE: Enclosure Mounted Front View |
Sensor Mounting:
| {gallery}Accelerometer Mounting |
|---|
|
IMAGE TITLE: ADXL355 Accelerometer |
|
IMAGE TITLE: Wire Routing |
|
IMAGE TITLE: Sensor to Cable Connection |
|
IMAGE TITLE: Mounted on the rotor back. |
|
|

Sensor Node Full Assembly:
| {gallery}My Gallery Title |
|---|
|
IMAGE TITLE: Full Assembly |
|
IMAGE TITLE: Arduino MKR1300 Mounted |
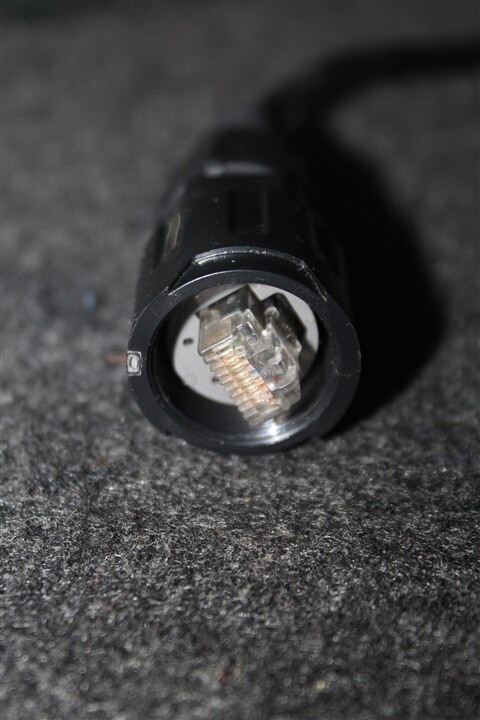
|
IMAGE TITLE: Waterproof Ethernet Plug |
|
IMAGE TITLE: Ethernet cable connected to the sensors. |
Gateway Node:
For the gateway node, I choose the following components with justification mentioned below:
- Arduino MKR 1300 + Antenna: This was part of the sponsored kit. This acts of the brain of the gateway. It collects the data from the sensor node over LORAWAN and processes it, sending it further on the output
peripherals connected to it. - Grove LCD RGB Backlight: This acts as the main display of what sensor data is being received and the background data changes the color accordingly.
- Grove Buzzer: The buzzer is used to alert the user if an anomaly is detected on the sensor end.
- 1555F2F17GY: I chose this over the sponsored one because this is quite compact/portable and offers the same IP68 rating.
Here is a picture of fully assembled gateway node.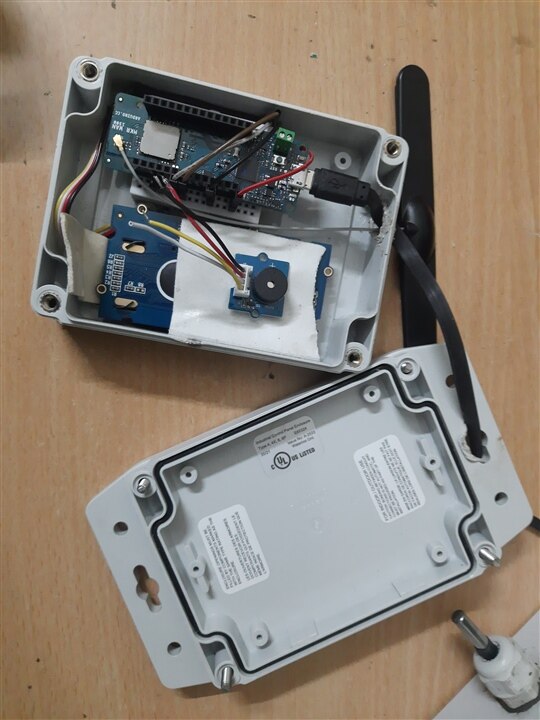
Here is the timelapse of the drilling process. Enjoy :)

