


Breaking news! Just a few hours ago today, I received a large parcel at home, so I thought I’d share the unboxing with you all.
The Parcel
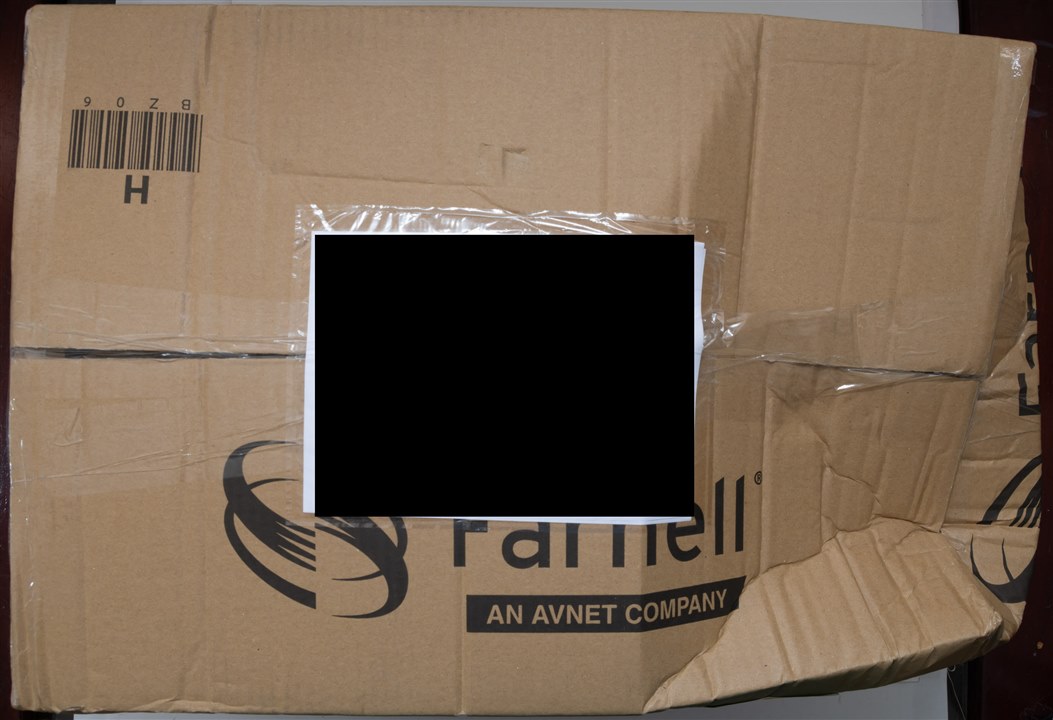
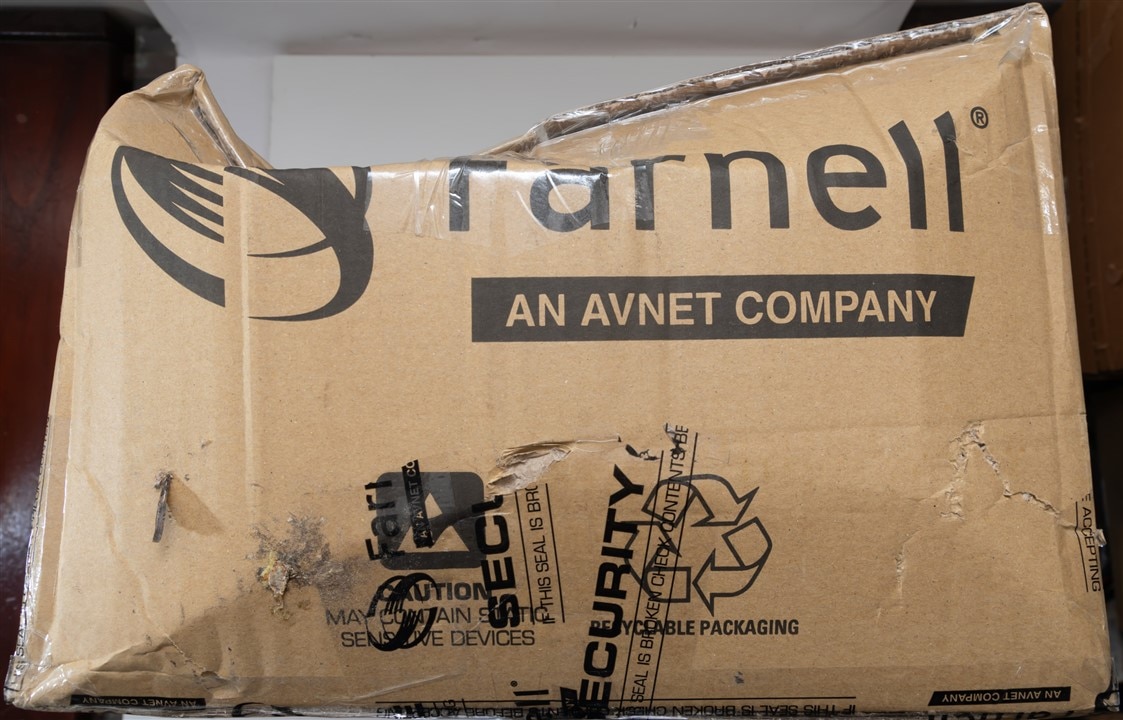
This giant box arrived for me, all the way from the UK. This trip half-way around the world was not the kindest – the box was quite crushed, but there were also smushed moth remains on several surfaces. I guess that’s just what happens when there’s a bit of a Bogong moth migration going on locally.
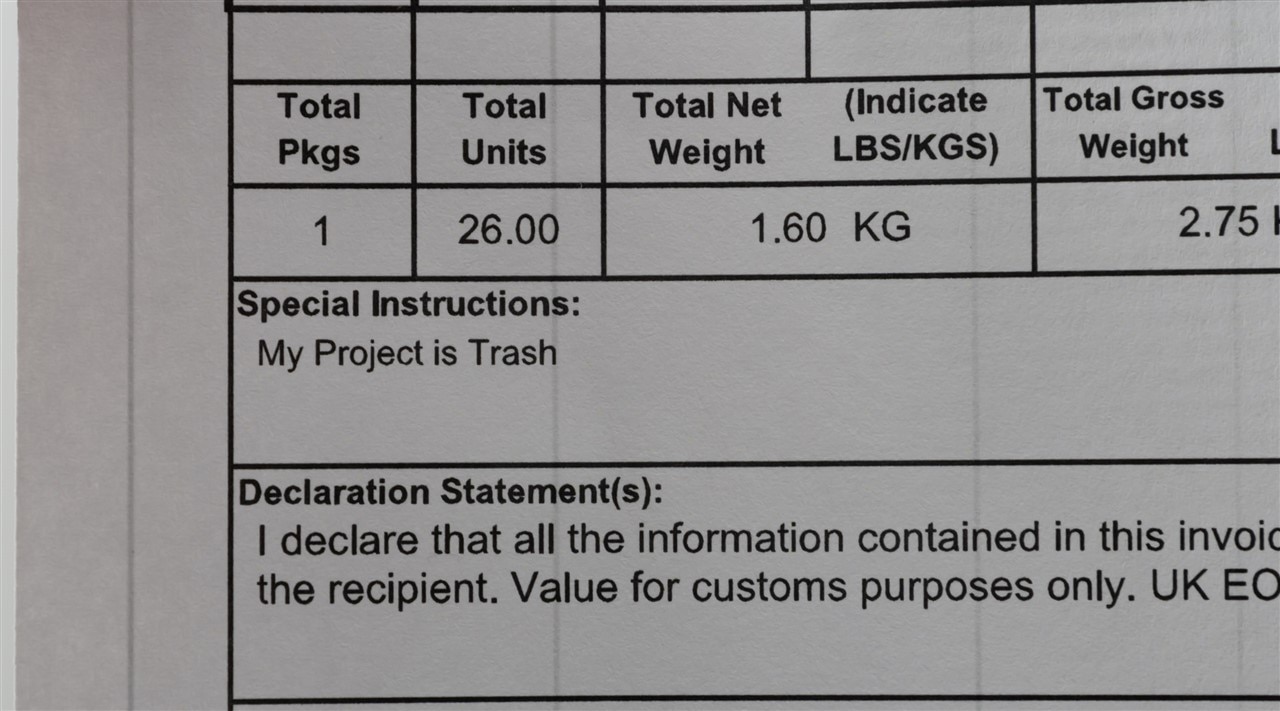
I checked the paperwork carefully, including the invoice, where I spotted this under “Special Instructions” – now I’m confused. So, in order to win, my project has to be trash (i.e. bad)? At least, given that my project will be going into the bin, it could be considered trash by virtue of its location …
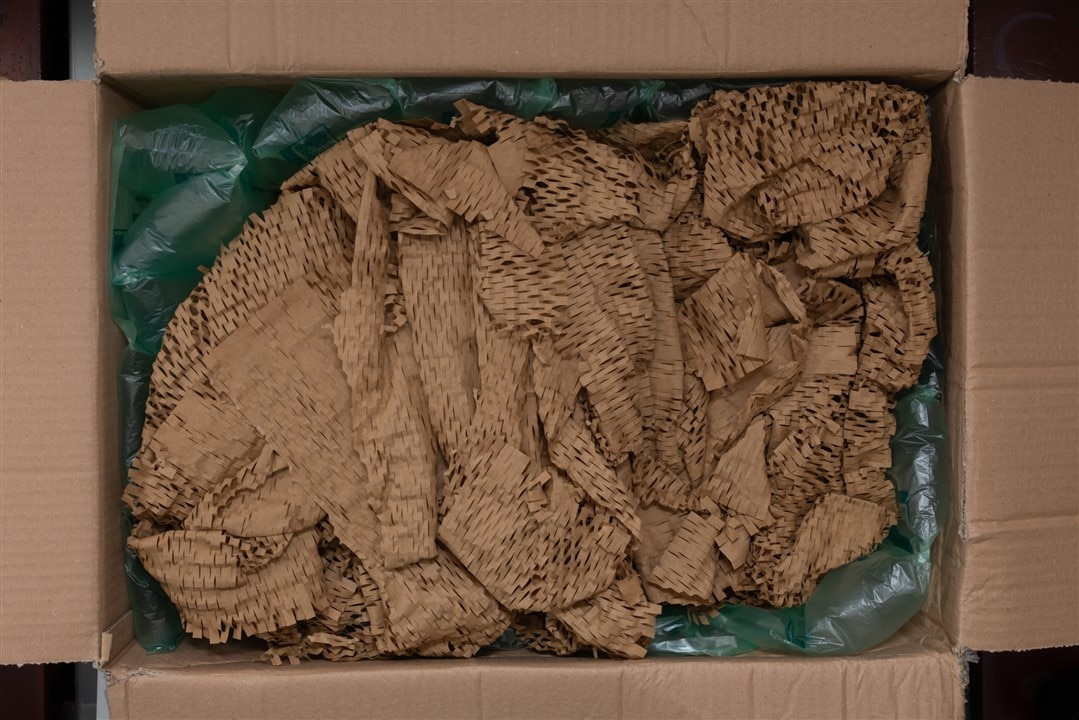
Inside, the items are protected by ruffled-up paper and air-pillows. I was sure to carefully sift through the packing paper, box remnants and air pillows just to make sure I haven’t missed anything.
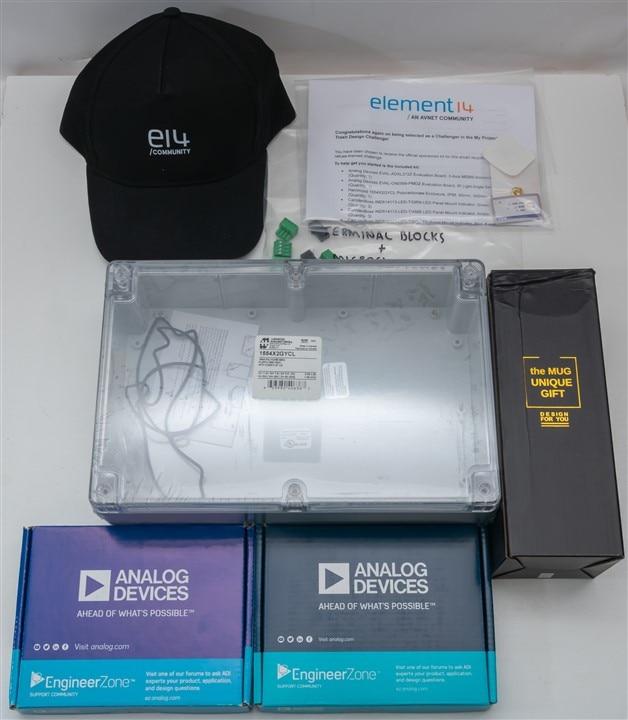
Et Voila! The challenger’s kit in all its glory, plus some extra goodies – thanks element14! But something’s missing – where are the LED indicators that should have been included? I was quite looking forward to using these … please help, e14Liz ! Or maybe, someone might have an extra set of LED indicators?
A Closer Look at Each of the Items
Let’s take a closer look at each of the provided items.
Analog Devices EVAL-CN0569-PMDZ Infrared Angle Sensing Evaluation Board
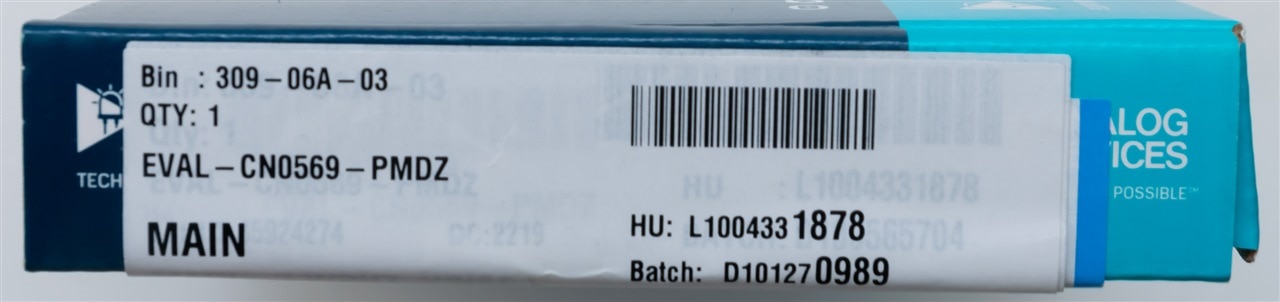
The first box I opened was one from Analog Devices. This contained the EVAL-CN0569-PMDZ evaluation board.
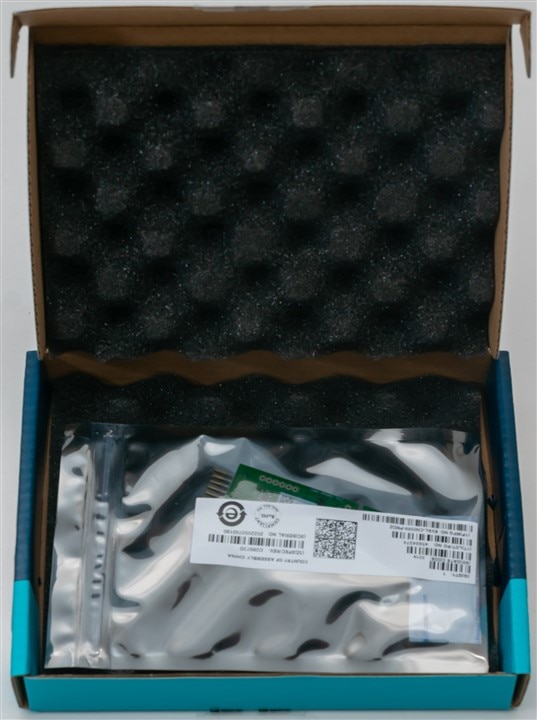
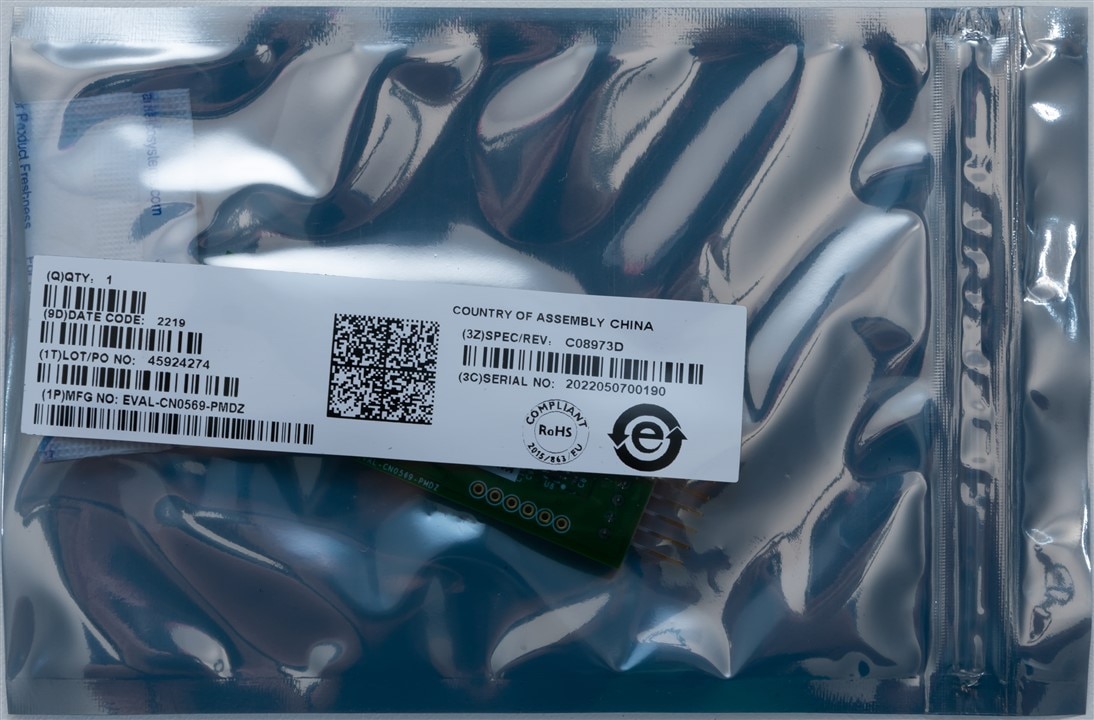
Inside the box is some protective foam and an anti-static shielding bag containing the board itself with nothing else.
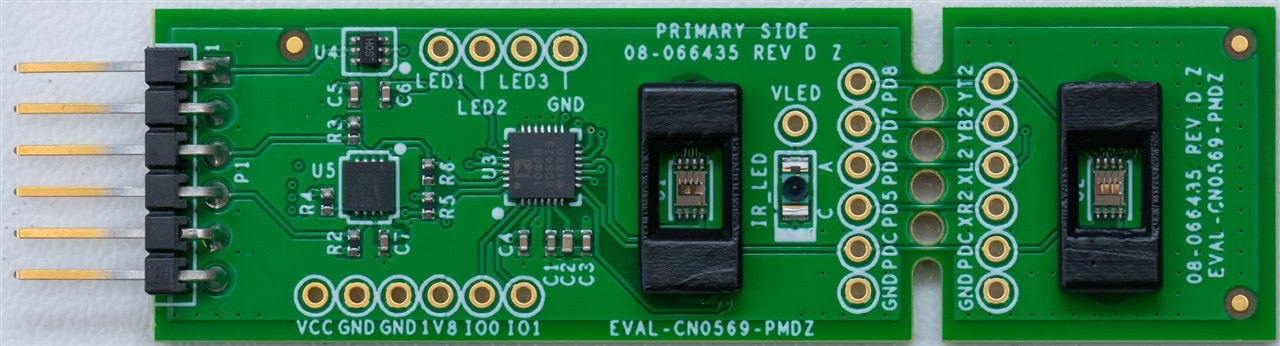
The board is an interesting electro-optical system comprising of two ADPD2140 Infrared Light Angle Sensors spaced a fixed distance apart, shrouded in a black surround.
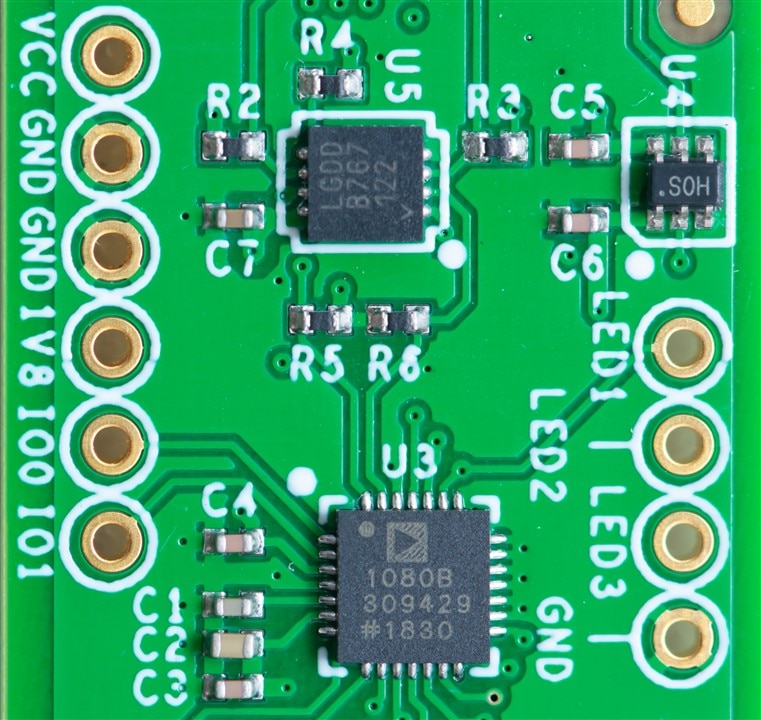
This is supported by an ADPD1080 Photometric Front-End which drives an integrated infrared LED and handles the signals from the infrared light angle sensors. Other than that, the board has level translation circuitry using an LTC4313 and a ADG3301 for its I2C bus which terminates in a Pmod compatible header.
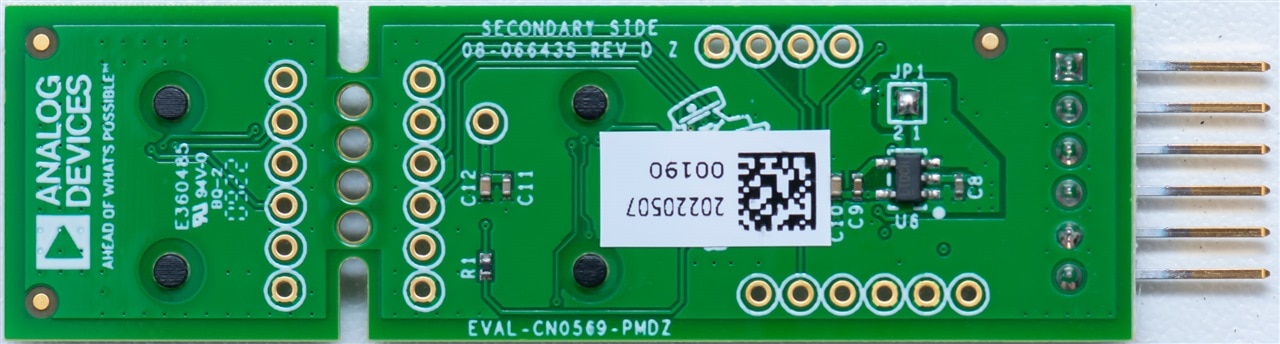
There’s not much on the rear of the board. Because I’ve never seen such sensors, I decided to get out my microscope for a closer look –
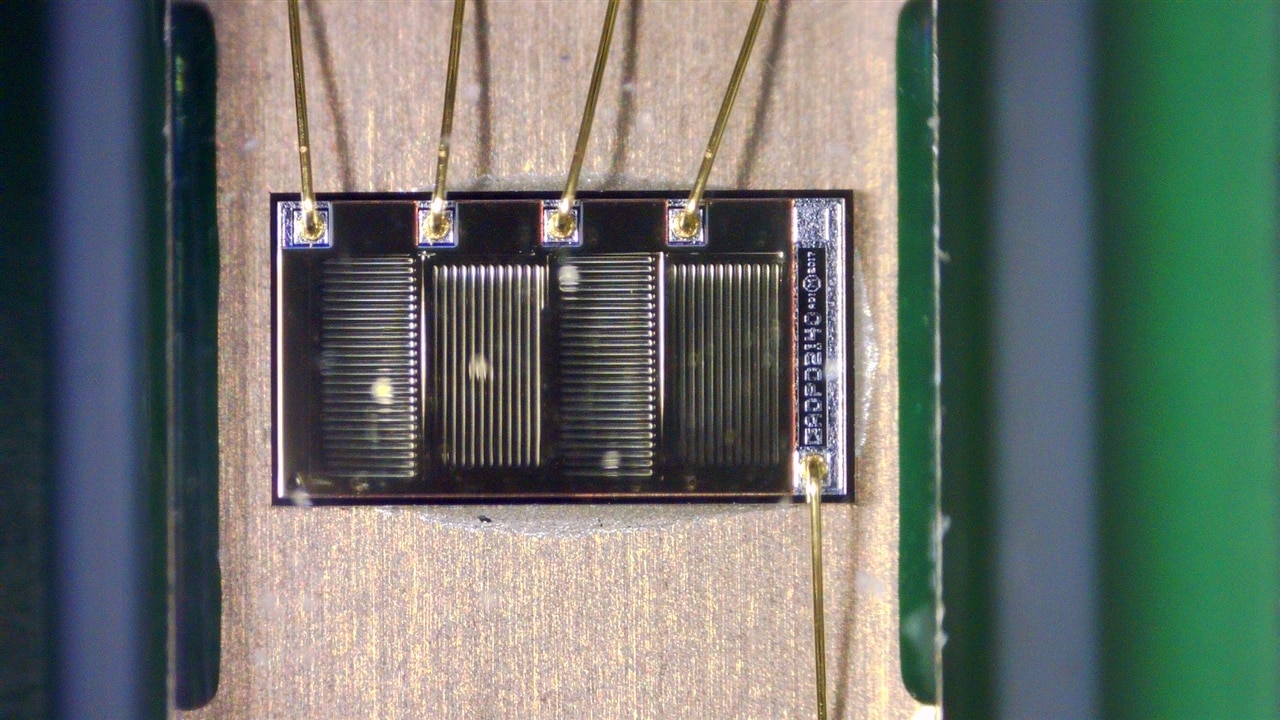
Isn’t the chip beautiful? Four clear regions – two horizontal, two vertical. The part number is even readable on the right edge. The design dates from 2017, it would appear.
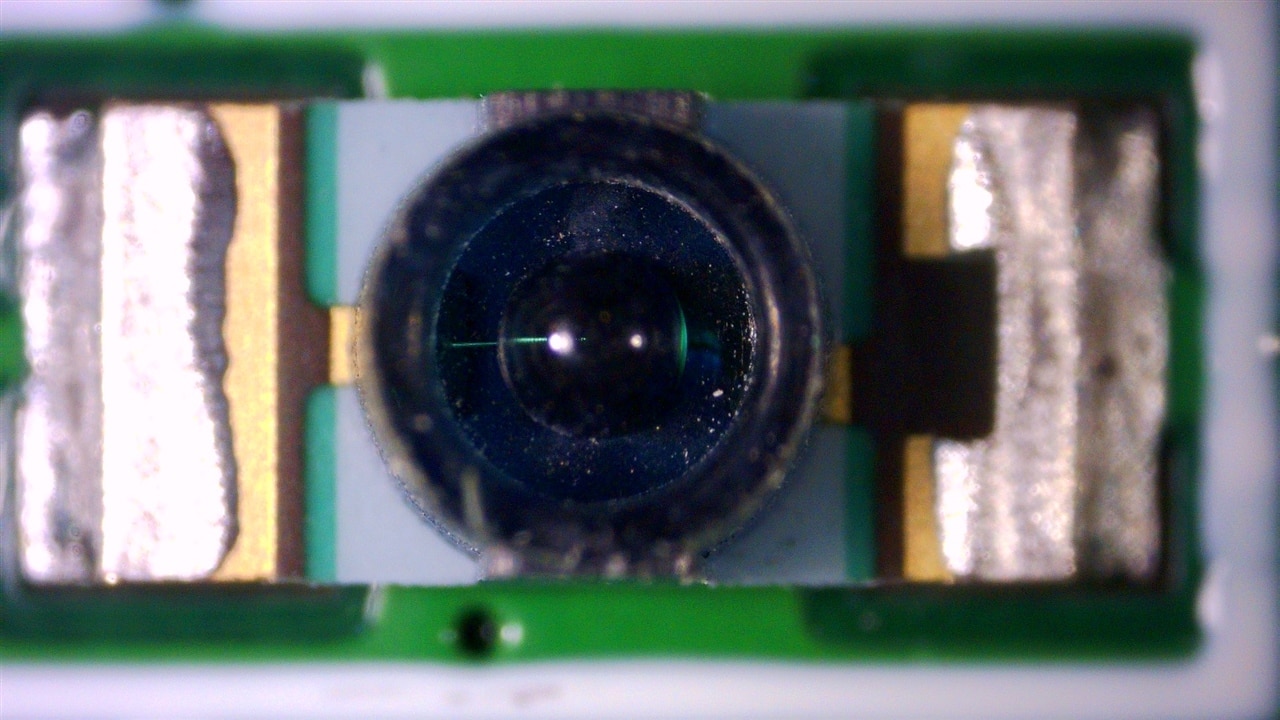
As for the IR LED that’s on the board … not much to see here. Apparently it’s an Osram SFH 4056 850nm wavelength with a 40mW optical power rating.
Analog Devices EVAL-ADXL372Z IMU Evaluation Board
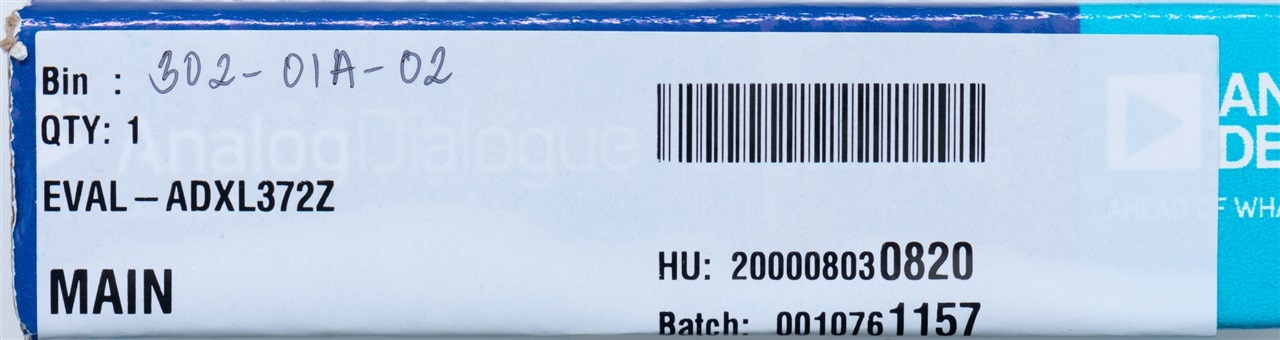
The next box contains an IMU evaluation board which is based around an ADXL372 which has a range of +/-200g, a sample rate up to 3200Hz, 12-bit resolution and ultra-low power consumption as low as 22uA @ 2.5V for 3200Hz output data rate. It also features some low-power standby/wake on impact capabilities and an SPI + limited I²C interface in a 3 x 3.25 x 1.06mm LGA package.
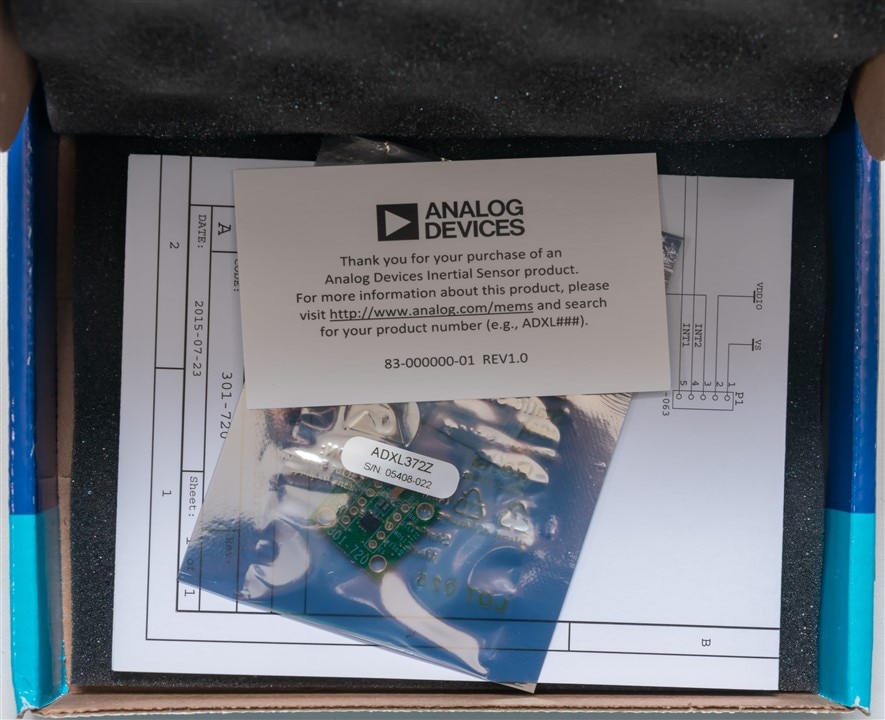
Inside the box, we have an anti-static shielding bag with the board inside, a folded paper schematic printout and an information card.
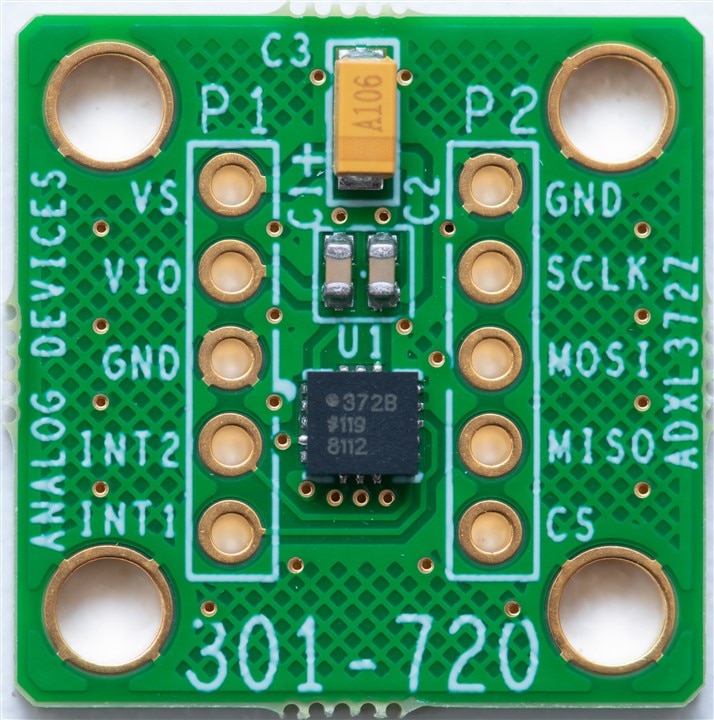
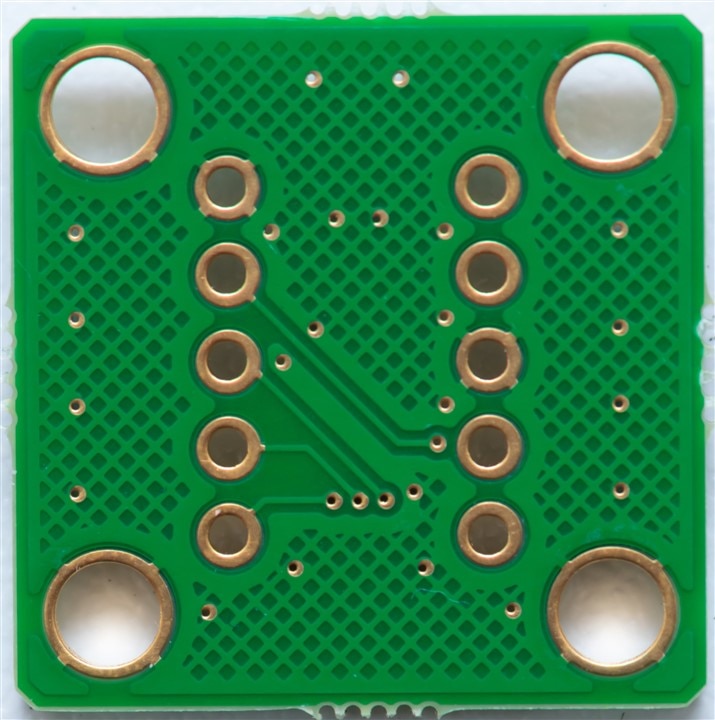
The board itself is pretty compact – a bit smaller than our local postage stamps, but that’s really all it needs to be because it’s mostly a breakout with a few capacitors to keep the accelerometer happy. As a big plus, for weather-proof sensing requirements – these types of sensors can easily be potted away without impacting their performance.
CamdenBoss CSM40500A Microswitch & 3.5mm 4-way Pluggable Terminal Block (CTBP92HD/4, CTBP93HD/4)
CamdenBoss supplied some of the other ancillary hardware including microswitches (two units) and four-way 3.5mm-pitch pluggable terminal block and matching receptacle (three sets).
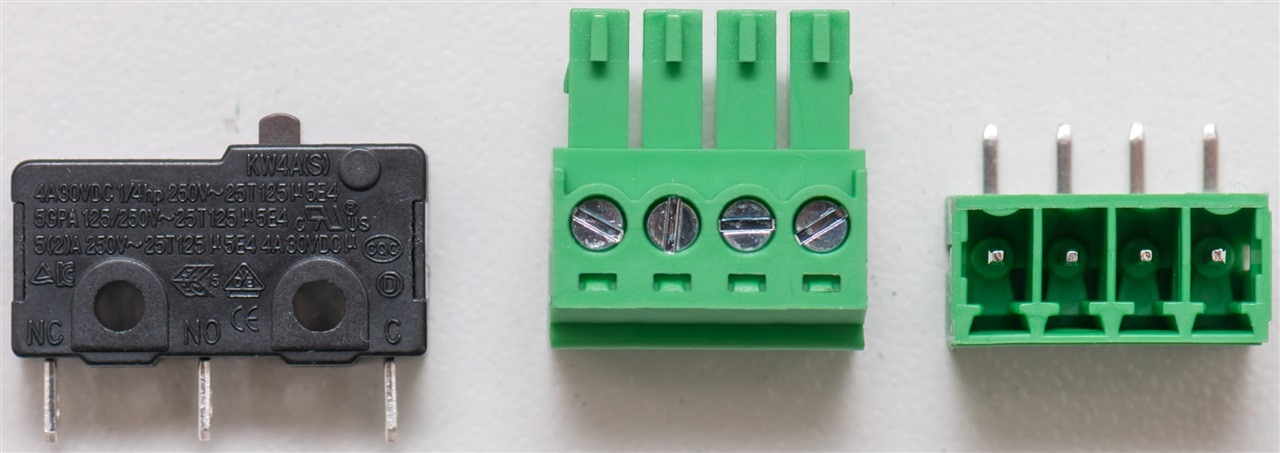
The microswitch looks to be a rather standard pin plunger type. The markings indicate it to be a KW4A(S) from Dongnan Switches with a rating of 2-5A depending on what you’re driving. The pluggable terminal blocks appear to be CamdenBoss’ own product and are similar to what you might find on the back of AV equipment or test equipment instruments designed to be rack-mounted and connected to fixed cabling with the flexibility to detach as necessary. This particular variant has no “captive” feature (e.g. screws on the sides) and simply plugs in and out with internal friction tabs holding it in place.
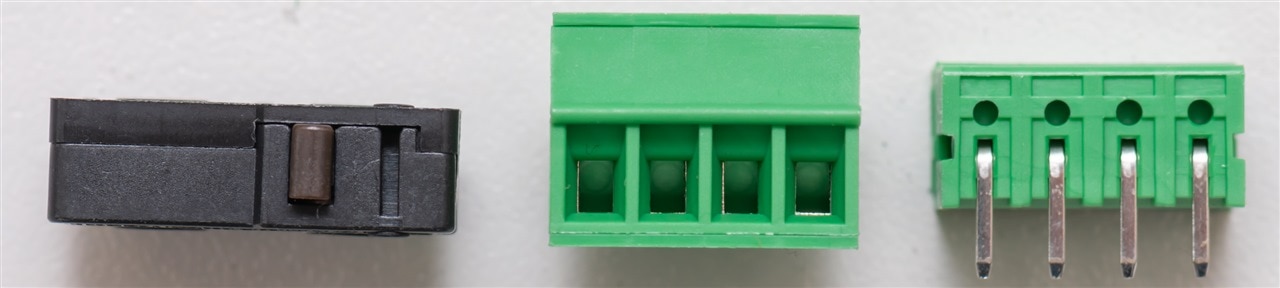
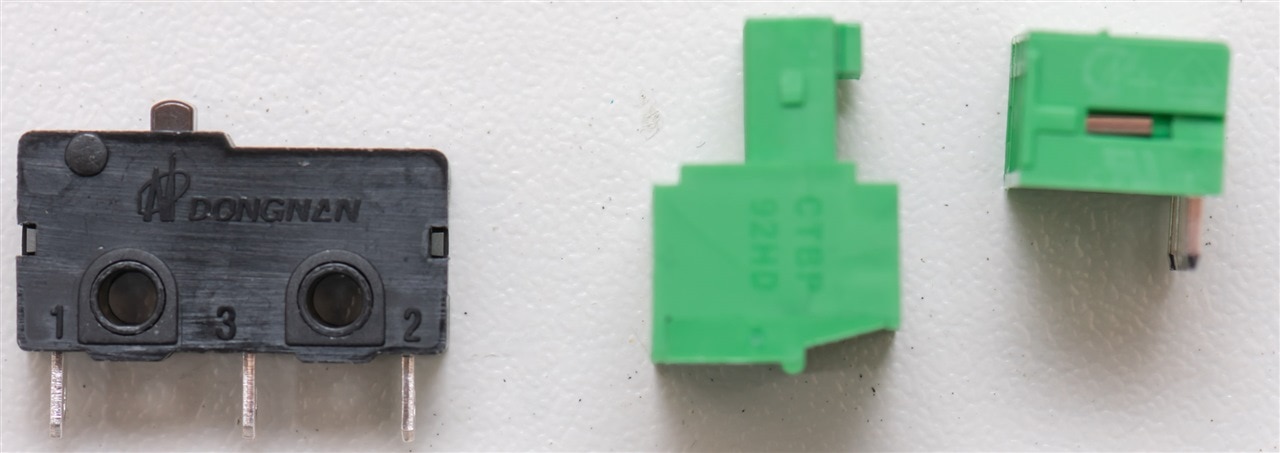
The pin-plunger on the microswitch is brown in colour. A view of the terminal blocks from another angle – wires are inserted into the terminal from the rear and a screw-actuated rising clamp mechanism holds the wires securely.
Hammond Manufacturing 1554X2GYCL Type 4X, 6P Polycarbonate Enclosure
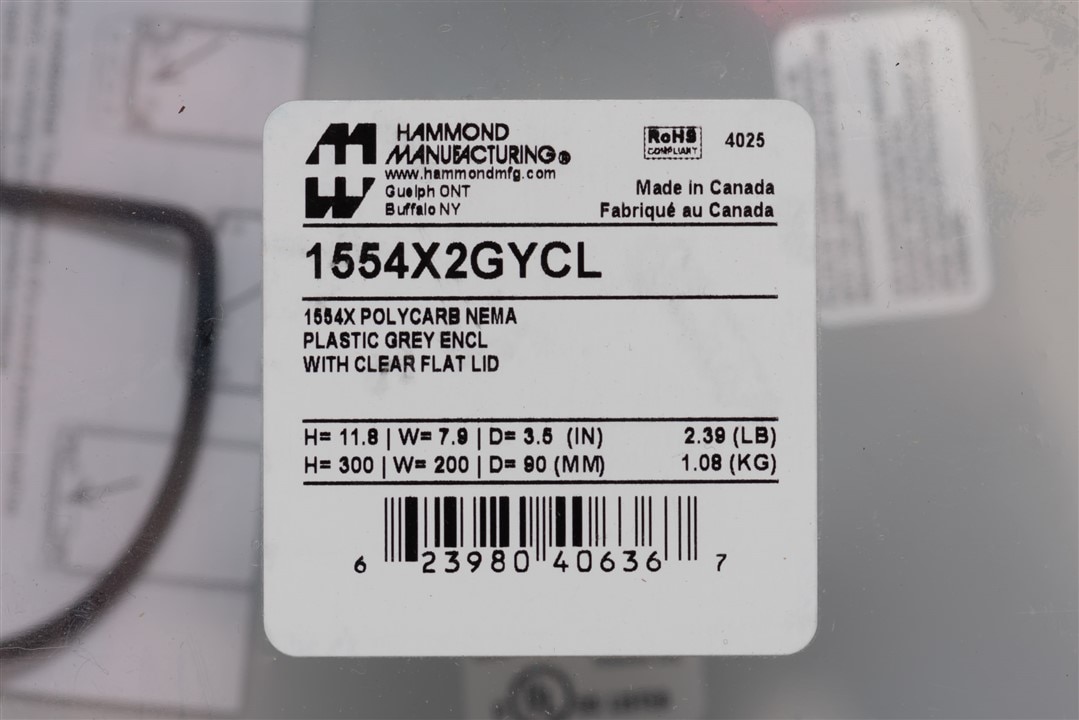
Hammond is definitely a widely-known name in the enclosures business – I’ve even met them at my local ElectroneX trade shows. They’re proudly based out of Canada, so it’s very nice to receive a product from their Canadian factory.
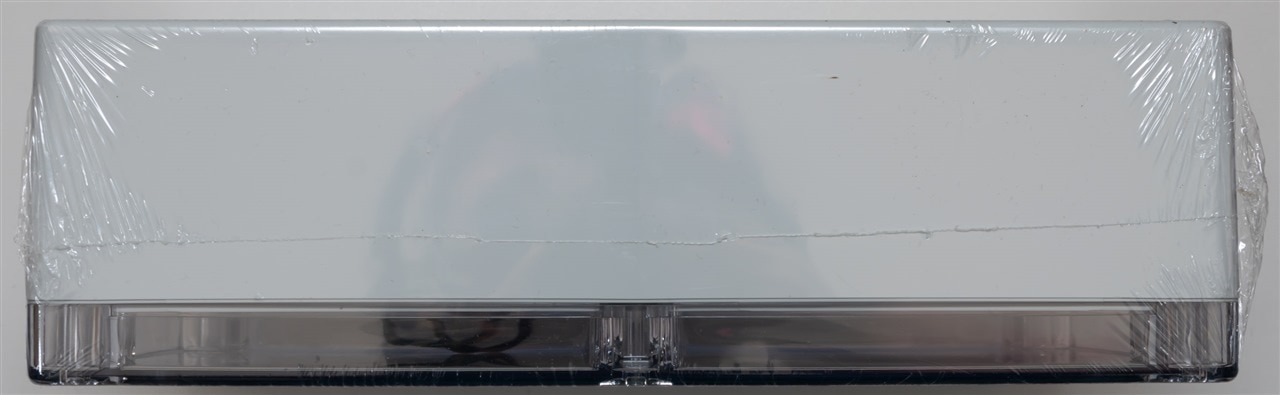
This product (1554X2GYCL) is specified as a polycarbonate enclosure with a clear front. This is a type that is very commonly known as a weatherproof enclosure, suitable for inside or outside mounting. The product, as supplied, is in shrink-wrap.
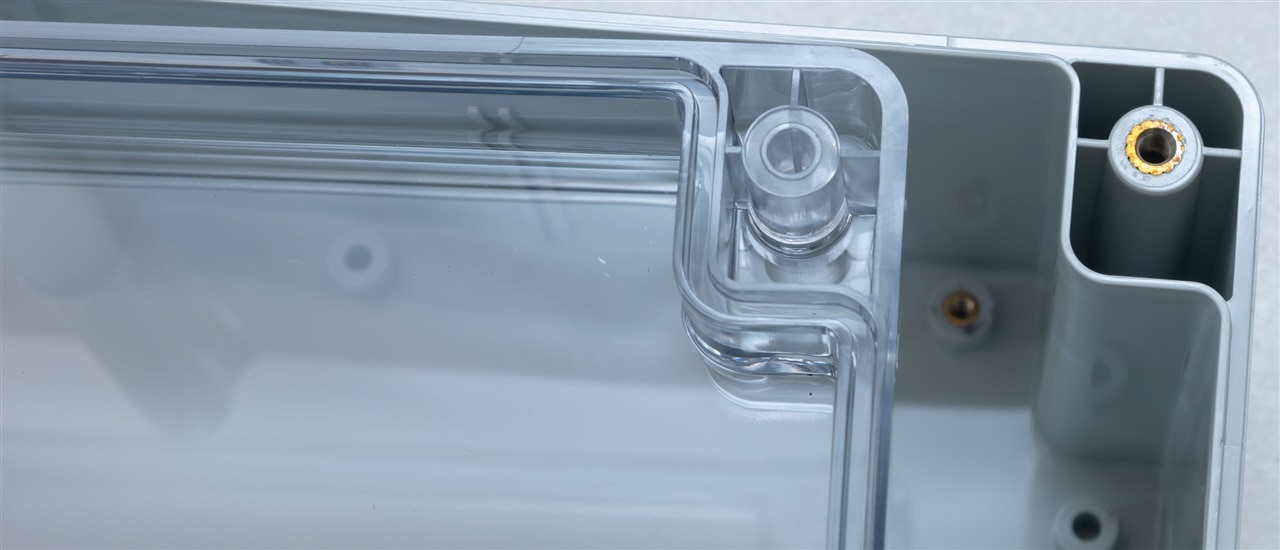
Taking the shrink wrap off, the front lid comes off. Flipping it over, we can see the way the tang on the base and how it interacts with a channel in the lid which a gasket is installed to make it weatherproof.
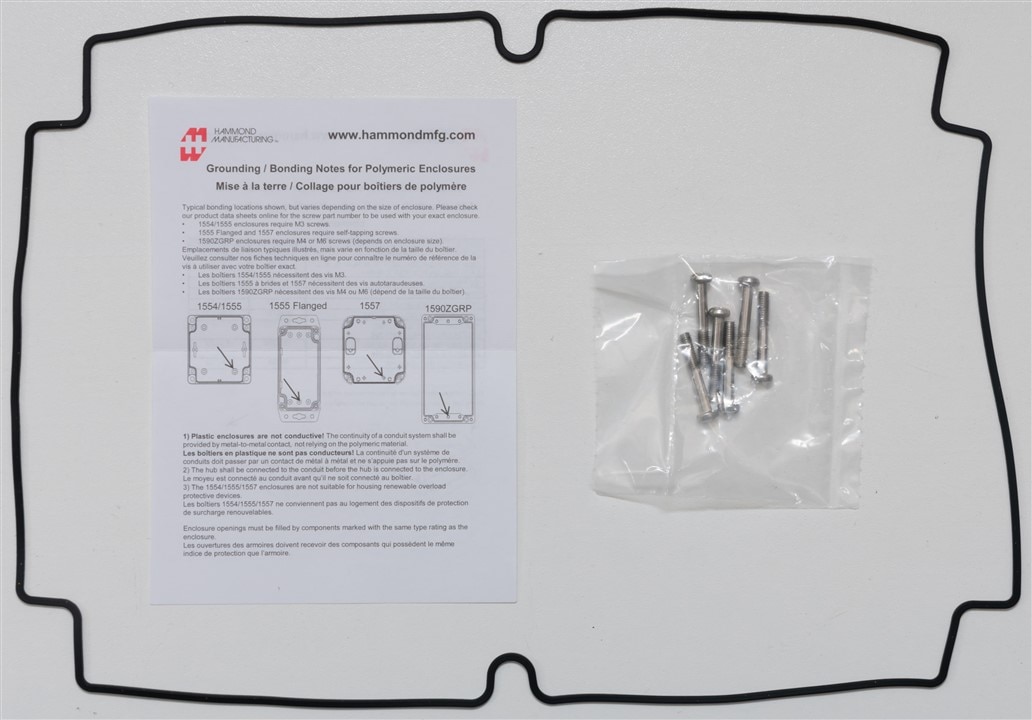
Unlike some other generic weatherproof cases I’ve used before, this one comes with a pre-moulded gasket, rather than just a section of bead that can be installed in the channel. This is an excellent way of doing things as it avoids the variation in bead installation where sometimes it is stretched too much, meaning the seal is not very good, or where there are problems with the seam at the point where the bead ends meet (do you overlap, or leave a gap). The lid screws are in a bag while there is also an information sheet which seems most targeted at electrical installations using this enclosure.
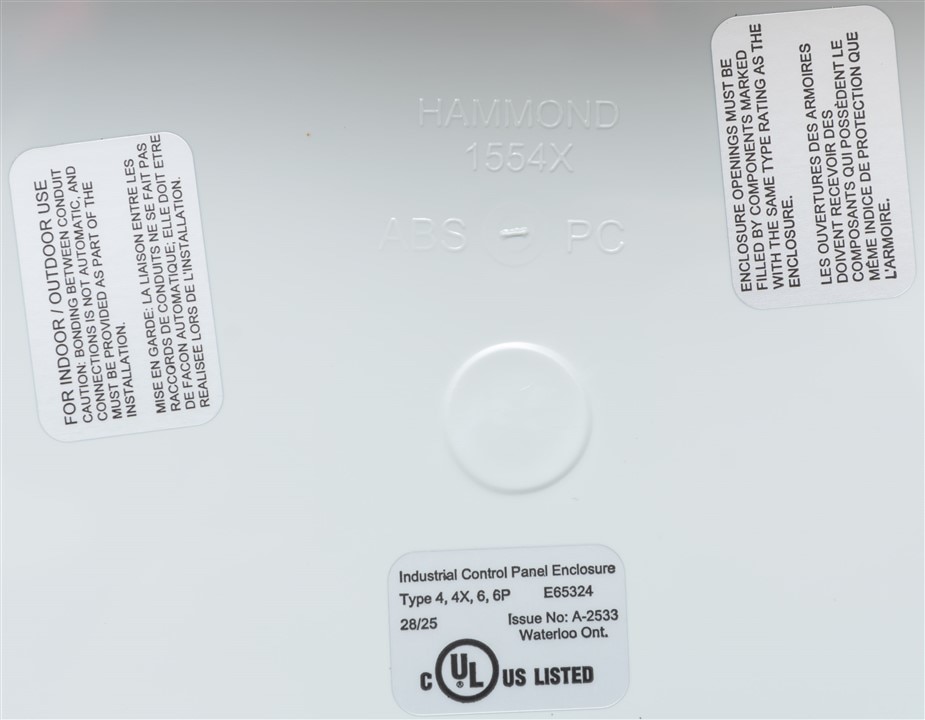
Some of this information is repeated on self-adhesive labels affixed to the inside of the case as a reminder to installers.
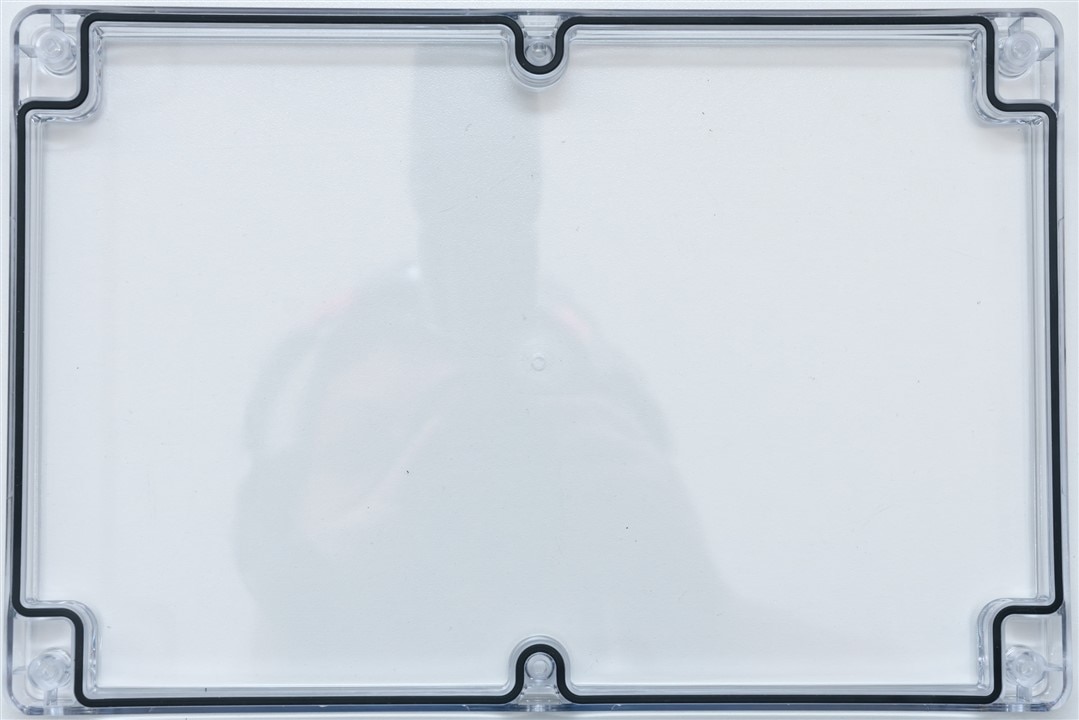
It’s pretty easy to install the gasket into the channel, if you anchor each of the corners and “U” sections first, then seat each section moving in from both ends. This ensures there’s no “twist” in the gasket which might let air or water in. Definitely a much more consistently engineered seal compared to the generic stuff I’ve used in the past.
Bonus element14 Community Goodies

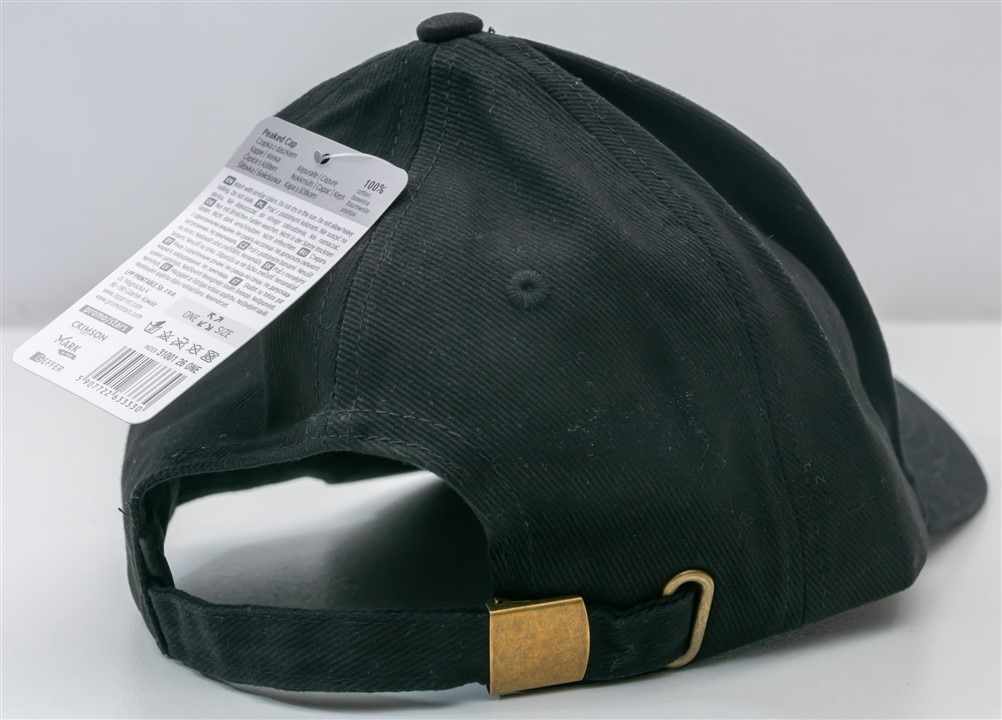
This is a nice black cap to add to the collection – this one’s nice and neat with just the element14 Community logo on it.
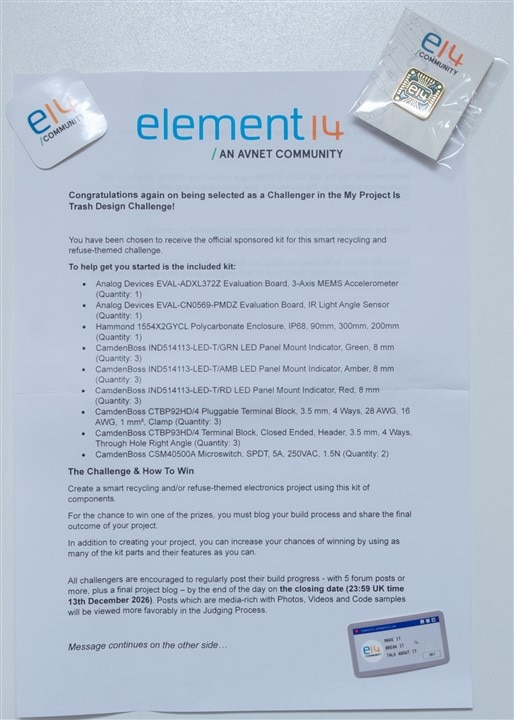
Here’s the challenger’s letter including two stickers and an enamel pin badge.
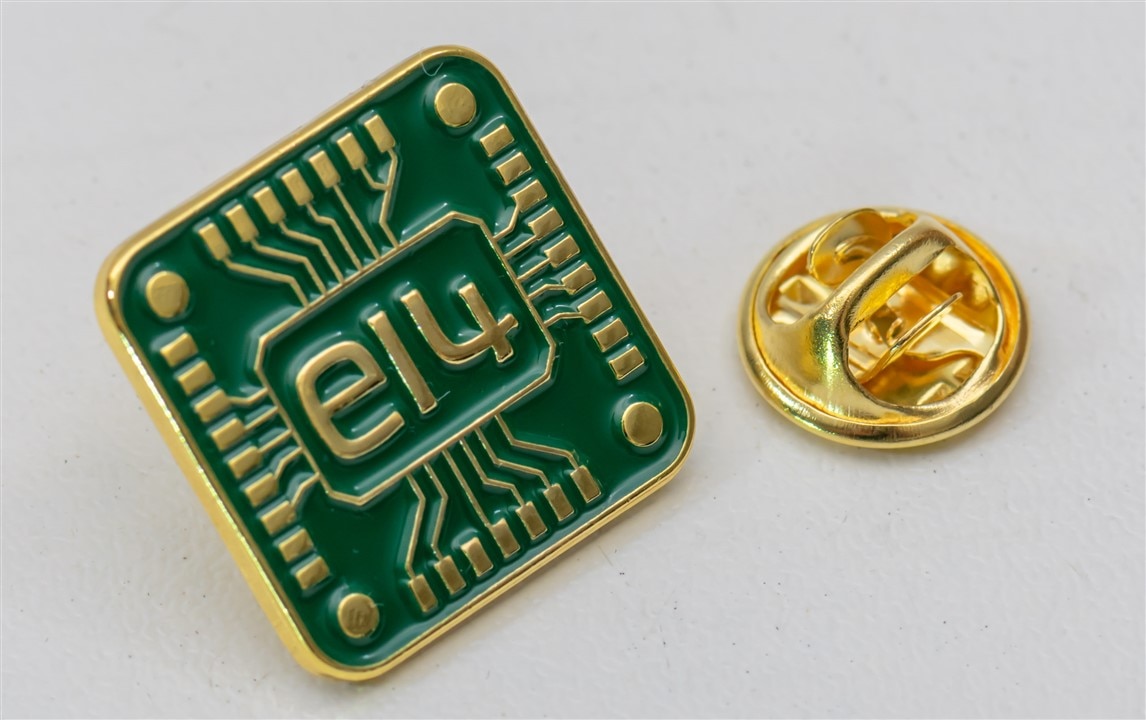
I think the pin is one of my favourites – the colour and design is really nice and is very obviously electronics-related.

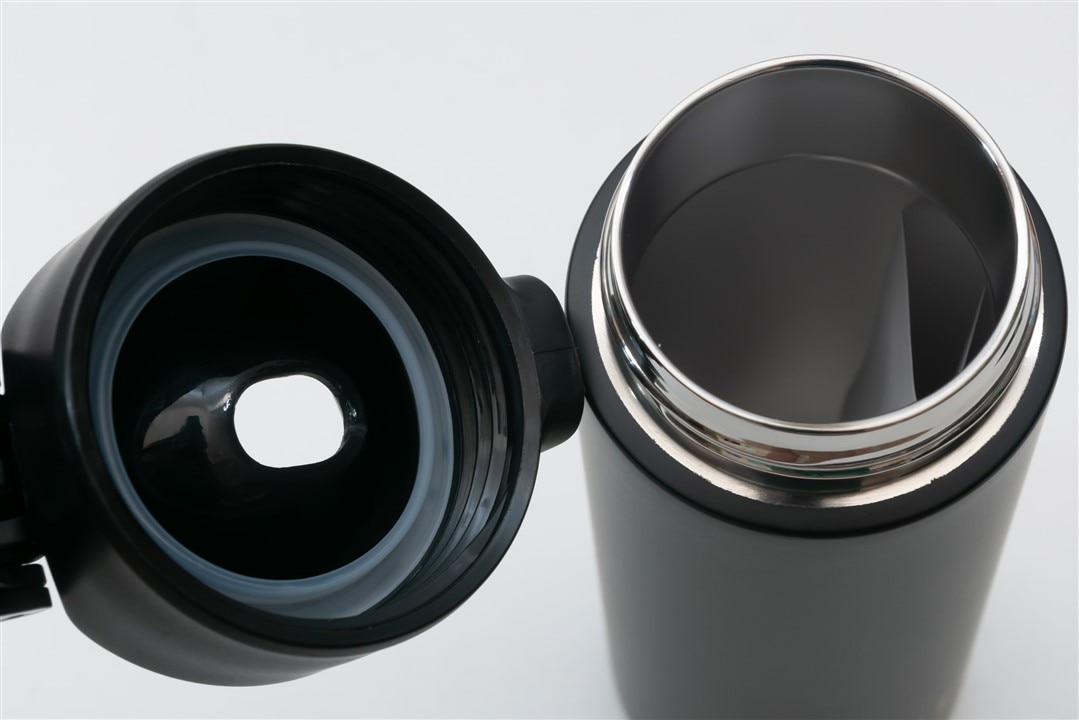
There’s also a nice vacuum flask for your coffee, tea or other beverage of choice.
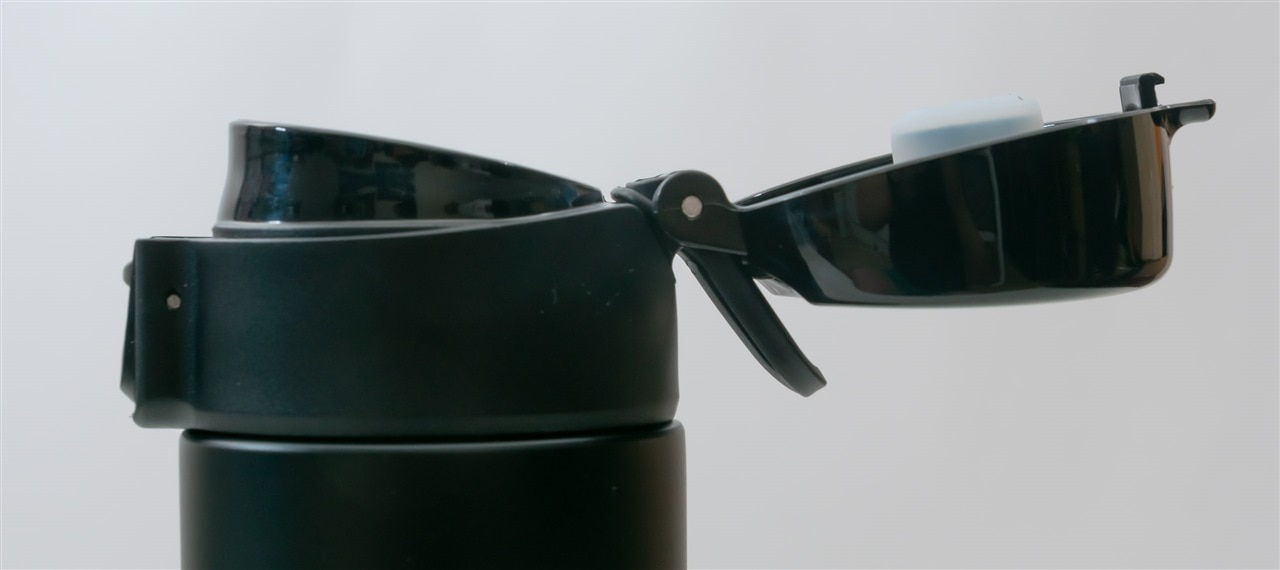
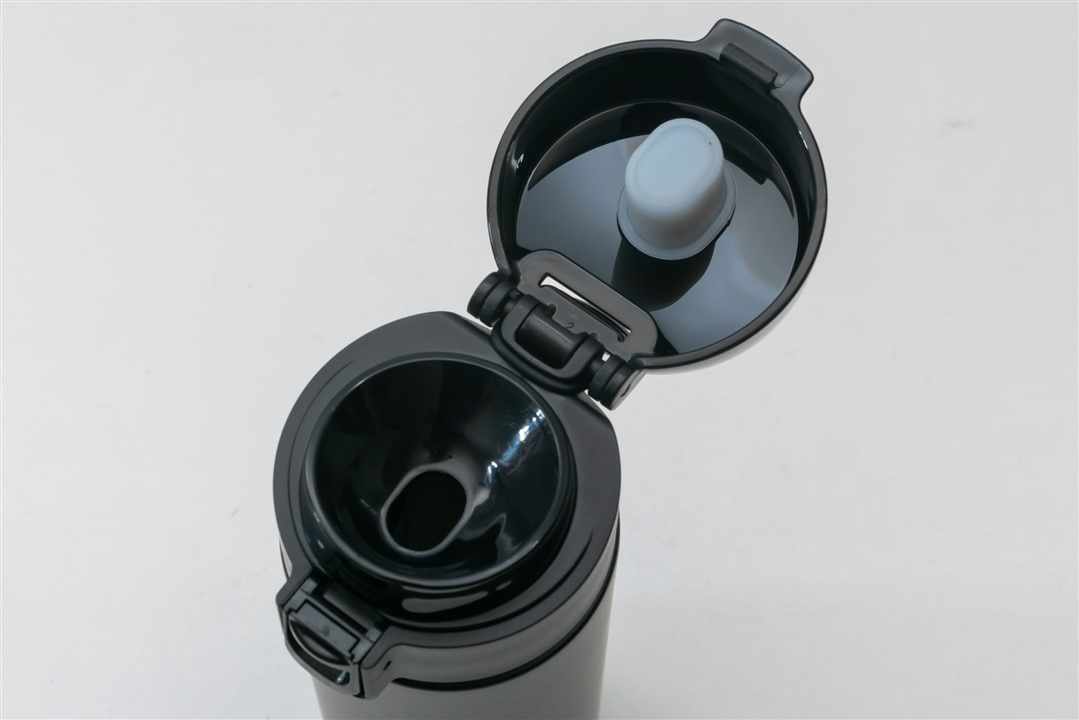
It’s got a flip-top lid, with silicone seals and an instruction leaflet hidden inside. Kind-of reminds me of a wheely bin … *flips the top lid*. Hmm. But the tall cylindrical shape, small size has saved it from being my bin-surrogate for now.
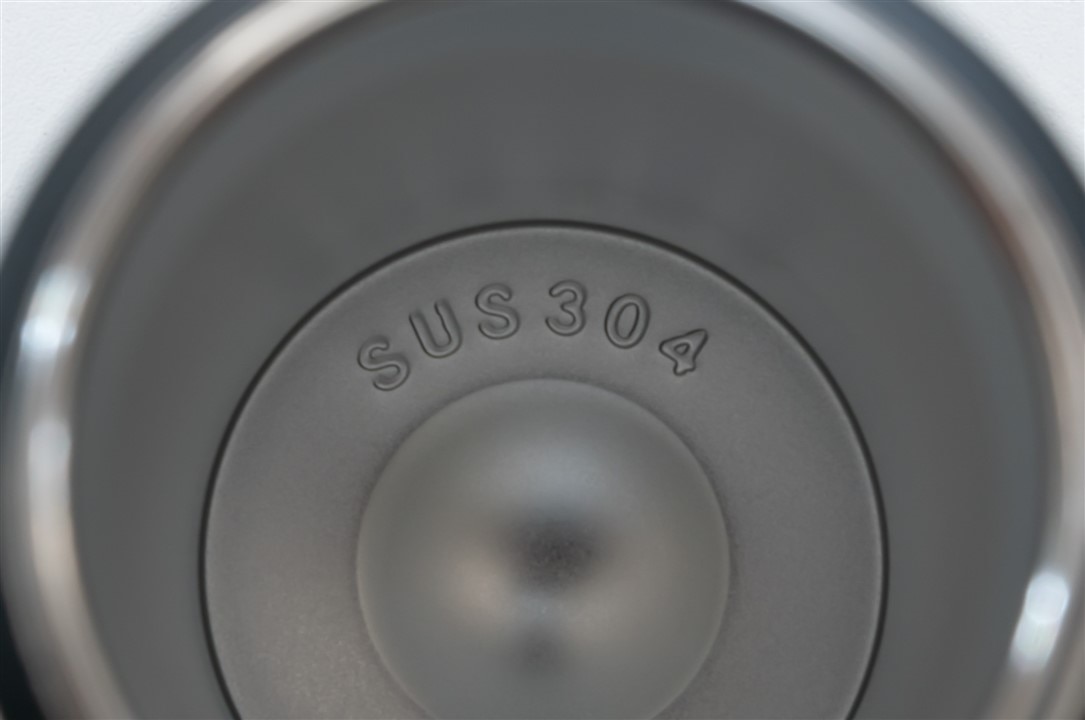
Inside, it claims to use SUS304 stainless steel. It’s always nice to receive things that we weren’t expecting … I’ll treat it as an early Christmas present ;).
“You wouldn’t steal a bin!”
In the last section, one of the challenges was the fact the system I had envisaged would be used with a wheely bin, but I didn’t exactly have a wheely bin to use. Now, being a good neighbour, I wouldn’t be stealing my neighbour’s bins just for experiments … but I decided I would try to download a bin instead.
A little bit of research seems to suggest there are few “wheely bin” 3D printing model files available – the most advanced one seems to be Wheelie Bins UK Style 1:10 Scale by BrewStew on Thingiverse, itself a descendant of Aussy wheely bin by fillman86 also on Thingiverse.
What a world we live in that I can simply download a bin(ary) file and slice it up in Cura and reproduce a physical wheely bin … I decided to give the 140L model a try.

The original file claims to be 1:10th scale, but with a print volume of around 200x200x200mm at my disposal, I can print at 190%, so this means I’m going to have a bin at 1:5.263 or thereabouts. This isn’t all that big – definitely cute for a desk, but I can’t exactly shrink my components down to better fit the bin.
So I suppose another means could be to modify the Blender files or STLs provided to cut them up into eight sections, so I can have 2x2x2 build volumes (so about 400x400x400mm to play with). In that case, I can reach 1:2.632 or thereabouts scale, but I’d have the hassle of joining everything together. But printing just one volume is going to take close to two days … eight volumes would be more than two weeks of printing time which is not easy to afford in a challenge with four weeks remaining. Additionally, it’s probably going to need more than a few kilos of plastic. So I’m not sure if it’s realistic … but I might as well see what a “scale model” is like before committing to the whole-shebang.
Conclusion
I would have never guessed that I’d receive a parcel that big for this challenge. My thanks to the element14 team for the additional goodies. Now that I have the kit in hand, I can do some experimenting to plan and prototype the solution better. Some of these parts are going to take some learning to get working.
I’ve been thinking about one of my challenges – the lack of a bin to work with. Thankfully, there’s some 3D-printable models of wheely bins around. It’s wheely great to be able to print my own from my own home … but whether this is going to be practical at larger scales and whether I’d be able to do it in time is another matter entirely. Too bad I don’t have a shrink-ray to shrink the existing components to fit the scale of the print!
While I now have most of the challenger’s kit, there’s still a few missing items including all of the LED indicators. I guess I’ll have to follow up with e14Liz about that. But I’m also missing a name for this project! If you haven’t already, you can help me by voting for a name for my project or suggesting a new one on my previous blog. I’m looking forward to your bin-novative ideas and comments.

