Vivado has large IP catalog which makes it very easy to connect many of the common interfaces to designs. This lab provided step-by-step instructions on how to create custom IP, add it to the IP catalog, and then connect it to a design. The IP that we added was a Pulse Width Modulation (PWM) controller. It takes clock, duty cycle, and period inputs to create a PWM output as well as a count output. The IP generates an Interrupt when an invalid PWM range is written into block. The PWM was used to control the back-light brightness on a 2x16 LCD on a Low-Speed (LS) Mezzanine on the Ultra96, which connected to a MikroE 96Boards Click Mezzanine, which connected to the LCD Mini-Click. In this lab I learnt how to:
• Create a new IP definition
• Customize the IP
• Add it to the Vivado IP Catalog
• Add this custom IP to your project
• Add an interrupt to the Zynq MPSoC PS and connect to the custom IP
• Test the custom IP with a custom software application
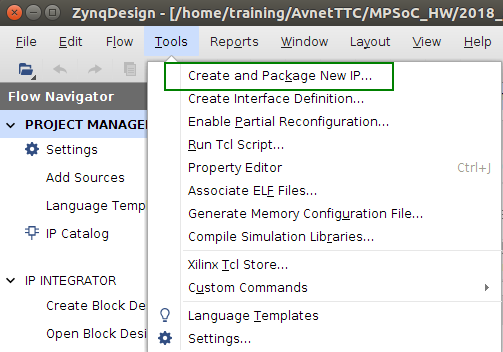
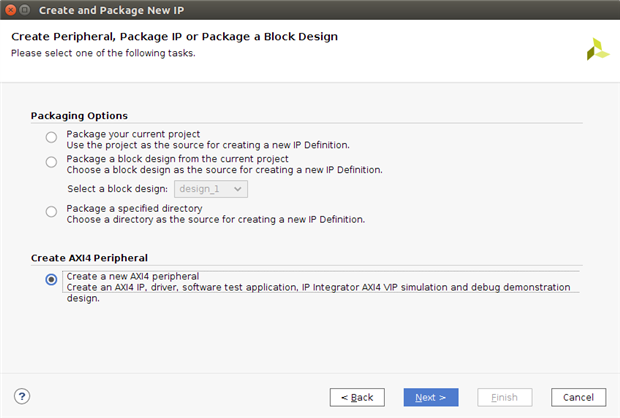
In the Menu there is an Option called Tools. There is a selection to Create and Package New IP
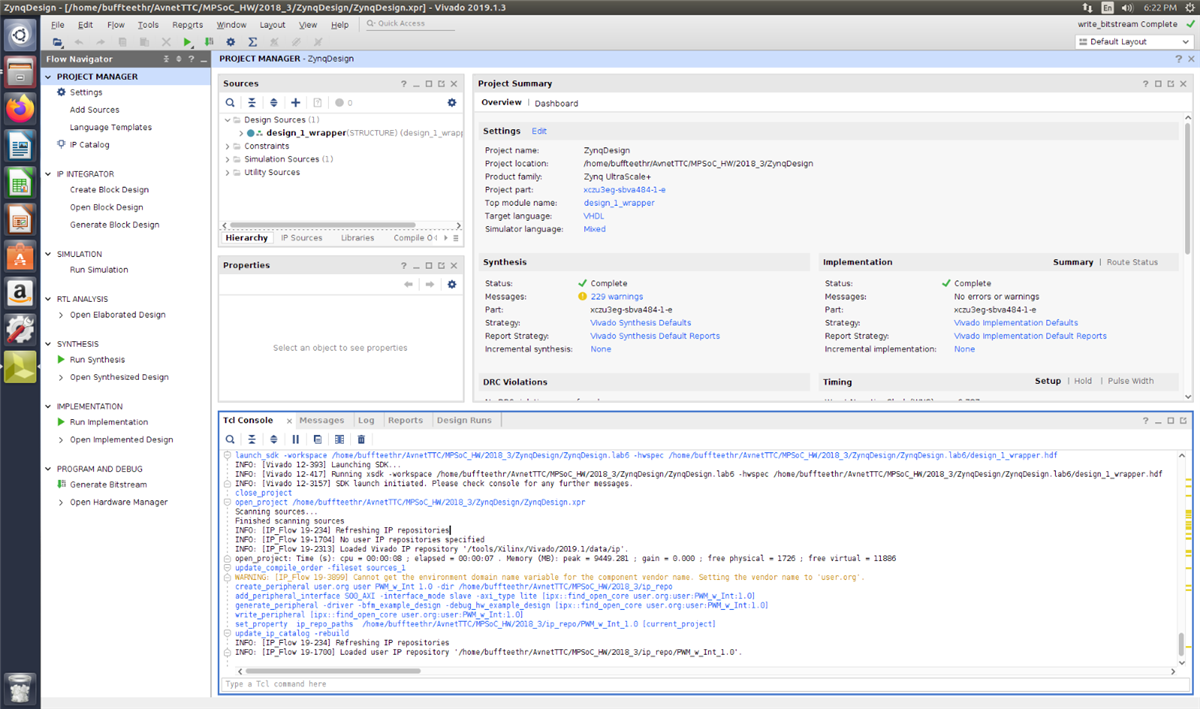
I made an AXI peripheral
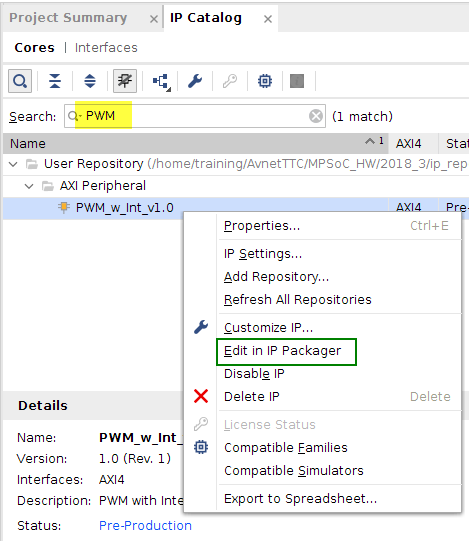
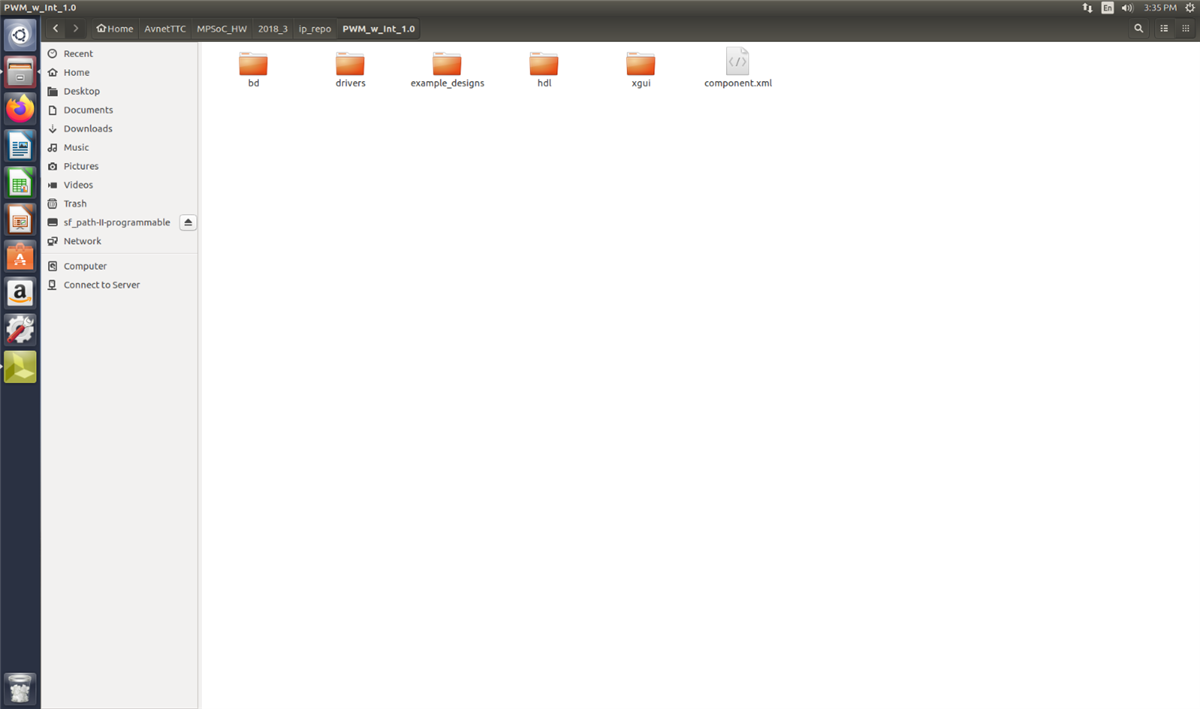
After creation the IP was then added to the repository.

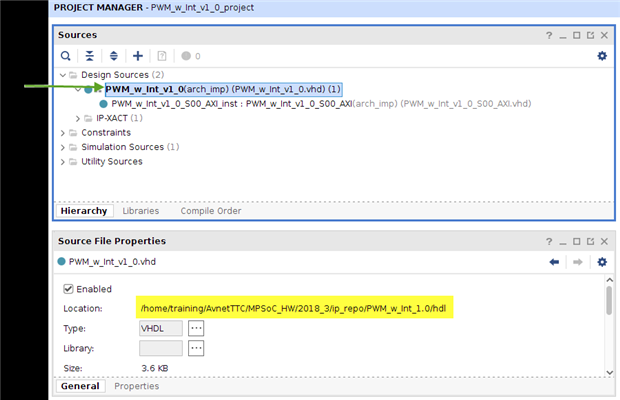
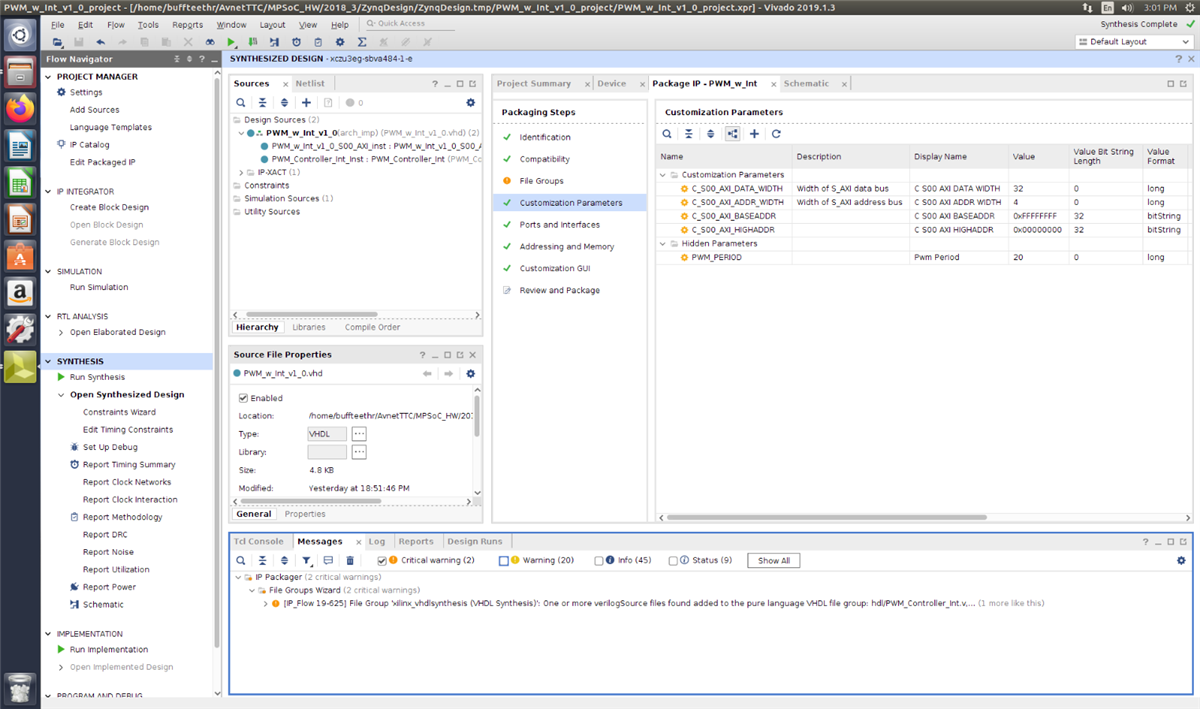
Once the Custom IP was added to the repository I was able to edit it in the IP packager.
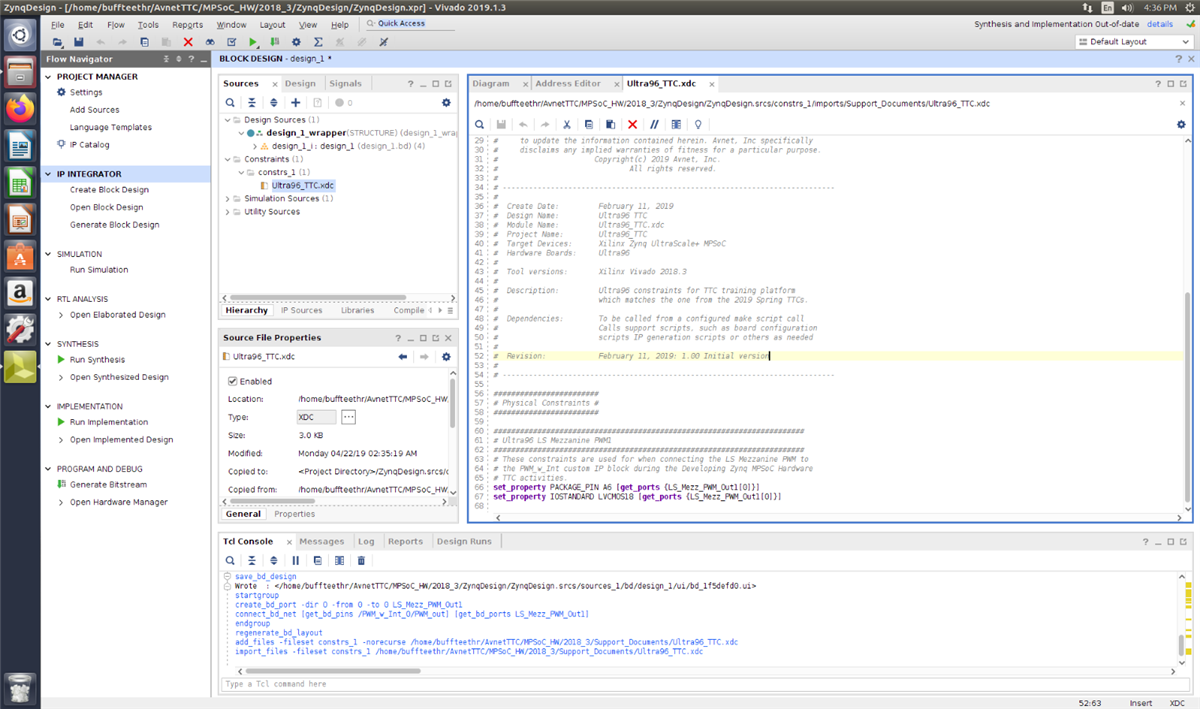
This allowed me to edit the source code for the custom IP and well as add new sources.
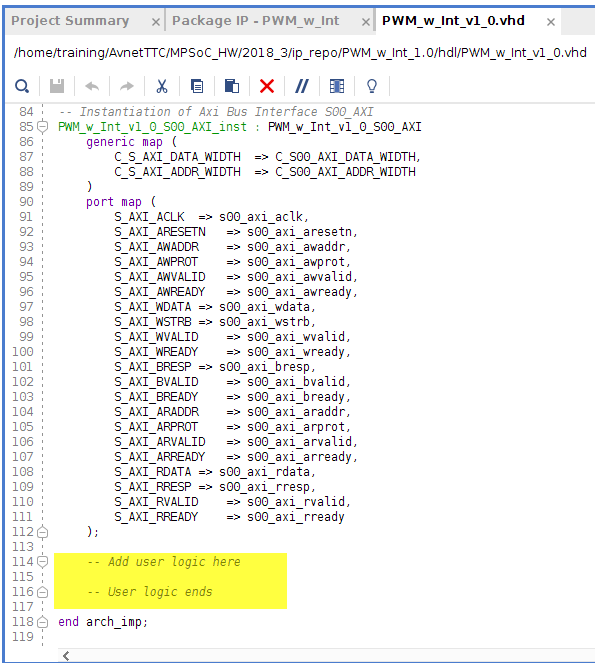
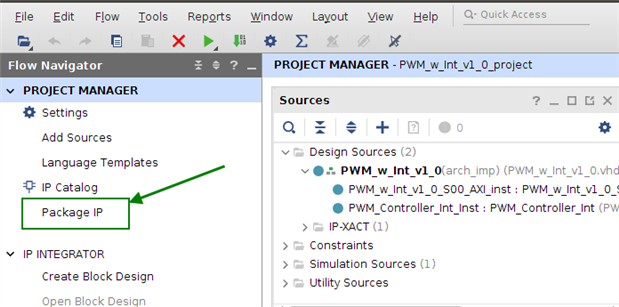
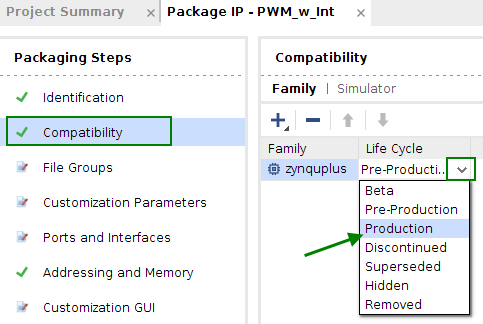
The next stage involved Packaging the IP
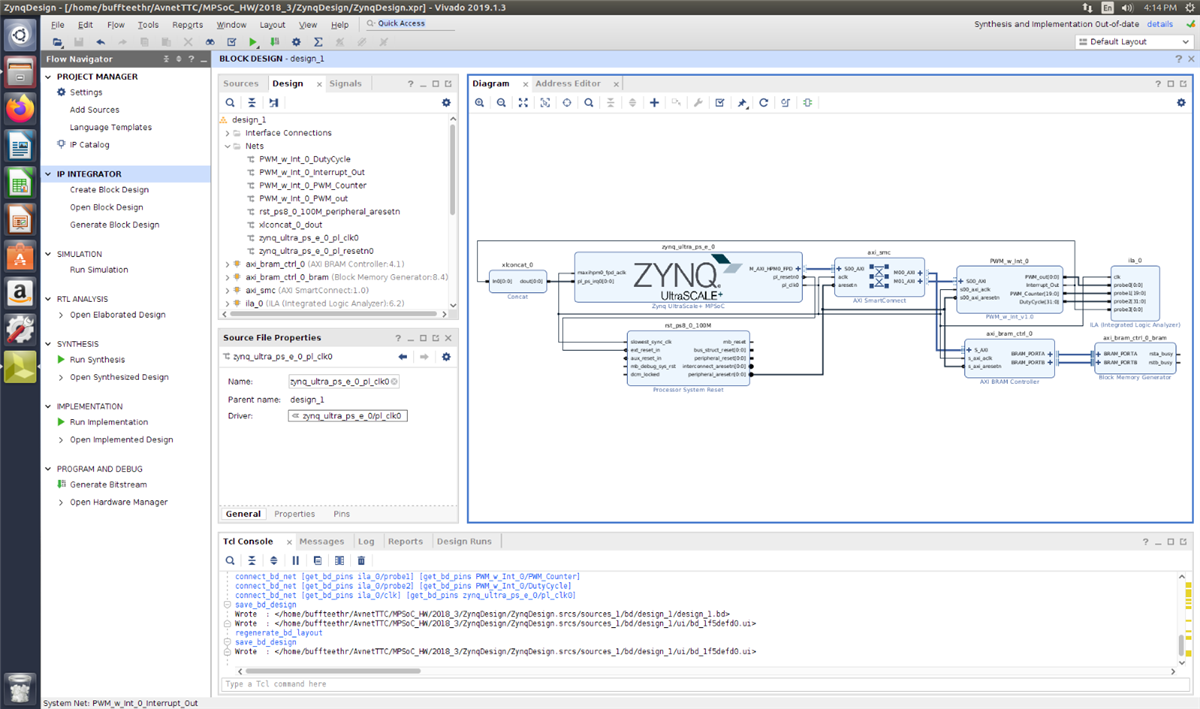
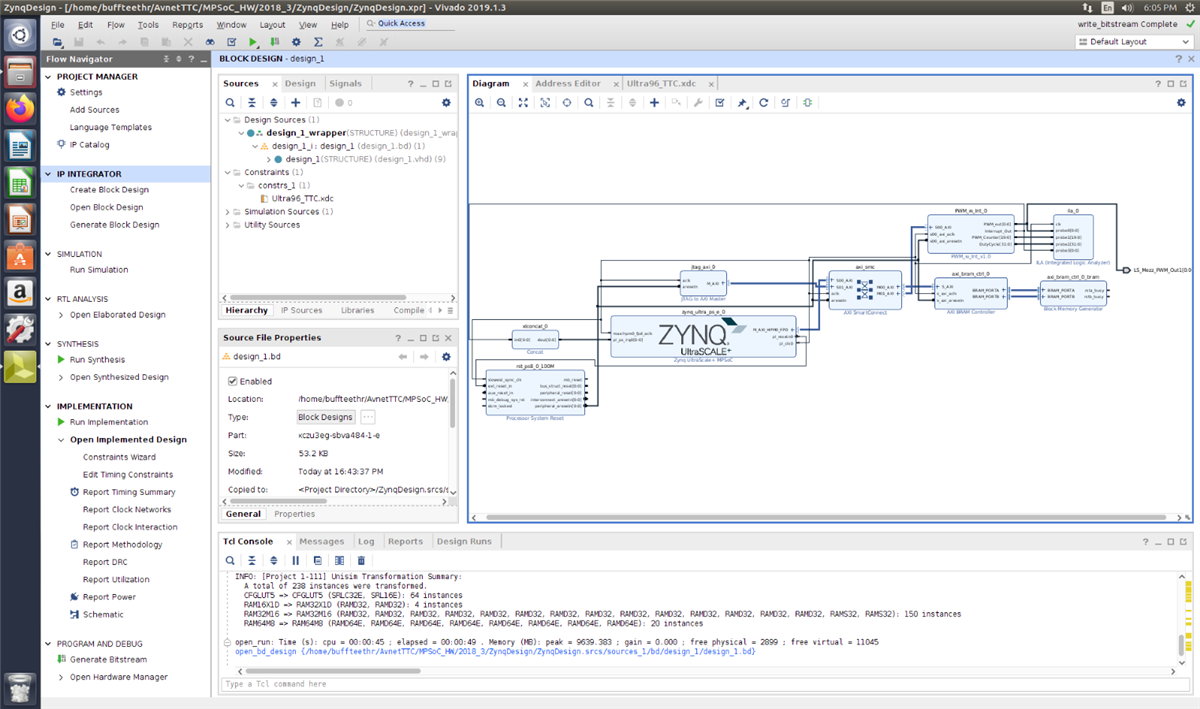
Once the Custom IP compiled and was package I was able to add it to my design as shown below.