


Start a Zynq MPSoC Design
Table of Contents
1 Creating New FPGA design
The design and application of FPGA are highly flexible. It gives developers more control to burst out imagination.
The AMD Xilinx FPGA is definitely great innovation, construct one fully functional realm for electronics engineers to make every everything possible.
Of course, the learning curve is steep, need tons of time to understand and master it. Thanks to Path to Programmable training series, for such as chance to dive into FPGA.
The first step is to create on FPGA design. The Zynq MPSoC Processing System (PS) has a configurable set of built-in peripherals. Additionally it has direct access to Programmable Logic (PL) that can build virtually any custom IP. So it is good start point to create Zynq MPSoC design first.
However, programming of the PL is necessary in FPGA design, otherwise, general MCU can cover most of the application with much easy design flow.
2 Create FPGA design with VIVADO
Start Vivado,
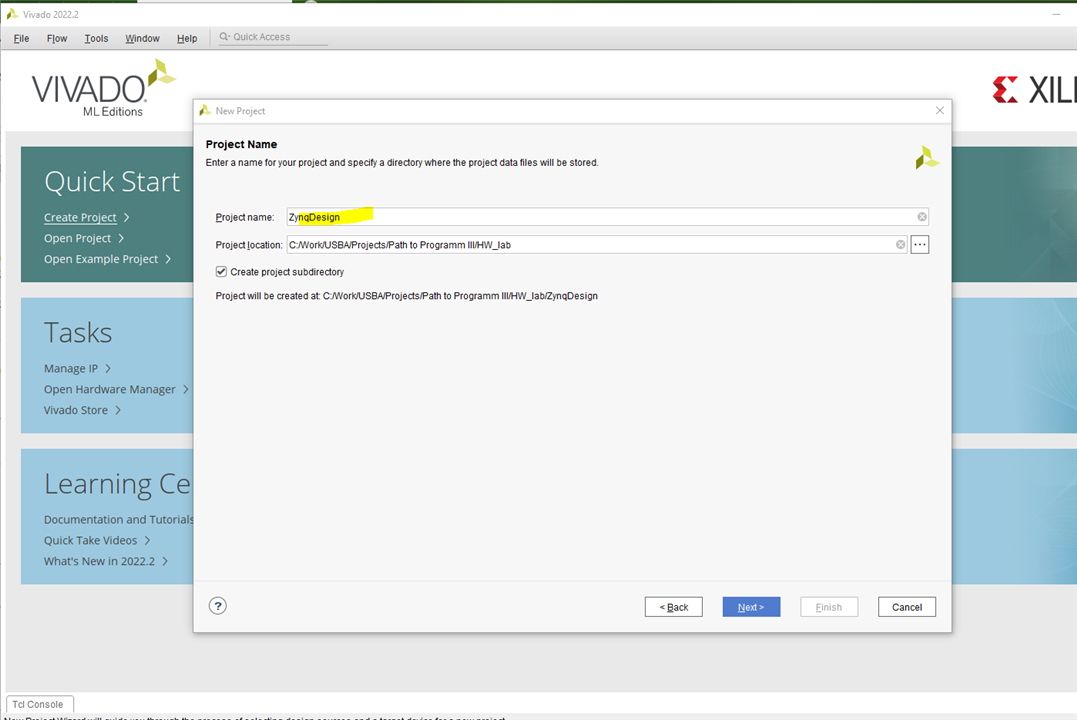
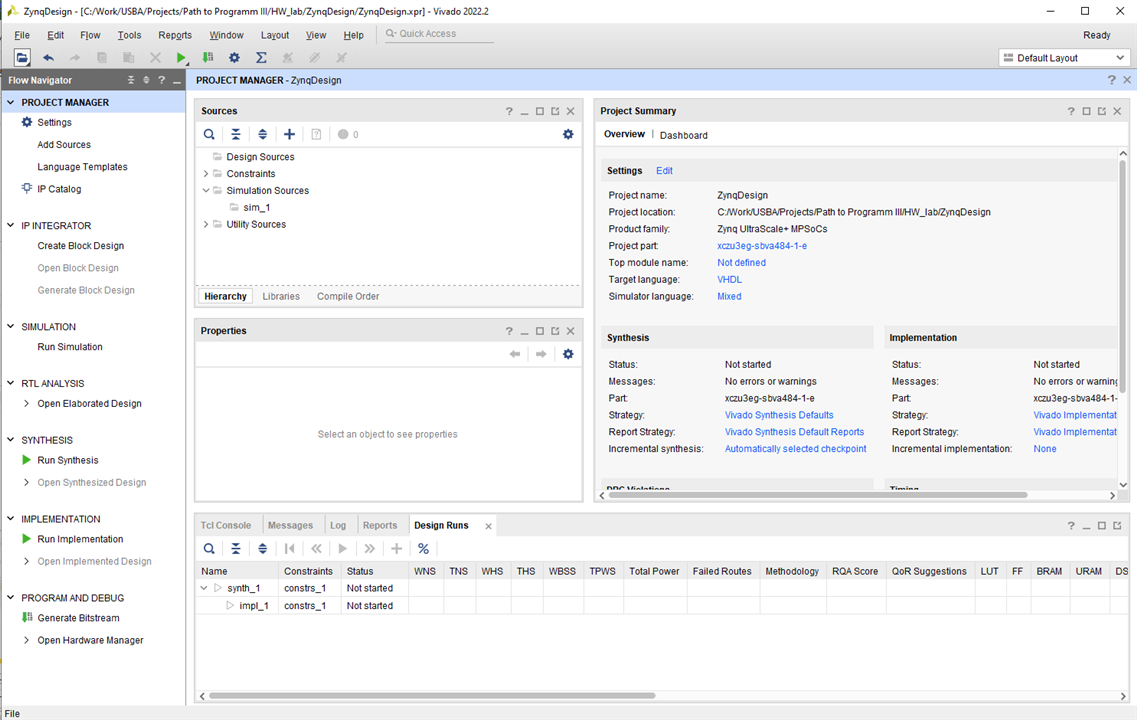
Create new project, ZynqDesign
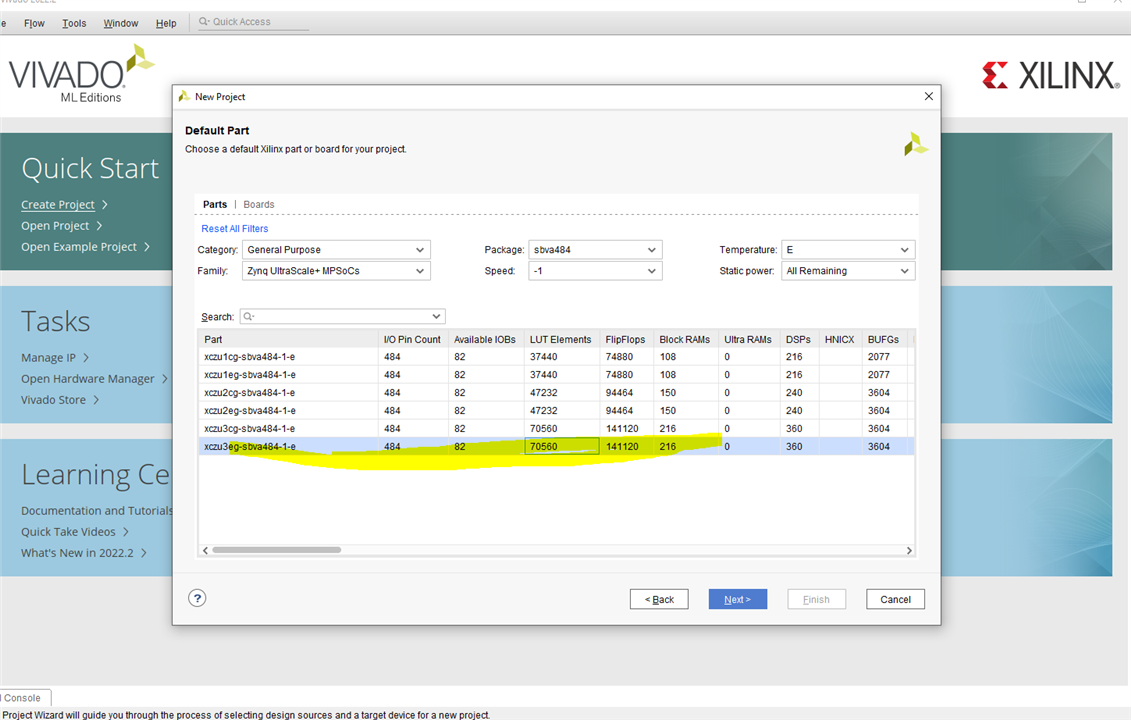
Select part number of chip
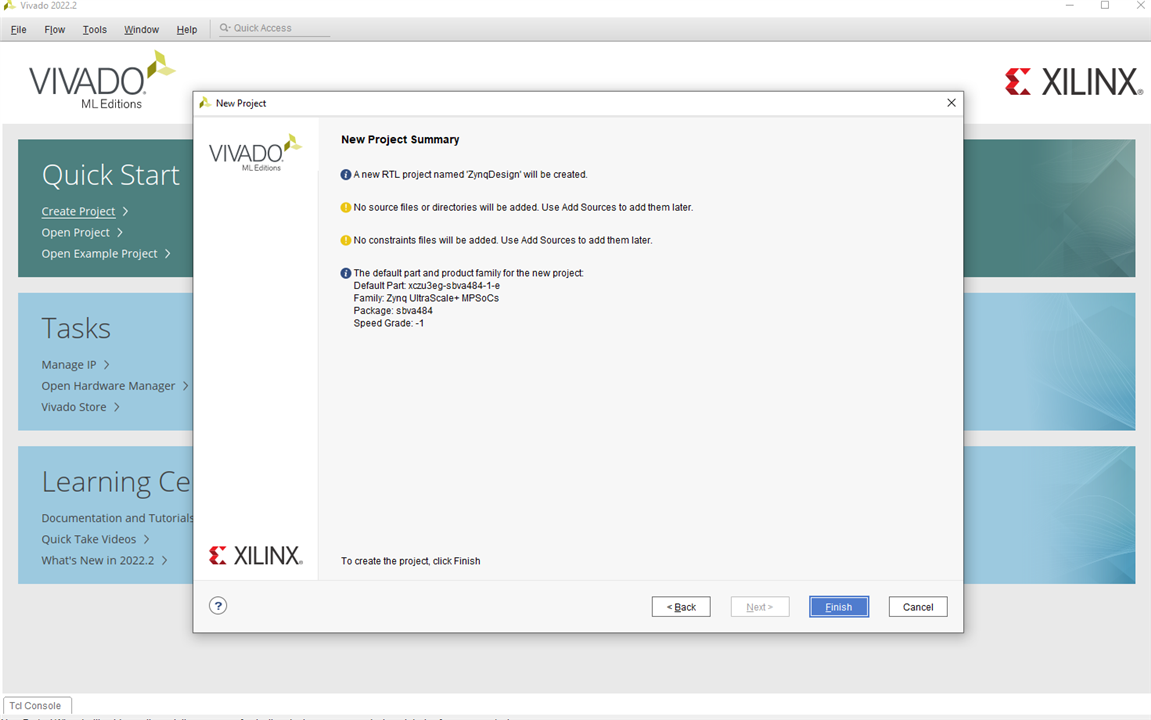
Make selections step by step, resources and constrain part can be added later, so leave them blank for now,
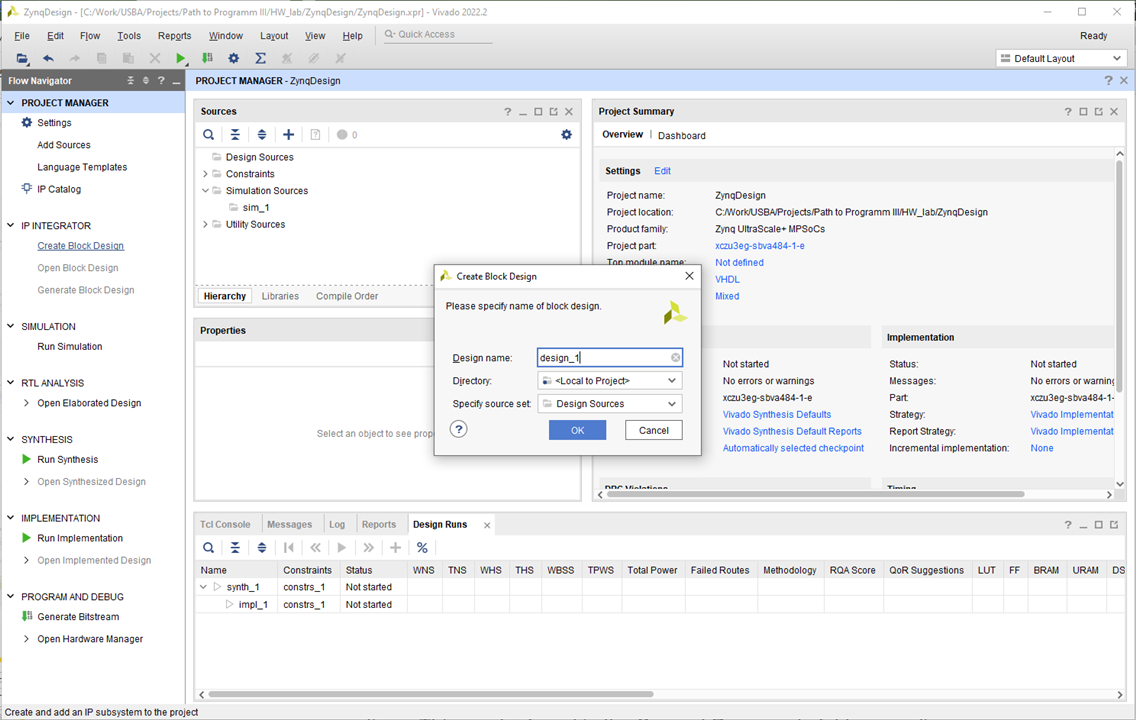
3 Create block design
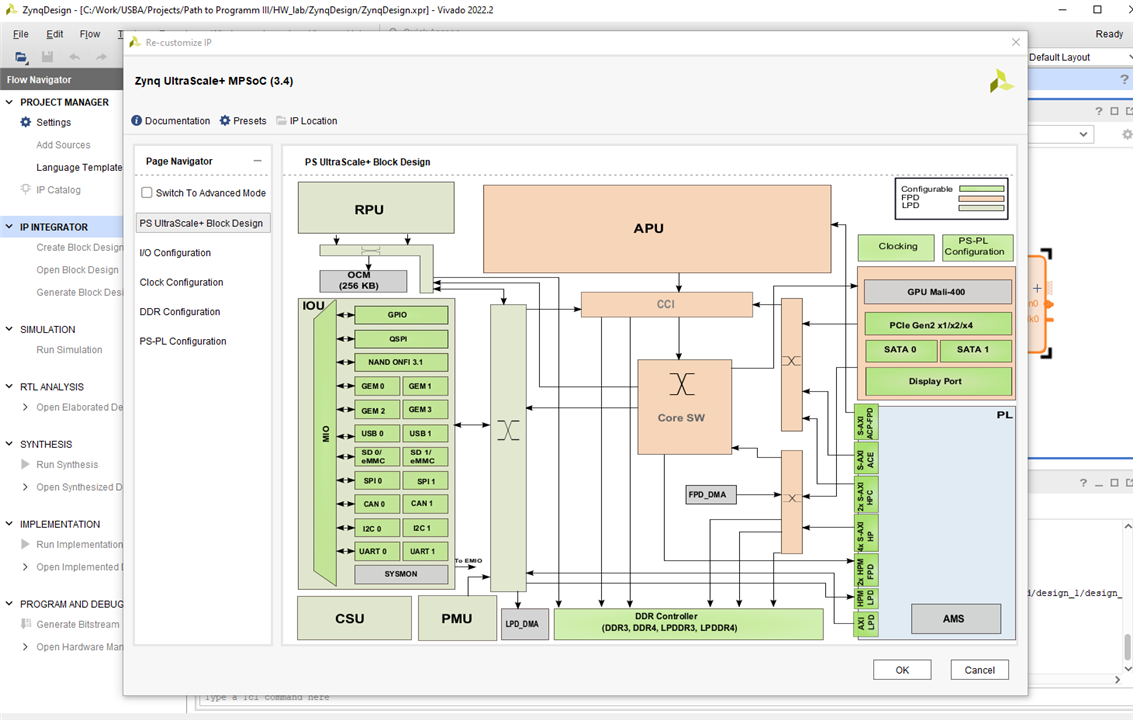
Create the block design in GUI mode with Zyng MPSoC IP
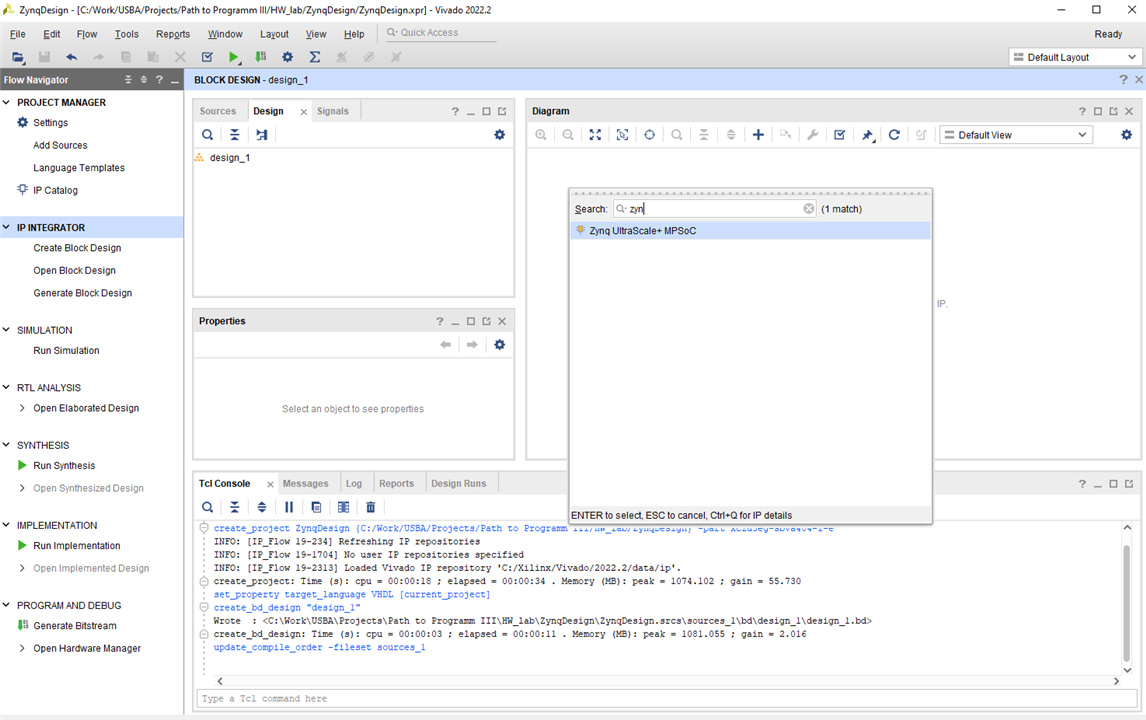
add Zyng MPSoC IP
Here it is, double click the IP to edit parameters
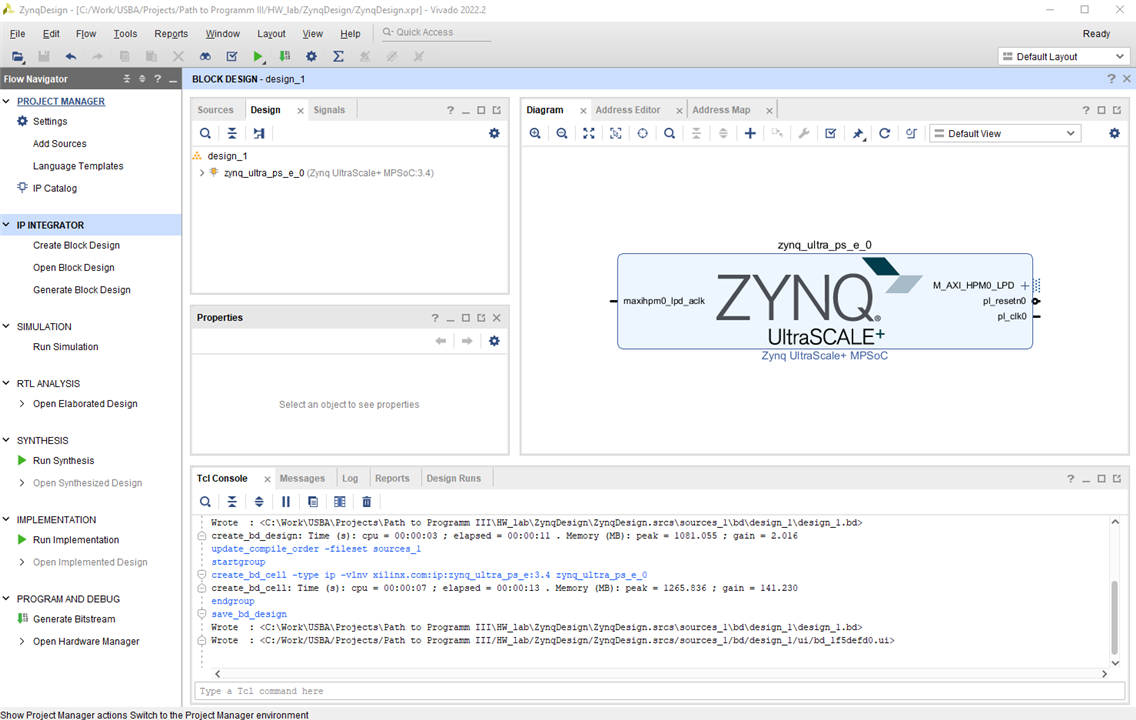
The block diagram clearly shows Each part within the IP core,
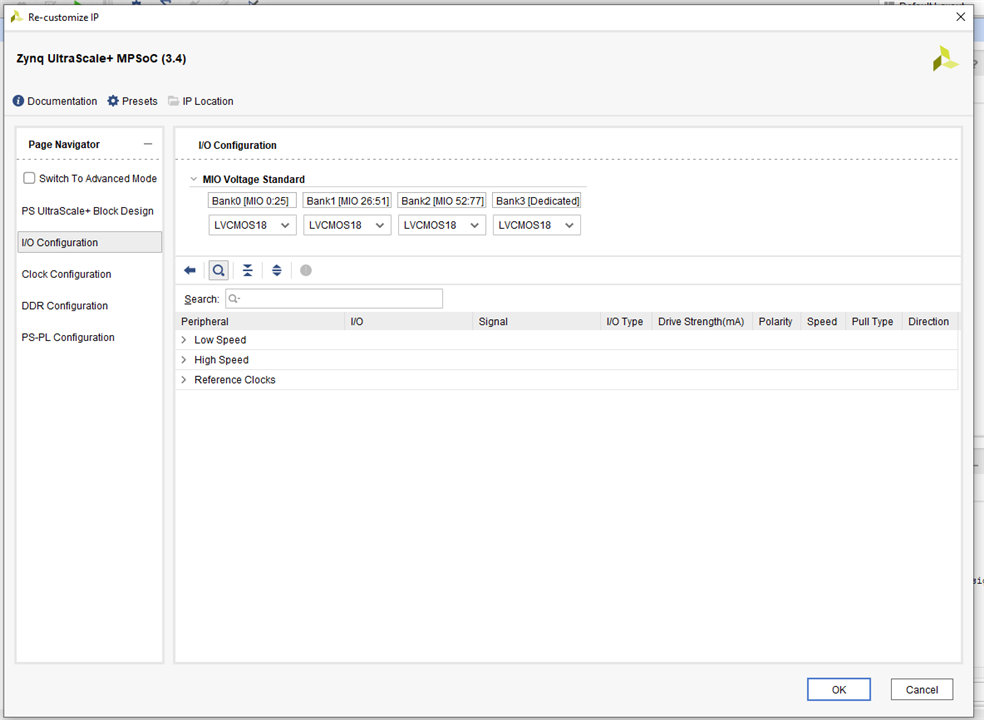
select block to edit
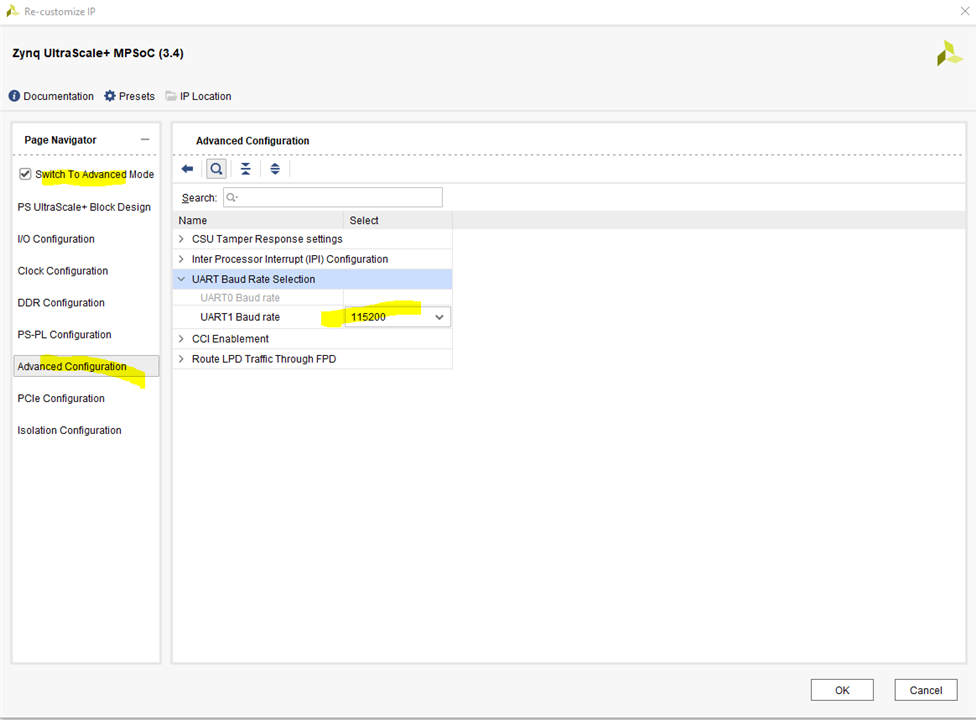
tick the UART0, and choice parameters
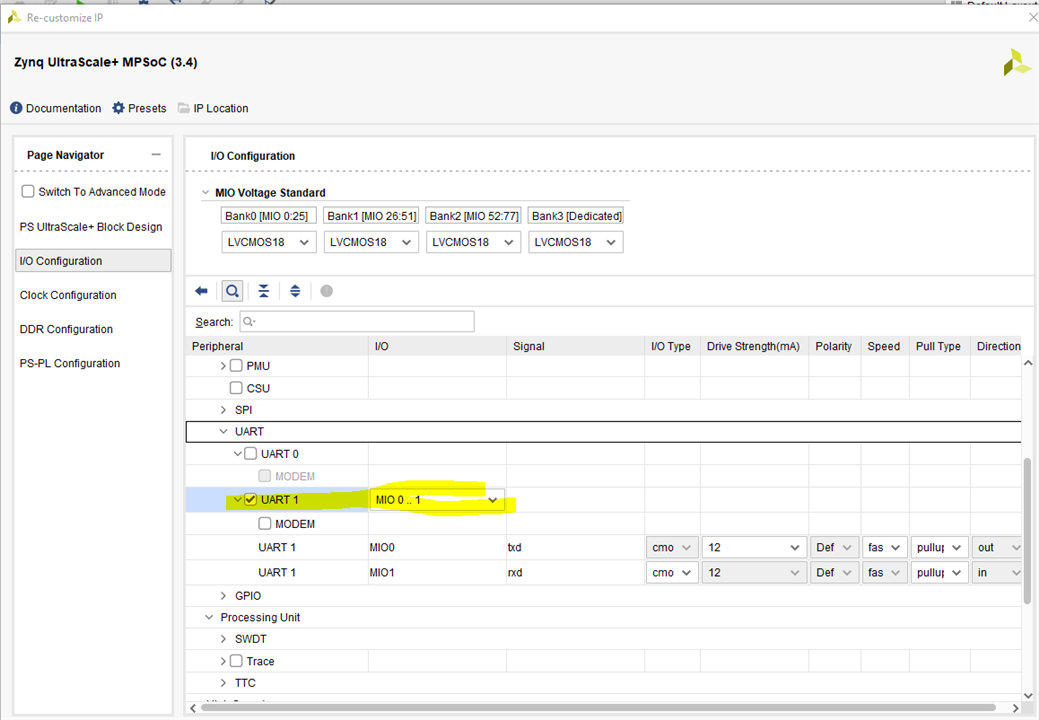
set the baud rate 115200,
fix the core frequencies
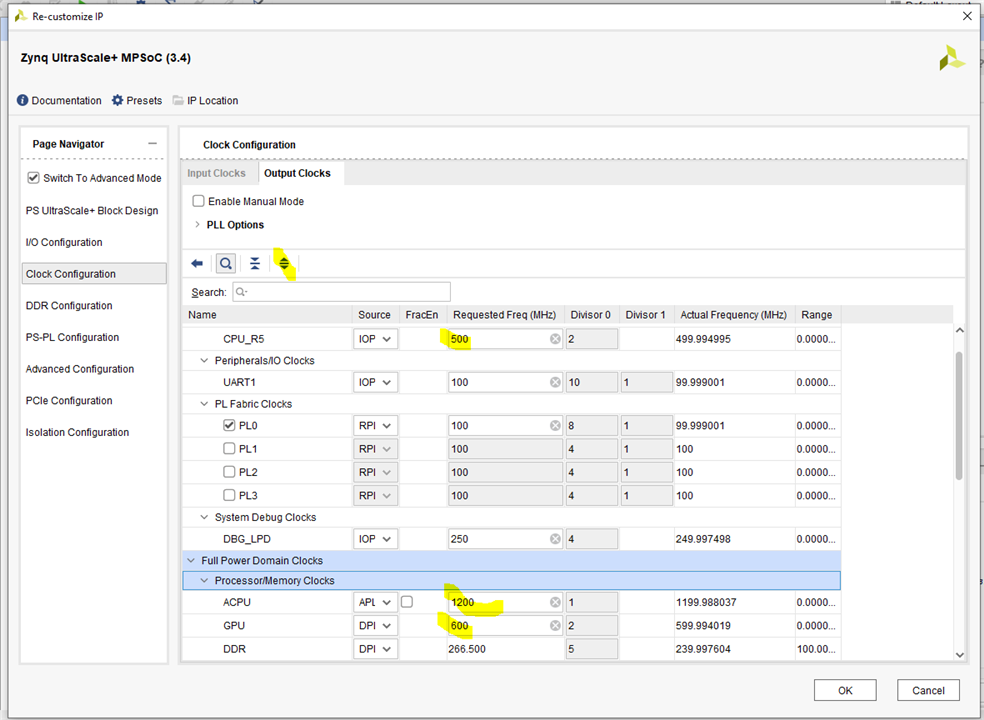
then the peripheral clock
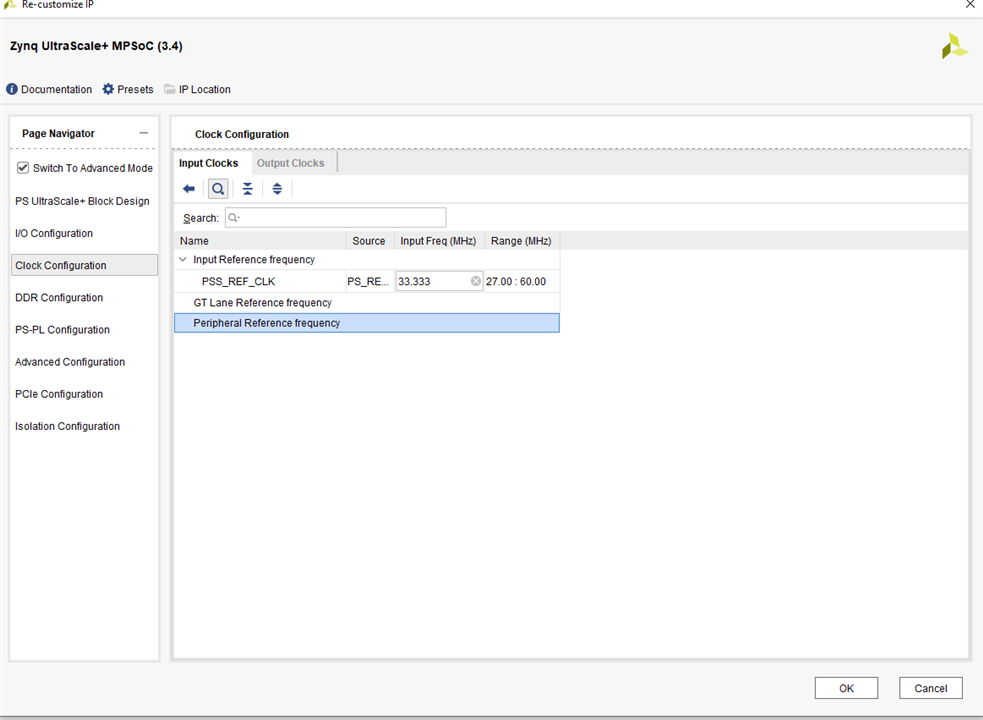
configurate PL clock,

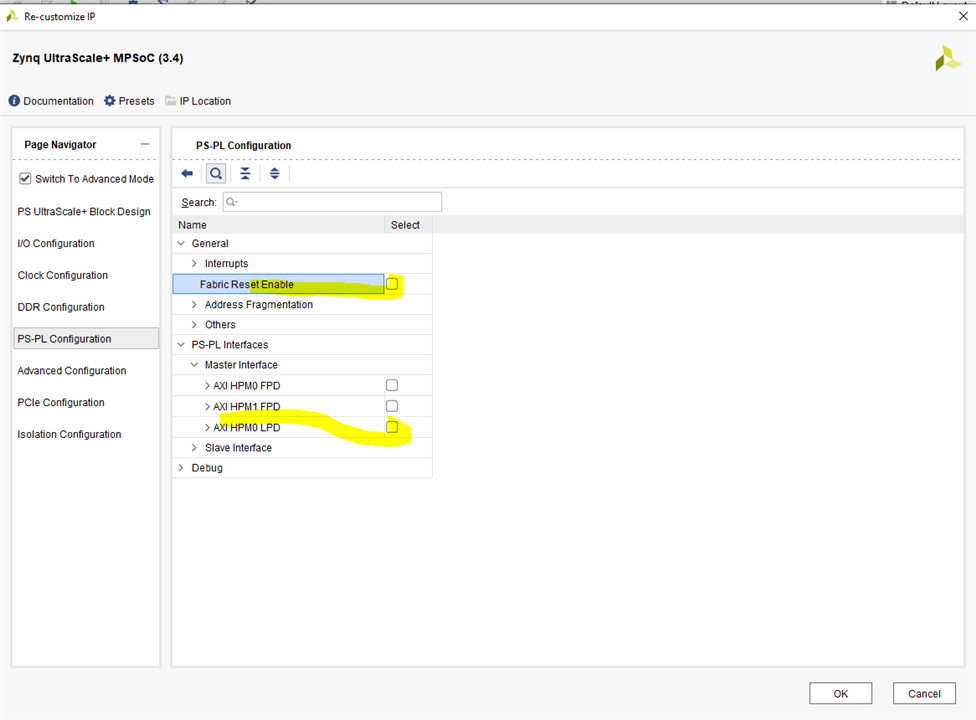
then go to internal bus IP configuration, that is about AXI,

The last part Lower Power DDR, this shall be same as the parts on board, I use customized memory,

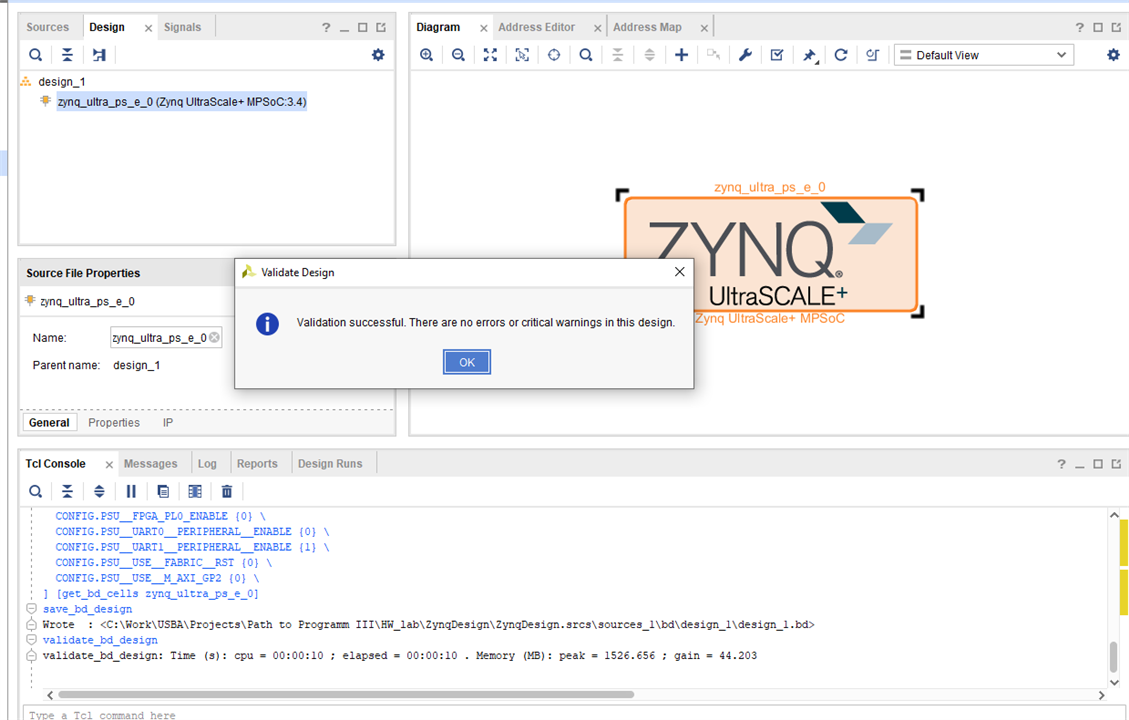
Now the design and configuration about ZynqMPSoC is complete.

Next step is,
4 Build the Design
Validate the design first,

if there is any problem, error is reported.
Then generate bitstream. In fact, it is bundle command, create HDL wrapper first,
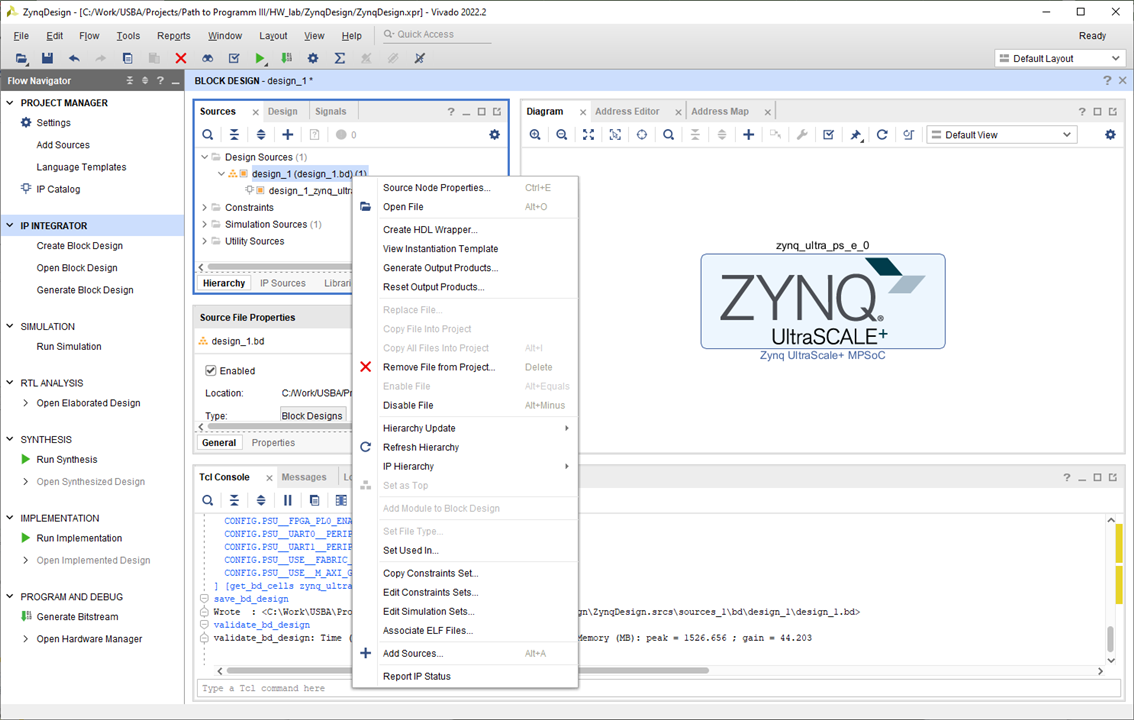
Create HDL wrapper,
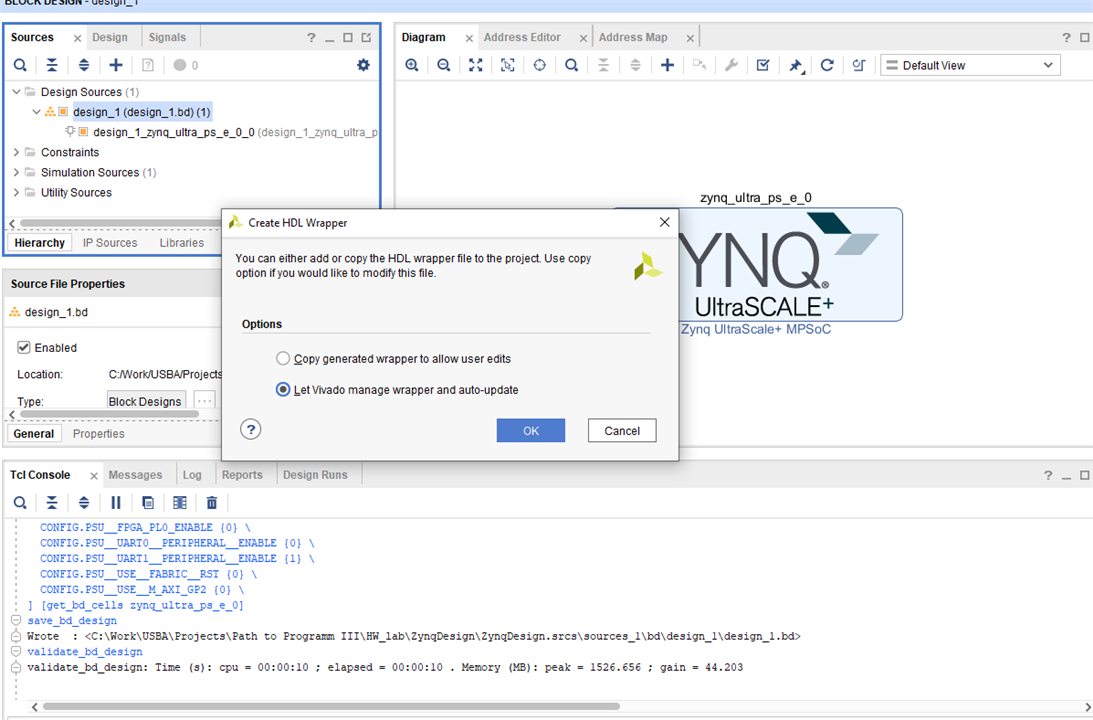
Then the wrapper is attached with the design files,

Start implementation,
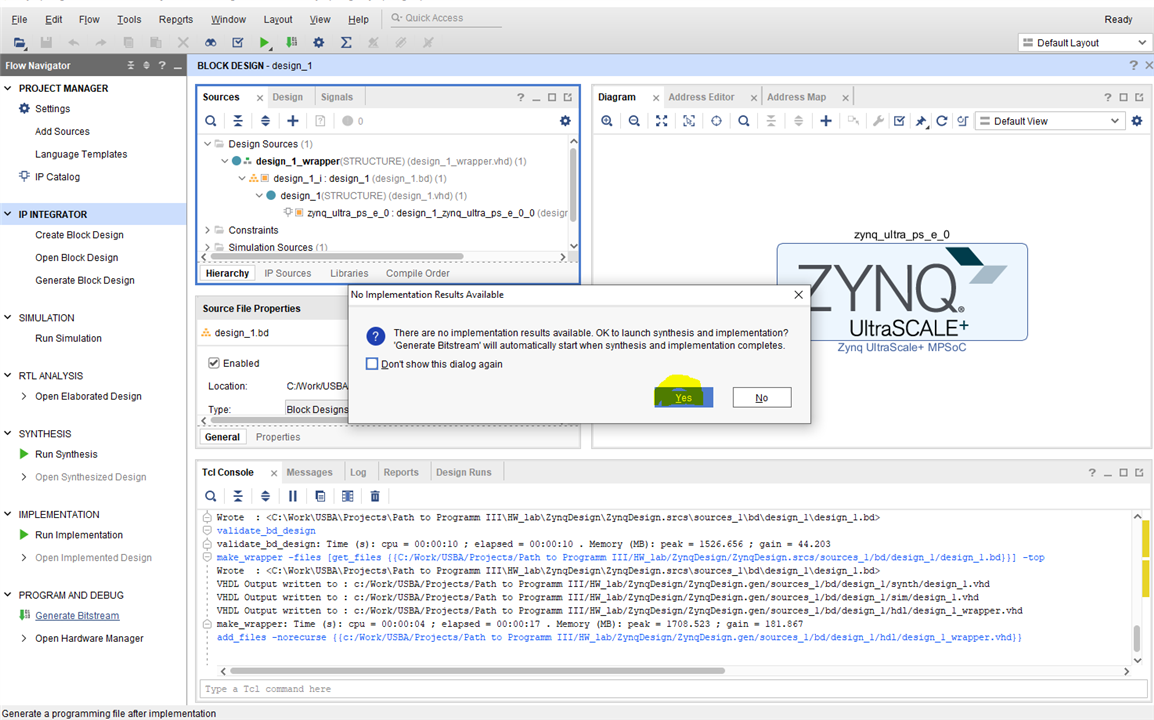
launch synthesis
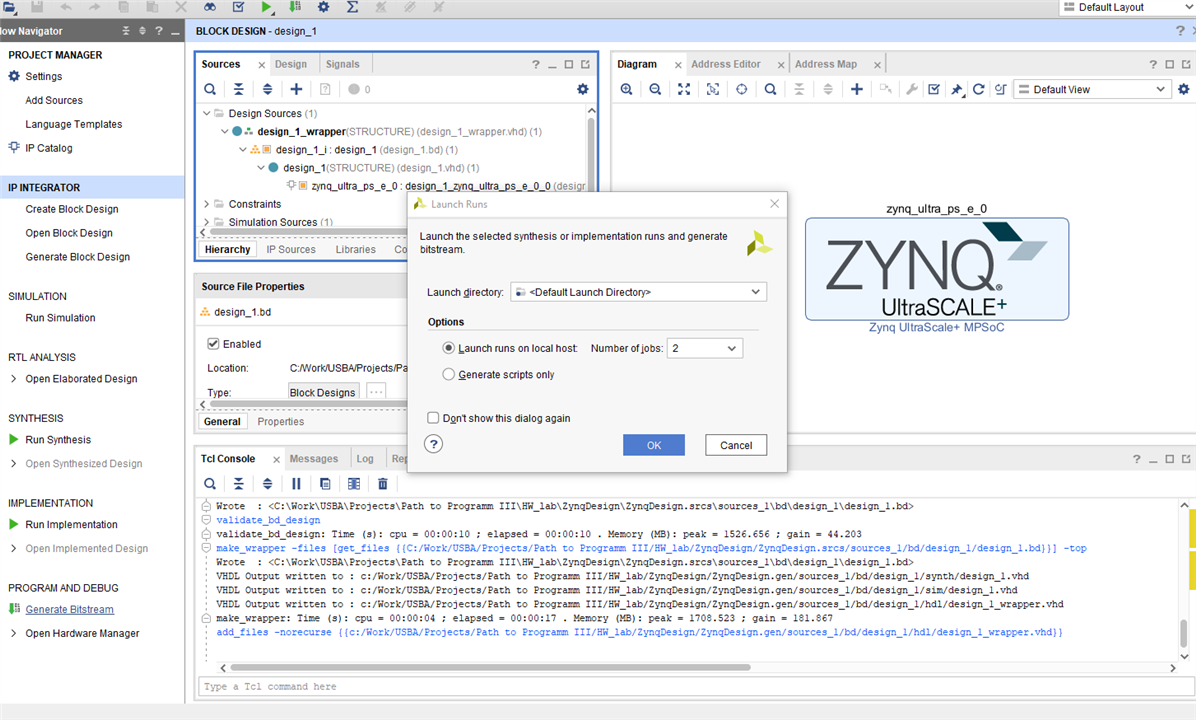
Generate bitstream,
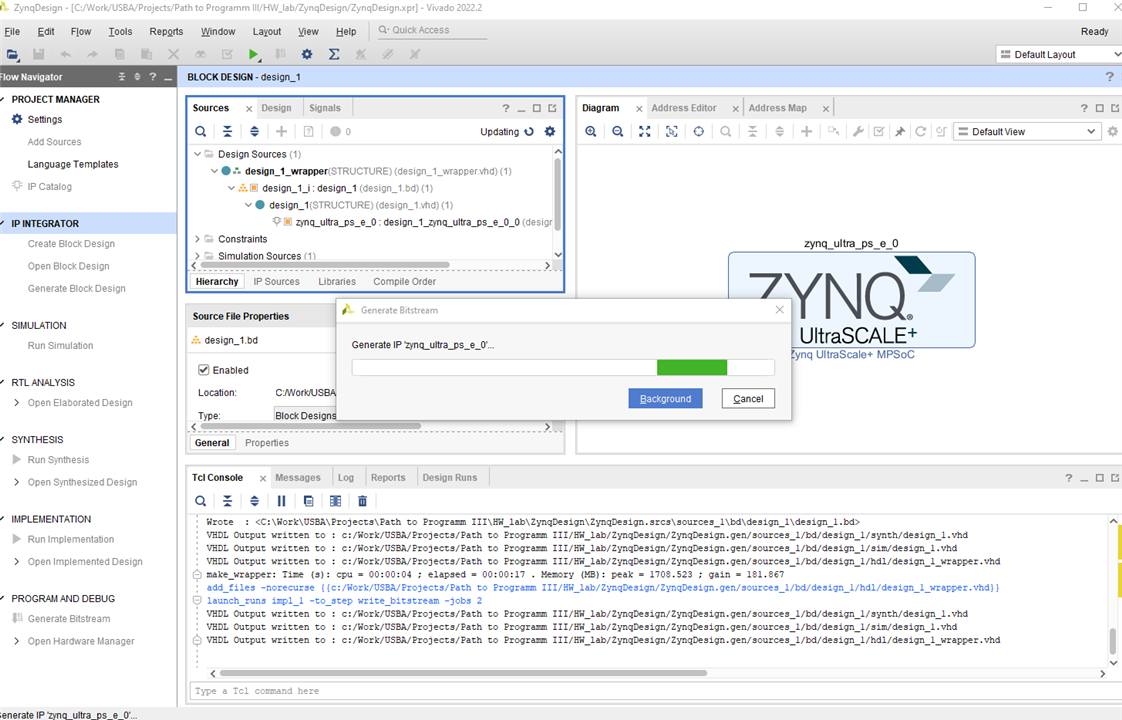
It takes fairly some time until there is output with all process logged in .log files.

5 Summary
This is first step to complex project with PL-PS design, the bitstream generated shall be export as hardware definition and be used in software design part.