Blog List:
1. Bee Monitoring: Introduction
2. Bee Monitoring: System Design & Workflow
3. Bee Monitoring: Setting up Nicla Vision
4. Bee Monitoring: Training the Model & Inferencing
5. Bee Monitoring: Bee Hive Environmental Monitoring using Arduino MKR 1310
Introduction:
In this blog, I will show my journey of starting with Nicla Vision Board and setting it up for the project requirements. The goal of this was to by the end of the blog have a setup that can detect bees in images and provide a count of them. Additionally, we are able to process the sounds generated by the bees to detect diseases or certain conditions present in or near the hive.
Wiring up the Nicla Vision Board:
The story of this part of the project was challenging from the get go. First, the challenge of getting the kits out of customs. Now, when I tried to plug the Nicla Vision, I encountered issues with the Micro USB cables that I had (all of them were pretty old as I haven't used micro USB since a long time). Then finally after trying out 3 different Micro USB Cables, I was successfully able to update the firmware!
There were 3 ways that I tried to configure the Nicla Vision for the project:
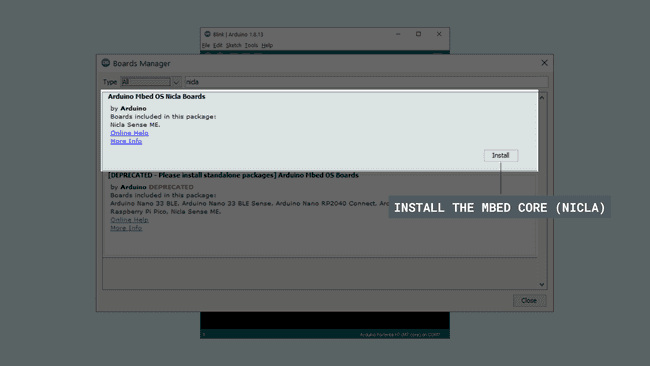
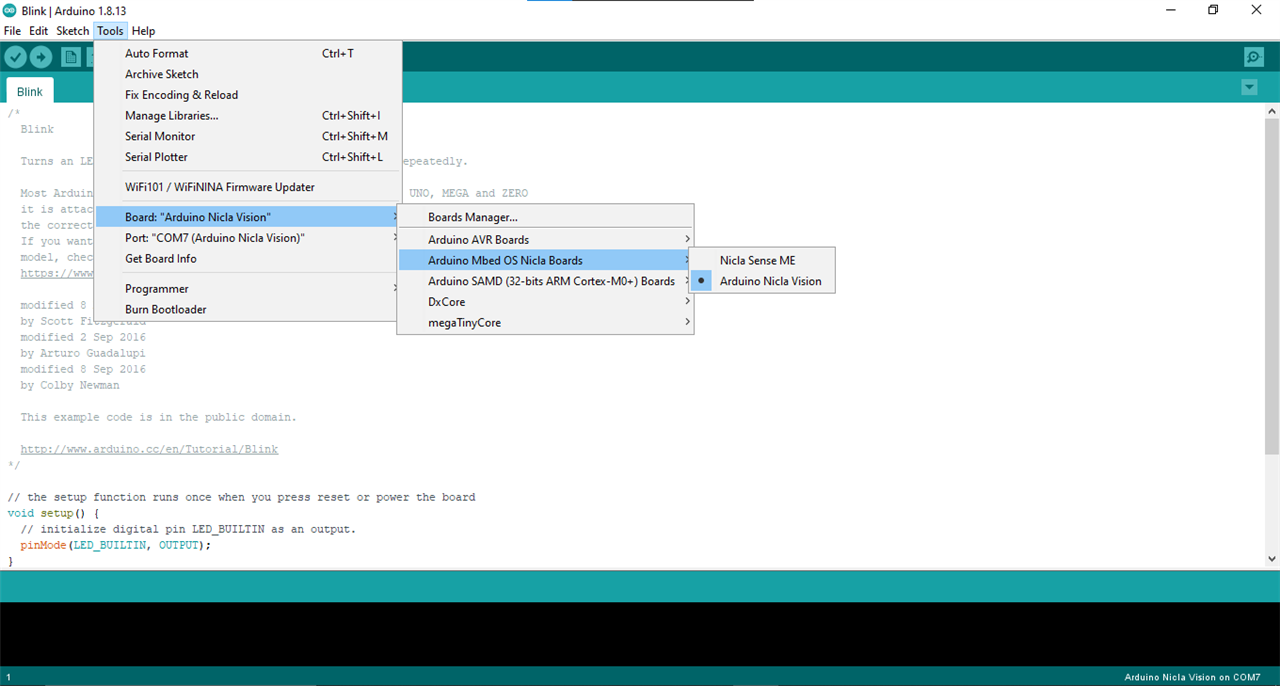
This one was easy. I was able to easily download the Mbed Library into the Arduino IDE and interface with the Arduino Nicla Vision Board
Thanks to the good integration in the Arduino platform, there were not issues setting it up and I was pretty excited to get started. But then I encountered another problem which was the limited functionality with the Arduino IDE and the Mbed Library. The features were significantly basic and integrating or creating any kind of Computer Vision Models seemed almost impossible using this method. So, I moved on to the next approach.
2. OpenMV IDE and MicroPython:
This was another interesting option to interface with the Nicla Vision. Based on my analysis, it did look to have a lot more features and most importantly the support for MicroPython. This time the issues were the technical aspects of setting it up. I had some issues to get the right firmware which was more exaggerated for me thanks to the faulty Micro USB cables. But still this was something I couldn't get past within a week or so. Then, I decided to move ahead to the last option and the one that I had missed before.
3. Edge Impulse
I had already worked on Edge Impulse in one of my Roadtests for the Nordic Thingy 53. I had not realized that Nicla Vision was supported in edge impulse studio. The main advantage with edge impulse was that the platform offers great functionality for building Machine Learning models and computer vision models as well. It is also great for setting a board to collect data.
So, I went on to download the Edge Impulse CLI and the Arduino CLI. This time I was able to update the firmware successfully and get it running. But I encountered a problem with the CLI.

I tried to solve it by reinstalling Node and doing a reinstall for the CLI as well but that didn't work.
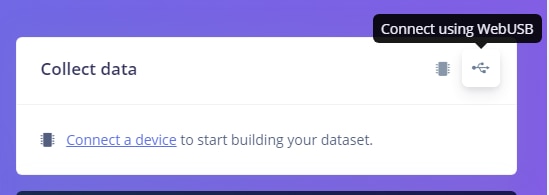
Though while troubleshooting I saw an option to interface the board directly with the browser (this would work only after the firmware update). This step worked wonderfully for me and I was finally able to test out the sensors in the board. Time to get into the good stuff!

Edge Impulse Studio:
The direct browser integration made things really easy.
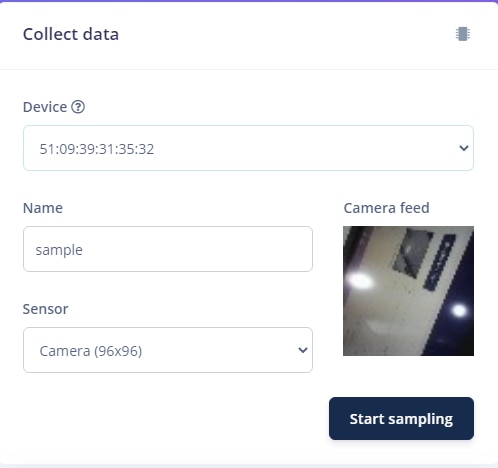
Some samples that I collected:
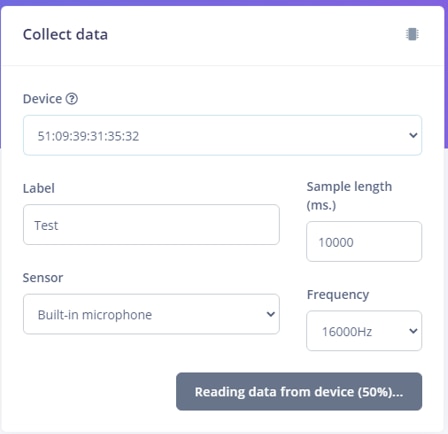
1. Audio Data:
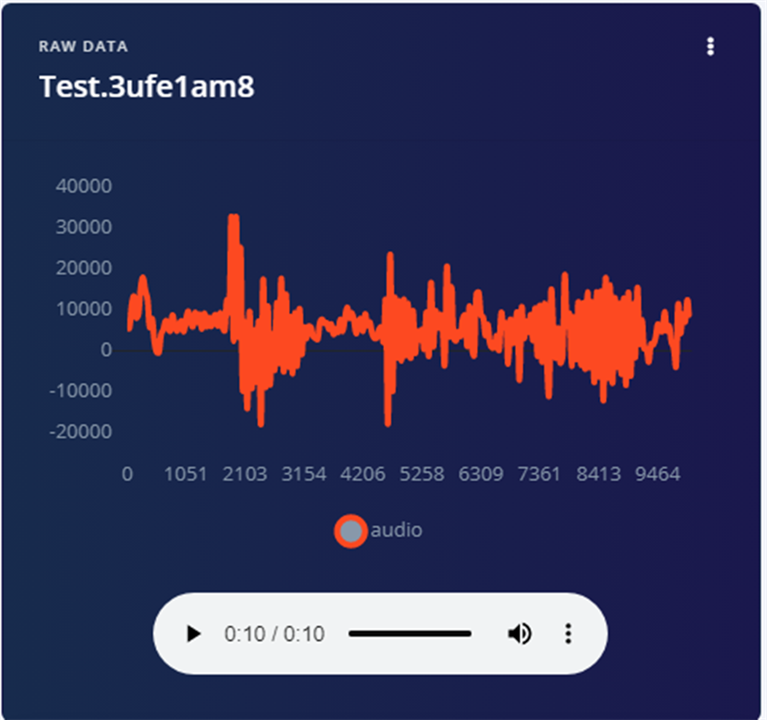
2. Proximity sensor:
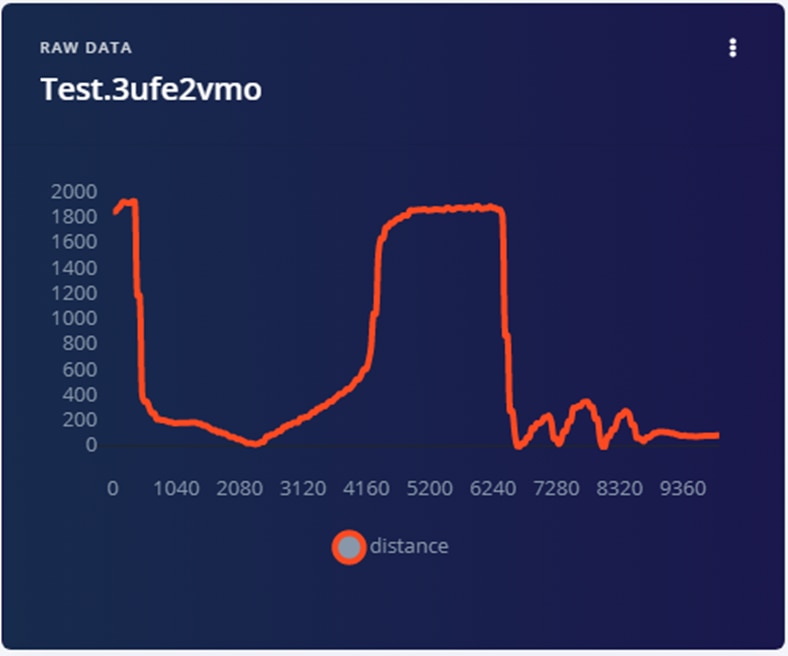
3. Inertial Data:
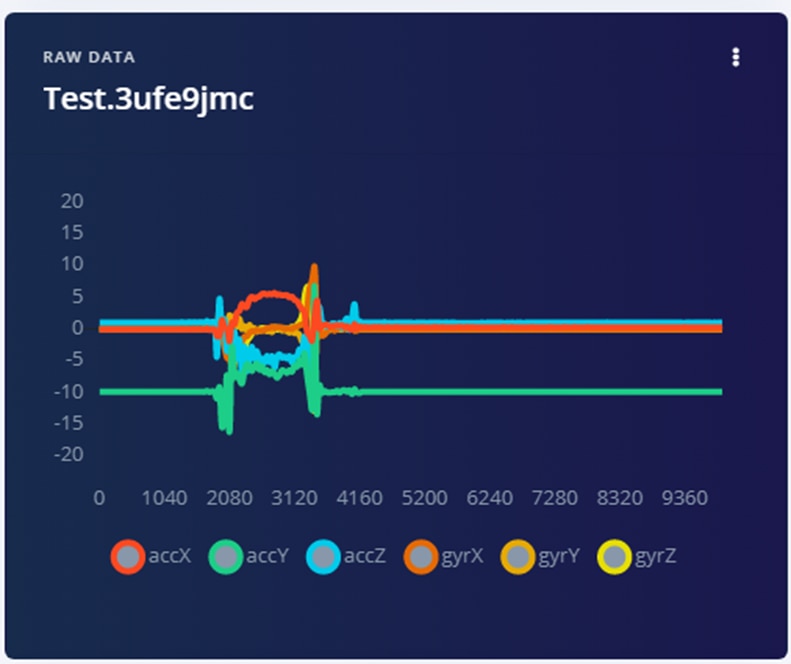
4. Camera Feed:
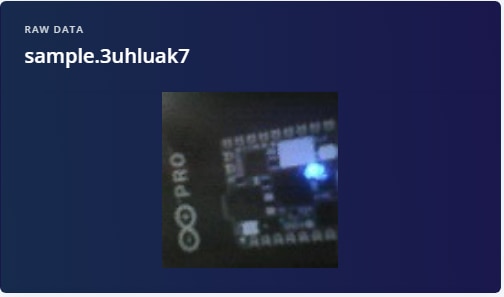
Finding Datasets:
Finding datasets for bees was also surprisingly hard especially the ones for images and audio.
There were datasets in particular:
1. The BeeImage Dataset: Annotated Honey Bee Images
2. Bees Dataset
The third one, had the audio data
Uploading Datasets to Edge Impulse Studio:
Uploading and working with Audio Data was easy though due to the large size of the dataset, I only used a few files to start working with the model.
The images were a challenge as no approach to provide annotated images seemed to work on edge impulse. This meant it was requiring me to annotate every single image!
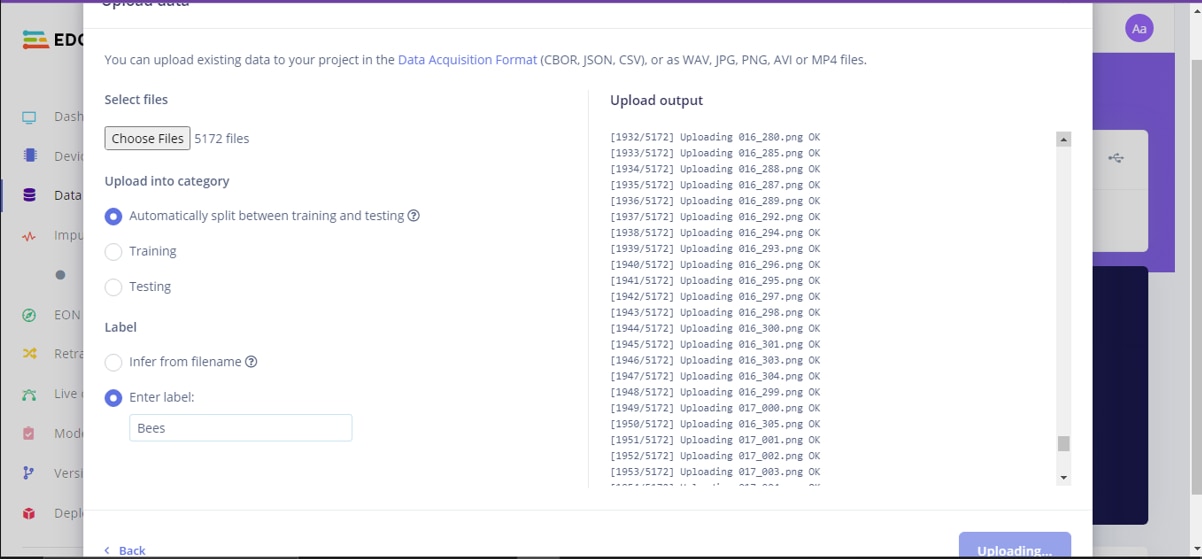
For annotations, I first tried the directly uploading the dataset. That failed miserably. Then I tried to merge the XML annotations onto the JPEG Images and upload to the Edge Impulse Studio the already annotated images. But even those annotations were not recognized in this case.
I wrote this code to get this task done:
import os
import cv2
import  xml.dom.minidom

image_path="/content/drive/MyDrive/BeeDataset/image/"
annotation_path="/content/drive/MyDrive/BeeDataset/annotation/"

files_name = os.listdir(image_path)
for filename_ in files_name:
	filename, extension= os.path.splitext(filename_)
	img_path =image_path+filename+'.jpg'
	xml_path =annotation_path+filename+'.xml'
	print(img_path)
	img = cv2.imread(img_path)
	if img is None:
		pass
	dom = xml.dom.minidom.parse(xml_path)
	root = dom.documentElement
	objects=dom.getElementsByTagName("object")
	print(objects)
	i=0
	for object in objects:

		bndbox = root.getElementsByTagName('bndbox')[i]
		xmin = bndbox.getElementsByTagName('xmin')[0]
		ymin = bndbox.getElementsByTagName('ymin')[0]
		xmax = bndbox.getElementsByTagName('xmax')[0]
		ymax = bndbox.getElementsByTagName('ymax')[0]
		xmin_data=xmin.childNodes[0].data
		ymin_data=ymin.childNodes[0].data
		xmax_data=xmax.childNodes[0].data
		ymax_data=ymax.childNodes[0].data
		print(object)
		print(xmin_data)
		print(ymin_data)

		i= i +1
		cv2.rectangle(img,(int(xmin_data),int(ymin_data)),(int(xmax_data),int(ymax_data)),(55,255,155),5)
	flag=0
	flag=cv2.imwrite("/content/drive/MyDrive/BeeDataset/result/{}.jpg".format(filename),img)
	if(flag):
		print(filename,"done")
print("all done ====================================")
Then, I tried the approach in this post. Even this was not a success thanks to this format not being available and requiring me to edit the whole JSON file to get anywhere with this.
So, finally I decided to take up only some images to build the model for now and annotate them with bounding boxes and labels manually!
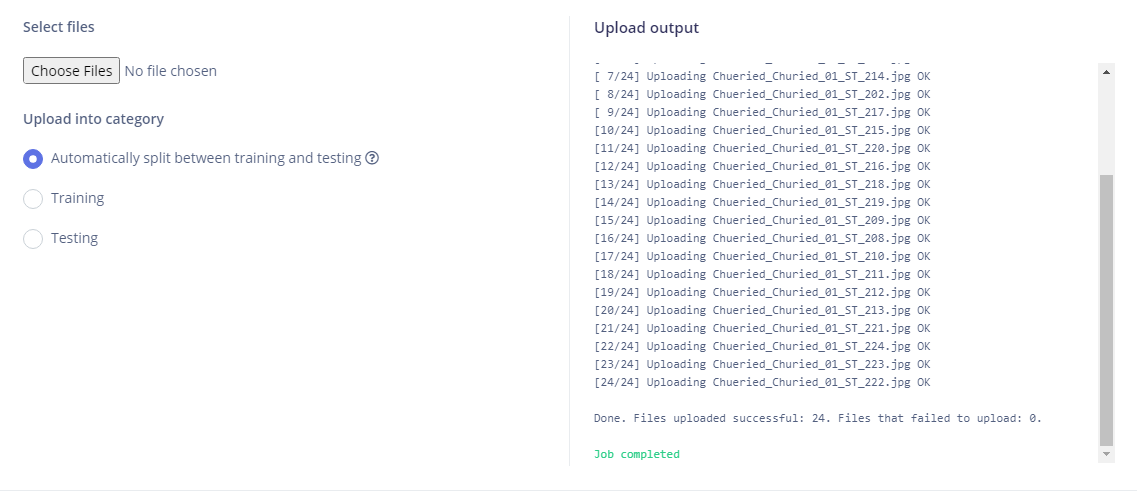
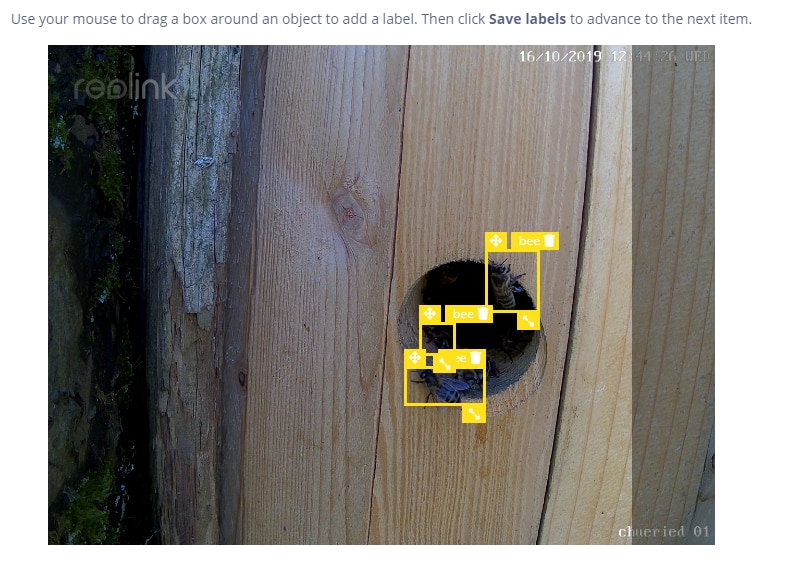
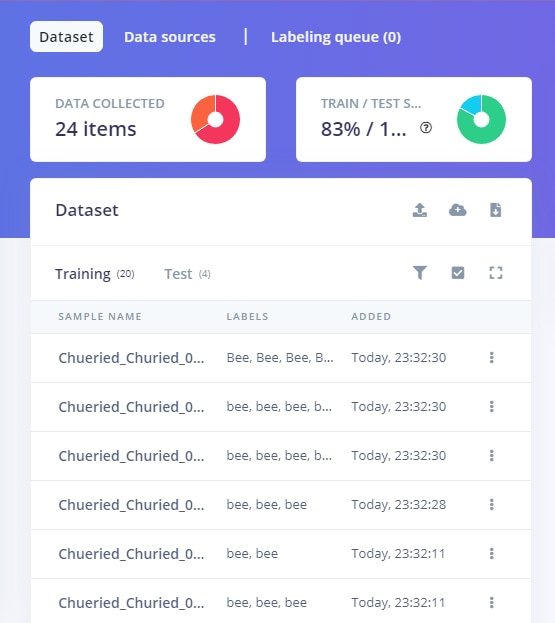
Finally, the dataset is annotated!
I will continue with the audio part and the completion of this model in the next blog.
Note: The Nicla Vision gets pretty hot when kept running for a few minutes, may be it needs some cooling to keep it working for long durations
Connect with Me:
Github - aaryan2134
