


Welcome to the #blog2 of IoT Bee Hive monitor. We will be using the Arduino Pro Nicla Vision board to capture images and video of the bees inside the hive, and the MKR WAN 1310 board to transmit this data to the Arduino IoT cloud.
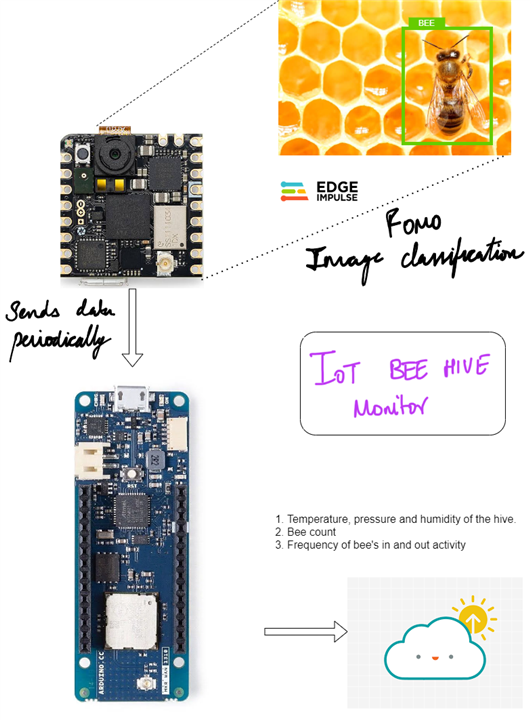
Using the Arduino Pro Nicla Vision & OpenMV, the bee count is updated periodically. The Edge impulse classifier is used to classify bees on the frame. In addition, we will be collecting the temperature, pressure and humidity data of the bee hive from the Pro Nicla Vision. Using the collected data, the bee behaviour data will give me insights into the health and productivity of my hive, while the temperature data will help me ensure that the bees are living in optimal conditions. These data are logged to the Arduino IoT cloud which will be used later.
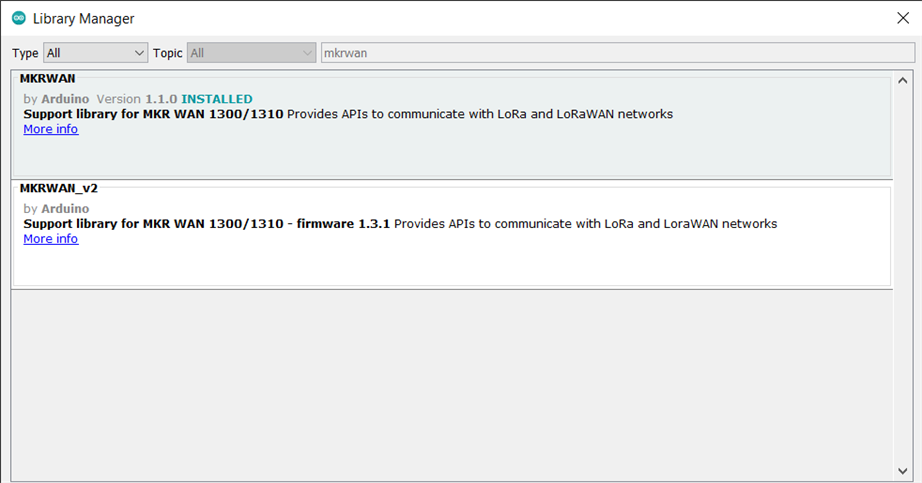
Setting up the Arduino MKR WAN1310
To begin, let's ensure that we have the necessary drivers installed. If we are utilizing the Web Editor, there is no need to install any drivers manually. However, if we are using an offline editor, we will need to install the drivers manually. We can do this by navigating to Tools > Board > Board Manager... and searching for the Arduino SAMD boards (32-bits ARM Cortex M0+), then proceed to install it.

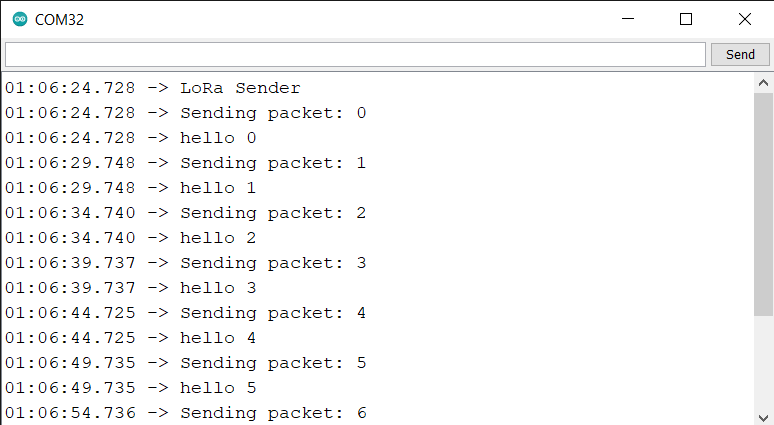
On running the LoRa transmitter & receiver example,
Transmitter code:
#include <SPI.h>
#include <LoRa.h>

int counter = 0;

void setup() {
  Serial.begin(9600);
  while (!Serial);

  Serial.println("LoRa Sender");

  if (!LoRa.begin(868E6)) {
    Serial.println("Starting LoRa failed!");
    while (1);
  }
}

void loop() {
  Serial.print("Sending packet: ");
  Serial.println(counter);

  // send packet
  LoRa.beginPacket();
  LoRa.print("hello ");
  LoRa.print(counter);
  LoRa.endPacket();

  counter++;

  delay(5000);
}
Receiver code:
#include <SPI.h>
#include <LoRa.h>

void setup() {
  Serial.begin(9600);
  while (!Serial);

  Serial.println("LoRa Receiver");

  if (!LoRa.begin(868E6)) {
    Serial.println("Starting LoRa failed!");
    while (1);
  }
}

void loop() {
  // try to parse packet
  int packetSize = LoRa.parsePacket();
  if (packetSize) {
    // received a packet
    Serial.print("Received packet '");

    // read packet
    while (LoRa.available()) {
      Serial.print((char)LoRa.read());
    }

    // print RSSI of packet
    Serial.print("' with RSSI ");
    Serial.println(LoRa.packetRssi());
  }
}
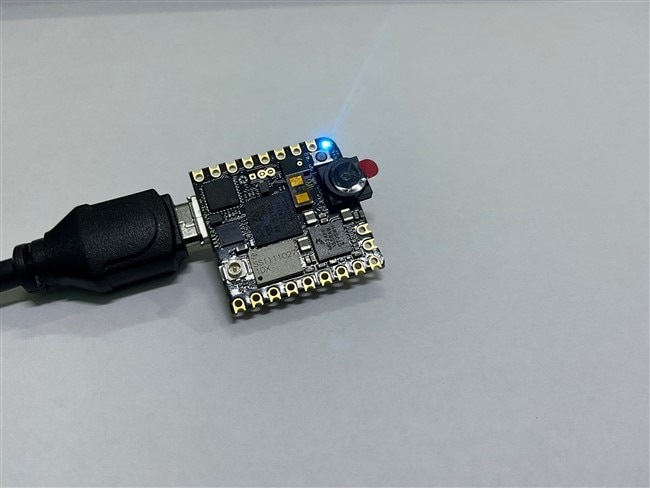
Setting up the Pro Nicla Vision - OpenMV
To begin with, you'll need the following materials:
- Arduino Pro Nicla Vision Board
- OpenMV IDE (Integrated Development Environment)
- USB cable
Install OpenMV IDE from the official website: https://openmv.io/pages/download. Once the download is complete, install it on your computer. Connect the Arduino Pro Nicla Vision board to your computer using the USB cable. Open the OpenMV IDE on your computer. Click on the "New Script" button to create a new script.

Now it's time to write the code. Here's a sample code that you can use to detect an object:
# Untitled - By: Rahul - Tue Mar 7 2023

import pyb # Import module for board related functions
import sensor # Import the module for sensor related functions
import image # Import module containing machine vision algorithms

redLED = pyb.LED(1) # built-in red LED
blueLED = pyb.LED(3) # built-in blue LED

sensor.reset() # Initialize the camera sensor.
sensor.set_pixformat(sensor.RGB565) # Sets the sensor to RGB
sensor.set_framesize(sensor.QVGA) # Sets the resolution to 320x240 px
sensor.set_vflip(True) # Flips the image vertically
sensor.set_hmirror(True) # Mirrors the image horizontally

redLED.on()
sensor.skip_frames(time = 5000) # Skip some frames to let the image stabilize

redLED.off()
blueLED.on()

print("You're on camera!")
sensor.snapshot().save("example.jpg")

blueLED.off()
print("Done! Reset the camera to see the saved image.")
When you run this script in OpenMV, you will see the image currently captured by the camera in the top right corner within the frame buffer. Initially, the onboard red LED will be turned on for a few seconds, followed by the blue LED, indicating that the picture is about to be taken. As soon as the picture is taken, a message will be printed on the serial terminal.
Once the image is captured, it can be saved in either "example.jpg" or ".bmp" format in the board's directory. In case you press the reset button to restart the camera, the image file will be available in the same directory.

Upload the code to the Arduino Pro Nicla Vision Board
Click on the "Connect" button in the OpenMV IDE to connect to the Arduino Pro Nicla Vision board. Then click on the "Run" button to upload the code to the board.
We've successfully interfaced with the Arduino Pro Nicla Vision board using OpenMV and Arduino MKR WAN 1310.
In the next blog, We will be discussing the Arduino Pro Nicla Vision & OpenMV and exploring its potential. Thanks for reading and keep following.
