


Design and Build the Structure
Table of Contents
1 Design the Reflective Telescope
Thank for the freeware Mynewton, the design can be so easy,

Just input the size of primary reflective lens with diameter 76mm and Focal length of 700mm,

Other parameter can be calculated automatically, with hint on optical routine.
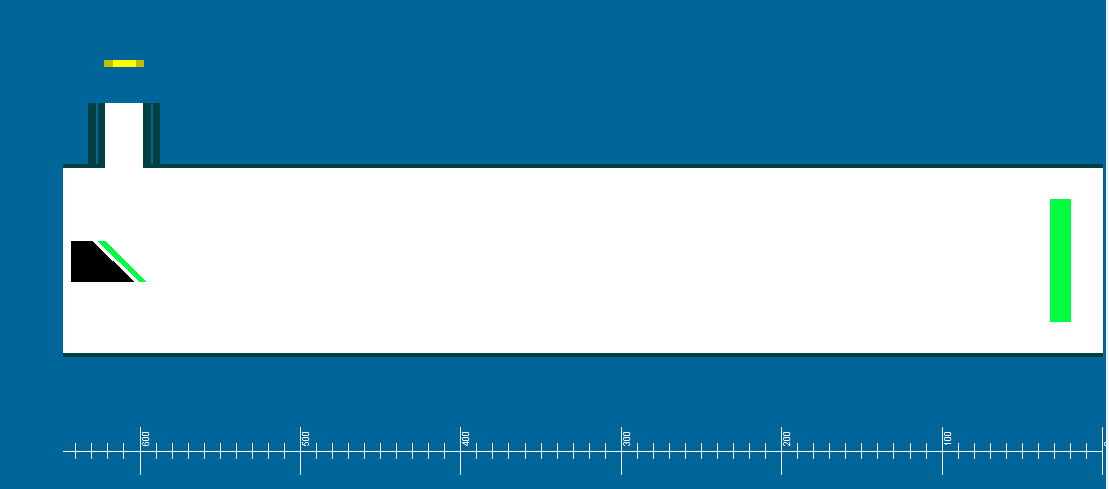
2 Build the Structure
Now, hold the primary reflective mirror in one transparent tube with one cover to fix it tightly,

Then, hold secondary mirror in smaller tube with slot to allow light to pass,

screw the tube in one clamp,

Screw the primary reflective mirror in another clamp,

Both primary mirror and secondary mirror with Focuser lens can be fixed in one adjustable 800mm long steel pipe,

That is how the reflective telescope different from Galileo Telescope, most of the structure can be open, the scattering light have little impact on the final image qulity.
Without the outside tube, the reflective telescope can be built in larger size with smaller supporting frame.
Of course, the whole structure can be sealed in one enclosure against outside dust and moisture.
The USB camera can be put within the ranger of Final stage Focuser, to capture image and to send to Raspberry Pi to process with OpenVINO AI engine.
3 Run the Python Code
The image can be process with OpenVino AI model as Yolo8n, loading the yolo8n
from typing import Tuple, Dict
import cv2
import numpy as np
from PIL import Image
from ultralytics.yolo.utils.plotting import colors


def plot_one_box(box:np.ndarray, img:np.ndarray, color:Tuple[int, int, int] = None, mask:np.ndarray = None, label:str = None, line_thickness:int = 5):
    """
    Helper function for drawing single bounding box on image
    Parameters:
        x (np.ndarray): bounding box coordinates in format [x1, y1, x2, y2]
        img (no.ndarray): input image
        color (Tuple[int, int, int], *optional*, None): color in BGR format for drawing box, if not specified will be selected randomly
        mask (np.ndarray, *optional*, None): instance segmentation mask polygon in format [N, 2], where N - number of points in contour, if not provided, only box will be drawn
        label (str, *optonal*, None): box label string, if not provided will not be provided as drowing result
        line_thickness (int, *optional*, 5): thickness for box drawing lines
    """
    # Plots one bounding box on image img
    tl = line_thickness or round(0.002 * (img.shape[0] + img.shape[1]) / 2) + 1  # line/font thickness
    color = color or [random.randint(0, 255) for _ in range(3)]
    c1, c2 = (int(box[0]), int(box[1])), (int(box[2]), int(box[3]))
    cv2.rectangle(img, c1, c2, color, thickness=tl, lineType=cv2.LINE_AA)
    if label:
        tf = max(tl - 1, 1)  # font thickness
        t_size = cv2.getTextSize(label, 0, fontScale=tl / 3, thickness=tf)[0]
        c2 = c1[0] + t_size[0], c1[1] - t_size[1] - 3
        cv2.rectangle(img, c1, c2, color, -1, cv2.LINE_AA)  # filled
        cv2.putText(img, label, (c1[0], c1[1] - 2), 0, tl / 3, [225, 255, 255], thickness=tf, lineType=cv2.LINE_AA)
    if mask is not None:
        image_with_mask = img.copy()
        mask
        cv2.fillPoly(image_with_mask, pts=[mask.astype(int)], color=color)
        img = cv2.addWeighted(img, 0.5, image_with_mask, 0.5, 1)
    return img


def draw_results(results:Dict, source_image:np.ndarray, label_map:Dict):
    """
    Helper function for drawing bounding boxes on image
    Parameters:
        image_res (np.ndarray): detection predictions in format [x1, y1, x2, y2, score, label_id]
        source_image (np.ndarray): input image for drawing
        label_map; (Dict[int, str]): label_id to class name mapping
    Returns:

    """
    boxes = results["det"]
    masks = results.get("segment")
    h, w = source_image.shape[:2]
    for idx, (*xyxy, conf, lbl) in enumerate(boxes):
        label = f'{label_map[int(lbl)]} {conf:.2f}'
        mask = masks[idx] if masks is not None else None
        source_image = plot_one_box(xyxy, source_image, mask=mask, label=label, color=colors(int(lbl)), line_thickness=1)
    return source_image
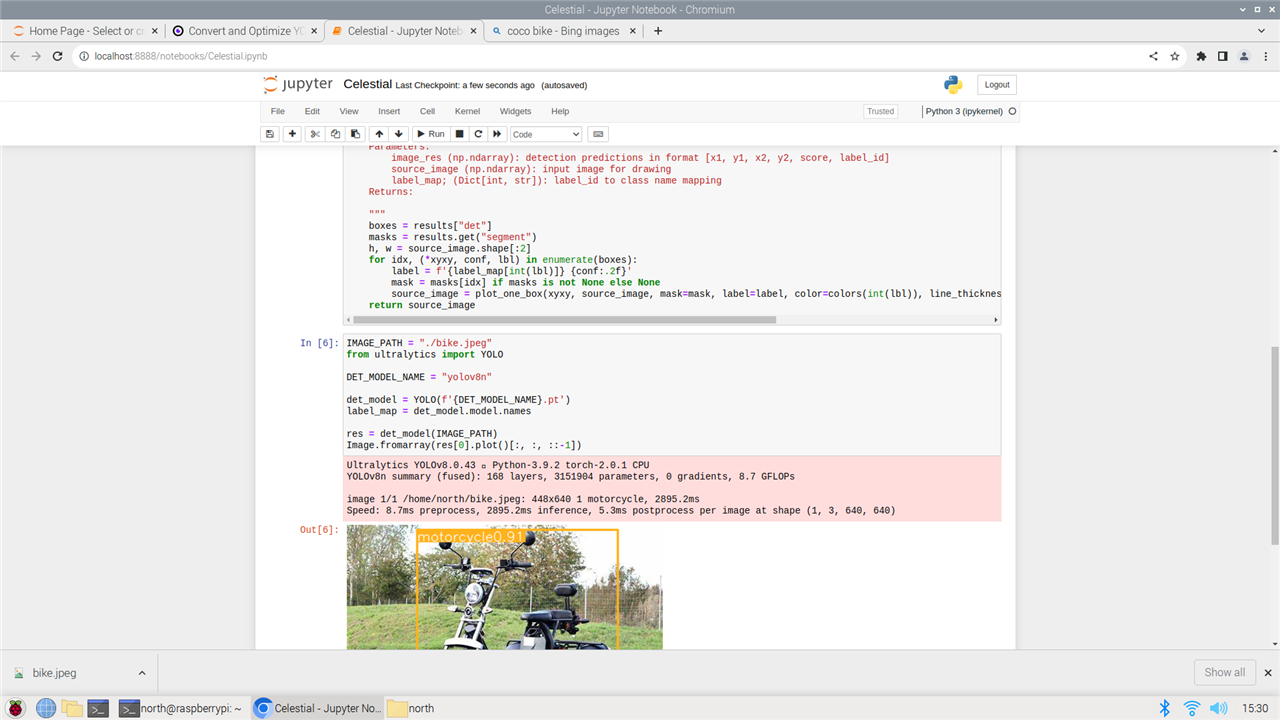
Then the object in picture can be detected,
from ultralytics import YOLO

IMAGE_PATH = "./bike.jpeg"
DET_MODEL_NAME = "yolov8n"

det_model = YOLO(f'{DET_MODEL_NAME}.pt')
label_map = det_model.model.names

res = det_model(IMAGE_PATH)
Image.fromarray(res[0].plot()[:, :, ::-1])
Then I use the stellarium picture
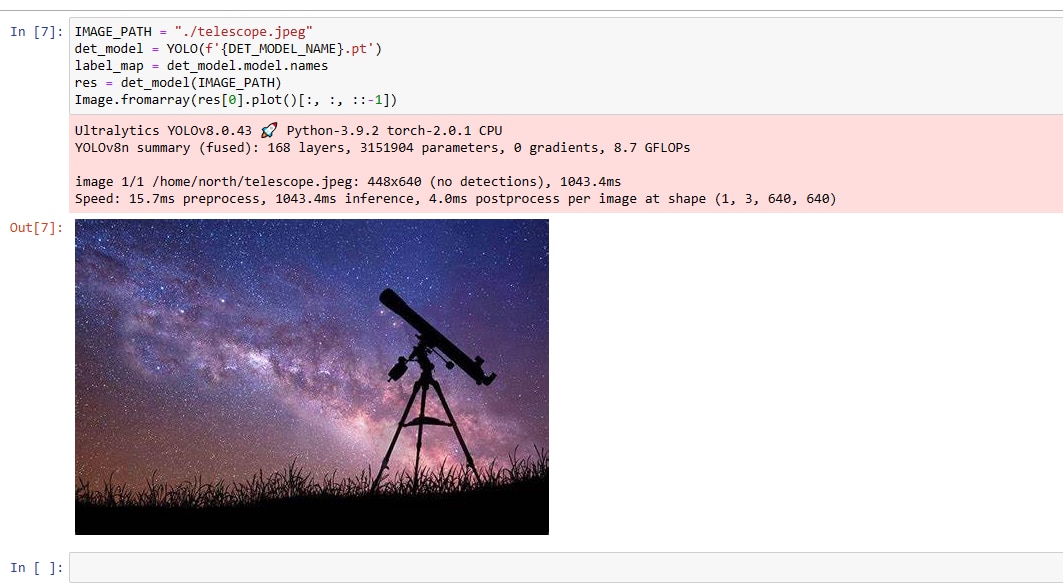
The picture can not be detected. The model is trained with cocodataset, only routine picture is included. There is no open-source model available for celestial sky.
If time available, the training is possible with Stellarium Web Online Star Map (stellarium-web.org) website with over 60 million stars on the dataset,

This problem seems can not be worked out in two months of build period.
For now, the project only works as on-line star surveilling project, doing simple image transfer and record.
4 Put Together
Put the Raspberry Pi and The telescope together, the AI vision Reflective telescope is ready to read the celestial sky without human supervision.
The reflective telescope can be fixed on tripod for easy manipulation and control.
5 Summary
There have been many AI model on celestial, which can help human explore the space with more intelligence. The idea is promising, but it seems not a fast-track project. Need more celestial observation and image digitalization.