


This is the second blog for Sci-Pi Design Challenge. In this blog post I will complete the basic setup of my Raspberry Pi 4. If you are new in Raspberry Pi this blog can help you. If you are an experienced Pi user you can skip this blog. The following hardware are required for completing this tutorial blog.
- Raspberry Pi 4 (I am using 4GB Version)
- SD Card (16GB or more)
- Raspberry Pi Power Supply (5V, 3A)
- SD Card Reader or adapter for laptop
After getting all the hardware components I completed the following steps one by one:
Step 1: Installing Raspberry Pi OS to SD Card
Raspberry Pi can be accessed in two ways. You can use Raspberry Pi as a full computer with monitor, keyboard and mouse connected. That involves a lot more space and money. The easy and hassle free way to access Raspberry Pi is remote access from the same network. In that case no keyboard, mouse or monitor is required. We can perform almost all task in a Pi remotely from a host PC through a SSH client like PuTTY without some graphical task like displaying image taken with the raspberry pi camera. Even this is also possible through VNC viewer. By default SSH is not enabled in a raspberry pi. For remote access you must enable the SSH and set a password. Raspberry Pi foundation released a software named Raspberry Pi Imager and using this tool you can easily install any Raspberry Pi OS to an SD card. You just need a computer and a SD card reader. And the funny thing is you can configure SSH, password and WiFi credentials directly to the SD card from your host PC. No monitor is required for you Pi. As this is the screenless method and I don't like to add any monitor to pi I used Raspberry Pi Imager for installing OS to SD card.
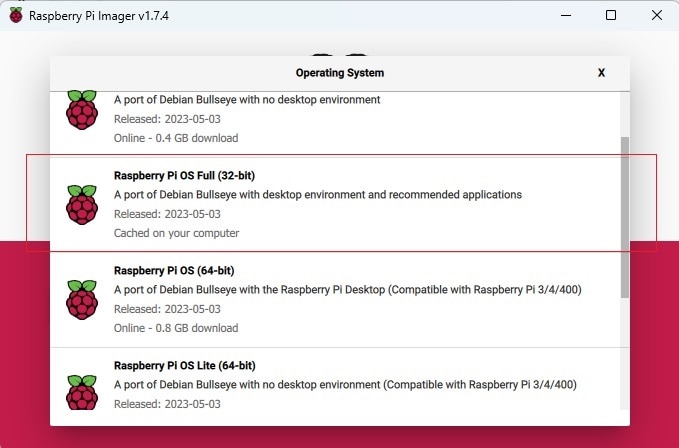
After installing and running the Raspberry Pi Imager it is time to install the OS to SD card. I choose Raspberry Pi OS Full (32-bit) from Raspberry Pi OS (other) option. This version contains all the recommended software installed.
 |
 |
Then I choose the SD card from the storage option. I am using a 16GB micro SD card.
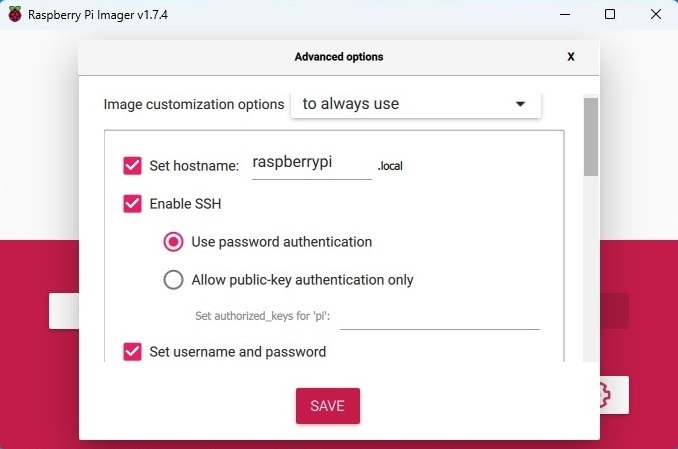
The cool thing of the Raspberry Pi Imager is that you can perform basic but important configurations directly from your host PC before burning the SD card. Previously we used to configure those things after running the raspberry pi with monitor, keyboard and mouse connected.
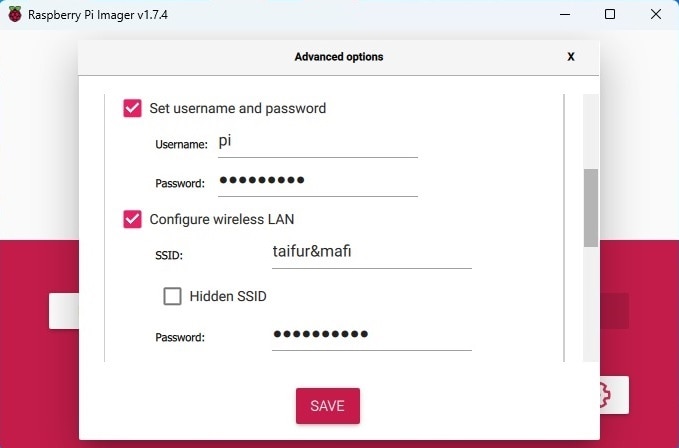
To go to configuration you need to click small gear icon from bottom right corner of the Pi Imager window after choosing OS and SD card. I set the host name, enabled SSH, set up password and WiFi credentials and then I save the configuration.
 |
 |
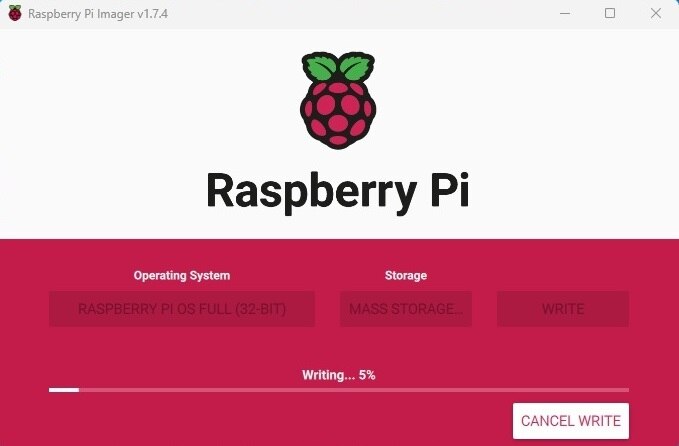
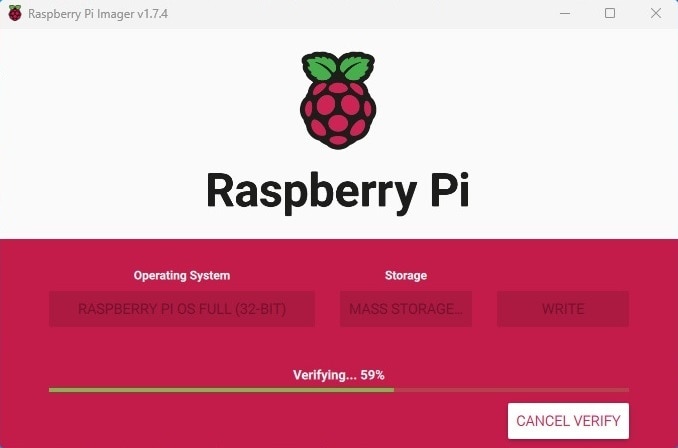
Finally I clicked to the WRITE button for burning the selected OS to the SD card. It takes some time to write and verify the OS.
 |
 |
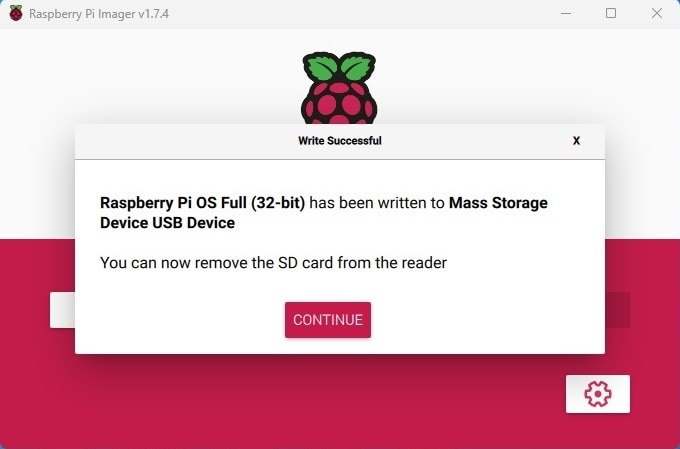
When you are done you will get a confirmation message like below that shows the OS has been written to the Mass Storage:
Step 2: Installing SSH client to host PC
For remote access of your Pi an SSH client is required for your host PC. Several SSH clients are available but PuTTY is my favorite. You can download PuTTY from here. PuTTY is open source software that is available with source code and is developed and supported by a group of volunteers.

Step 3: Installing an FTP client
Most of the cases you may required to transfer files from your host PC to the Raspberry Pi. For example you want to write a program for your Pi for reading a sensor connected to the GPIO I2C pins of your Raspberry Pi. As we are using raspberry pi through SSH client we need to write the program using terminal which is not any convenient method. In that case the easiest and most convenient method is to write the program in your host PC and then transfer the source file to Raspberry Pi using an FTP client.
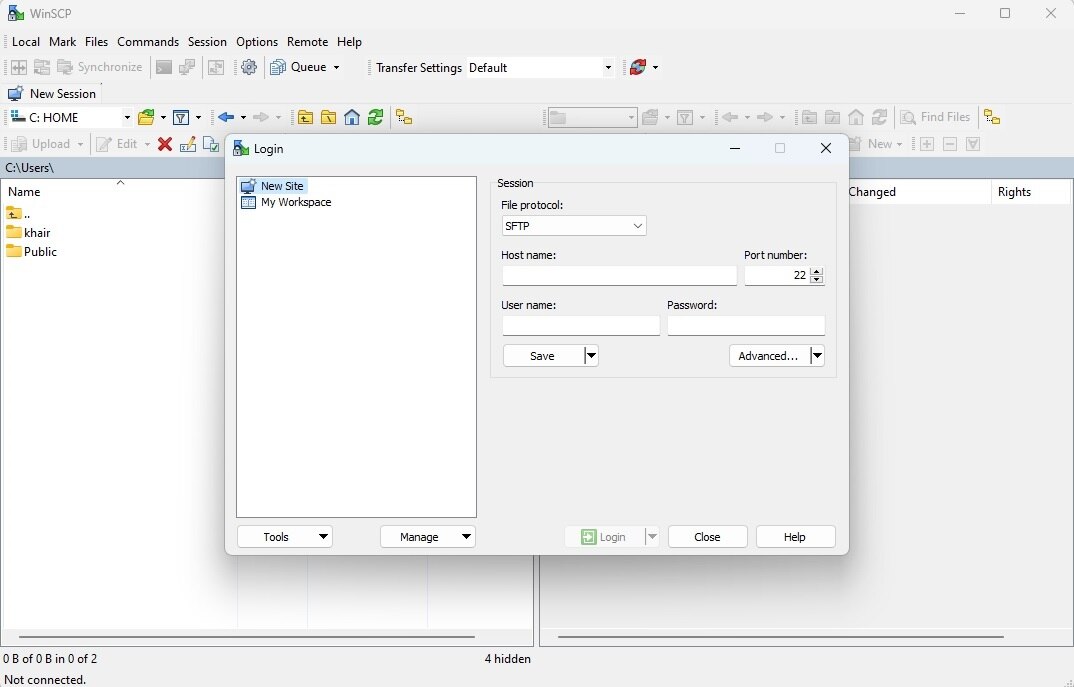
WinSCP is such a free and open-source SSH File Transfer Protocol (FTP) tool. You can easily transfer any file from your host PC to your Raspberry Pi using WinSCP. You can download WinSCP from here.
Step 4: Installing a VNC Viewer Software
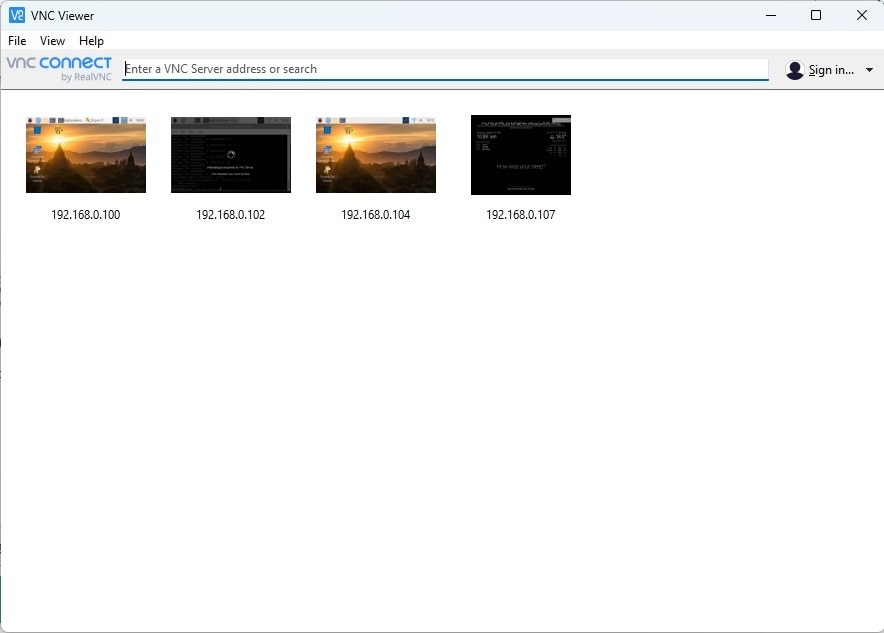
If you like to access the desktop environment of your Raspberry Pi remotely a VNC viewer is required. Raspberry Pi has a VNC server installed by default. So you don't need to install anything in your Pi. You just need to run the VNC server from Pi and you can do it from the SSH terminal. You can install RealVNC viewer from here.
After installing all the tools we are ready to work with Raspberry Pi. First you need to remove the SD card from the computer and plug it to Raspberry Pi.
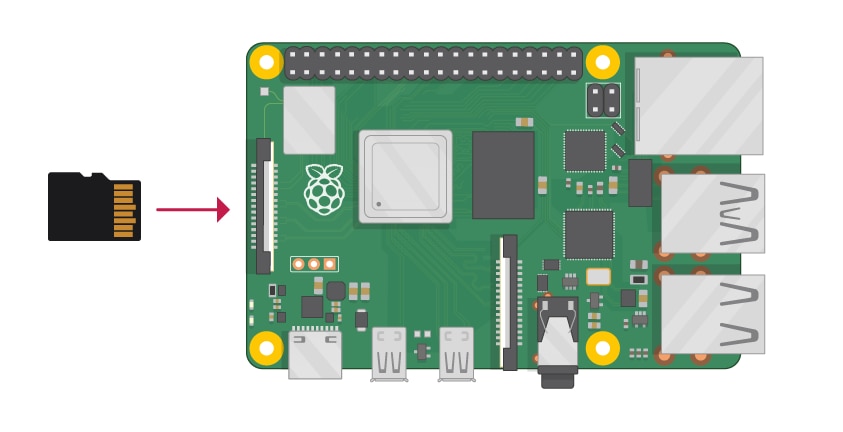
Then you should provide power to the Pi.
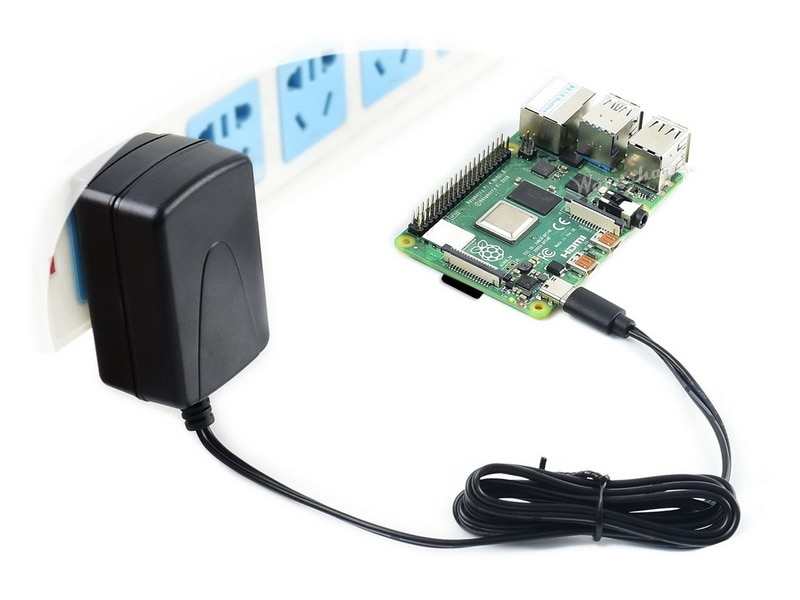
It will takes a few seconds for it to get onto the network and attempt to log in via SSH, provided that you're using a Wi-Fi network and both the Pi and your client PC are connected to it.
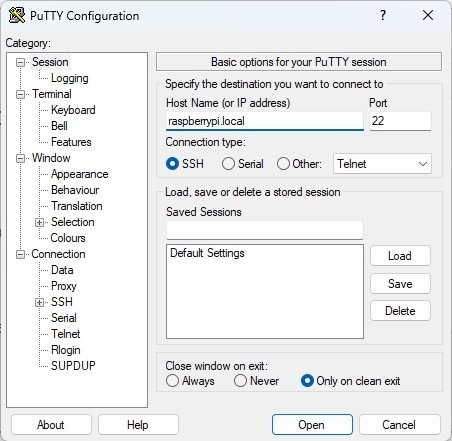
Step 5: Using Raspberry Pi through PuTTY
After powering up the pi I run the PuTTY to my Windows PC. You need to write Host Name or IP address of the Raspberry Pi for connecting to it. The port for SSH is 22. I didn't change the host name during configuration. So, it is raspberrypi.local in my case.
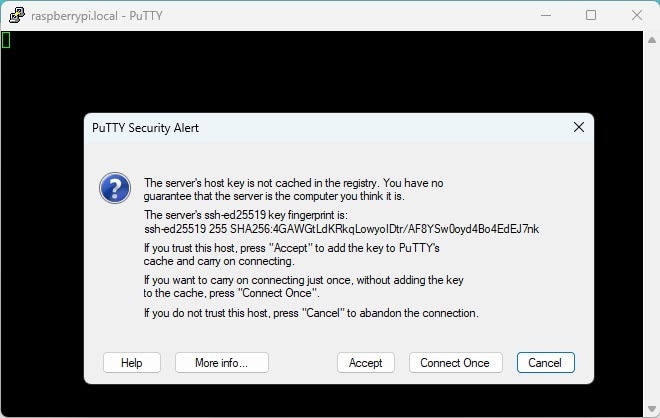
When you click open for the first time it may ask to accept the security alert. After accepting the security alert it will ask for user name and the password of the raspberry pi which were set at the time of writing OS to the SD card using Pi Imager. Enter the user id and password.
 |
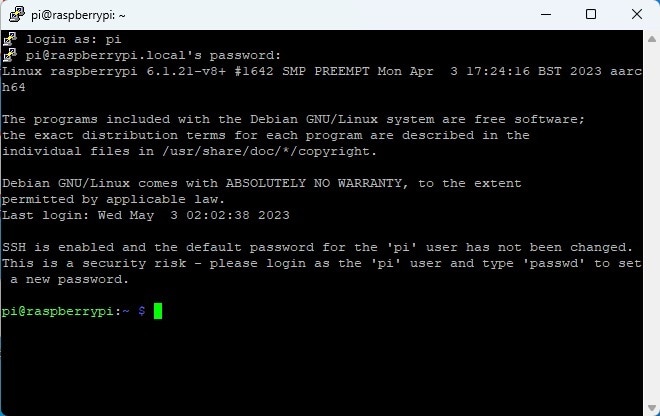 |
You are done. The Raspberry Pi is now under your control. Now you can use the potential of it through terminal. Let's test it with a basic update command which I always run at first try.
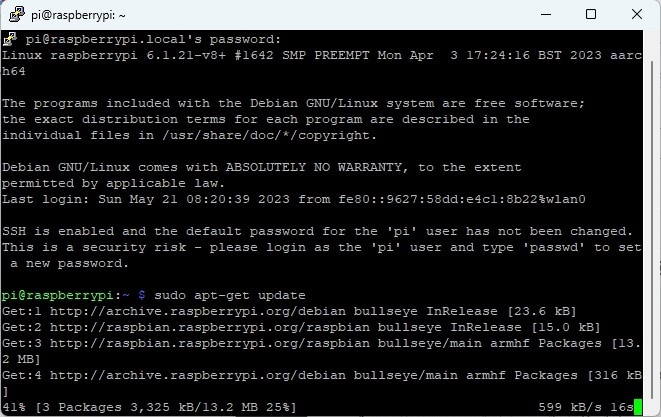
It is downloading the updates means everything is working perfectly so far. No we are ready for the next step.
