In this blog, we shall see how to assemble all the parts identified in the previous blog. The first device that we will assemble is the UPS Plus V6 For Raspberry Pi. And followed The steps to assemble this hardware are pretty straightforward. Can quickly be done by referring to the instruction manual that comes together.



Below is the video of how I assembled it.
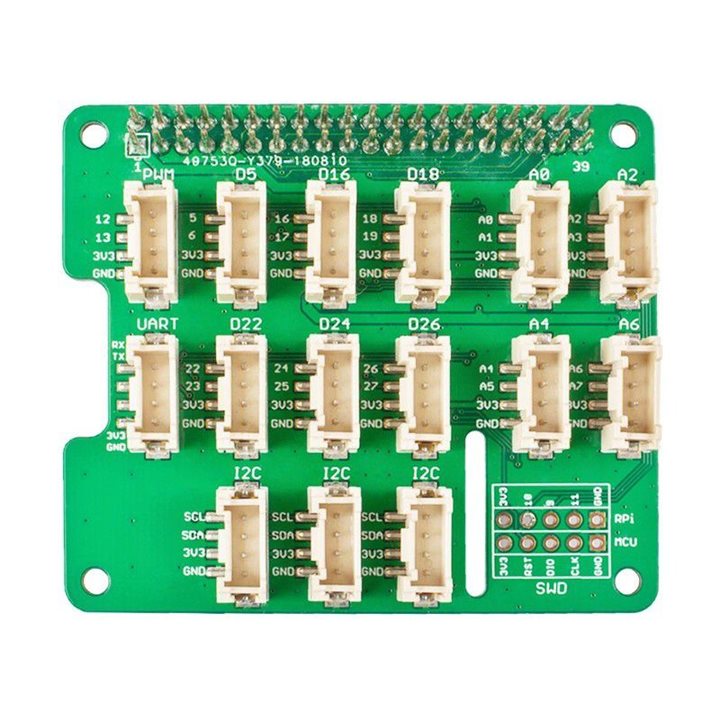
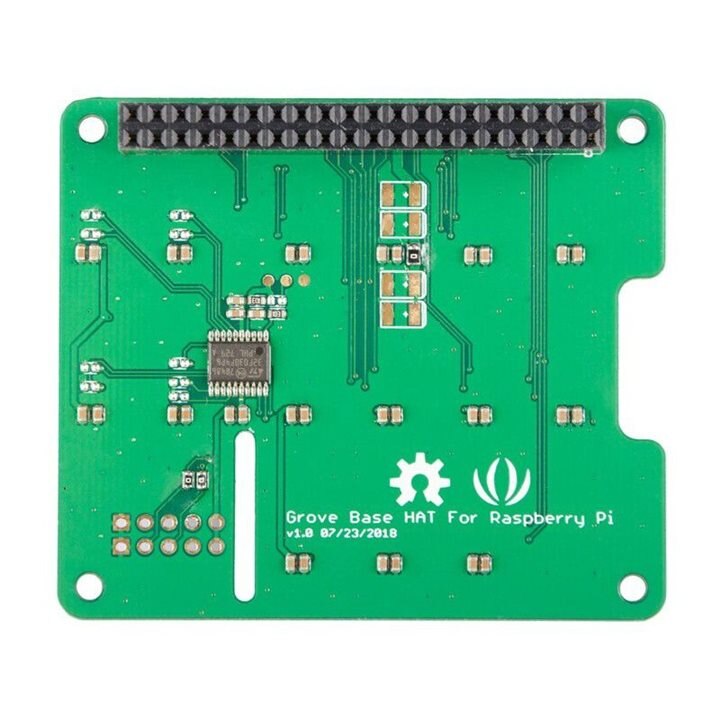
Since the Grove base HAT comes with the onboard ADC, there is no need for an additional ADC module.
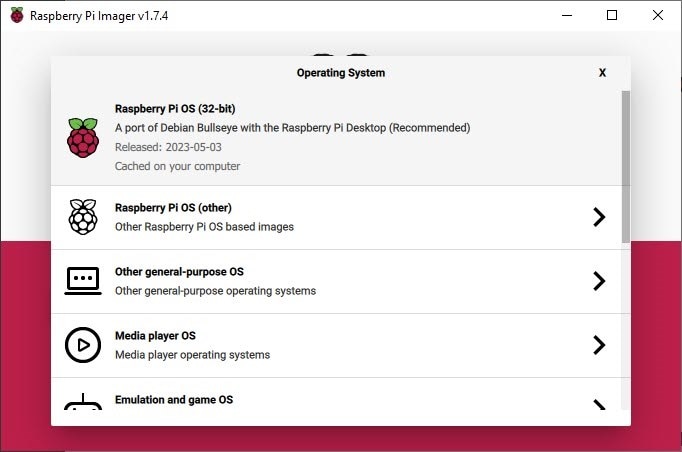
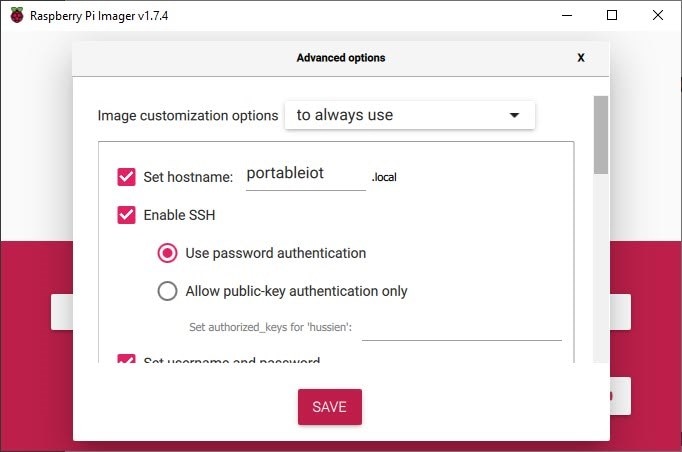
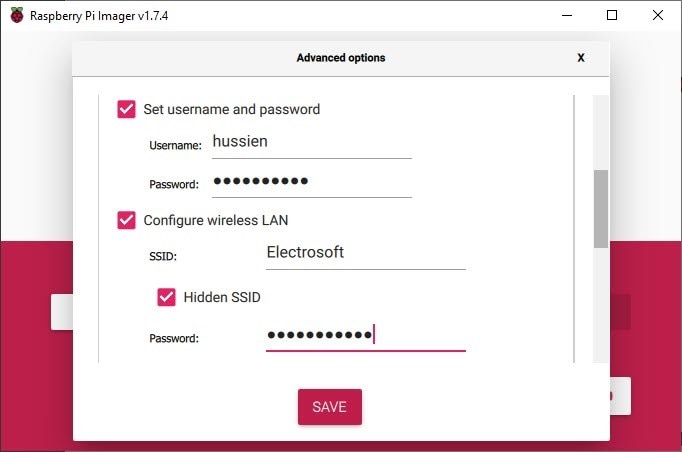
We can start to power up the Raspberry Pi. For this lets prepare the SD card.
| {gallery}Raspberry PI Imager | |
|---|---|
|
Raspberry PI Imager: Use the raspberry imager to install the fresh OS for RPI |
|
|
RPI OS: Choose the first option, which is recommended |
|
|
Configuration: In the configuration, set hostname |
|
|
Configuration: Continue to configure the username and password as well as the Wireless LAN configuration |
The video below shows the complete step from assembling the devices up to powering the Raspberry PI and connecting the sensors.


