 Intelligent Extra Arm
Raspberry Pi Setup - OS & Display
In the last forum discussion, we saw Arduino MKR WiFi 1010 and Alexa Integration. In this forum discussion, I'll explain the initial setup for Raspberry Pi. It will be the brain of this project, using a camera and AI, it will find out the items like resistor, capacitor etc.
For starters, here's a quick video of my DIY Raspberry Pi 7-inch Touchscreen Display case using its packaging box. In case you need any help in setting up the display, check out the following links. For wiring and setup of display - https://dzone.com/articles/how-to-set-up-the-raspberry-pi-7-touchscreen and for pinout - Raspberry Pi GPIO Pinout.
For this project, I'm planning to use Raspberry Pi 4 Model B with Ubuntu OS. Below picture shows the Raspberry Pi 4 Touchscreen Display running Ubutu OS and connected to an external camera.
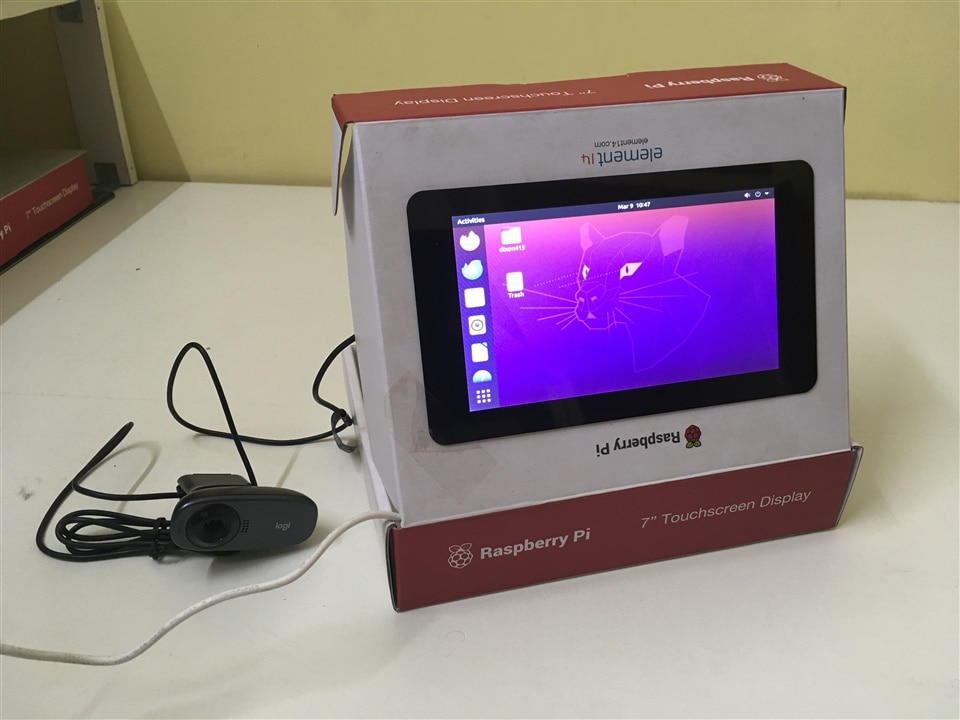
Let's get started with the OS setup.
- Install Ubuntu Server OS using Raspberry Pi Imager - https://www.raspberrypi.com/software/
- Due to some unknown reasons, I was not able to setup Raspberry Pi OS Desktop versions. Even for Ubuntu it was the same case. So I've installed the Server version first.
- Then installed desktop (GUI) on the Server OS by following instructions in this link - https://linuxconfig.org/how-to-install-a-desktop-gui-on-ubuntu-server. Below are the commands I ran in the terminal for a quick reference.
sudo apt update
sudo apt install tasksel dialog
sudo tasksel
sudo reboot
- I selected 'Ubuntu Desktop' in the GUI and after installed (took a while) restarted the Raspberry Pi.
- After restart, the 'Cheese' application was able to capture image, video using USB webcam.
If you are looking for the usual Raspberry Pi OS with keyboard, mouse and monitor setup, check out the below video.
Setting up VNC
While installing the Ubuntu OS in Raspberry Pi using Raspberry Pi Imager, I have selected network/ Wi-Fi configurations. So, I was able to access the Internet from Raspberry Pi. However, under Wi-Fi it was not showing (refer screenshot below).
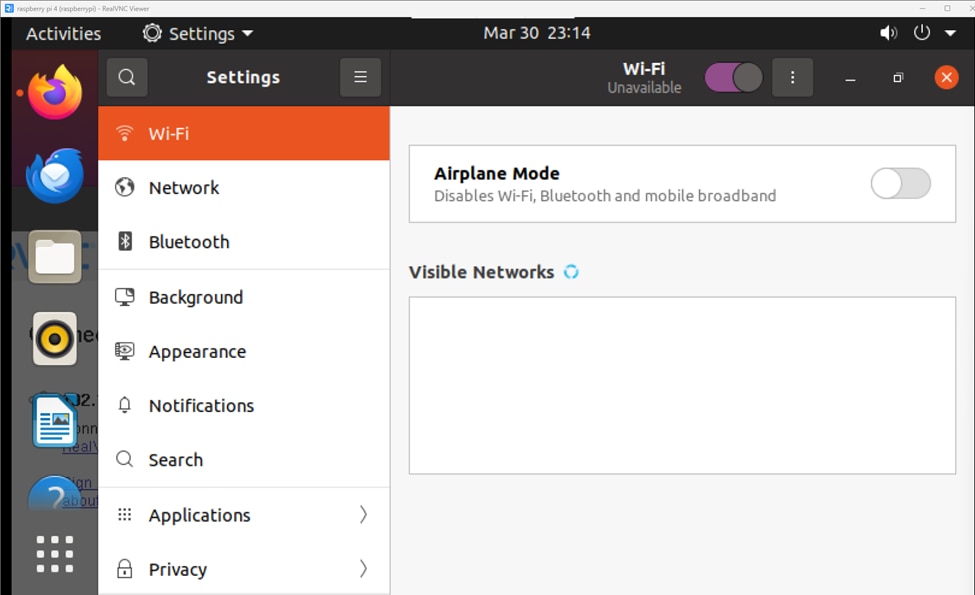
Also, I tried accessing from VNC Viewer raspberrypi.local / IP address (use hostname -I to get raspberry pi’s IP address), it was not connecting.
Below are the steps I followed to successfully configure and connect using VNC.
- Installed VNC server in Raspberry Pi from https://www.realvnc.com/en/connect/download/vnc/
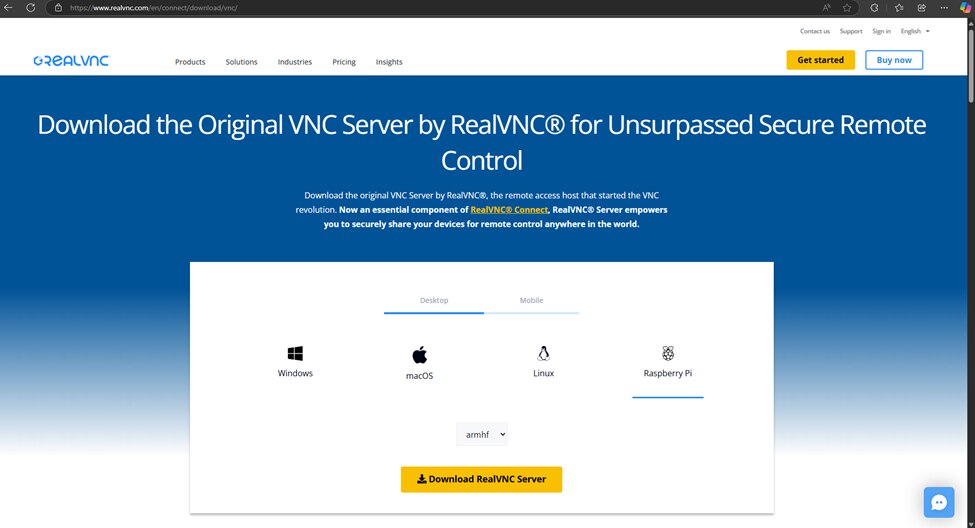
Ran the commands below in terminal after package is downloaded successfully.
sudo dpkg -i <path-to-downloaded-package>.deb
sudo apt-get install -f
After successful installation, ran below commands
sudo systemctl enable vncserver-x11-serviced.service
sudo systemctl start vncserver-x11-serviced.service
- Updated VNC Viewer in my laptop from https://www.realvnc.com/en/connect/download/viewer/
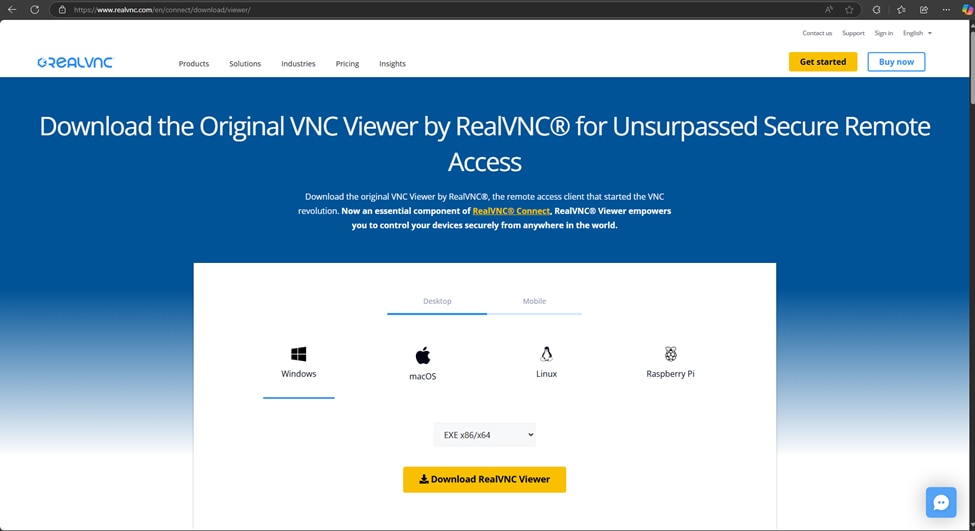
- From the error shown in VNC viewer, I had some clue to update encryption setting (https://help.realvnc.com/hc/en-us/articles/360002254738-RealVNC-Connect-Error-Messages#realvnc-server-0-1).

I then ran the commands below in terminal to update the same.
sudo nano /root/.vnc/config.d/vncserver-x11
Update below security settings after the last line and save the file
Authentication=VncAuth
Encryption=PreferOff
Set password for VNC and then restart VNC server
sudo vncpasswd -service
sudo systemctl restart vncserver-x11-serviced.service
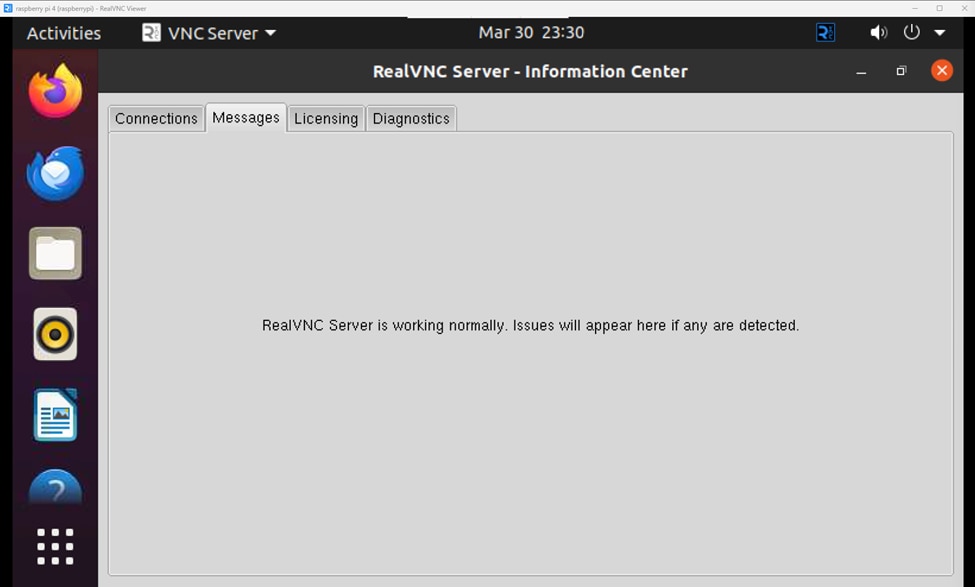
Now I was able to connect to Raspberry Pi remotely using VNC Viewer in my laptop. Below is a screenshot of VNC Server running in Raspberry Pi.
Remote access Raspberry Pi official documentation - https://www.raspberrypi.com/documentation/computers/remote-access.html#vnc
With this I'm done with the initial setup of Raspberry Pi. Stay tuned for more!
