Meet the Raspberry Pi B+ - in a nutshell, it is basically pure awesome.
It has more GPIO, double the USB ports of a standard model B, a better layout of connectors on the board, what more could you possibly want?
Today we'll be setting up the B+ in general, and installing Node.JS on it. We will also be adding a Websocket library via npm, node's package manager.
We will be using Win32 Disk Imager to flash our MicroSD card.
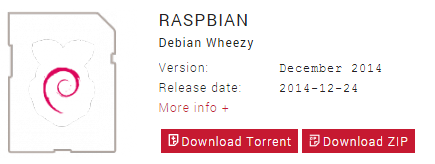
We'll also be using the latest Raspbian, which was released on the 24th December 2014.
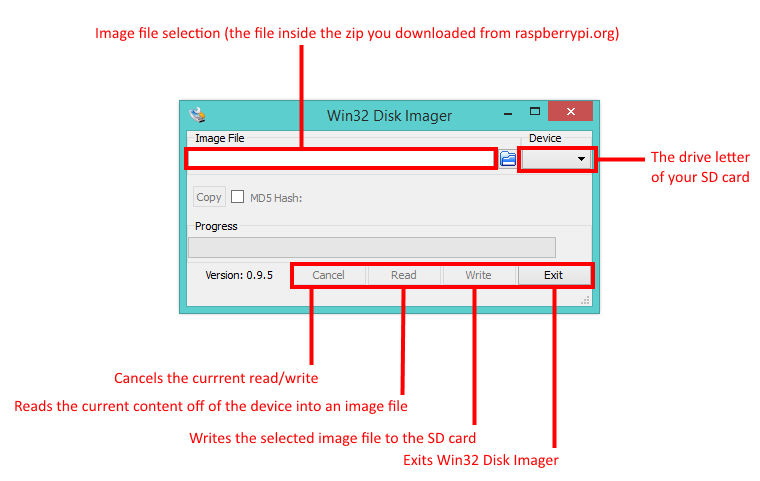
For those who have never used a Raspberry Pi (or for those who received one over Christmas  ), this is a brief overview of the Win32 Disk Imager interface:
All you have to do, is ensure your SD card is correctly selected in the Device dropdown menu, the image from raspberrypi.org is selected in the Image file box, and you just click Write!
Once that is complete, the SD card is pushed into the Raspberry Pi and it will hold itself there providing you pushed it in properly.
For the next steps, I hooked the Pi up to an ethernet cable and powered it up. I then used a tool called Advanced IP Scanner to find the IP address for the Pi.
Once that was done, I SSH'd into the Pi using a tool called putty
Now, when you first boot up the Pi with a monitor, it would automatically start raspi-config for you. However, if you do your first login over SSH, you will need to do it manually.
sudo raspi-config
You can then use the arrow keys to select options. I expanded the root filesystem, changed the default password (pi, raspberry) and did a modest overclock, just to speed things up a bit.
Now we will install Node.JS and my websocket library of choice.
sudo apt-get update
sudo apt-get install nodejs npm
sudo npm config set registry http://registry.npmjs.org/sudo npm install --save ws
Node.JS and a websockets library (ws, by einaros) are now installed, and will be used as a server for the player's uniforms and the mobile app.


