Introduction
Hi, I'm Carlo Russo and in these blogs I will try to explain the phases of creating a simple monitoring system for my home. It is located on flat land, with an irrigation canal that runs very close by and which, in winter, due to intense rains, sometimes overflows and causes flooding. Using this system, I would like to be warned when the canal overflows, before the water floods the house, to be able to save what can be moved.
The kit
The main component is a Seeed StudioXIAO SAMD21, a splendid tiny board with incredible potential. Its very small dimensions allow you to create simple control systems that are very small and have low power consumption.

The XIAO family of boards is very varied both in terms of the type of processor used and the on-board sensors present. An overview of these products can be found on the site: https://wiki.seeedstudio.com/xiao_topic_page/.
Its main features are: “Seeed Studio interface, 1 SPI interface, 1 UART interface, Serial communication indicator (T/R), Blink light (L) through pin multiplexing. The colors of LEDs(Power,L,RX,TX) are green, yellow, blue and blue. Moreover, Seeed Studio XIAO SAMD21 has a Type-C interface which can supply power and download code. There are two reset buttons, you can short connect them to reset the board”. Working voltage of MCU is 3.3V".
Together with the board, the Grove Sensor Pack consists of:
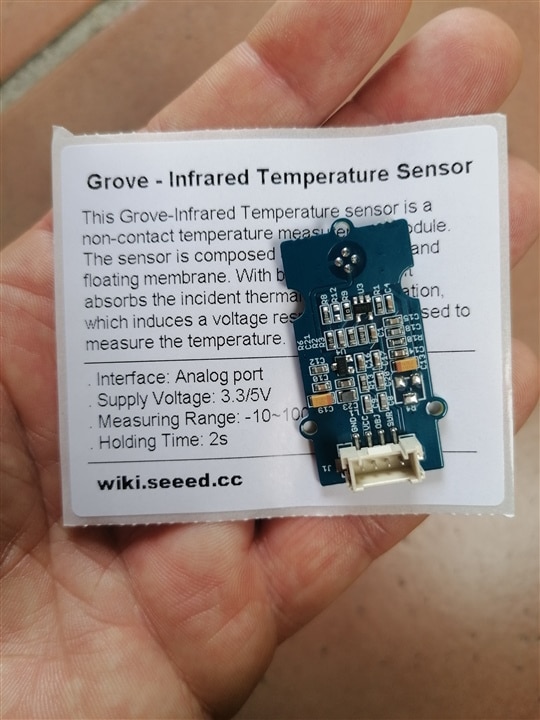
- Infrared Temperature Sensor
- Temperature & Humidity Sensor V2.0 (DHT20)
- 3-Axis Digital Accelerometer(±1.5g)
- Hall Sensor
- Flame Sensor
| {gallery}My Gallery Title |
|---|

|

|

|

|

|
To use the board with Arduino IDE, first, I need to install the board specifications in the Arduino environment.
With Arduino IDE installed, you have to select menu File > Preference, add Additional Boards Manager URLs with:
https://files.seeedstudio.com/arduino/package_seeeduino_boards_index.json .

Once the libraries have been loaded, you need to install the board. The steps are: Tools-> Boards-> Boards Manager, Search "Seeeduino XIAO", Install "Seeed SAMD Boards"
5 minutes were enough and I already have the environment ready to use this board.
Now the Seeed SAMD XIAO is present among the boards recognized by the Arduino IDE and we can also use the numerous examples present to try some of the board's features.

Obviously we will start experimenting with the classic "Blink" application.
Blink is the simplest example we can try on a board and, this time too, with the Seeed XIAO, you just need to program the board to see the LED flashing.

In conclusion we can say that this tiny board is very simple to use and it is very simple to use it in the Arduino environment.

-

DAB
-
Cancel
-
Vote Up
0
Vote Down
-
-
Sign in to reply
-
More
-
Cancel
Comment-

DAB
-
Cancel
-
Vote Up
0
Vote Down
-
-
Sign in to reply
-
More
-
Cancel
Children