HMS - Introduction
Table of Contents
 1. Introduction
Hi! This will be my first blog for the Summer of Sensors Design Challenge. First of all, I want to thank the judges for choosing me as one of the challengers for this competition. In this blog, I will go over my initial idea for this design challenge, go through the starter kit that I've received and also show a small demo using parts of that kit. Before I get into the details about the project itself, I'll give everything a little backstory. My lovely grandma, like a lot of people her age, has high blood pressure problems and needs to take medication multiple times a day to keep it in check. Of course, all of that comes with needing to measure the blood pressure once to twice a day and writing the measurements as well as their time in a notebook so that the doctor can check the blood pressure history the next time she goes. Another thing that we need to look out for is irregular heart rate, blood pressure monitors usually have this feature implemented as a single ON/OFF icon that shows if there were detected irregularities. While that approach is okay, one of the blood monitors has a really simple solution for that, and that is to have a small buzzer go off every time a heartbeat is detected. This is the reason why we use that blood monitor as the main one, even though it has a lot of drawbacks, especially when it comes to electronics.
2. Idea
My idea for this design challenge is to design a small Health Monitoring System for my grandma, hence, why the name HMS for this project. My end goal is to have a user-friendly device for my grandma, that can do data logging for all of her measurements, as well as be an easy way to check her blood oxygen saturation as well as check if there is an irregular heartbeat. To summarize everything, I'll put everything into a requirements list that I wish to fulfill with this project.
Requirements list:
- Blood oxygen monitoring
- Heartbeat buzzer
- Heart rate measurement
- Data logging everything to a microSD
- Data analysis and presentation - This is something I would do to extract all of the data before she goes to the doctor, idea is to automize this as much as possible and have a ready-to-go report for the doctor
- User-friendly interface
- RTC for accurate time tracking
- Ability to manually enter blood pressure measurements
- Arduino-based blood pressure monitor using a pressure sensor
Before I talk a bit more about some of the items from the list, I'll first go over the starter kit for this challenge.
3. Starter kit
I'll begin this section by thanking the judges again for being selected as one of the challengers who received this starter kit. This is a great kit, with many components that will be useful for this project. The starter kit consists of 5 items:
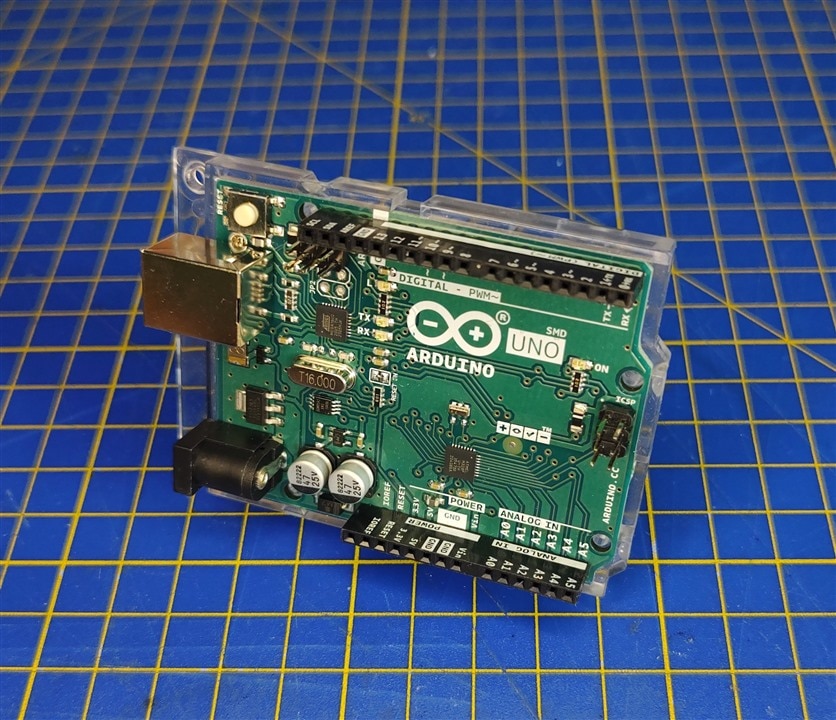
- Arduino Uno
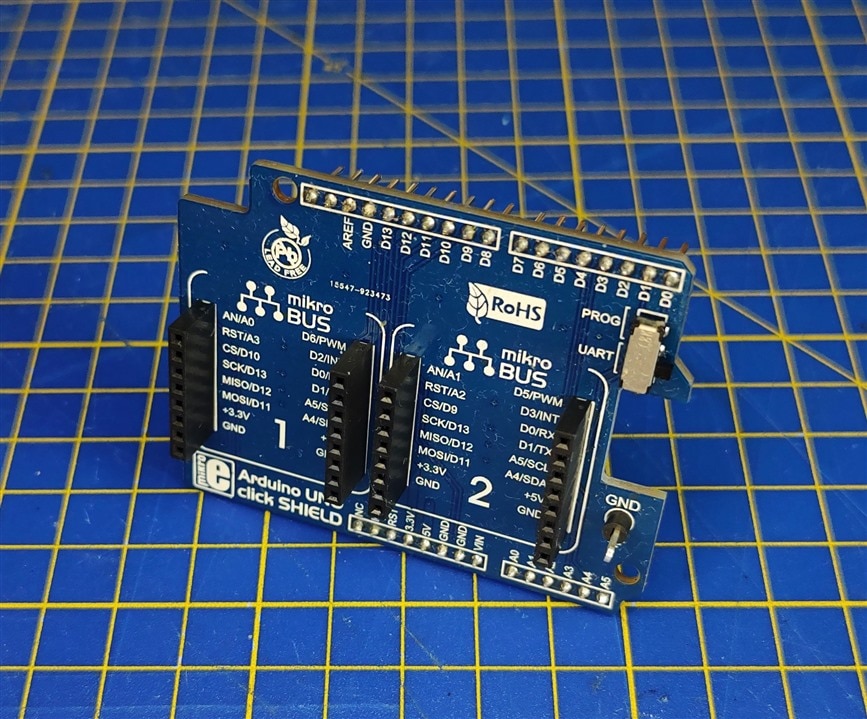
- Arduino Uno Click Shield
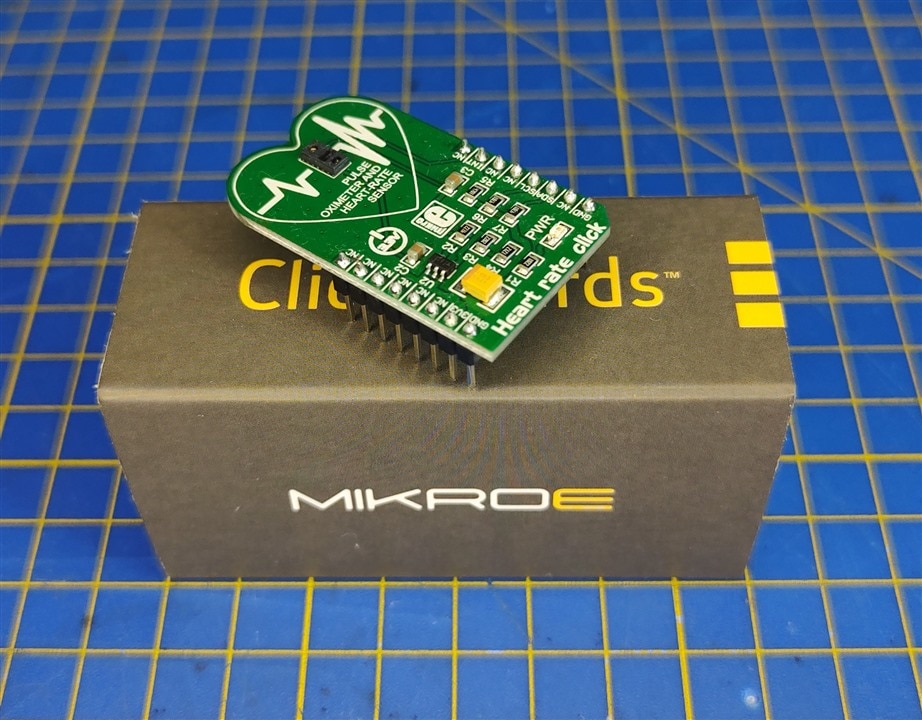
- MikroE Heart rate click
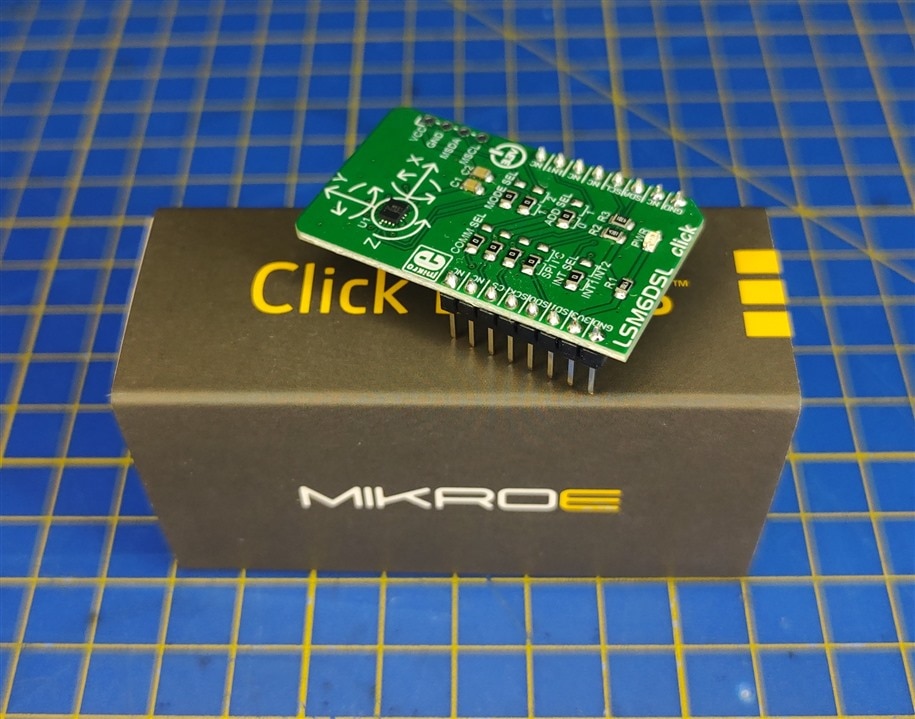
- LSM6DSL click
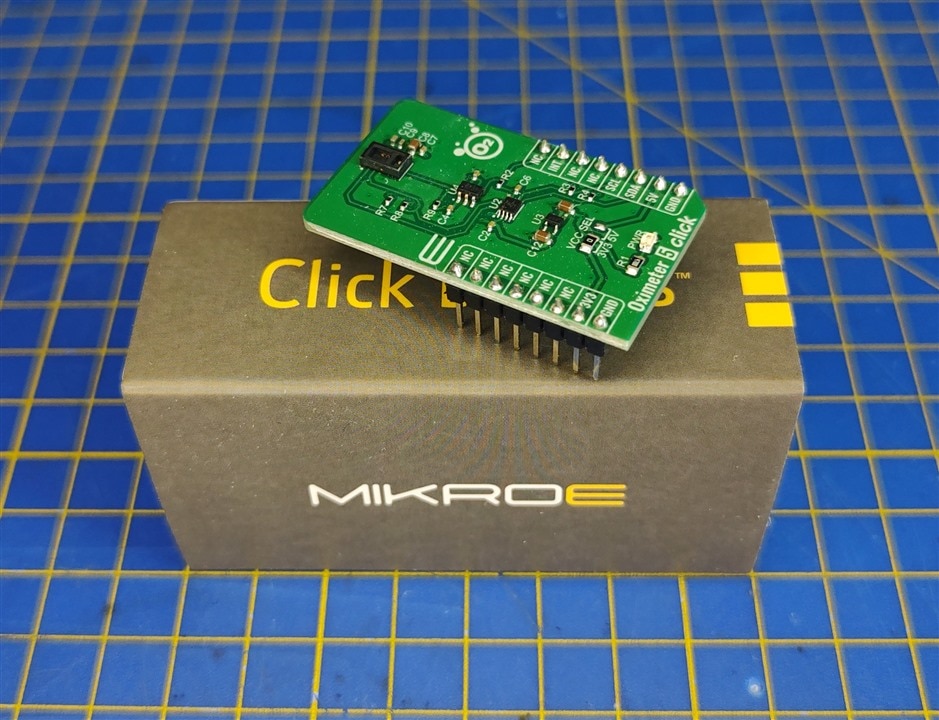
- Oximeter 5 click
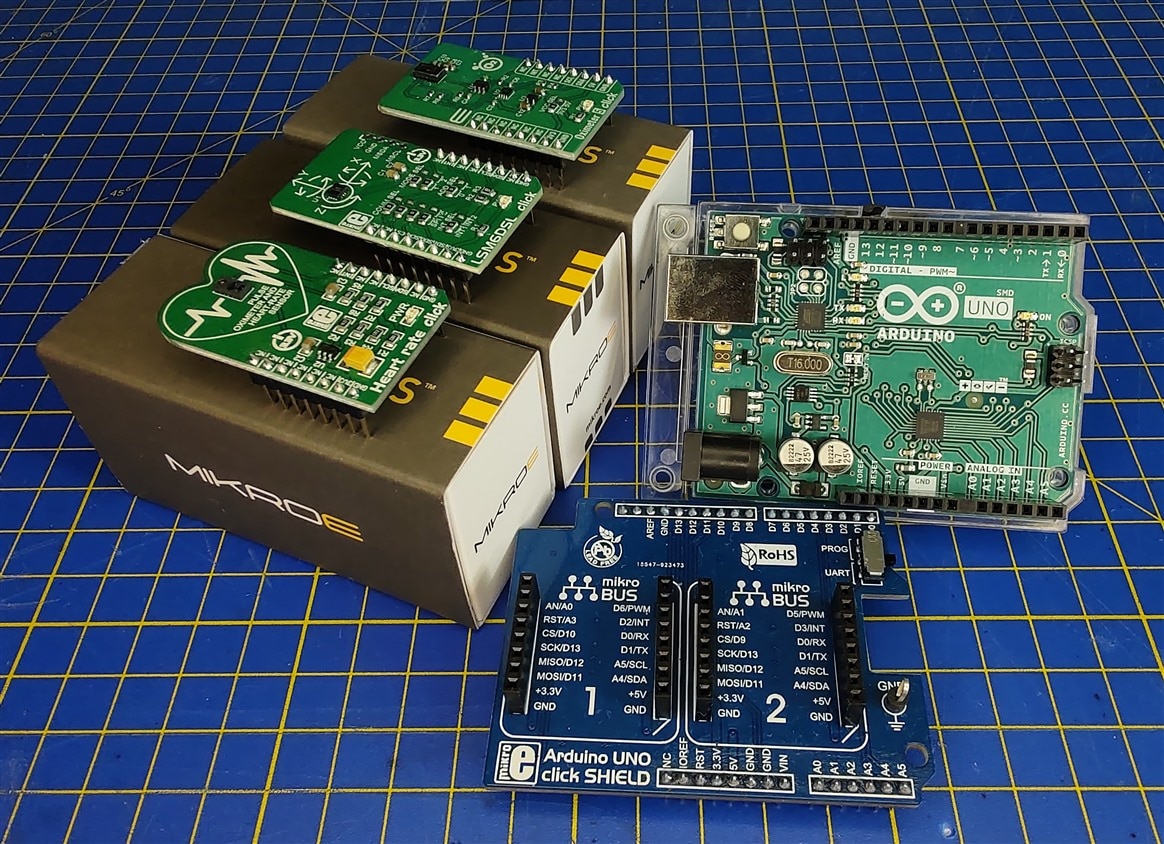
The kit contains the microcontroller which will be the main component of this project around which everything else will be implemented, the Arduino Uno. Besides that, we have a shield for the Arduino Uno that will enable us to easily connect the click boards to the Arduino as well as a few click boards that we can use for this project. Below you can check the relevant links and information for all of the pieces of the starter kit.
| {tabbedtable}Component | Description |
|---|---|
Arduino Uno |
As mentioned above, this is the main component of the whole project around which we need to configure everything. This is by far the most famous and most recognizable Arduino (and microcontroller board) out there, the Arduino Uno.
The Arduino Uno comes with an ATmega328P microcontroller onboard, with 14 digital and 6 analog pins. The UNO variant of the Arduino came out over 12 years ago. Relevant links: |
Arduino Uno - Click Shield |
Arduino Uno click shield is an extension for the Arduino Uno or one of the many Uno-compatible boards with 2 mikroBUS host sockets used for attaching MikroElektronika click boards.
Relevant links: |
Heart Rate Click |
Heart Rate click is a heart rate monitoring and pulse oximetry measuring Click board. It features an advanced oximeter and heart rate monitoring sensor, which relies on two integrated LEDs, a photosensitive element, and a very accurate and advanced low-noise analog front end, to provide clean and accurate readings.
The easiest way to connect to it is using the Arduino Uno Click shield, but we can also connect it to the power and to the I2C bus since that is how it communicated with the microcontroller. Relevant links: |
Oximeter 5 Click |
Oximeter 5 Click is a click board suitable for measuring blood oxygen saturation. Much like the Heart rate click, this click board can also measure the heart rate as well as the oxygen saturation in the blood.
Relevant links: |
LSM6DSL Click |
The last item from the starter kit is the LSM6DSL click. This click board measures linear and angular velocity with six degrees of freedom. It carries the LSM6DSL high-performance 3-axis digital accelerometer and 3-axis digital gyroscope.
Relevant links: |
4. First tests
As a simple proof of concept, I wanted to conduct a small test of one of the features that I talked about above. The feature in question is the buzzer beeping every time a heartbeat is detected by the sensor. As an example of what I want to achieve, I'll first use the off-the-shelf blood pressure monitor that has the buzzer feature.
The audio in the video is very quiet for some reason, but when it starts deflating, you can start hearing a really faint beep that is signaling the heartbeat. You can also look at the screen on the blood pressure monitor, there is a small icon for every time a heartbeat is detected.
If you try looking for irregularities only by looking at the icon in the video, you will see that it's really not that easy to see what's going on. Below, you can see my experimental setup using the components from the starter kit, for the test I went with the Heart rate Click board.
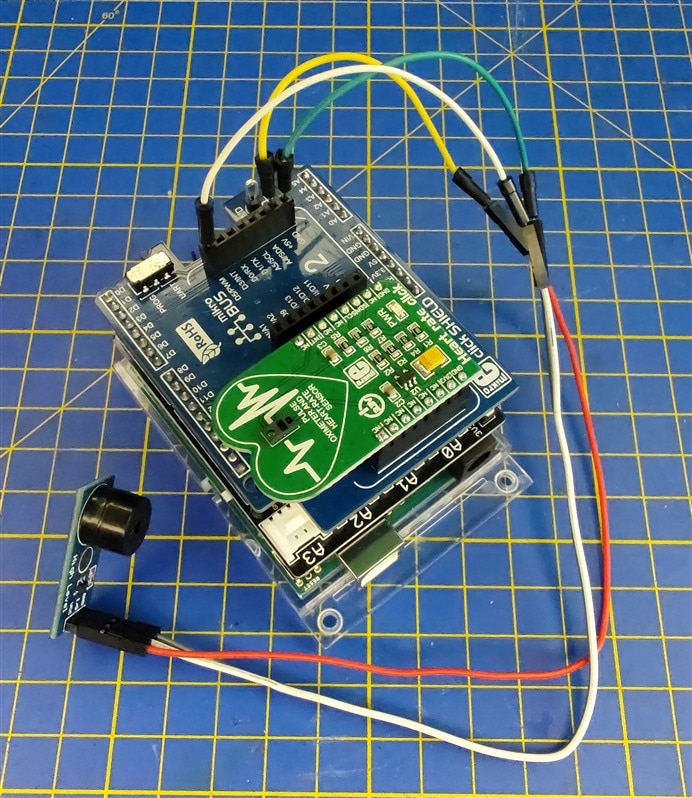
I've connected the Arduino Uno and the Click shield with the heart rate sensor, and I've also connected a small 5V buzzer module which is activated for 50ms every time a heartbeat is detected. In the video below, you can see this setup in action.
The buzzer can be heard much more easily than the one on the blood pressure monitor, and it's much easier to tell if there are any irregularities from listening rather than looking at a small icon as I think the two videos above showcase pretty well.
5. Blood pressure monitor
The requirements list above has one item that is a different color from the rest, that item is the Arduino-based blood pressure monitor. I've mentioned a few times above how there are a few drawbacks to the off-the-shelf monitor that I've shown above. It's extremely unreliable considering that it's supposed to be a medical device. If batteries aren't full, the readings can be so much apart from one measurement to the other that it can make a difference between my grandma taking additional medication to lower the blood pressure or not taking it. To be safe, we always measure with two devices so we can check that they are roughly the same as well as check if the heart rate is regular before she takes any additional medication.
This got me thinking about trying to connect a sensor between the off-the-shelf monitor and cuff to see if I could maybe extract the readings which are the same as the ones from the commercial monitors. All monitors rely on air pressure sensors, so I decided to order a few different pressure sensors to try out. I ordered a few 40kPa (300mmHg, normal upper blood pressure is around 120mmHg and in bad cases can go up to 200mmHg or more, so it fits into range) sensors from AliExpress for playing around with this. If they don't arrive on time, I'll have to resort to ordering another one from a different source. here are the sensors in question.
I will be working on all of the other things as part of this project, while this will be the experimenting part of this project. If the sensors arrive on time, I'll go into more detail about how I'll try measuring the blood pressure, but to simplify how these monitors usually work:
- The monitor pumps the arm cuff until the circulation in the brachial artery is cut off, and then it starts slowly releasing pressure
- As the pressure is getting lower, once it goes below the systolic (upper) pressure level, we will be able to detect a pulsating, muffled, noise because the artery is still partially compressed
- As the pressure keeps going down, at one point, it will go below the diastolic (lower) pressure level, and that will be the moment when we stop detecting the pulsating, muffled, noise
Again, I'm not trying to make a medical device, but want to experiment to see if I could get the same readings as a commercial device.
6. Summary
In this blog, I went over the backstory for this project, the starter kit, the first tests, and the general plan for further development. My next step is figuring out the components I want to use for the project, and the overall design of the device as well as diving a bit deeper into the components from the starter kit, and looking at the differences between the Oximeter 5 Click and the Heart rate Click. Along the way, I plan to parallelly do the experimental portion of this project, measuring blood pressure using a pressure sensor. This will be a fun project, and hopefully, at the end, I'll have something that will be of use to my grandma! Thanks for reading the blog, hope you liked it!
Milos


