


Challenger - ZMOD4510 - Outdoor Air Quality Sensor
Hello element14 Family,
Subsequently, I started combining the data from the various sensors viz. Temperature & Humidity, Microphone & Outdoor Air Quality Sensor.
The Feather M0's inbuilt LiPo charger was one of the main factors in my first decision to work with it. To appropriately recharge the LiPo battery, we need to know what voltage it is at. The LiPoly batteries are typically "maxed out" at 4.2V, hover about 3.7V for much of their lifespan, and then gradually drop to about 3.2V before the protective circuitry shuts them off. The board's double-100K resistor divider linked to D9 (also known as analog #7 A7) on the BAT pin makes it simple for us to monitor the voltage. To get the voltage of the battery, we just need to read the voltage of this pin and multiply it by two.
/* Read Battery Level */
/* Ref: https://learn.adafruit.com/adafruit-feather-m0-adalogger/power-management */
#define VBATPIN             A7

void loop() {

    /* Report Battery Level */
    float measuredvbat = analogRead(VBATPIN);
    measuredvbat *= 2;    // we divided by 2, so multiply back
    measuredvbat *= 3.3;  // Multiply by 3.3V, our reference voltage
    measuredvbat /= 1024; // convert to voltage

    Serial.print(F("VBat = "));
    Serial.print(measuredvbat);

    /* Issue A Low Battery Warning */
    if(measuredvbat < 3.7)
    {
        Serial.println(F("CHARGE BATTERY NOW!"));
    }
}
By creating an object of the Si7021 sensor and calling the appropriate methods, it is simple to carry out the algorithmic compensation for temperature and humidity for the ZMOD4510 OAQ 2nd Gen algorithm.
/* Includes For Si7021 Temperature & Humidity Sensor */
#include "Adafruit_Si7021.h"

/* Temperature & Humidity Sensor */
Adafruit_Si7021 sensor = Adafruit_Si7021();

void loop {

    /*
 * The ambient compensation needs humidity [RH] and temperature [DegC]
    * measurements! Input them here.
  */
    algorithm_input.humidity_percentage = sensor.readHumidity();
    algorithm_input.temperature_degc = sensor.readTemperature();
}
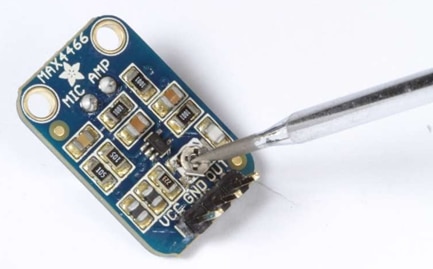
Moving on, I used the Adafruit instructions to measure the sound level, although the output is in volts, which is difficult to comprehend. Upon a quick search through the forums, I stumbled across an old thread which tried to convert the obtained volts into decibels (dB). Prior to running the code, I had to take care to set the little potentiometer to gain 25x (totally clockwise - and give up when you encounter even the tiniest resistance).
/* Read Microphone Level */
/* Ref: https://learn.adafruit.com/adafruit-microphone-amplifier-breakout/measuring-sound-levels */
#define MICROPHONE_PIN      A5

/* Variables Specific To Electret Microphone */
const int sampleWindow = 50;   // Sample window width in mS (50 mS = 20Hz)
unsigned int sample;

void loop() {

unsigned long startMillis= millis();  // Start of sample window
    unsigned int peakToPeak = 0;      // peak-to-peak level

    unsigned int signalMax = 0;
    unsigned int signalMin = 1024;

    /* Collect Data For 50 ms */
    while (millis() - startMillis < sampleWindow) {

        sample = analogRead(MICROPHONE_PIN);

        if (sample < 1024) {
              if (sample > signalMax)  {
                  signalMax = sample;  // save just the max levels
              }
              else if (sample < signalMin) {
                  signalMin = sample;  // save just the min levels
              }
          }
    }

    /* Ref: https://forums.adafruit.com/viewtopic.php?f=8&t=100462&p=503661 */
    peakToPeak = signalMax - signalMin;  // max - min = peak-peak amplitude
    double volts = ((peakToPeak * 3.3) / 1024) * 0.707;  // convert to RMS voltage
    double first = log10(volts/0.00631)*20;
    double decibels = first + 94 - 44 - 25;

    Serial.print(F("Noise:"));
    Serial.print(decibels);
}
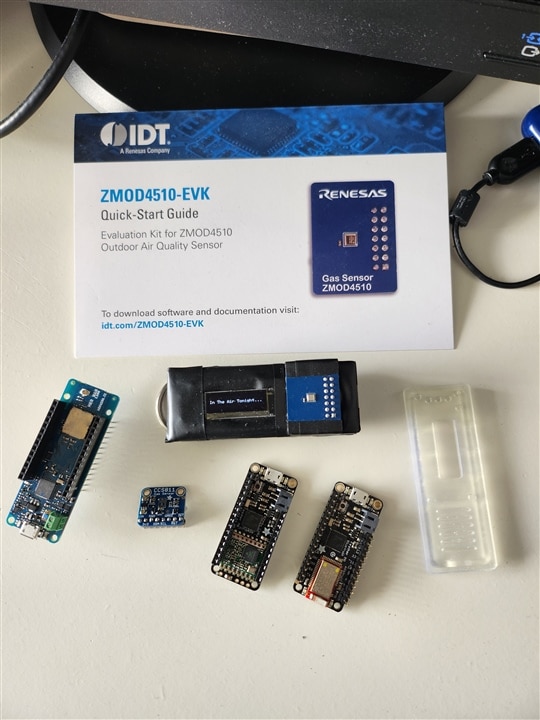
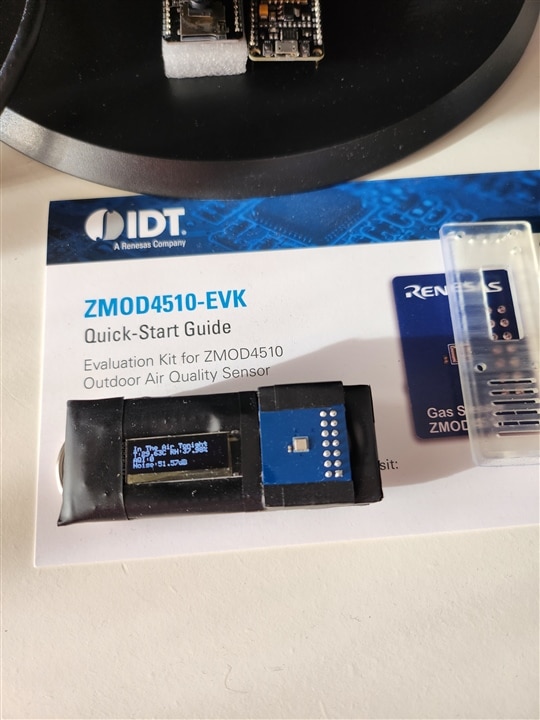
After confirming the findings using the serial console, I eventually put everything in the box together, plugged the microphone into the case's slot, and added the prints that would be shown on the OLED display.
And now it's time for some staging,
Welcome Splash Screen:
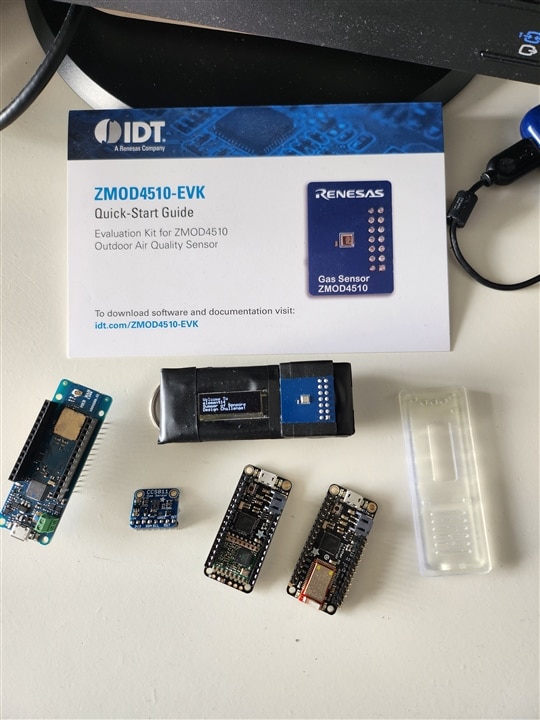
Well, what is In The Air Tonight?
The resting console display with all the sensor parameters shown (ZMOD4510 is warming up...):
After a couple of minutes, the ZMOD4510 warm up is complete!
and to test that the microphone is capturing the noise well (and the dB conversions actually work), I verified it with some typical apps from the Play Store and the values obtained were quite satisfactory.
and of course, the low battery warning as well!
To test the sound capture further, I decided to exclaim a "Hurrah!", and well - it shows up on the screen! :)
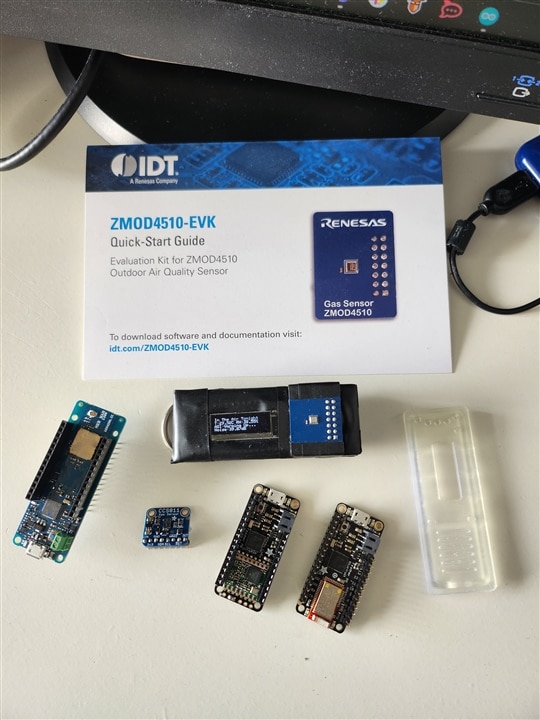
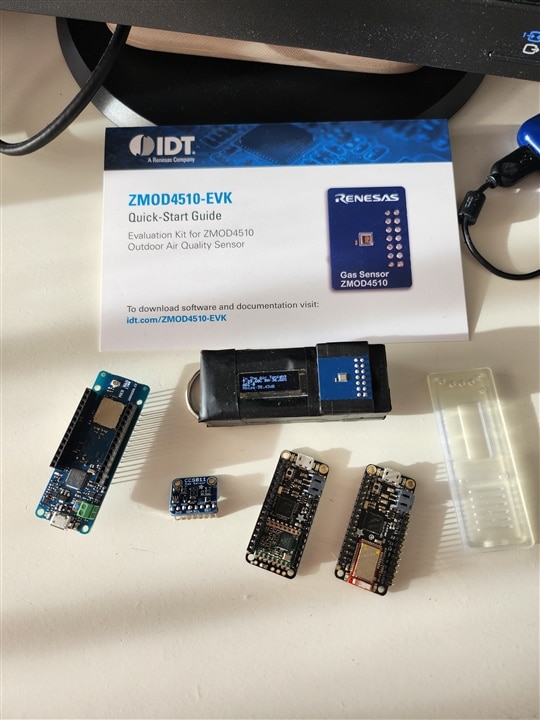
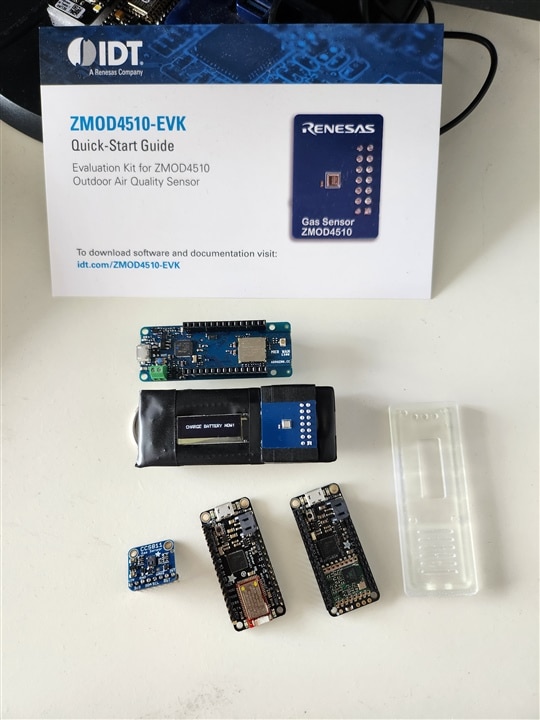
I added the case a key ring so that it may also be worn fastened to a backpack or any other alternative options. Also, the BLE and the LoRa options for the main board are also shown in the images as an alternative to the WiFi module that I had used. For the next steps, I will explore the options to connect it to a dashboard and visualize the historical data - and further personalized advice can also be integrated thereafter based on the exposure levels.
Next Blog Series: Summer of Sensors Design Challenge - In The Air Tonight – Blog #6 (Platform Connectivity)