Hello everyone. I welcome you to my blog 2/5 about VEML3328 which I write today. In previous blog I described my motivation for applying in this category and now I will show my breakout board for VEML3328 color sensor which I designed and recently assembled. It is part which I already did last week (not today).
VEML3328 was originally mentioned in Optical Sensors Quiz and I was interested in it. This sensor is also present on board which were recently RoadTested, and finally it is part of this competition. Because of this popularity I want to try it. Ordered it as part of my recent Project14 reward and in meantime I designed breakout board for it, ordered it. Last week I received breakout PCB and sensor and assembled it, but because of lack of free time I did not test it. Today I will test it. But before I start making evaluating project I will show you my breakout.
It is designed in Kicad.
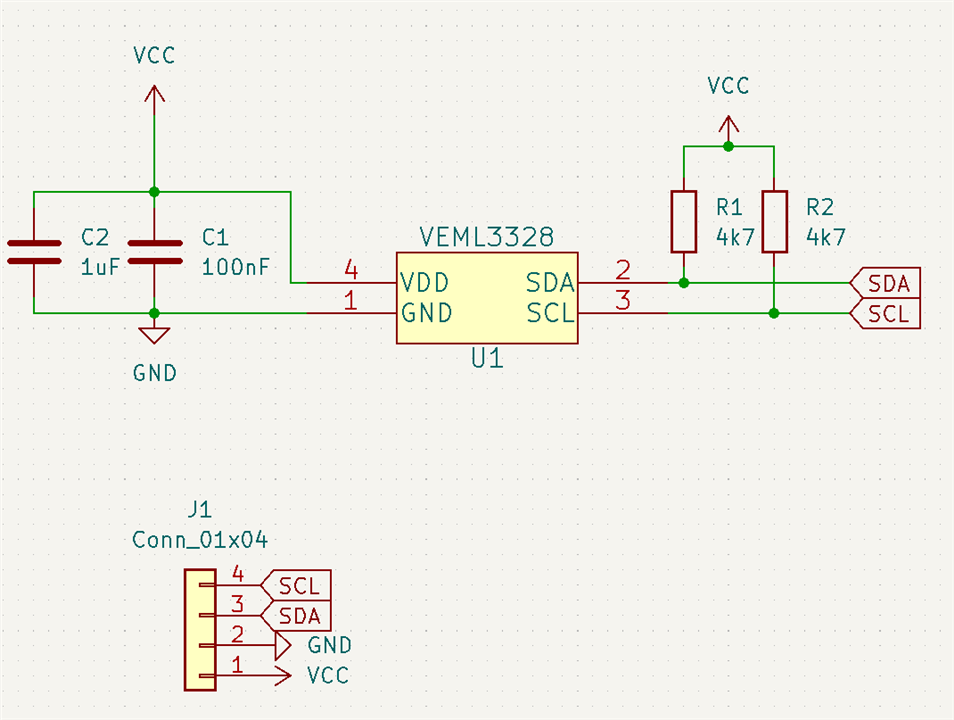
Schematics
Schematics is simple. It has VEML3328 color sensor which is simple SMD chip with only four pins: two for powering and two for I2C. Except sensor there is pin header of course, I2C pull-ups and decouping capacitors.
PCB
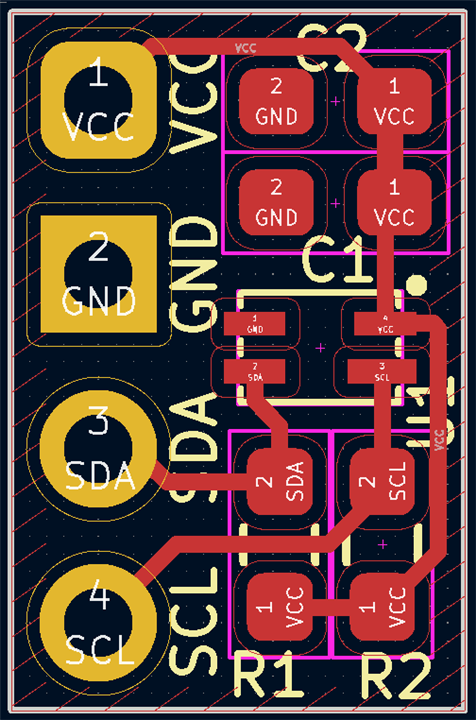
The I routed it on the PCB. Top side look as follows:
Bottom side is only ground plane and silkscreen labels:
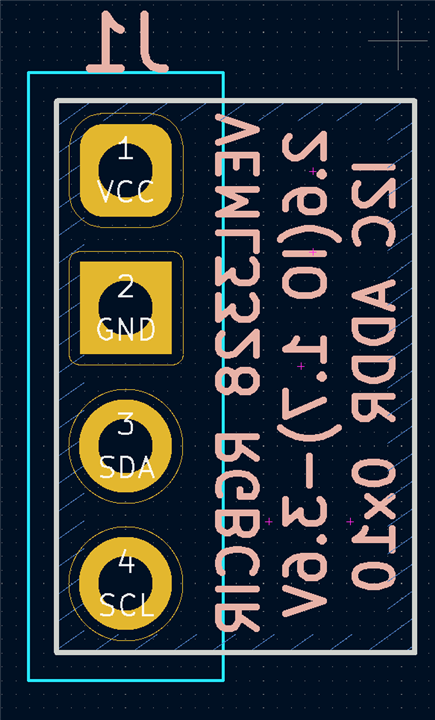
It is simple breakout as you can see.
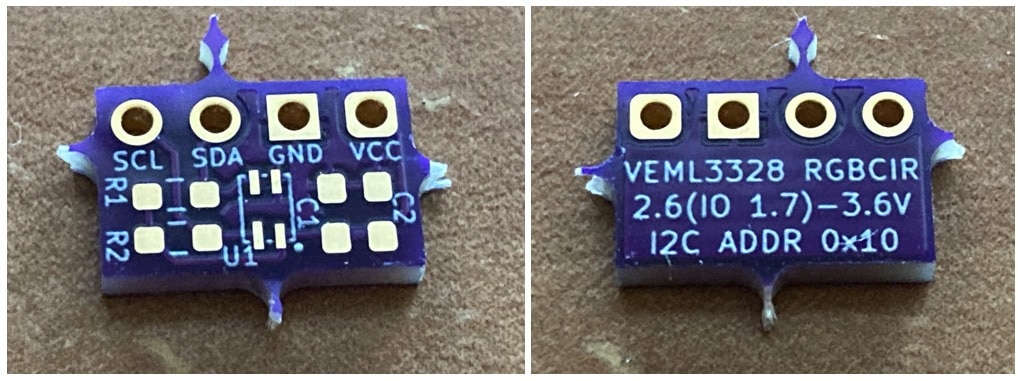
This board I ordered on OSHPark and received it:
Assembly
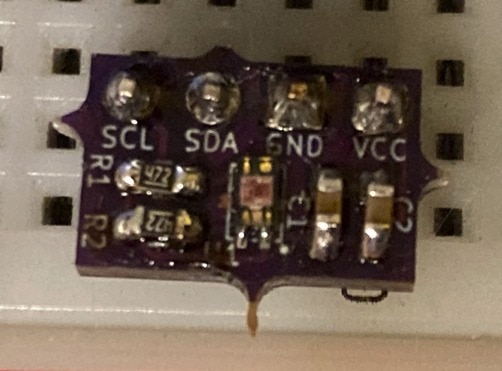
And at the end I assembled the board by soldering sensor, capacitors, resistors and pin header.
Testing
For a first test I connected it to the Raspberry Pi and test i2cdetect command to find VEML3328 on the bus.
Here it is:
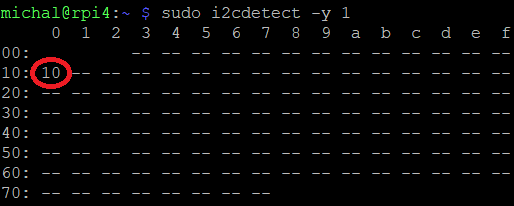
Address 0x10 is exactly the same address which is mentioned in datasheet.
And this is all for this hour. In next 4 hours I will try to complete my project and post remaining three blogs. In next blog I want to describe my library which I created in previous hour. Sensor is simple so it was not so hard and I utilized lot of code from my previous libraries, but my VEML3328 is completed now but it is not tested yet.
Thank you for your attention.
Next blog: VEML3328 Last-Minute Entry: Blog #3 Creating Library

