element14 Community
element14 Community
    Register Log In
  • Site
  • Search
  • Log In Register
  • About Us
  • Community Hub
    Community Hub
    • What's New on element14
    • Feedback and Support
    • Benefits of Membership
    • Personal Blogs
    • Members Area
    • Achievement Levels
  • Learn
    Learn
    • Ask an Expert
    • eBooks
    • element14 presents
    • Learning Center
    • Tech Spotlight
    • STEM Academy
    • Webinars, Training and Events
    • Learning Groups
  • Technologies
    Technologies
    • 3D Printing
    • FPGA
    • Industrial Automation
    • Internet of Things
    • Power & Energy
    • Sensors
    • Technology Groups
  • Challenges & Projects
    Challenges & Projects
    • Design Challenges
    • element14 presents Projects
    • Project14
    • Arduino Projects
    • Raspberry Pi Projects
    • Project Groups
  • Products
    Products
    • Arduino
    • Avnet Boards Community
    • Dev Tools
    • Manufacturers
    • Multicomp Pro
    • Product Groups
    • Raspberry Pi
    • RoadTests & Reviews
  • Store
    Store
    • Visit Your Store
    • Choose another store...
      • Europe
      •  Austria (German)
      •  Belgium (Dutch, French)
      •  Bulgaria (Bulgarian)
      •  Czech Republic (Czech)
      •  Denmark (Danish)
      •  Estonia (Estonian)
      •  Finland (Finnish)
      •  France (French)
      •  Germany (German)
      •  Hungary (Hungarian)
      •  Ireland
      •  Israel
      •  Italy (Italian)
      •  Latvia (Latvian)
      •  
      •  Lithuania (Lithuanian)
      •  Netherlands (Dutch)
      •  Norway (Norwegian)
      •  Poland (Polish)
      •  Portugal (Portuguese)
      •  Romania (Romanian)
      •  Russia (Russian)
      •  Slovakia (Slovak)
      •  Slovenia (Slovenian)
      •  Spain (Spanish)
      •  Sweden (Swedish)
      •  Switzerland(German, French)
      •  Turkey (Turkish)
      •  United Kingdom
      • Asia Pacific
      •  Australia
      •  China
      •  Hong Kong
      •  India
      •  Korea (Korean)
      •  Malaysia
      •  New Zealand
      •  Philippines
      •  Singapore
      •  Taiwan
      •  Thailand (Thai)
      • Americas
      •  Brazil (Portuguese)
      •  Canada
      •  Mexico (Spanish)
      •  United States
      Can't find the country/region you're looking for? Visit our export site or find a local distributor.
  • Translate
  • Profile
  • Settings
Sustain The World - Design Challenge
  • Challenges & Projects
  • Design Challenges
  • Sustain The World - Design Challenge
  • More
  • Cancel
Sustain The World - Design Challenge
Blog Setting  hardware part 2 Blog #3
  • Blog
  • Forum
  • Documents
  • Polls
  • Files
  • Events
  • Mentions
  • Sub-Groups
  • Tags
  • More
  • Cancel
  • New
  • Share
  • More
  • Cancel
Group Actions
  • Group RSS
  • More
  • Cancel
Engagement
  • Author Author: lesmalave
  • Date Created: 12 Oct 2020 6:10 AM Date Created
  • Views 1026 views
  • Likes 1 like
  • Comments 0 comments
  • dps368
  • vsc
  • design challenge
  • xmc4700
  • hardware
  • shield2go
  • visual studio code
  • j-link
  • sustain the world
  • arduino
Related
Recommended

Setting  hardware part 2 Blog #3

lesmalave
lesmalave
12 Oct 2020

We will continue setting the hardware, we will talk about the environmental sensors and the display. We had available the DHT11 sensors, the popular temperature and humidity sensor, the MQ135 Air Quality Meter, the MQ7 CO sensor and the sensor supplied by Infineon DPS368 Pressure Shield2go that allows us to measure Barometric Pressure and also allows us to read temperature, and finally we add an LDR to obtain the luminosity data in the environment.

image


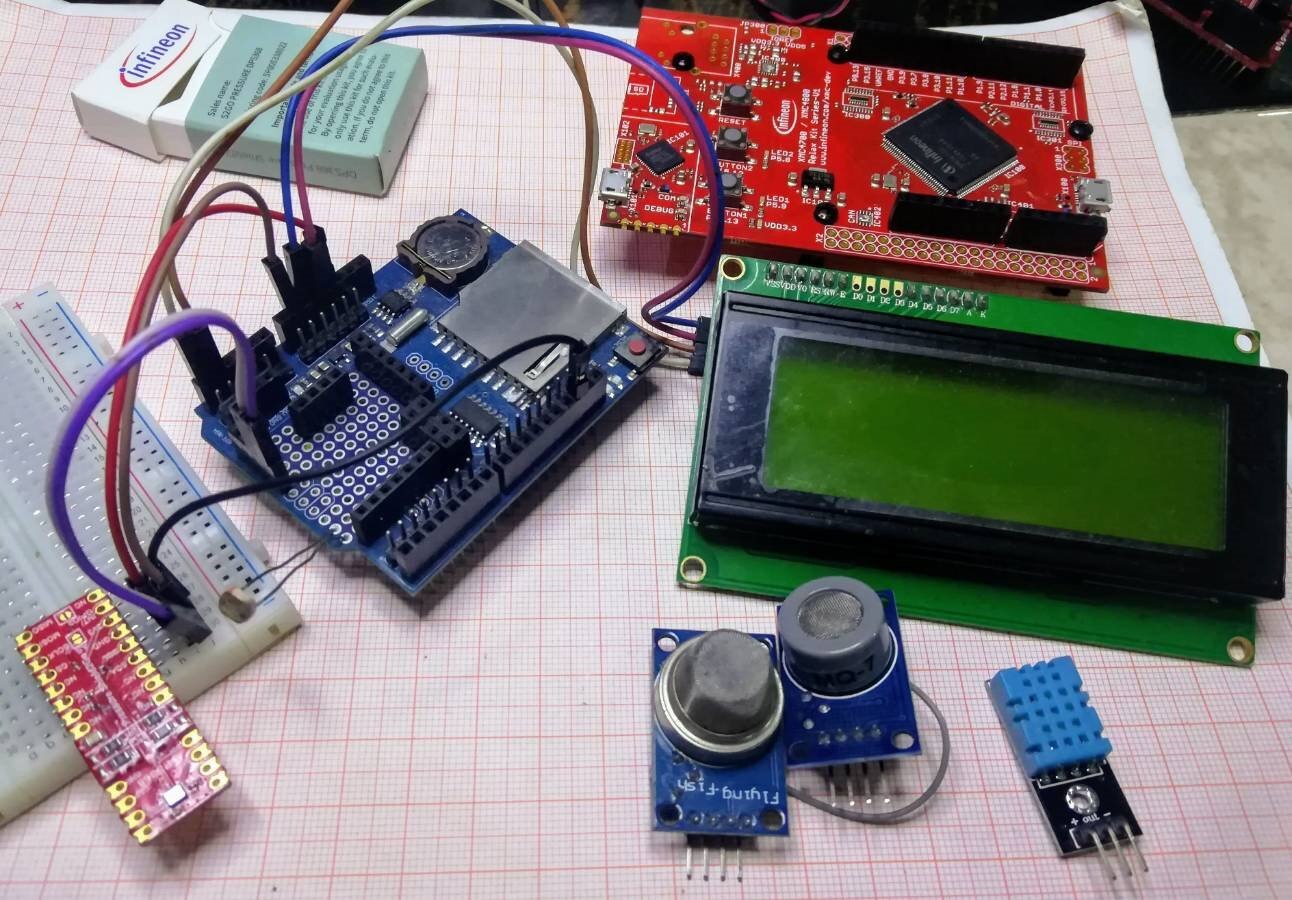
The MQ7, MQ135 and LDR sensors are analog output sensors in this case we take advantage of the Analog In pins of the XMC4700. We made the signal captures with a resolution of 12 Bits.


The DHT11 sensor sends the data through a serial communication that is supported by its own library "DHT.h"

The DPS338 sensor uses I2C communication and we have the library supplied by Infineon <Dps368.h>

Although we can see all the data through the serial port of the PC. I also wanted to add a screen to the project and conveniently had an LCD2004 Display that had previously been added by the Backpack PCF8574ATPCF8574AT with I2C communication.


To prototype use a Datalogger Shield (we will not use the Dataloger block for now) we only make the connections with headers to the sensors.

We connect the inputs of the board to the outputs of the analog sensors like this:

MQ7 pin AO

MQ135 pin A1

LDR pin A2

DHT11 pin 2

DSP368 I2C (A4, A5)

LCD2004 display (A4, A5)

Taking great care to supply each device with the correct voltage (MQ7, MQ135, DHT11 and LCD to the 5 Vdc source)

LDR sensor and DSP368 sensor to 3.3 Vdc source.


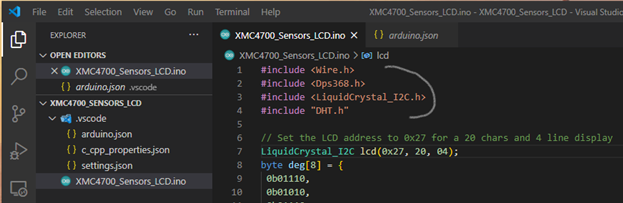
As I mentioned in Blog # 2 You have to link some libraries manually to use the Visual Studio Code editor. (From my own experience, I didn’t use Platformio because when using it, I found it more complex and gave me certain headaches in other projects).


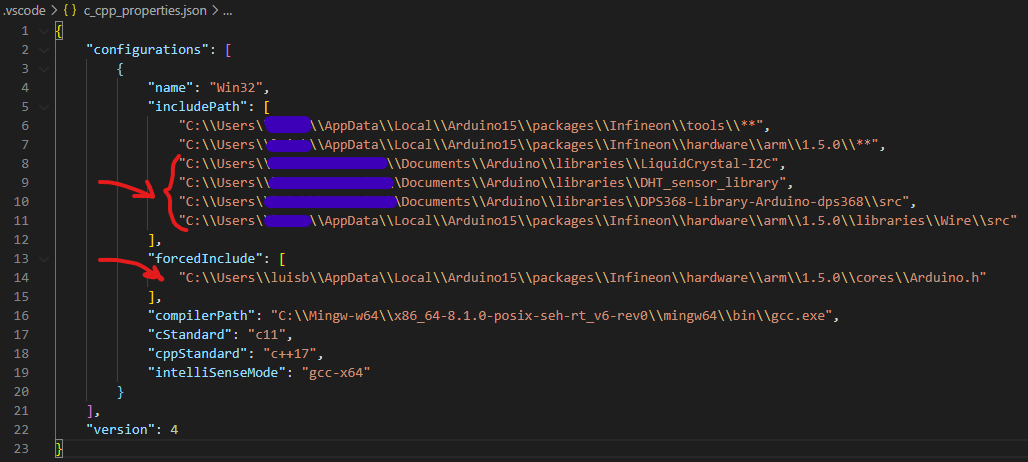
Now I explain how to take advantage of VSC resources even if it is not fully supported. As some libraries do not appear the Arduino Library Manager, (although we have previously installed them). There is a way to link them manually, and this is by copying the path of the "library.h" in the file c_cpp_properties.json inside the "includedPath"


imageimage

imageimage


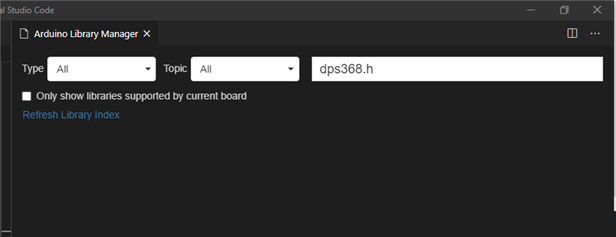
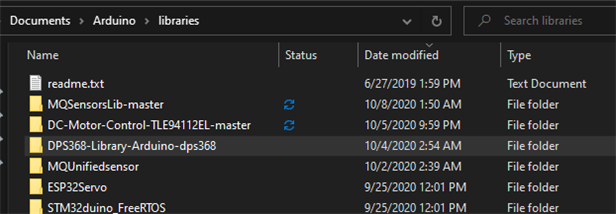
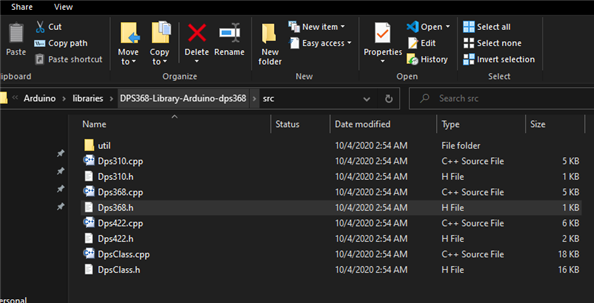
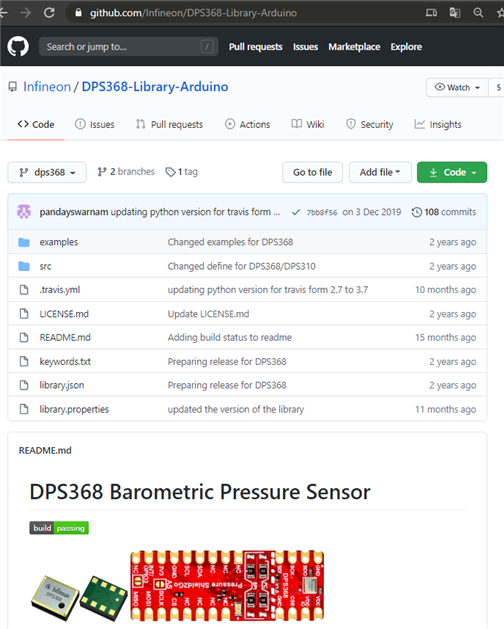
As I show you with the DPS368 Pressure Shield2go sensor library that we previously downloaded from the link bellow:

https://github.com/Infineon/DPS368-Library-Arduino


image


This is how it’s done with each of the project's libraries:

DHT sensor library (Adafruit supported library)

LiquidCrystal_I2C (library supported by DFRobot)

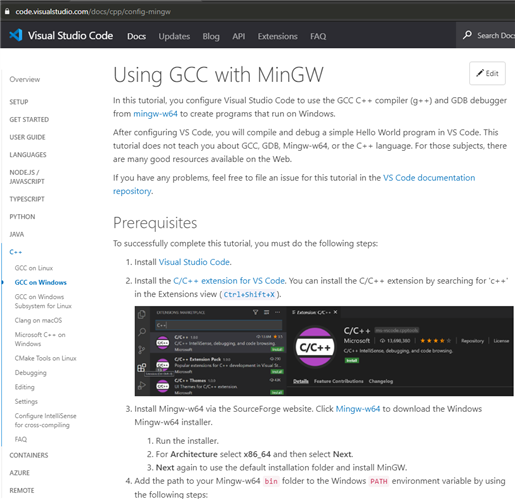
Then we also add the compiler path of c/cpp which in my case by default the Microsoft Visual Studio compiler, I preferred to use Ming-w64 following the instructions on the link below:


https://code.visualstudio.com/docs/cpp/config-mingw

image


I make sure to adjust the cStandard c11 and cppStandard c ++ 17 and the intelliSenseMode gcc-x64

image


Having ready the hardware connections and our Visual Studio Code IDE, with the Arduino extension, Linked Libraries, c/cpp compiler, J-Link Programmer. All in order. At this point we are ready to focus on the code of our project application.


In the next Blogs we will explain the code...

  • Sign in to reply
element14 Community

element14 is the first online community specifically for engineers. Connect with your peers and get expert answers to your questions.

  • Members
  • Learn
  • Technologies
  • Challenges & Projects
  • Products
  • Store
  • About Us
  • Feedback & Support
  • FAQs
  • Terms of Use
  • Privacy Policy
  • Legal and Copyright Notices
  • Sitemap
  • Cookies

An Avnet Company © 2025 Premier Farnell Limited. All Rights Reserved.

Premier Farnell Ltd, registered in England and Wales (no 00876412), registered office: Farnell House, Forge Lane, Leeds LS12 2NE.

ICP 备案号 10220084.

Follow element14

  • X
  • Facebook
  • linkedin
  • YouTube