


This week I concentrate on Servo control and create valve for EM substance. After my further research, I found that we can use analogWrite() command
to send PWM duty cycle to the servo. This is convenience to control servo, but you need to specify the PWM frequency at startup with setAnalogWriteFrequency (SERVO_EM, 22).
22 is the period in ms. Actually it’s should be 20 ms (equal to 50 Hz) But after trial and check with the oscilloscope, 22 gave the most nearly 50 Hz. Control servo with this function gives
more flexibility than create our own PWM pulse.
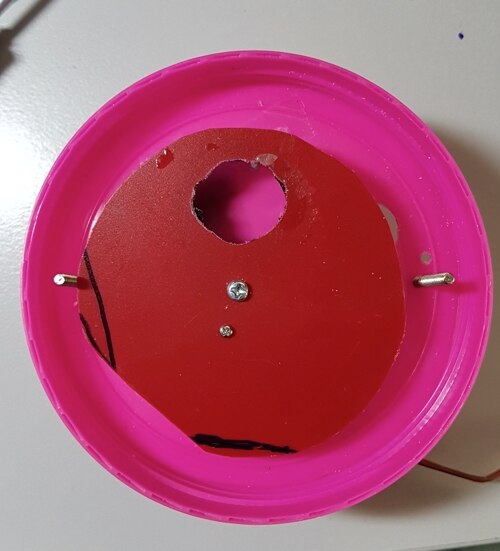
For servo to release EM substance valve, I created it from recycle part of the plastic container and bottle cap. You may explore the idea and adapt depending on the material available at your side.
What I need is shown in the picture.
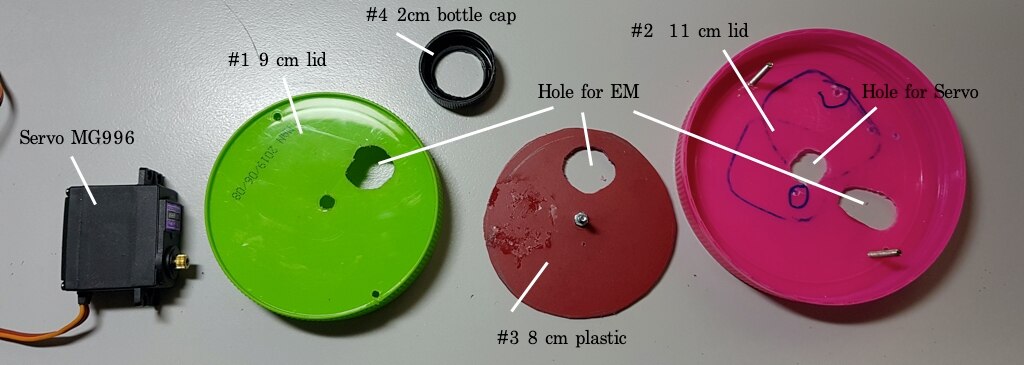
The idea is you need to have two different size plastic lid with edge. One plane plastic which sizes smaller than #1 lid. I got this plastic by cutting from another lid. But this plastic should be thinner than two lids
You need one bottle cap and make a big hole on it. This cap will use to move substance out ( You will see later Video for better understanding) Cut the hole on lids #1 and #2 as the same size of hole on bottle cap.
Here is the instructions on how to assembly.
1) Cut the hole on material #2 for servo and EM. Becareful that you need to align all three-hole for EM when you put them together
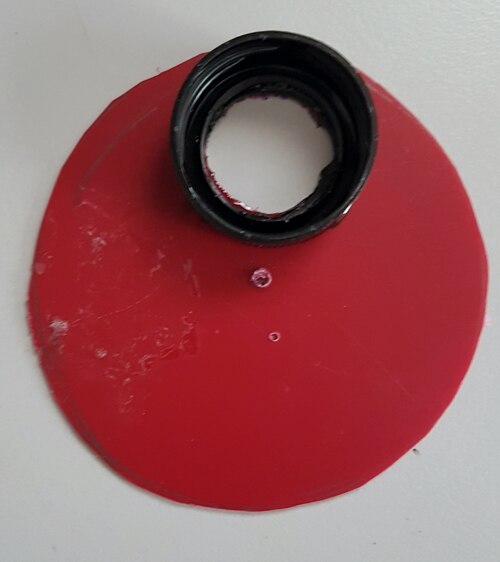
2 Stick the bottle cap #4 on the plastic #3 with epoxy. ( I had tried for other glue and it did not work well)
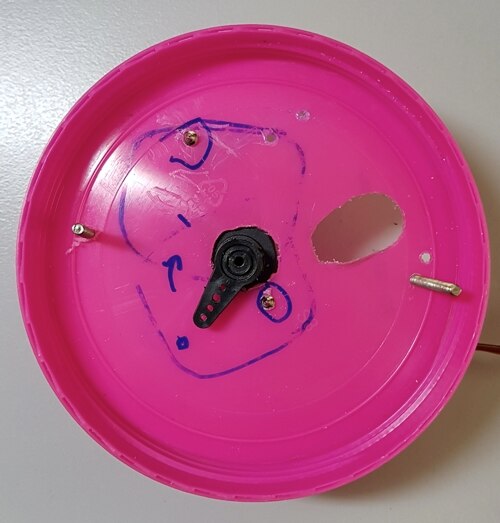
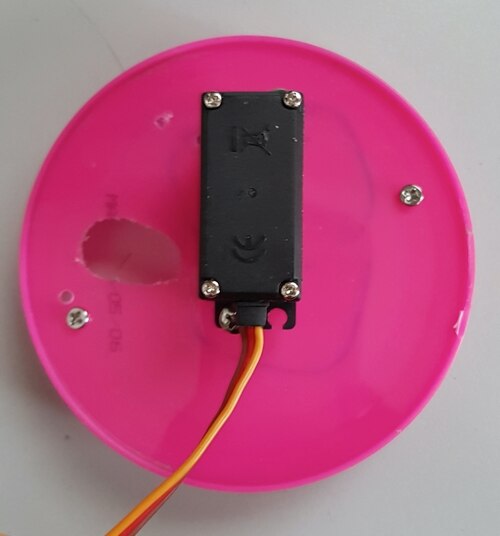
3) Put #3 on top of the Servo. Notice that I drill two holes for Servo to make it stick at the position. This step needs some calibration. Because you need to make sure that
Servo is at the original position and direction its move to should not strike with screws that attach to Servo.
4) Put #1 to cover the plastic plate with two screws to fix the position. Again you need to make sure that holes on #1 and #3 are align.
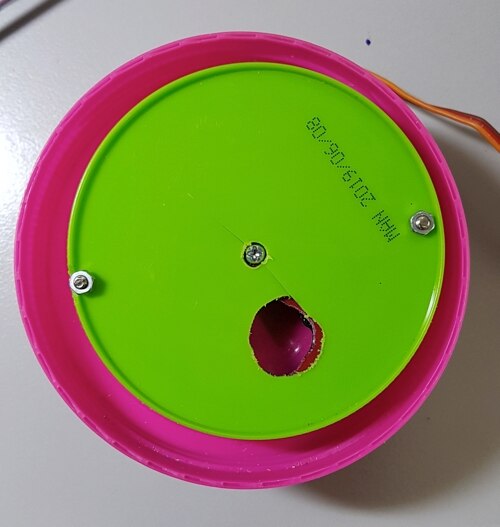
This will finished the Valve. Next step, make sure that when servo move, the bottle cap is move to the direction that align to hole on #2
as in the video.
I had tested some motor control. So far so good. But I will explain more in the next blog.
Next Control DC motor and more programming for features and testing.
