Thought I'd share the build log and progress on my own OUYA handheld build. I was hoping to finish this before Ben set his sights on the OUYA but this is my first real build so its taken me much longer than anticipated.
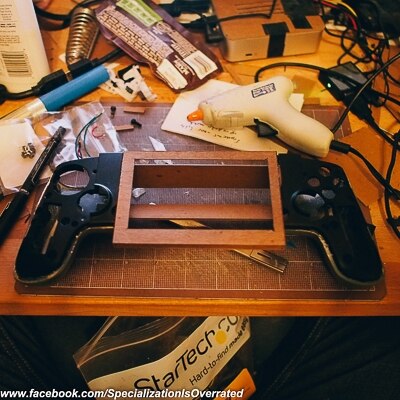
One of the ground rules I set up for myself on this build was that the OUYA itself not be modified and that the grips from the controller be reused so that the unit was as comfortable to hold as possible. Size wise there's nothing this one is more of a "handheld" than a "portable." The plan is to build a portable one later on. I've been at this one for a while, a little over a month.
Larger pics available at: flickr.com, search for specializationisoverrated
Splitting the controller housing:
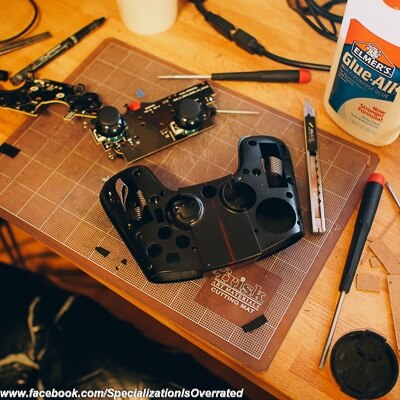
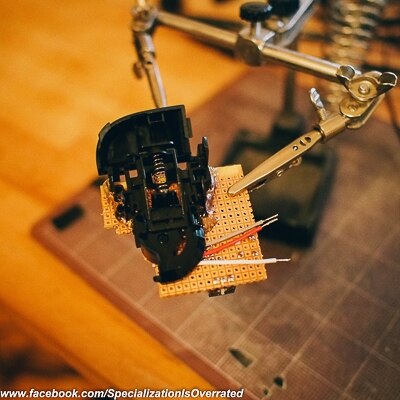
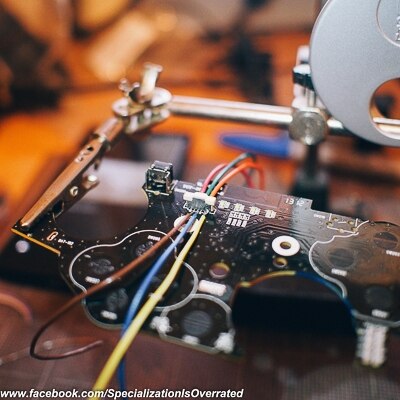
Removing analog and bumper switches from right side of board:

Breaking off the trigger and right analog onto some perf board:
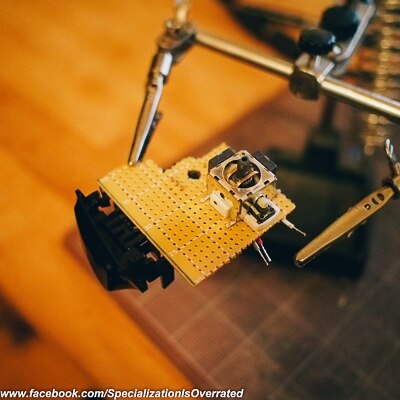
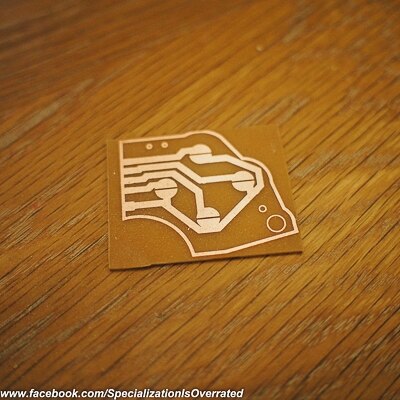
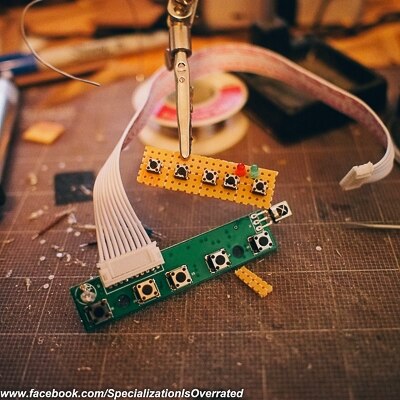
Quickly printed a new pcb for the right side buttons:
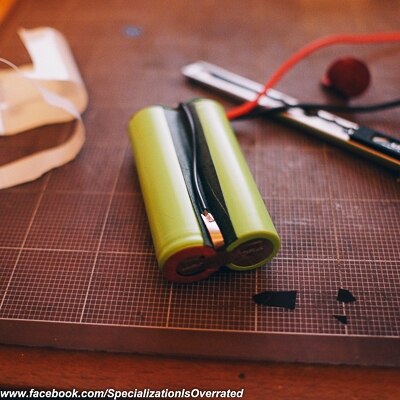
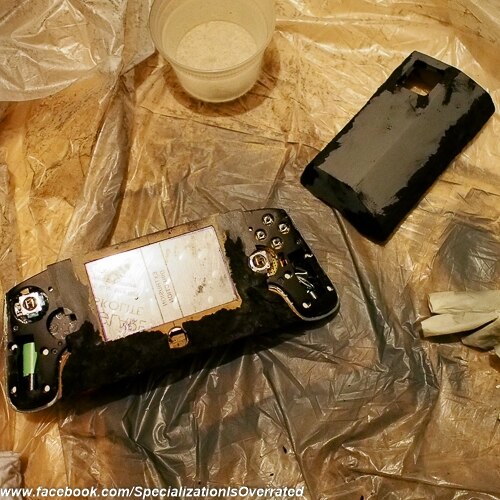
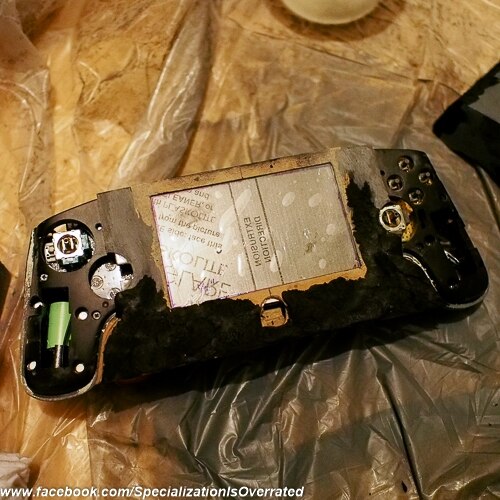
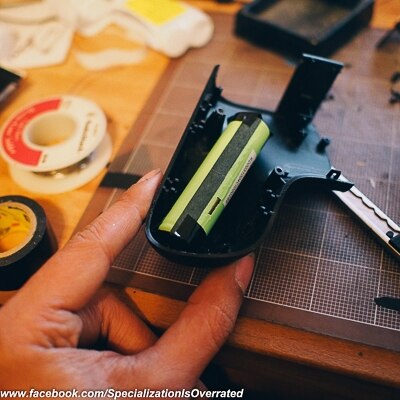
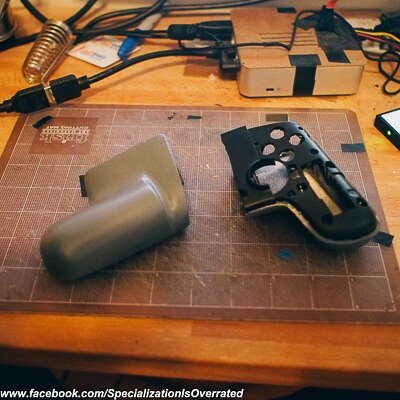
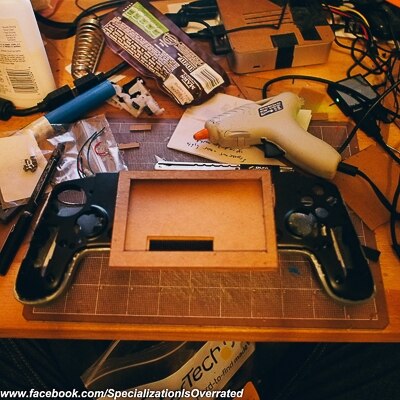
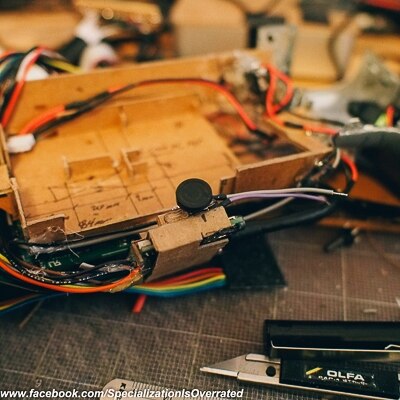
I'm using the ubiquitous 2 cell 7.4v tenergy battery to power this thing since i'm keeping the grips from the controller I thought it would be a good idea to house the new battery in roughly the same position as the in the original controller. The tenergy cells are bigger though so I had to dremel out part of the grips to make them fit.

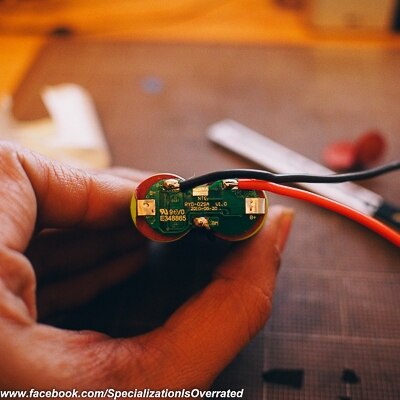
I then got to work on the touch pad, worked out the pinout and attached leads to it.
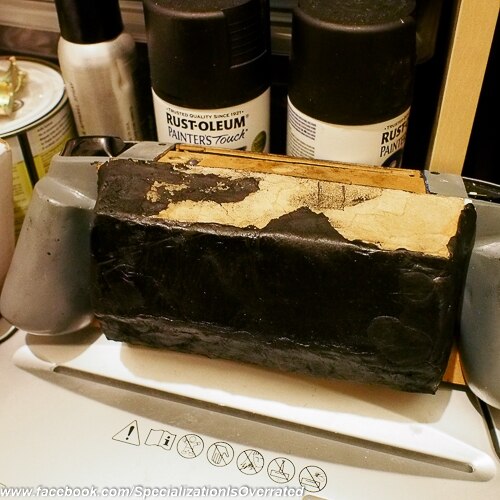
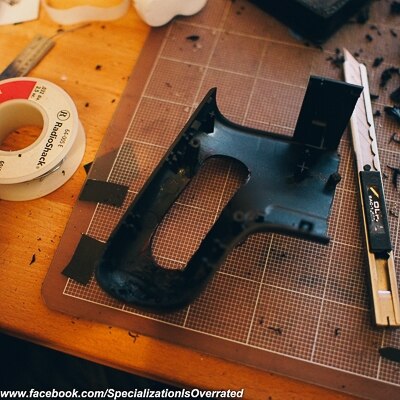
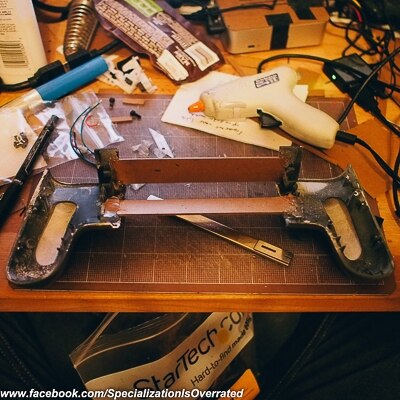
Went back to working on the grips; I added some extra material around where I had previously made the holes to hold the battery and smoothed the whole thing so it looked like it was part of the original grip:

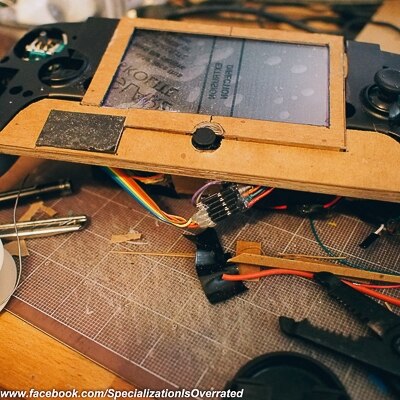
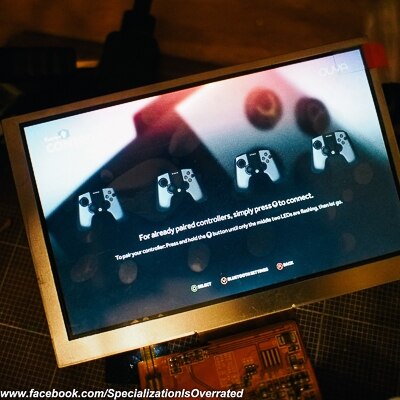
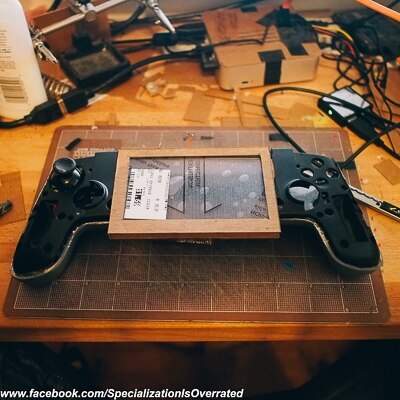
Onto the screen: Its a 5" 800x480 unit purchased on ebay. Worked out an armature to carry the screen and its controller. I don't have ready access to a 3D printer so I'm working in chipboard and styrene. I did a quick test of the screen just in case the OUYA wouldn't output to such a low resolution.
With the screen in place. I've got a piece of plexi in front of the screen to protect it.
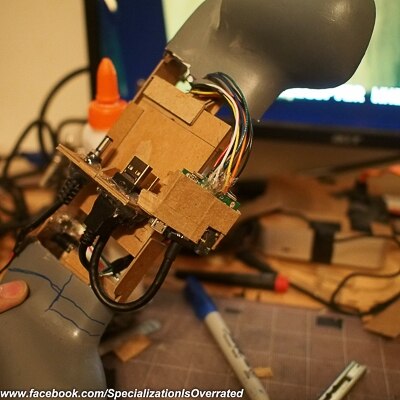
Like I said at the beginning of the post, something that was important for me on this build was the that OUYA itself not be modified. Therefore I had to create a block of ports for the OUYA to plug into and plug out of. My particular screen only came with a VGA input so i'm using an HDMI-VGA adapter to convert the signal and break out the audio from the HDMI.

The screen came with a button board which I want to keep in the build though it's a little too big. So I made a quick slimmed down version:
What a mess  :
:
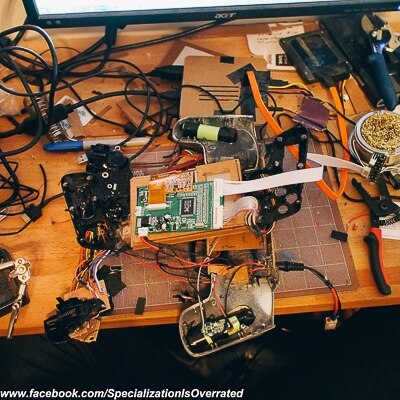
But it lives!

Working out center button placement:
Getting started on the front faceplate and the final location of the touchpad: