


This has been re-posted as there were some problems with the embedded images for some viewers!
I have long been a fan of Epoxy Resin projects. Tables, castings, turning, sculptures, they all look so cool, and often have very unique features too.
Having now produced a good number of episodes of The Electronics Inside, I thought it was time to do something with some of the parts I have accumulated from broken items. And an epoxy project seemed like a good idea. But since I have never mixed a drop in my life, I thought I should start small.
Getting Started

I tracked down a small epoxy resin kit, totaling 325g (250g resin, 125g of hardener). The toughest thing was trying to work out a volume for the pours needed from the weight. In the end, I think I probably had enough to make 2 decent sized coasters with this kit (at least I could have if I'd planned it properly).
Most resins will list a working time, which is how long it stays runny for. This resin was listed as 1 hour working time, but in reality, minor changes could be done after 2 if you are careful. The second thing to consider is the heat it generates as it cures. The slower the cure, the less heat, which essentially means you can pour thicker layers. This one said ~1.5cm at a time would be ok.
This goes without saying, read the instructions and material safety data sheet before you start!
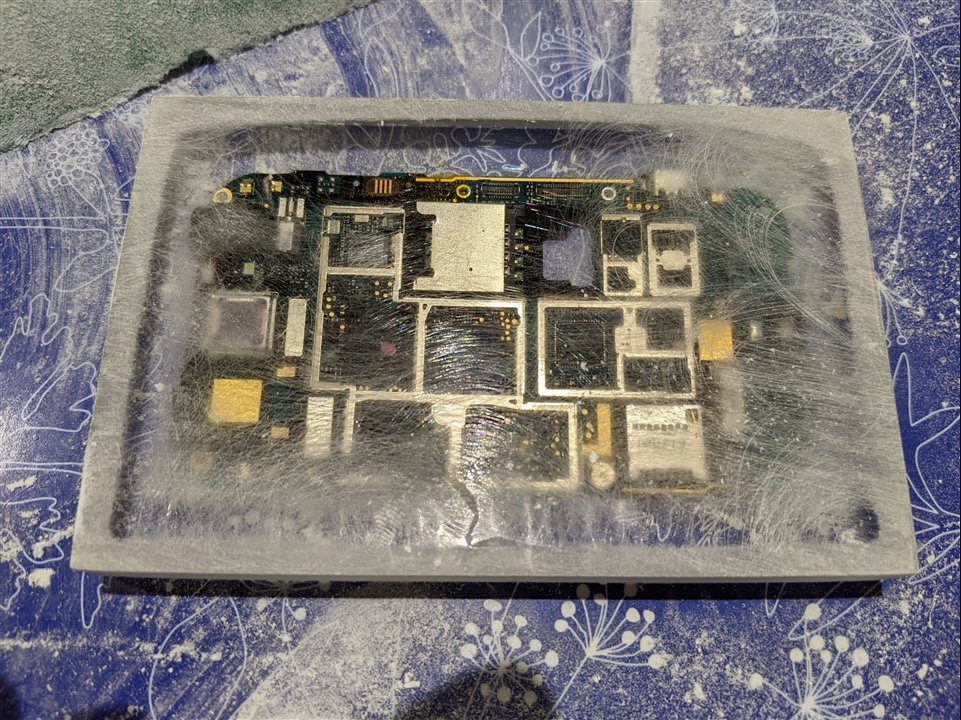
The instructions said that for coating metal and circuit boards, clean thoroughly, and coat with a brush before trying to pour to ensure good cover and adhesion. So that's what I planned to do!
Mixing the Components

I chose to mix in disposable cups, as I wasn't sure what would stick, and what wouldn't! My first mix was 36g (24g of resin and 12g of hardener). The instructions said to mix for 5 minutes, so I dutifully set a timer.
I tried to "fold" the two parts together, however still ended up with bubbles. I wouldn't worry too much, I don't think I had any issues with bubbles from the mixing and pouring process that didn't float out eventually.
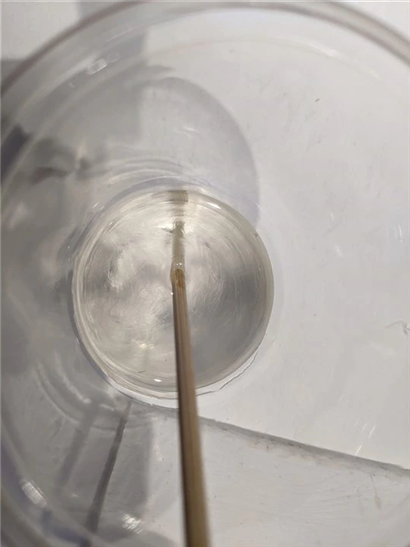
The mixing process is odd. As you pour them together, they don't mix, and if you look carefully, you can just make out the separation line as they sit one on top of the other. As you mix for the first minute or two, it goes streaky and cloudy. As you keep mixing, it goes clear again. Try and mix right to the corners and edges of your container so all the resin and hardener are used.
Coating
I made a disposable brush from a bit of sponge and some wooden chopsticks. This seemed more ecological to me than ruining a paint brush! On reflection, I probably could have used the stirring stick (a bamboo skewer) to scoop enough on and move it around.
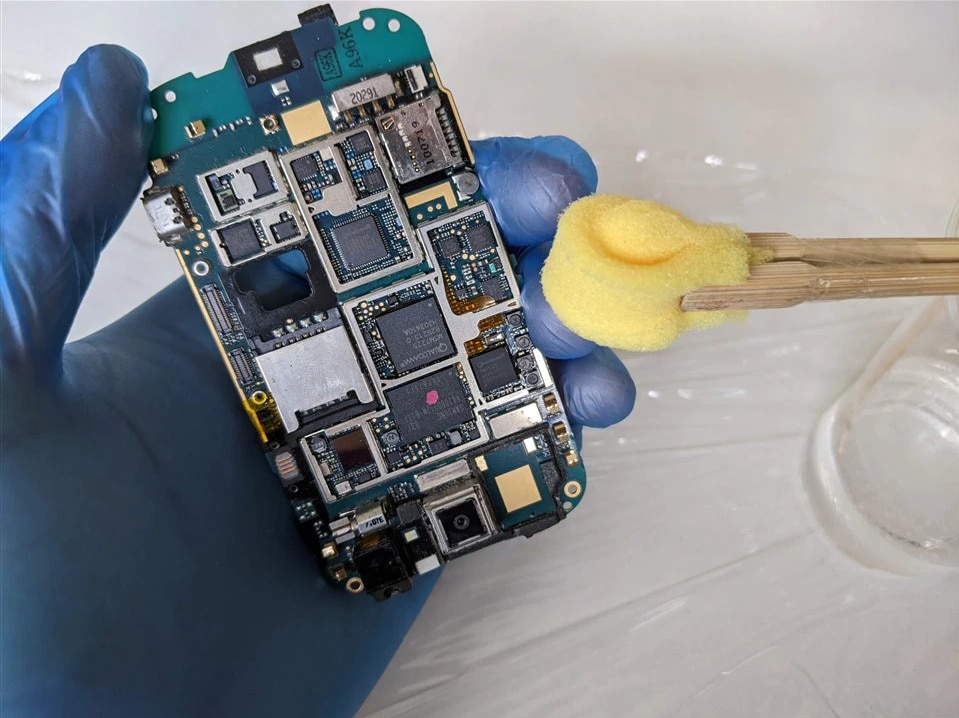
I kept applying more as the resin dripped off and levelled. I also tried to keep the drips on the bottom as small as possible. The particular challenges were the sim cover and the SD card cover. The holes in the board along with the metal meant the resin kept running off. I kept applying for about 2 hours before the resin stiffened enough to stay on nicely.

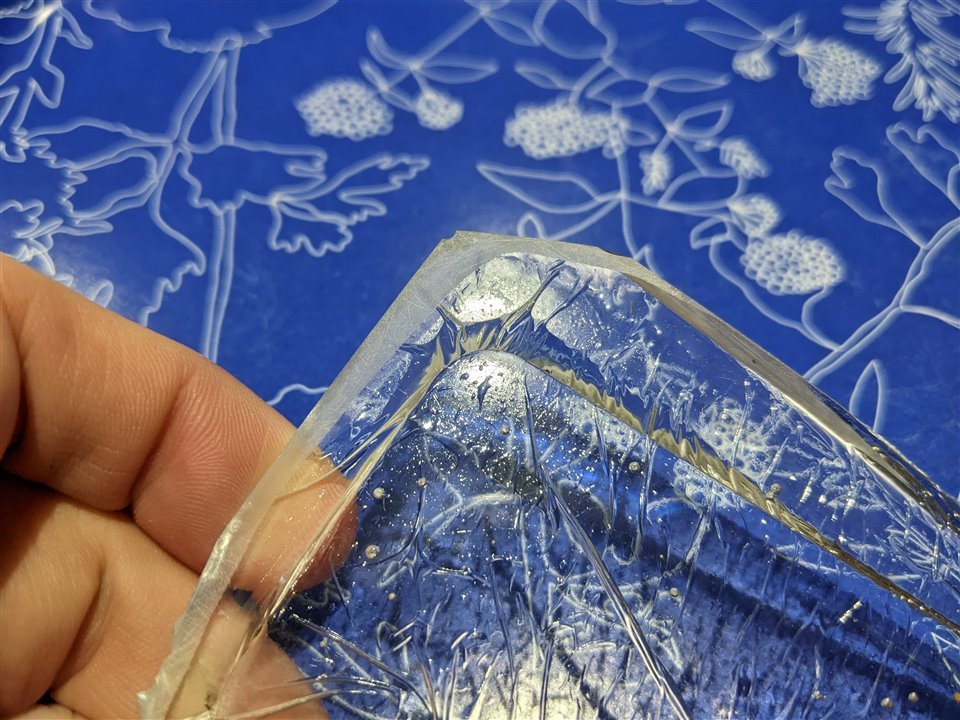
As it turned out, for this step, I WAY over mixed! I probably could have used 1/4 of the resin and still had plenty. But I saw this as an opportunity to pour some in a tub lined with cling film to test how it would release. Also, I could touch the sample to see how it was curing without damaging my final product. This also paid dividends later too. This cure really took 2 days before I could handle it properly.
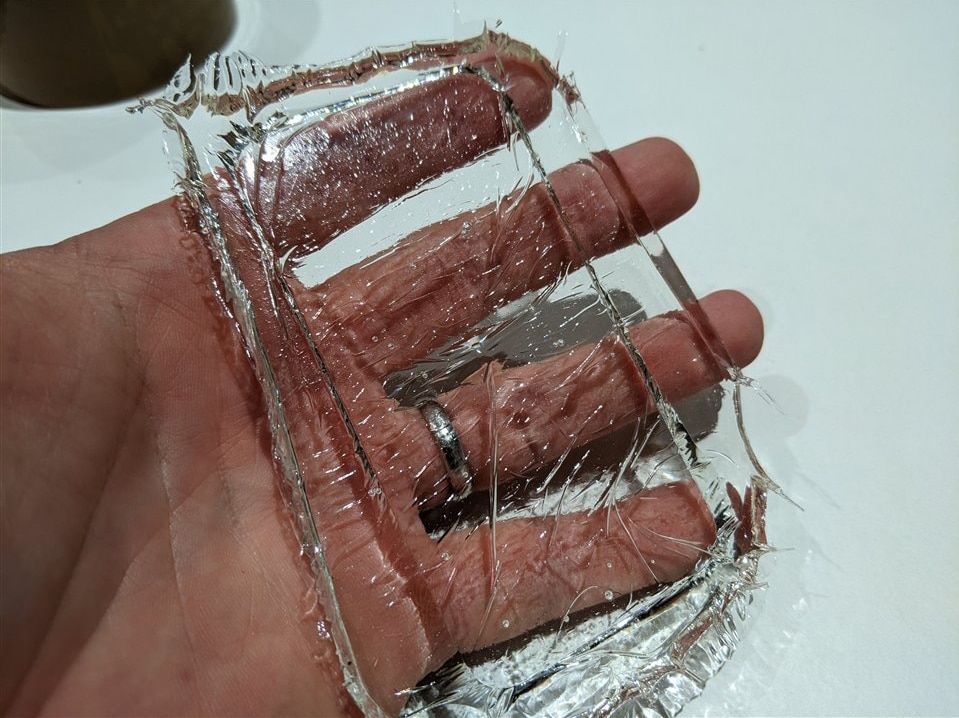
This may look rough, but it was cast on clingfilm! The top was wonderful, and the bubbles and bottom untouched. It was soft for 4 days, but by day 5 behaved like a piece of acrylic.
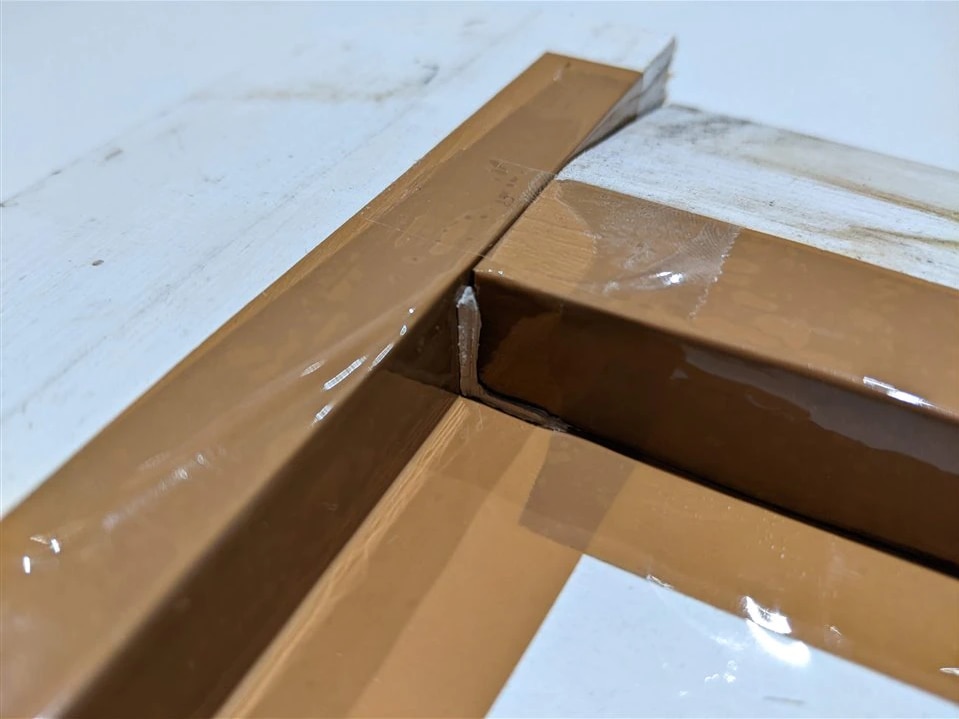
The Mould
As this was only a shallow casting, I decided that using some left over skirting board would be good and deep enough. I cut them to length (actually using a mitre saw as I used the cuts to keep it square) and gently sanded them.
I used a piece of board as a base, and put cling film down to check it wouldn't stick (this proved successful on my little test piece). I used packing tape over the edges of the skirting, and to seal against the bottom of the board. Finally, I used a little bit of "white tac" to seal the corners. I might find another way in the future, as this made a little too much of an indent and texture in the final piece that I had to sand out.
The First Pour
Pleasing, no? Resist the temptation to scrape the pot a lot, this will introduce any unmixed parts into the casting. After 10 or so minutes, I kept tapping the board to drive the bubble up to the surface. Then I gently used a blow torch to pop them - This left a beautiful finish. Or at least it would have done if I hadn't burned a little bit of the packing tape! This gave me a rough edge in the corner and a little embedded mess in the resin. I was not pleased, but I learn from mistakes (normally).
After 2 hours when I knew the resin would be partly cured I gently placed the board in the resin. This was on the hope it would be fully "in it", but not sink right to the bottom meaning I couldn't sand any defects out the bottom.
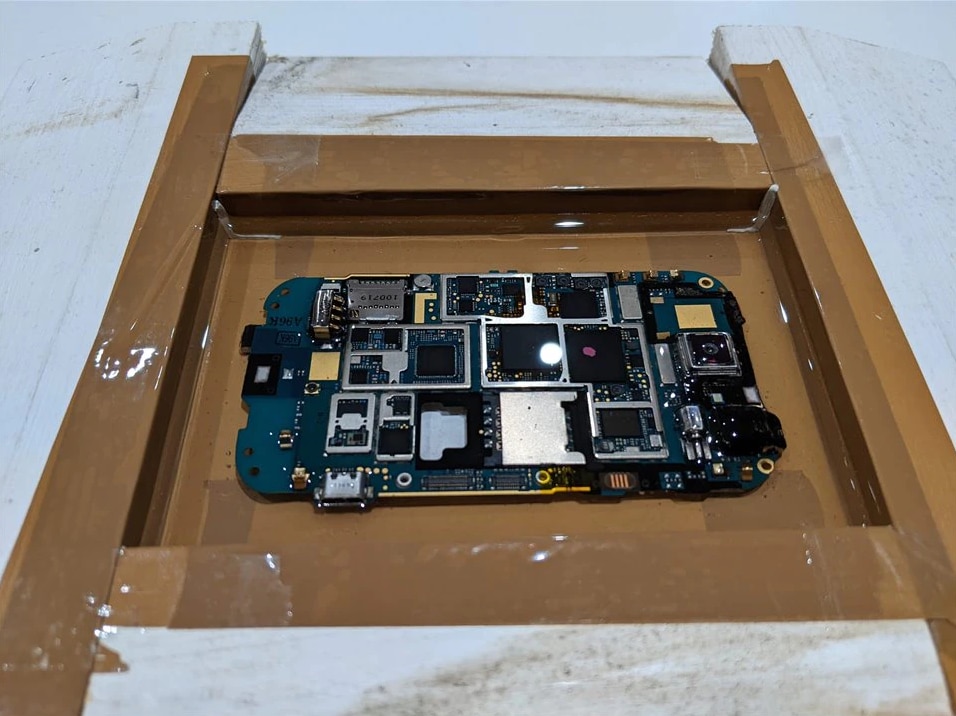
Unfortunately, this trapped a few big bubbles on the bottom. I haven't really thought of a good way to avoid this in the future either...
Again, I left this for 2 days to cure up enough. I kept it covered to prevent dust and debris landing on it, as this would be in the middle, and I couldn't sand it out.
The Last Pour
The last pour looked great immediately!
Again waiting 2 days for it to cure, I also deliberately kept a little in the mixing cup I could check to see how it cured without leaving finger prints or dents in the "product". "Demoulding" it was amazing though!
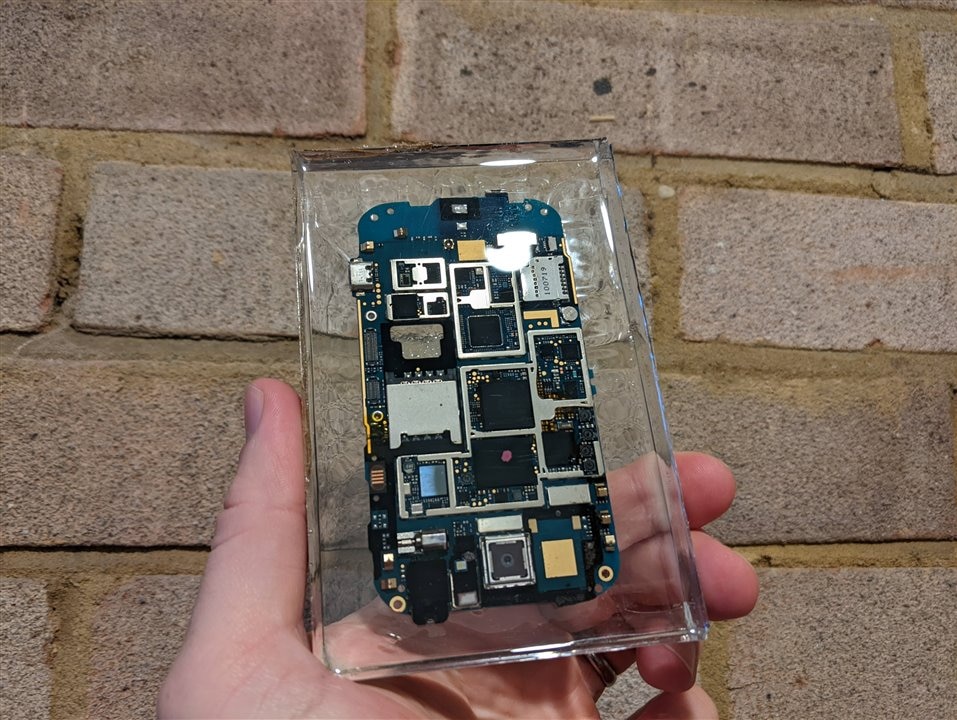
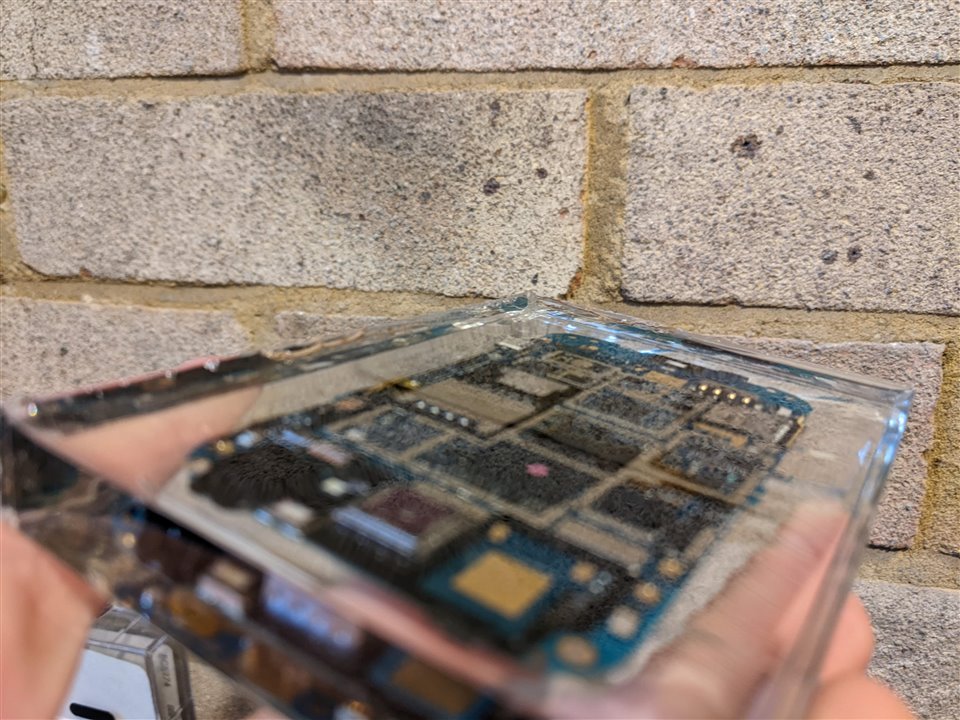
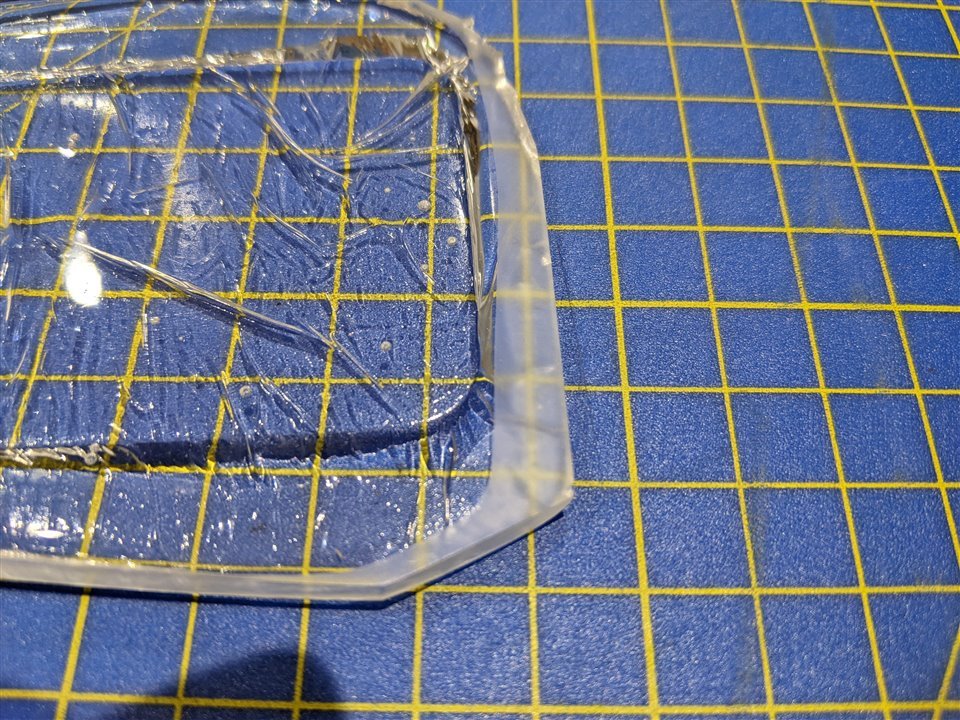
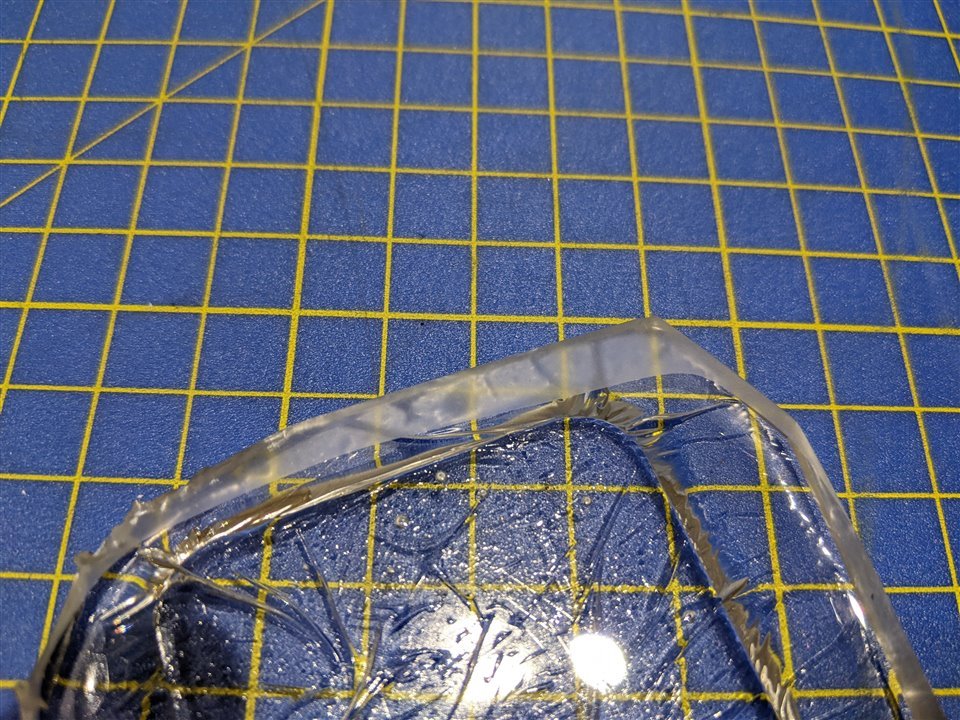
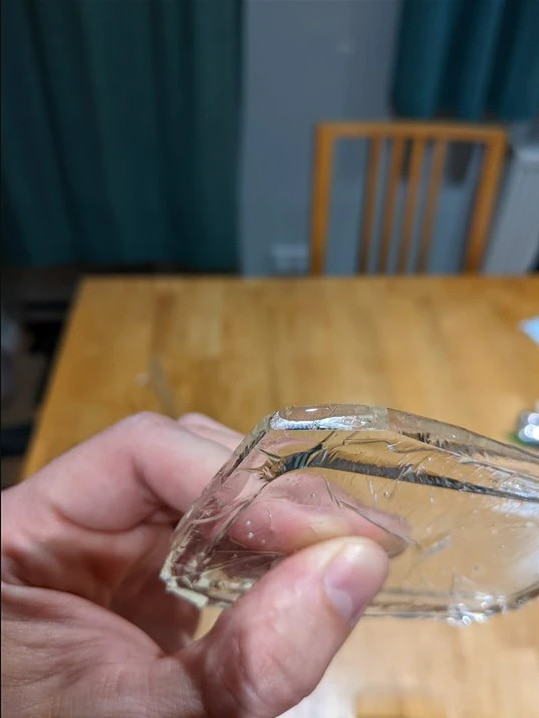
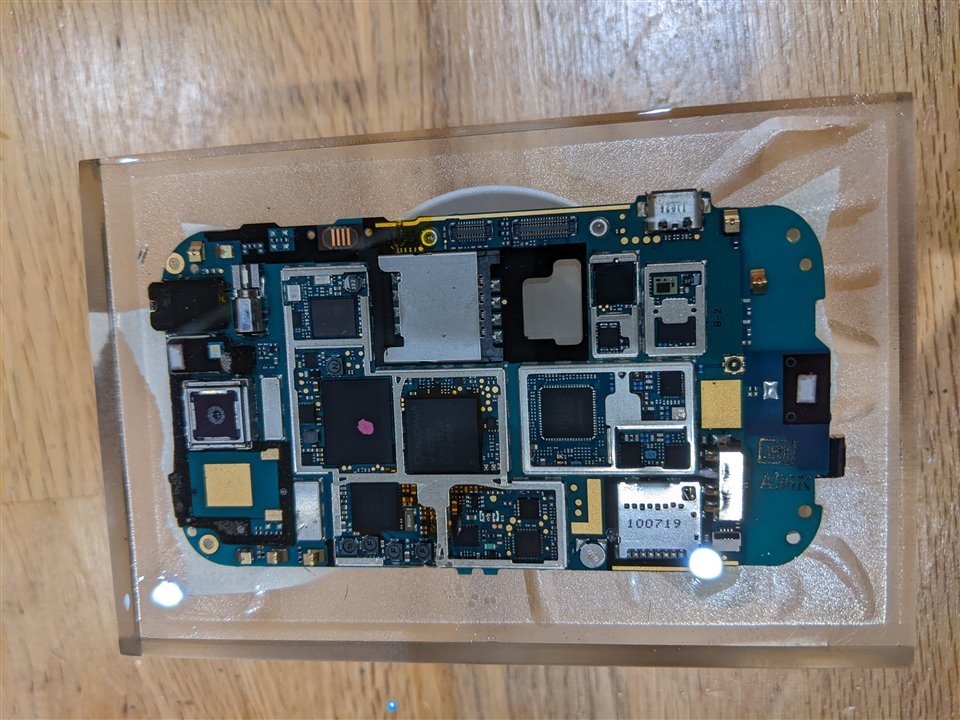
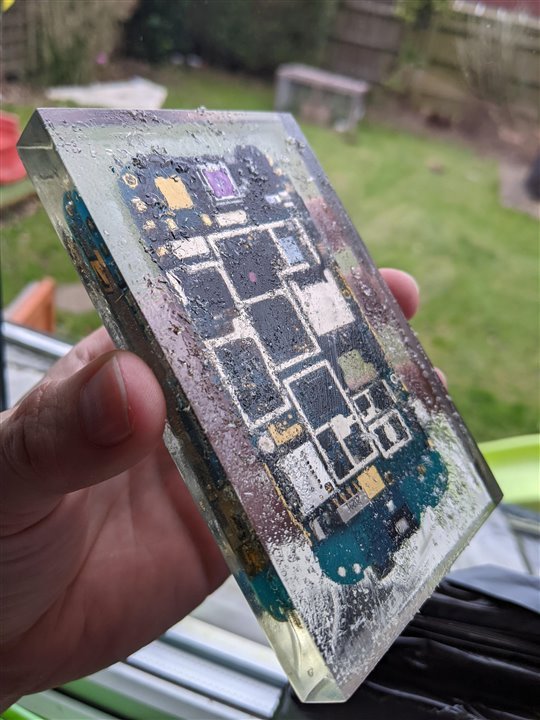
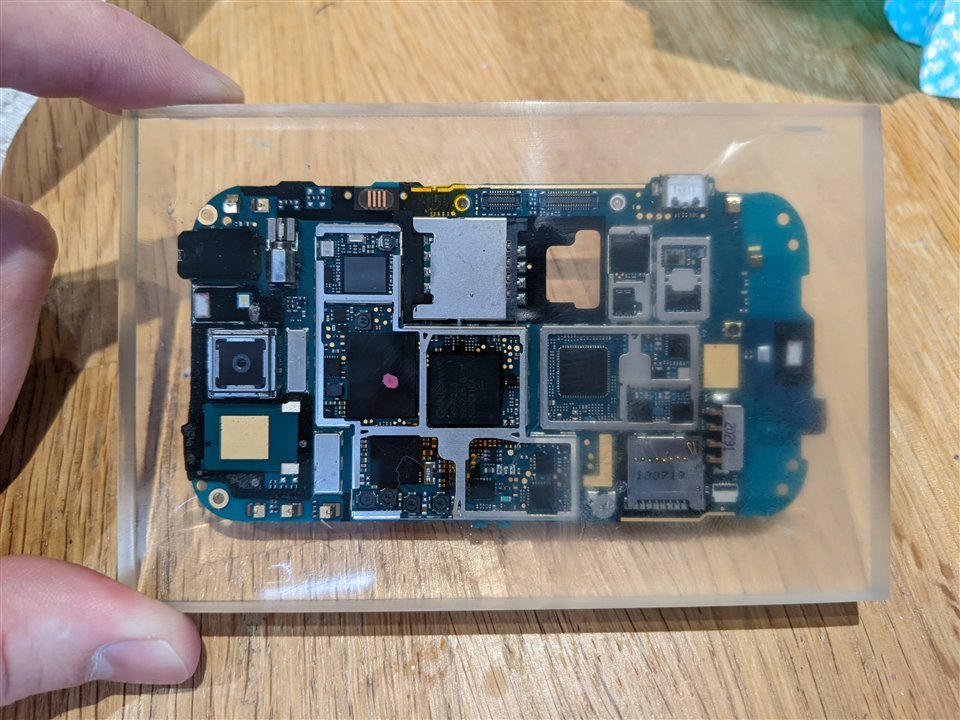
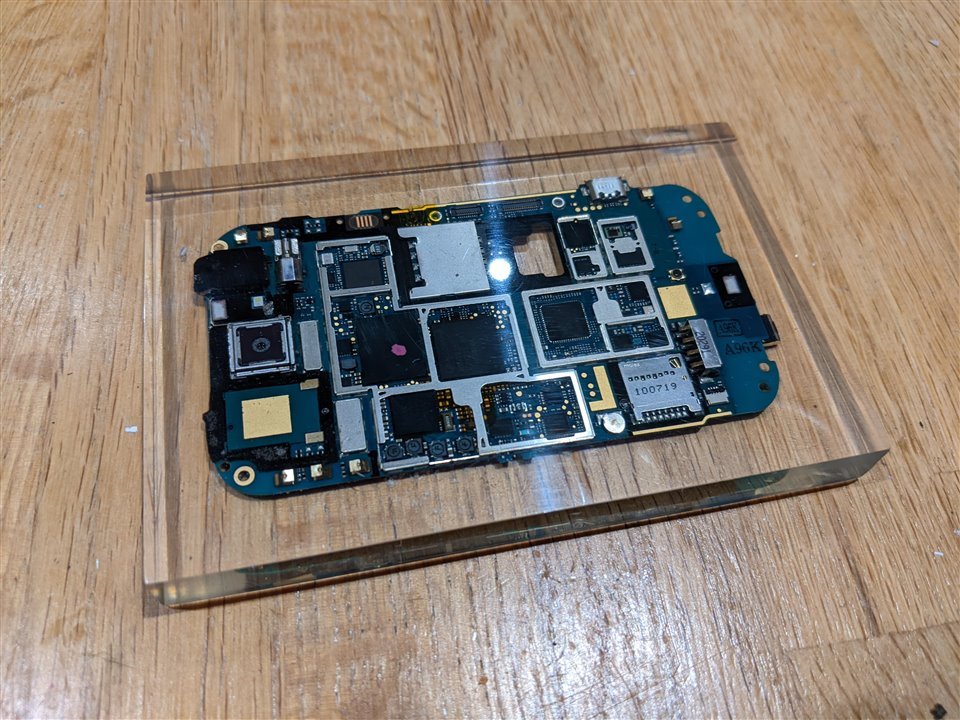
I loved how it looked straight away! It was clear that it needed a lot of finishing and sanding, but I'd expected that. I also discovered how hard it was to take good photos of something that is shiny and reflective, but also transparent...
The biggest issue was the meniscus (it's a real word, I promise) where the surface tension of the liquid sticks to the side of the container giving it an upward curve. The resin had set like this giving a 3-4mm uplift at the edges, that now cured, were sharp too!
Finishing
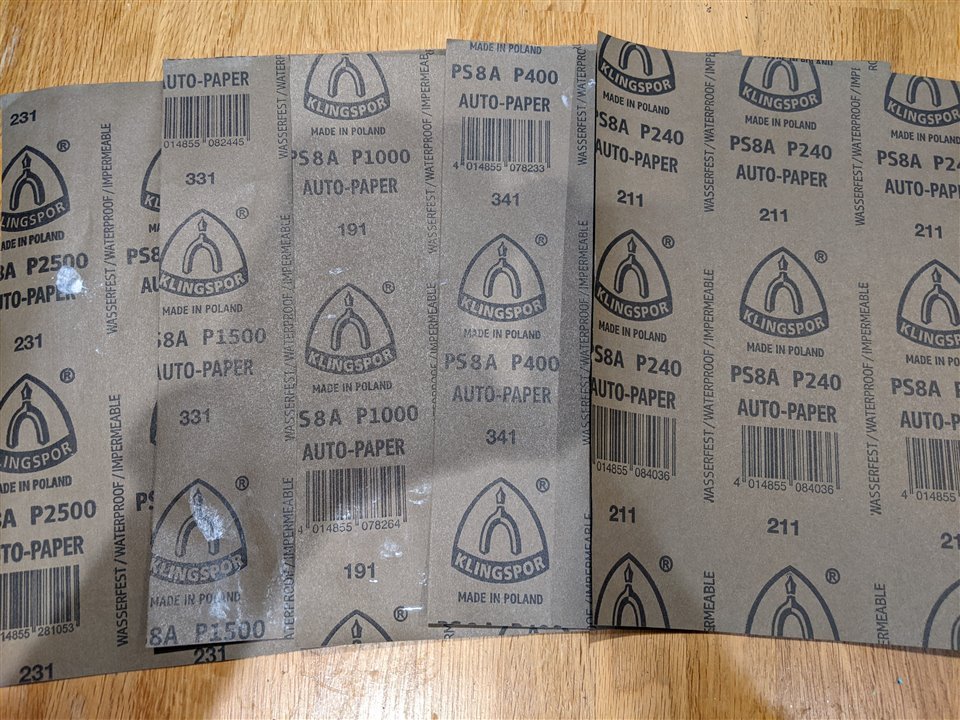
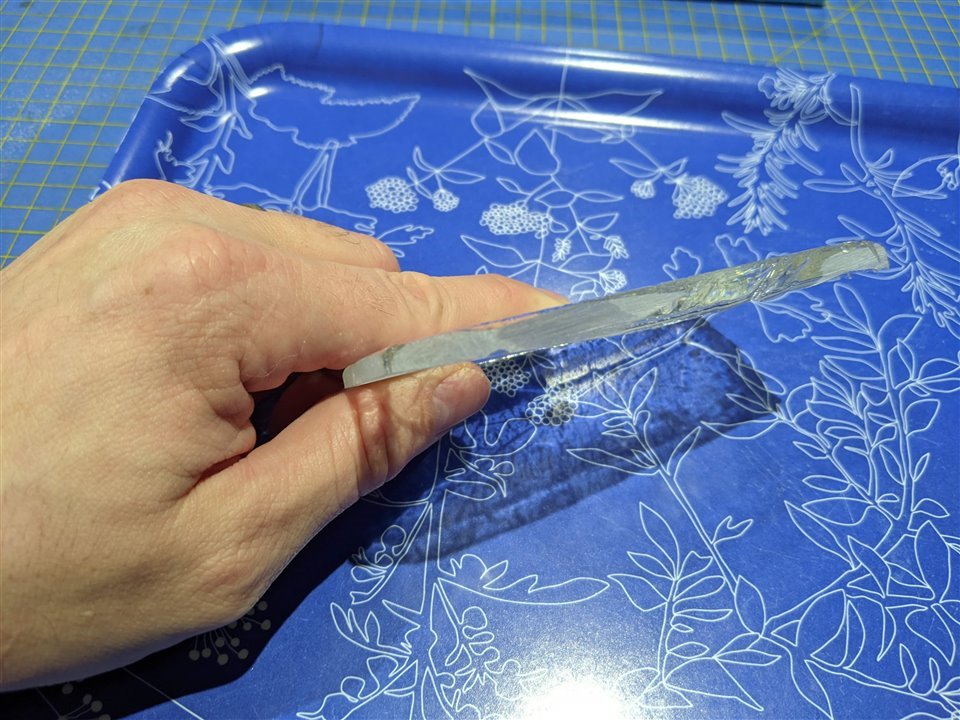
This is where it proved very useful to have a sample piece from the "over mix" on the coating. I could try the sanding and finishing process on it small scale. I ordered some grades of wet and dry, from 240 to 2500. Along with the sand paper I already had (120 and 240 Grit) I figured I had a good shot.
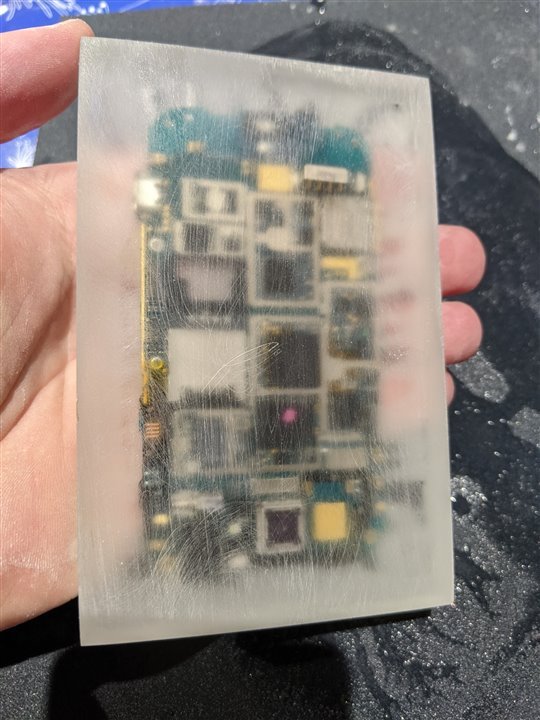
First, I tried sanding and working through the wet and dry to check the surface finish. I tried a few edges and corners so that I could later try different finishes. I'd seen others online use Polyurethane varnishes and brush on another layer of Epoxy. Also I understood polishing was an option too?
After 240 Grid sand paper.
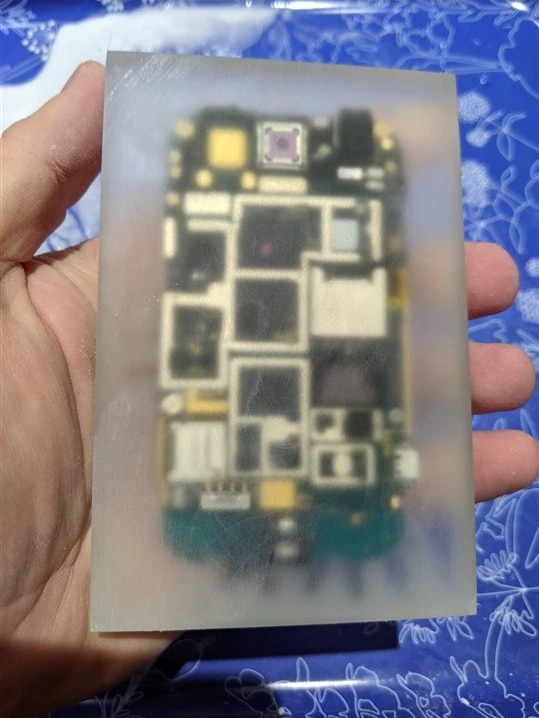
After 2500 Wet and dry - also again proving how hard transparent photos are...
I tried a little coating of epoxy, but the viscosity of it meant it seemed to settle at the bottom of the edge giving something like a tear line half way down.
Some spray on Polyurethane did much better, so that's what I decided to go with!
Sanding
I knew this bit was going to take a long time, so I set up a playlist of element14 Presents videos on YouTube and set to it.
The first step was scary - taking that lovely looking part and hitting it with 120 sand paper felt wrong...
The first step was big stock removal. Getting rid of the meniscus and the surface defects on the sides from the white tac and burned packing tape. It took and while, and I was trying to keep everything square and flat too. This was particularly tricky with the short edges. I didn't find a better technique than taking my time and going slowly.
Working thought the grits was pleasing though, this was the result after 240 sand paper.
400 wet and dry, then 2500 wet and dry - best of all, was putting water on it to clean the dust off:


Finishes
Having decided to go with a spray on polyurethane, I didn't plan the application too well. I started with the front and sides, and masking taped a lid to the back to hold on to like a handle. Unfortunately, I didn't mask off the entire back, so ended up with over spray giving it some texture...
It looked great on the front though!
The instructions on the varnish said that it took 2 hours to be touch dry, or 5 days. Unfortunately, I didn't heed this warning. Within a day, I was keen to coat the back, so I sanded it down with 1000, 1500 and 2500 again to get to a clean finish. Then I masked off the front to ensure I didn't ruin the finish and added a handle as before.
Unfortunately, the tape reacted with the not fully cured varnish, and this happened...
So, I left it for 6 days....
Then sanded it back from 240 grid to 2500. Again. Front and 4 sides...
As I had it at a good level of finish, I thought I'd try polishing it. I used T-Cut, made for "restoring car paint" finishes. At this point I figured I didn't have much to lose! Halfway through the front - it was looking good!
Just about an hour later - it was looking amazing! Just a fair warning though, varnish will help fill and hide some sanding marks from the heavier grits that you may have missed. But polishing hides nothing! If it's not perfect, it'll show!
But I am thrilled with the outcome, it looks great!
A few notes that I'd change or try something different:
- The packing tape on cling film rippled a little making the bottom not perfect. I think I'd try just packing tape next time
- I sanded though a bubble on the bottom. Finding a way not to create them in the future will be necessary!
- Don't mix masking tape with the spray on varnish!
- Don't over mix the quantities (chalk this one up to experience)
- spend more time checking every square millimetre before moving up to the next grit!
I really enjoyed this little test part, and I think it'll make a great little coaster! I'd like to move onto a bigger project for the leftovers from The Electronics Inside, and add some Lighting into the resin!
Top Comments
-

shabaz
-
Cancel
-
Vote Up
0
Vote Down
-
-
Sign in to reply
-
More
-
Cancel
-

beacon_dave
in reply to shabaz
-
Cancel
-
Vote Up
0
Vote Down
-
-
Sign in to reply
-
More
-
Cancel
Comment-

beacon_dave
in reply to shabaz
-
Cancel
-
Vote Up
0
Vote Down
-
-
Sign in to reply
-
More
-
Cancel
Children