When watching the last MAYER MAKES episode by mayermakes, Using a Teletype Machine as a USB Printer with Arduino, I remembered last month I found an old electronic typewriter on the street.
With the help of beacon_dave and other members of the community I have been able to learn more about this electronic typewriter.
WilliamF has made a typewriter interface for another model, the AX-300: Demo video of the typewriter
Brother CE-650 Electronic Typewriter
The typewriter is a Brother CE-650 (Brother EM-411 in the USA and Canada) is the same typewriter as the Xerox Memowriter.

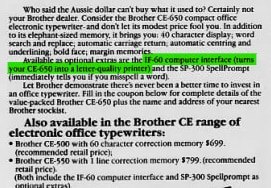
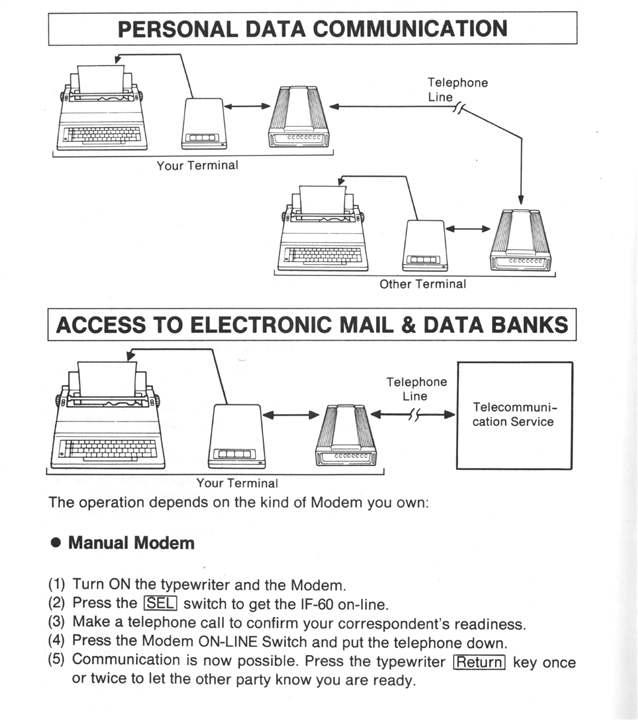
This printer had as an optional accessory an IF-60 module that allowed the electronic typewriter to be used as a computer printer or as a terminal connected to a modem.

Some parts of the typewriter are missing but it works fine.
A serial port for the IF-60 module is located at the center and a manufacturer badge sits above the lower vent on the right.


The typewriter has interchangeable daisy wheels to change mechanically the font type and the character set.
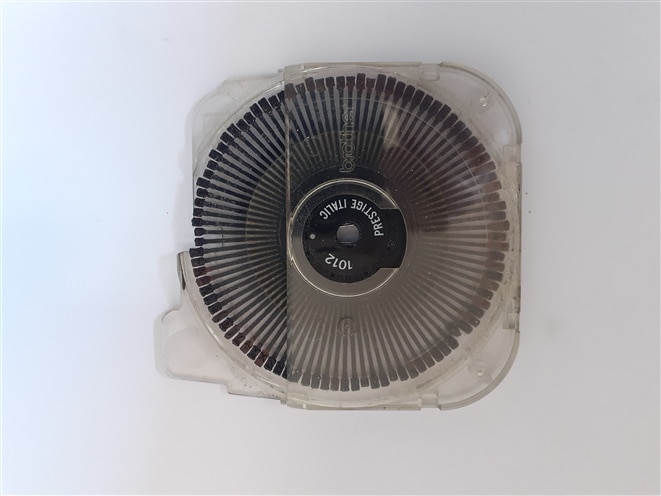
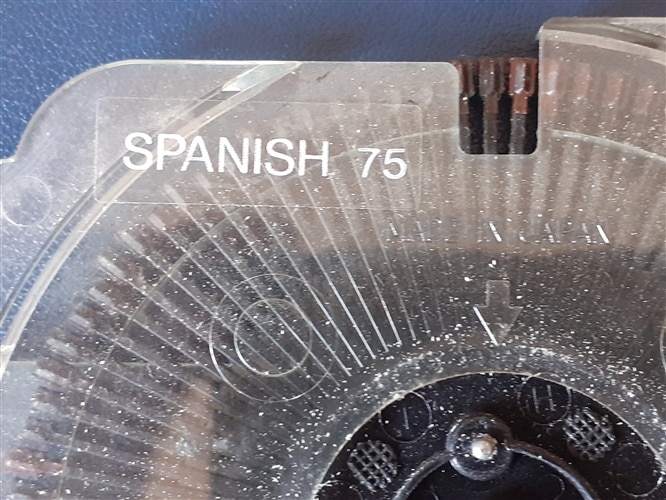
Daisy Wheel with Prestige Italic font for Spanish character set, including the Ñ/ñ
So time to watch what's inside.
Removing the cassette daisy wheel is very easy.
From Brother USA FAQs: To remove the cassette daisy wheel you have to pull the motor lock lever toward you to release it, then grasp the 'ear' of the cassette daisy wheel between your thumb and forefinger and simply pull it out. The cassette ribbon does not need to be removed in order to remove the cassette daisy wheel.
Inserting the new cassette daisy wheel. Grasping the 'ear' of the new cassette daisy wheel between your thumb and forefinger, slit it into the cassette guide slot and slide it in as far as it will go.
Now push the motor lock lever back toward the platen until it clicks into place. Do not force the lever. If you have any difficulty, recheck the cassette daisy wheel to ensure that it is properly set and try again.
NOTE: Be sure that the 'ear' of the cassette daisy wheel is to the right during insertion. Putting it in backwards can damage both the cassette daisy wheel and the motor mechanism.
If the cassette daisy wheel is not properly locked into position, the characters will not be properly typed.
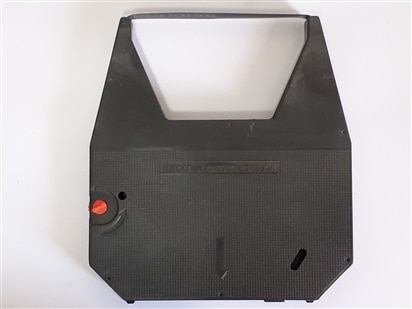
Cassette ribbon
Teardown
There are no screws visible anywhere, top or bottom. Only two inside the typewriter.
First remove the two screws [1] and [2]
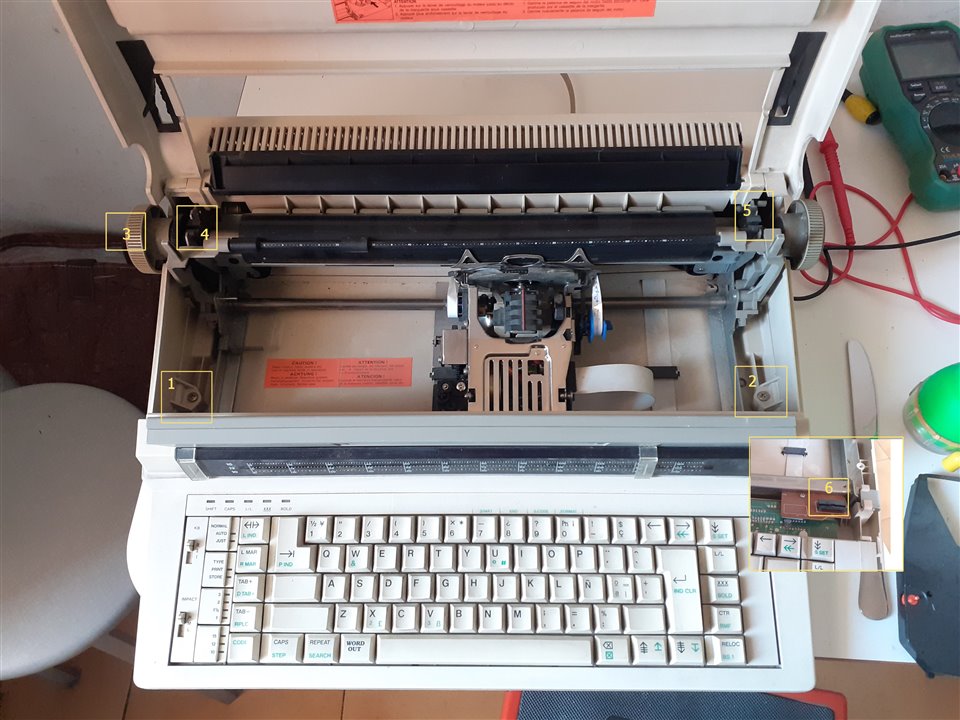
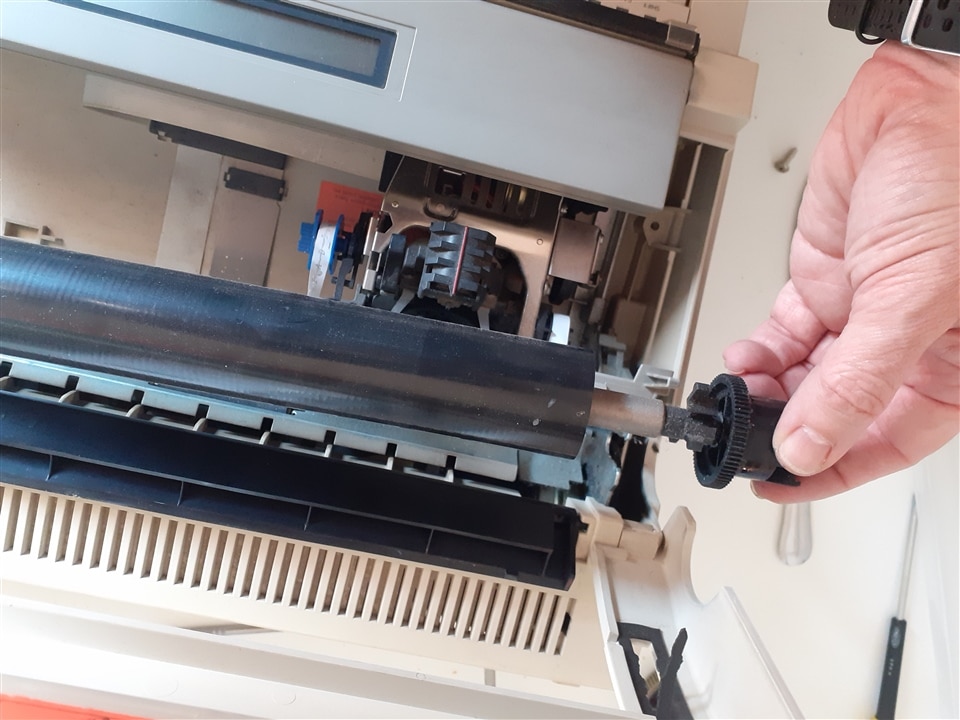
Then you have to remove the roller. Press on the loops and pull out.
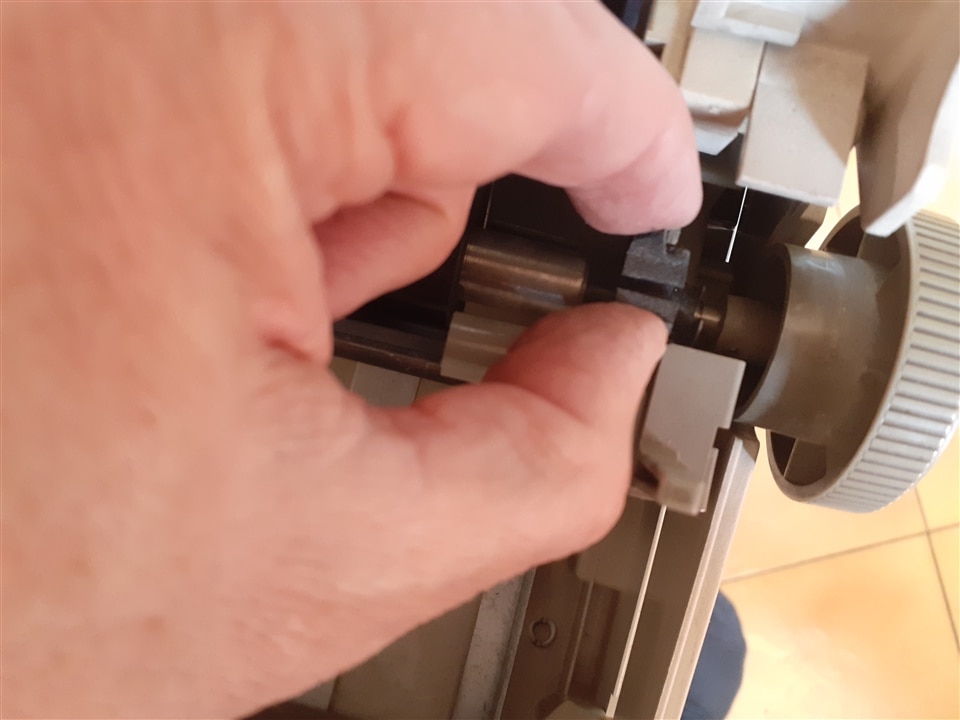
Remove the left cylinder knob then. Press on the loops and pull out.
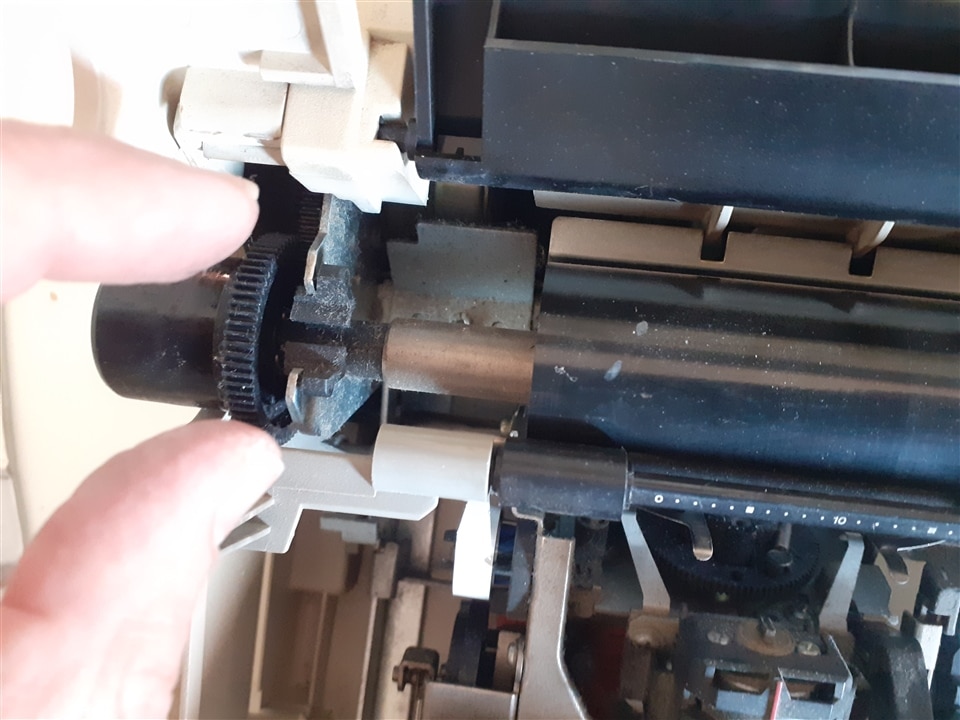
Extract the cylinder or platen.
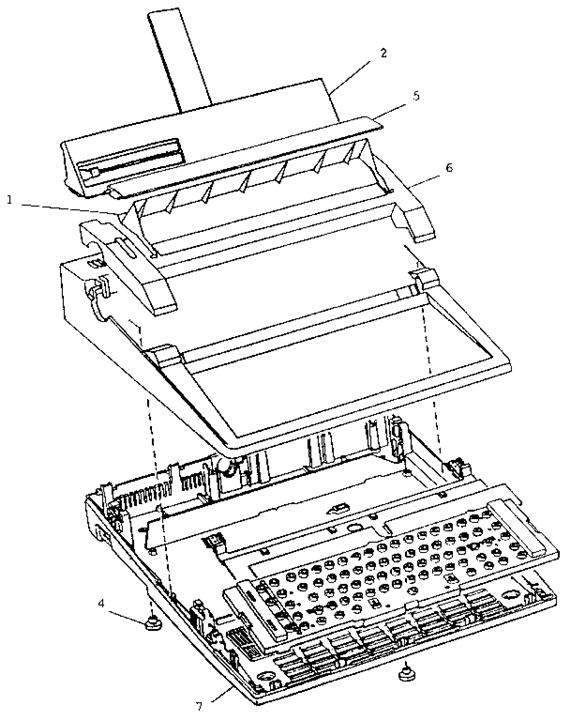
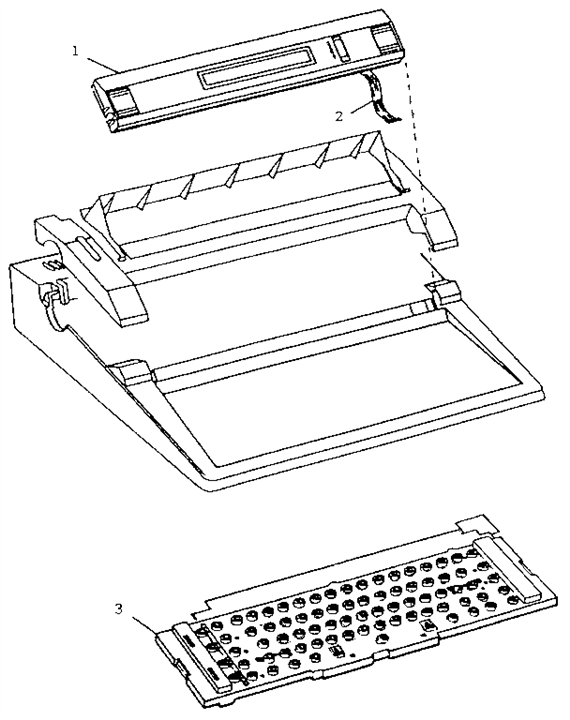
Before you can remove the case completely, you have to release the cable that goes to the LCD display.
Unplug the ribbon cable, 2 in the figure
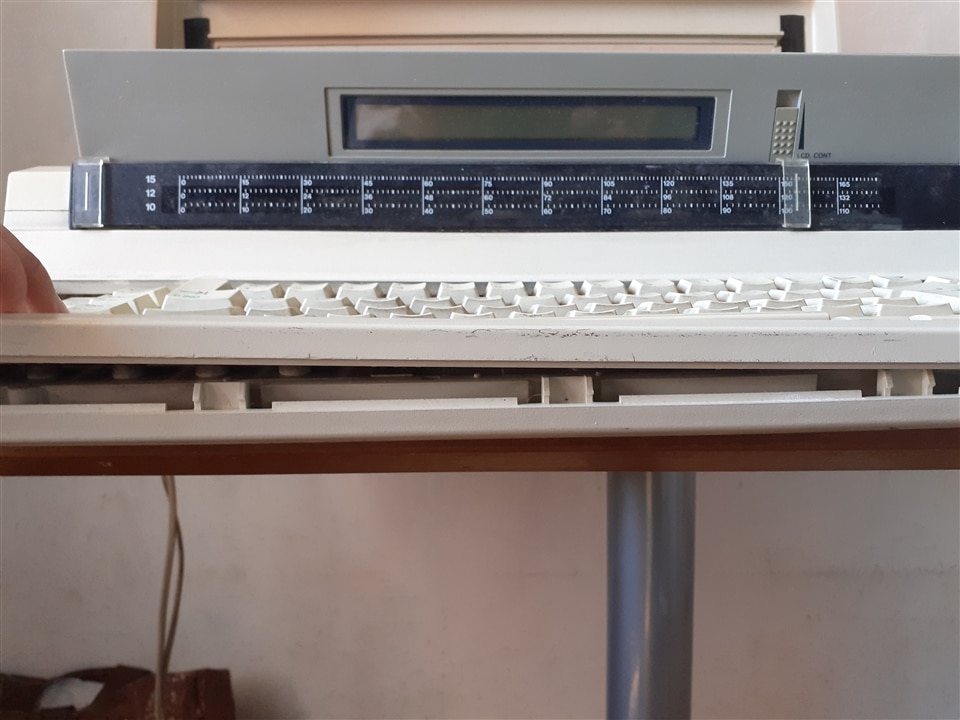
Use a plastic lever to release the top case. Start from the front under the keyboard.
Then continue with the back.
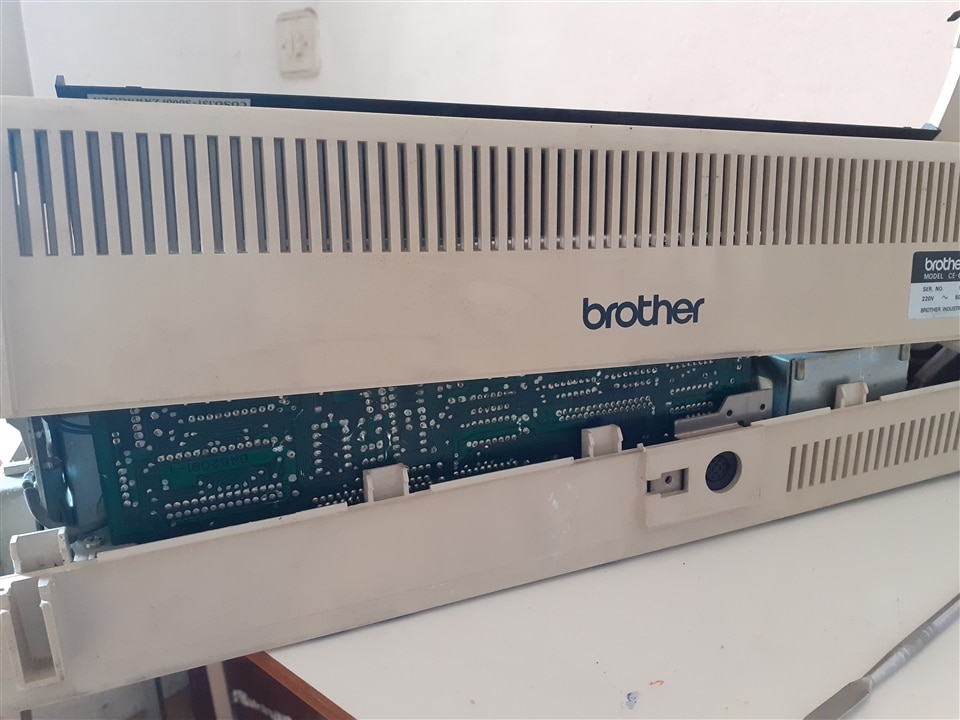
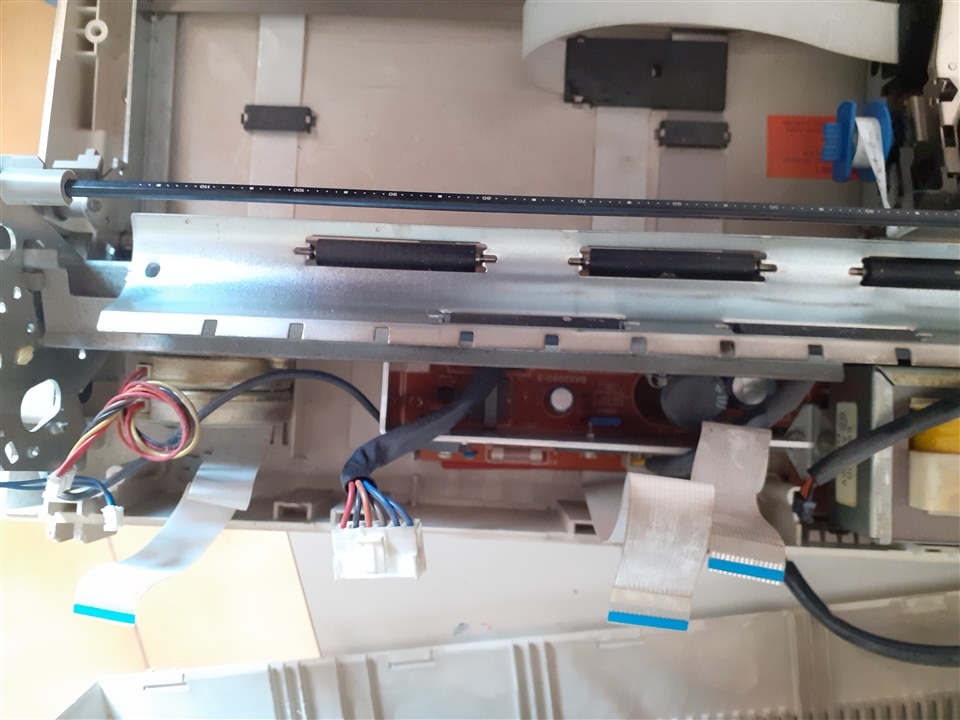
We already have access to the interior of the typewriter
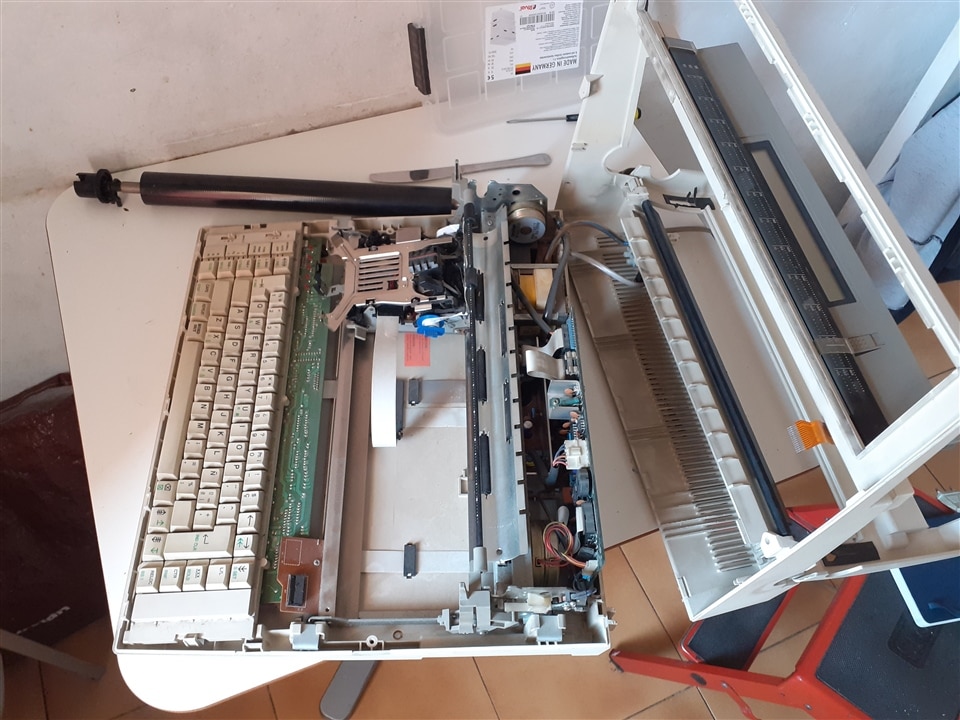
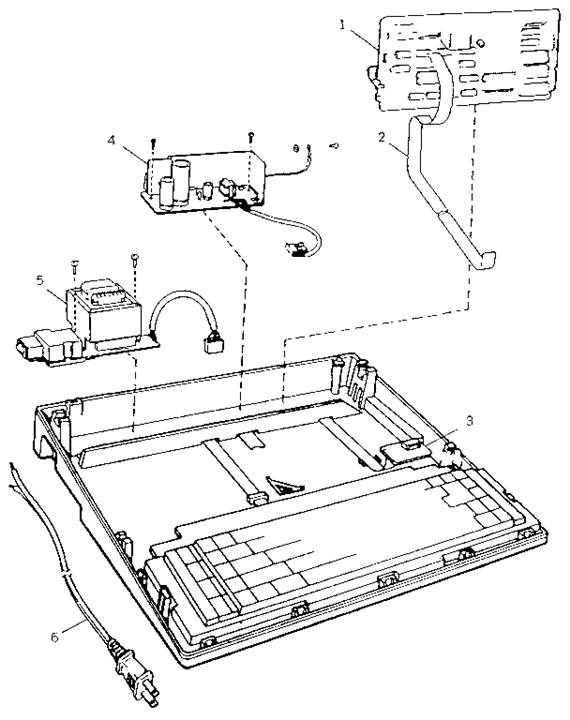
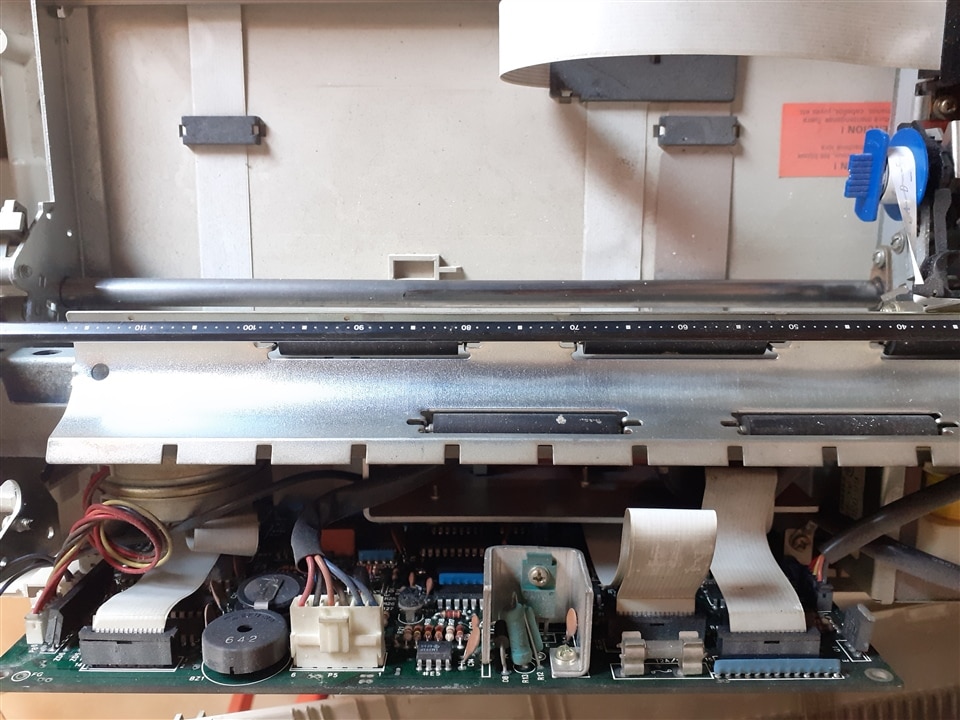
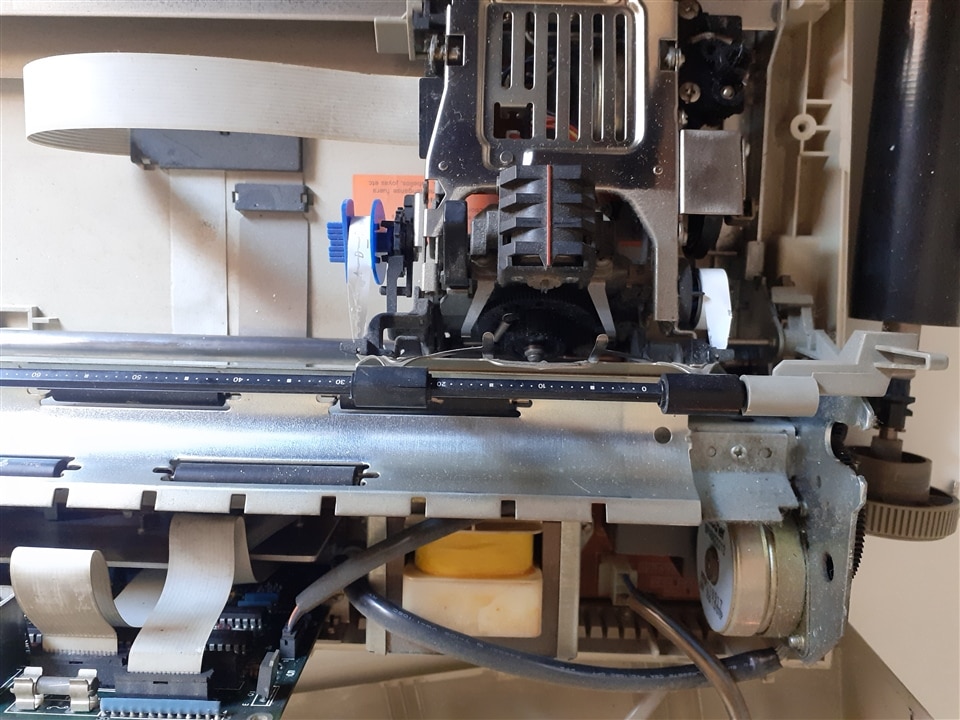
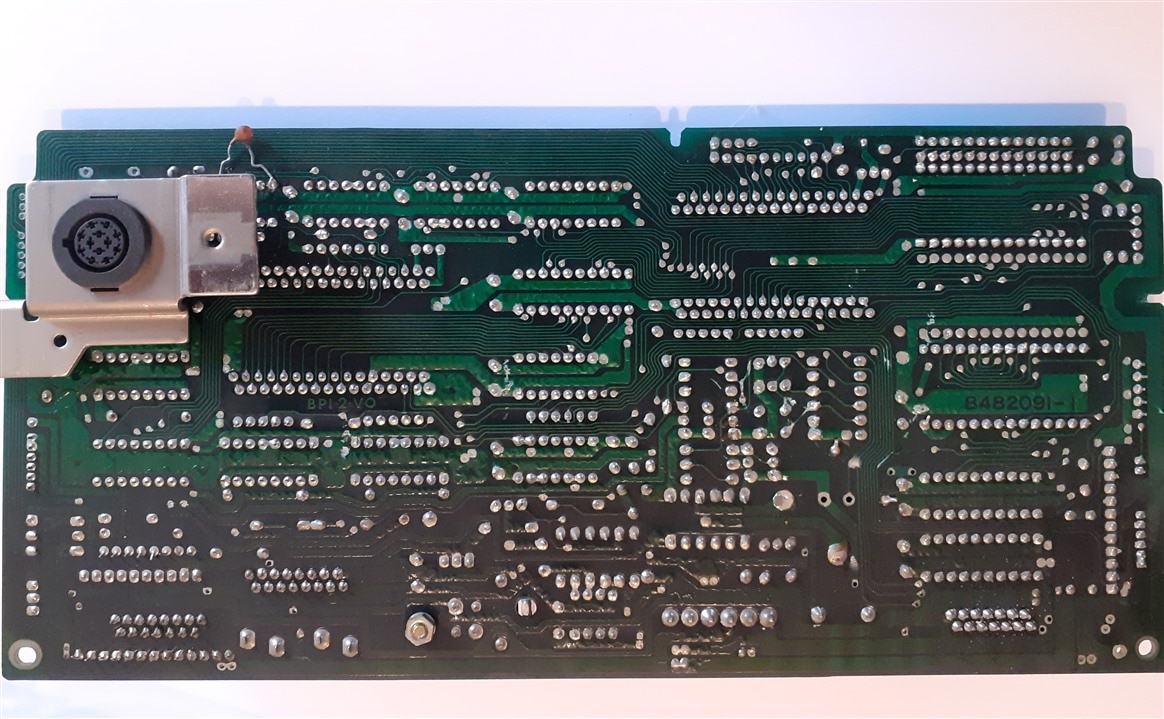
In order to extract the driver board you have to unplug all the cables. The board is fixed to the chassis by only two screws.
This is the mainboard

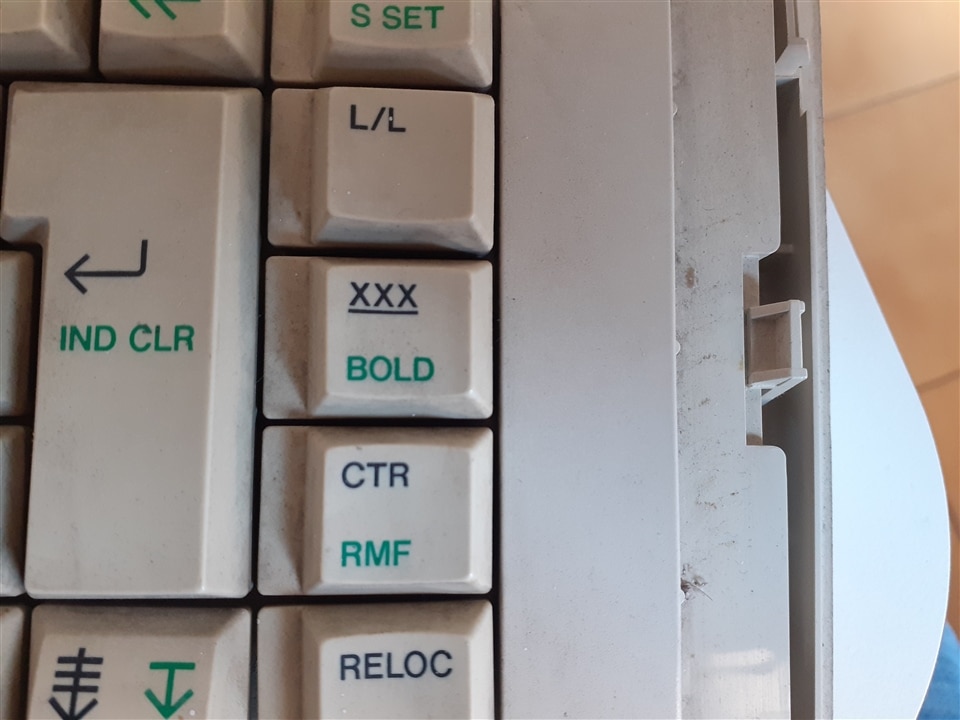
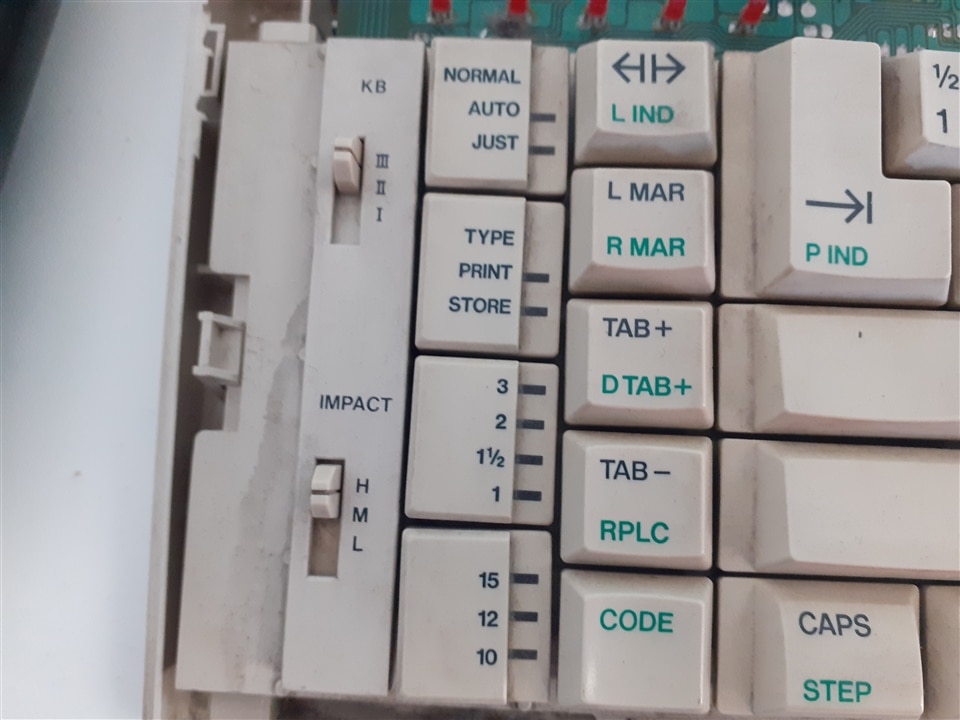
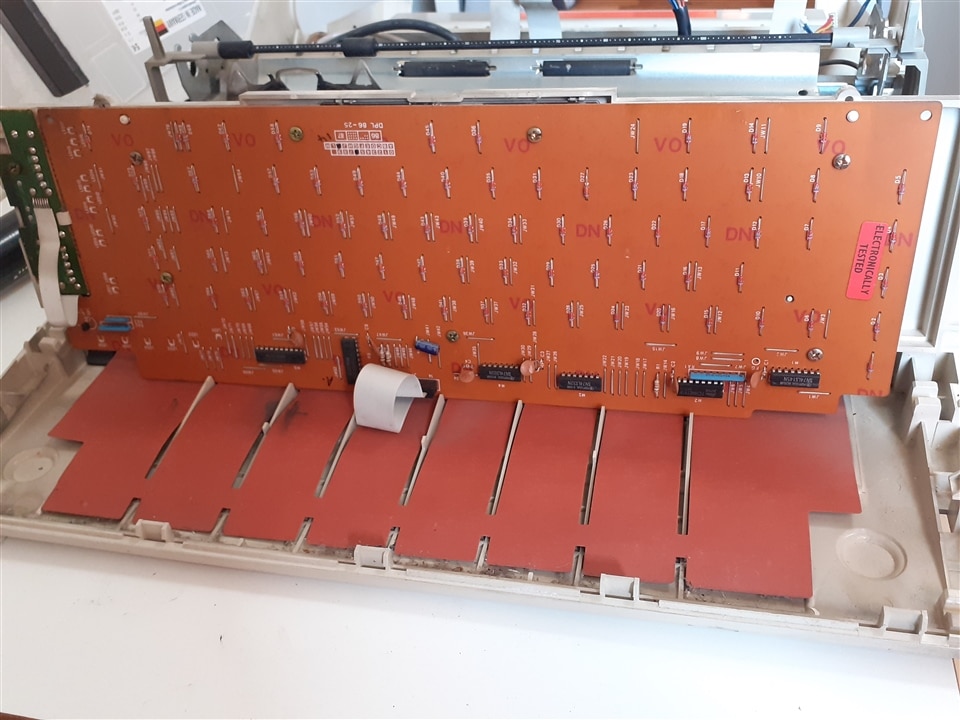
The keyboard
Slide tabs aside to free up keyboard
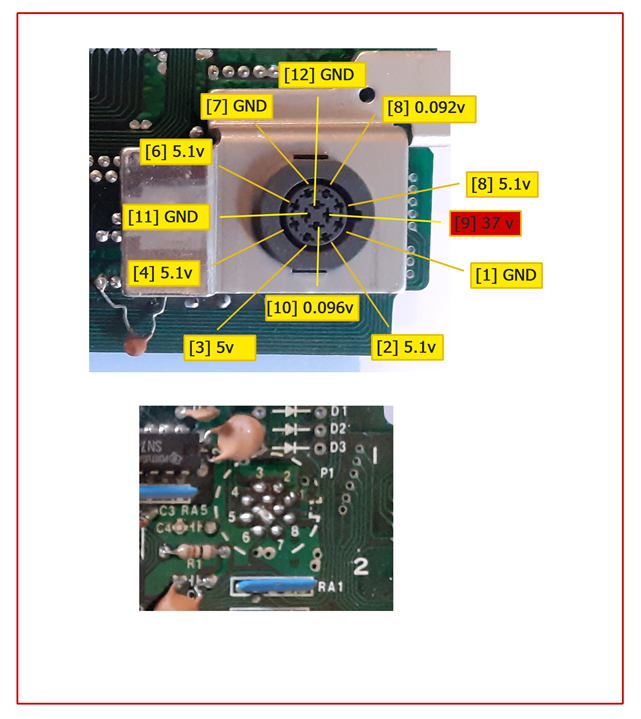
Serial connector
With the machine off I have identified the pins that are connected to ground and with the machine on I have taken note of the voltages on each of the pins with respect to ground.
There is a pin where the voltmeter reads 37v.
This serial port opens many possibilities to use this printer connected to a microcontroller.
References
- https://archive.org/details/brother-if-60/page/n3/mode/2up
- https://etzone.org/2020/10/27/plugged-in-with-brother-compacts/
- https://etzone.org/2019/08/10/xerox-takes-a-memo/
- https://typewriterdatabase.com/Xerox.MemoWriter.659.bmys
- https://www.searspartsdirect.com/model/201y8ytluf-001277/xerox-memowriter-office-parts
- https://www.brother-usa.com/support/em
- https://github.com/WRFleete/8bitOutBus-serial
- https://www.youtube.com/watch?v=1OXD0xdS4pA
Conclusion
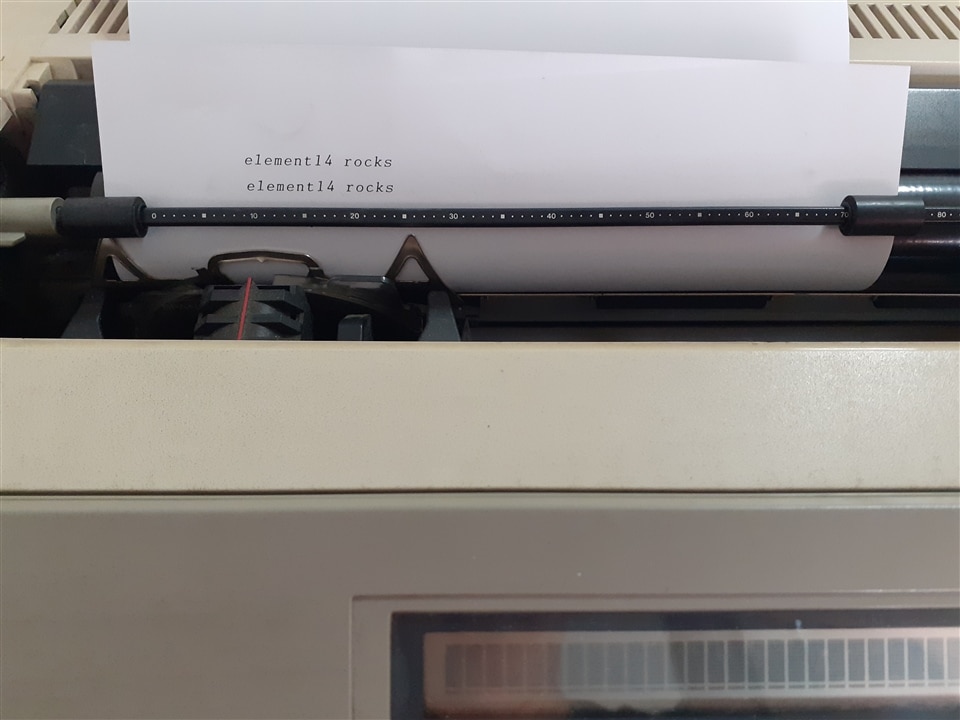
I still have many things to learn about this typewriter, I hope to be able to do a project with it later.


Top Comments