

Table of contents

Abstract
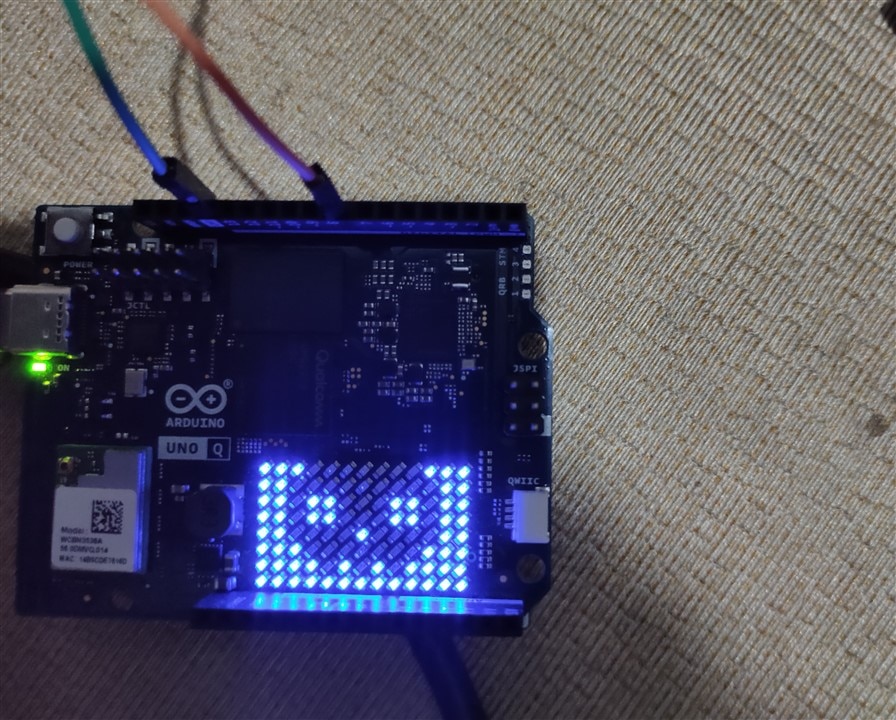
Haddonfield Watch is a small Halloween vision system that watches for a Michael Myers look-alike (a white mask above dark coveralls) and raises an alarm. An ESP32-CAM streams video over Wi-Fi to an Arduino Uno Q. The Uno Q's Linux side analyses every frame with plain Python and its microcontroller side shows the result on the built-in 8x13 LED matrix and a passive buzzer. When all is calm the matrix shows a blinking "watching eye", when "The Shape" is detected it flashes a skull and sounds a rising siren.
Project
Introduction
I was wondering what to build for the Halloween challenge, as my mid-terms were around at the time. A few times I came across the starting lines of the challenge page, "Michael Myers identification system", and I got curious: who actually is Michael Myers? I read up on him and found an interesting and spooky story. The spooky character of John Carpenter's 1978 film Halloween, recognisable by a pale white mask and dark mechanic's coveralls, and he returns to the town of Haddonfield. That unmistakable look is exactly what a camera can pick out, so I thought, let's try building one.
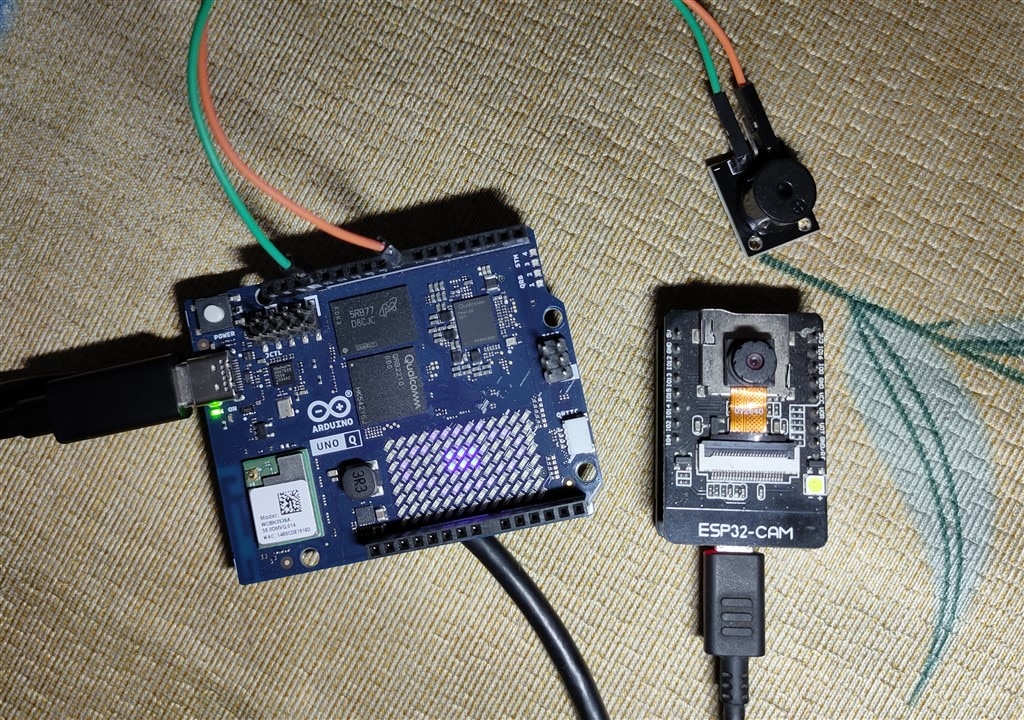
What it does
- An ESP32-CAM streams live video over Wi-Fi.
- The Arduino Uno Q looks at each frame and decides whether it contains the "Myers look": a white mask with a dark body underneath it.
- The built-in 8x13 LED matrix and a passive buzzer act as the alarm panel:
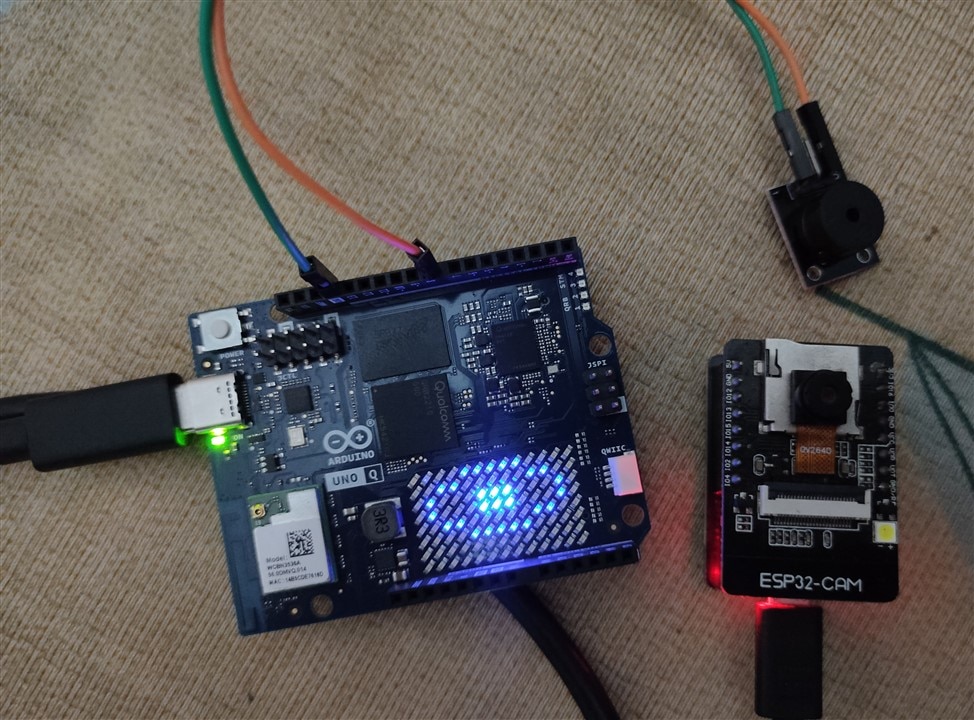
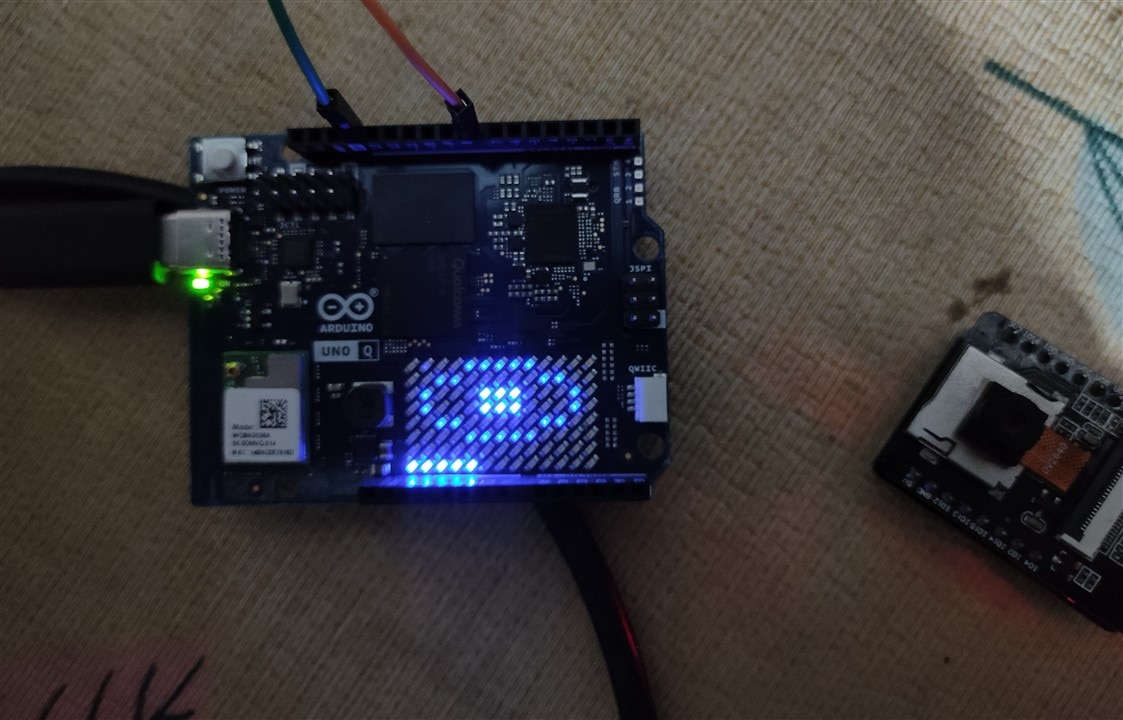
- Calm: a blinking eye, with a bar on the bottom row showing the current threat score.
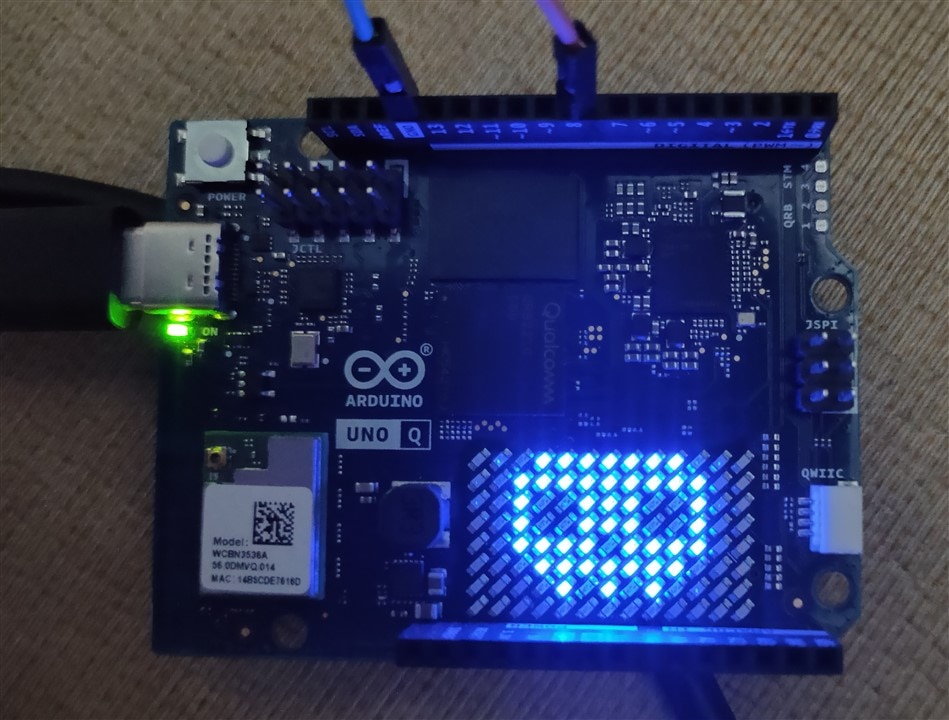
- Alert: a flashing skull (normal and inverted) with a rising siren.
Important note: this detects a costume signature, not a person's identity. It looks for white-mask-over-dark-body, nothing more.
How the parts connect:
ESP32-CAM --(Wi-Fi, MJPEG stream)--> Uno Q Linux side (Python vision) )--> Uno Q microcontroller side (sketch) --> LED matrix + buzzer on D8
The Python program also serves a live preview page on port 5000.
Hardware used
1. Arduino Uno Q
2. ESP32-CAM ( running ESP's CameraWebServer example)
3. Passive buzzer on pin D8 .
Wiring
- Passive buzzer: + to D8, - to GND.
- ESP32-CAM: powered from a stable 5 V source (it resets on weak USB power). No other wiring to the Uno Q; the two talk over Wi-Fi.
- LED matrix: built into the Uno Q
Step 1 - Get the camera streaming
I used Arduino's CameraWebServer example for the ESP32-CAM: select the AI Thinker model, enter the Wi-Fi details, upload, and read the IP address from the Serial Monitor. The stream is available at http://<camera-ip>:81/stream. I checked it first in a browser and then from the Uno Q. At QVGA/VGA the stream was smooth enough for the Uno Q to process roughly 30 to 40 frames per second.
Step 2 - Uno Q's two halves
The LED matrix and pin D8 belong to the Uno Q's microcontroller, while my Python code runs on its Linux side. A sketch on the microcontroller therefore draws on the matrix and drives the buzzer, and the Python code sends it two numbers: an alert state (0 or 1) and a threat score (0 to 100). The sketch registers two functions with the Arduino router, and Python calls them through the router's socket using MessagePack-RPC.
CODE (sketch side)
Bridge.begin();
Bridge.provide_safe("set_state", set_state);
Bridge.provide_safe("set_score", set_score);
END CODE
CODE (Python side)
s.sendall(msgpack.packb([0, _id, method, [arg]])) # MessagePack-RPC request: [type, id, method, params]
END CODE
The Python side sends updates in a background thread, so a slow link can never slow the vision loop.
Step 3 - Detect "The Shape"
Every frame is shrunk to 240x180 and analysed with NumPy and Pillow:
1. Find the mask: pixels that are bright and neutral (the darkest colour channel above a threshold, and the three channels close to each other) form a white mask. The program picks the largest connected white blob. It must be big enough, not a white wall, roughly face-shaped (height/width between 0.8 and 2.6) and reasonably solid.
2. Look under it: directly below the mask, in a zone about three mask-widths wide and three mask-heights tall, at least 35% of the pixels must look like coveralls (dark, and not brown or green).
3. Check the body: that body must be clearly dark (60% or more), or have a blue tint.
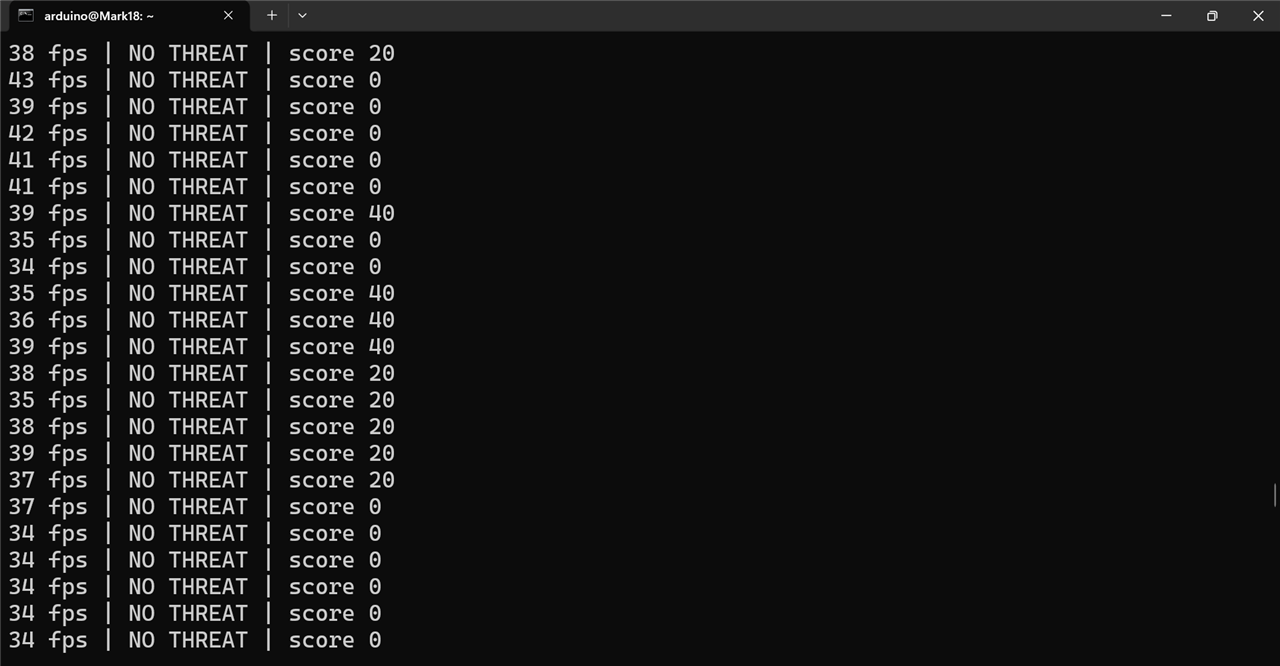
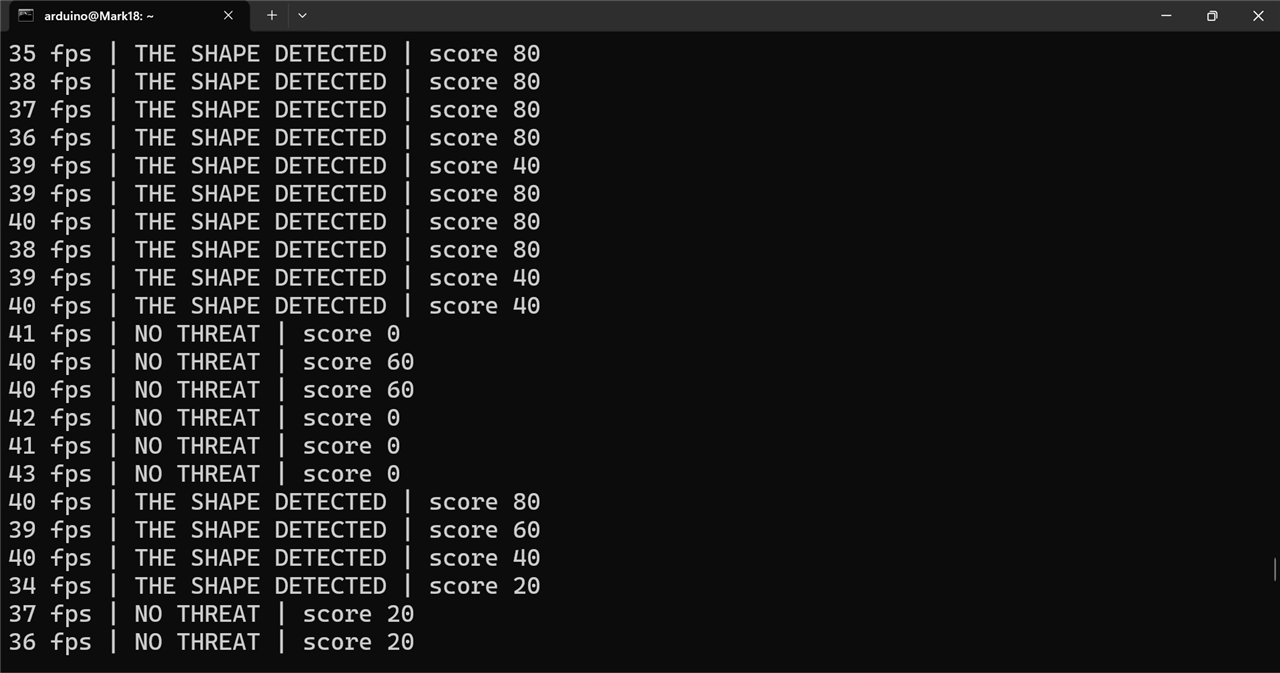
4. Score: each of five checks adds 20 points, giving a 0 to 100 threat score that drives the bar on the matrix.
5. Vote over time: an alert needs a hit in at least 6 of the last 12 frames, and then stays on for 1.5 seconds, so the display doesn't flicker.
CODE (the decision rule)
checks[0] = int(MIN_WHITE * n < w["area"] < MAX_WHITE * n) # mask big enough, not a white wall
checks[1] = int(ASPECT_MIN <= bh / bw <= ASPECT_MAX and fill >= MIN_FILL) # face-shaped and solid
checks[2] = int(frac >= BODY_FRAC) # dark body under the mask
checks[3] = int(bool(checks[2]) and info["bluish"] >= BLUISH) # blue tint
checks[4] = int(frac >= BODY_STRONG) # clearly dark body
body_ok = checks[3] if STRICT_BLUE else (checks[3] or checks[4])
hit = bool(checks[0] and checks[1] and checks[2] and body_ok)
END CODE
All thresholds sit in one settings file, so tuning never touches the logic.
Step 4 - The alarm panel
The sketch runs a small state machine and never blocks, so the display and the sound run together:
- Normal: an eye that blinks about every four seconds, plus a score bar on the bottom row.
- Alert: the skull alternates between normal and inverted every 160 ms, while the buzzer sweeps from 400 to 1400 Hz like a siren.
- Boot: the skull and three descending beeps play once at start-up, so the matrix and buzzer can be checked without the camera.
- Safety: if the Python side goes quiet for three seconds, the sketch drops back to normal, so an alarm can never get stuck on.
| {gallery}My Gallery Title |
|---|
|
|
|
|
|
|
|
|
|
|
Step 5 - Make it one-click
Early on I had to start things separately and retype the camera's IP address, which changes whenever the Wi-Fi hands out a new one. So:
- The program finds the camera itself: it tries the last known address, then scans the local network for the camera's stream (a couple of seconds), and searches again if the stream ever breaks.
- A single command, ./start.sh, starts everything and prints the address of the live preview.
- The Uno Q app in App Lab is only used to flash the sketch; the Python program runs next to it.
Problems I faced and how I solved them
1. Working only at 20 cm. My first version looked for a white box and a blue box and only worked when a phone image was held about 20 cm from the camera. At any distance the blobs were too small for my size thresholds. I recorded real readings from the camera and re-tuned. This also showed that my camera has a slight green cast: the white mask reads about RGB (210, 224, 218).
2. A rule that was wrong for close-ups. My "body must be bigger than head" check failed on half-body pictures, because only a small part of the coveralls is in frame. I removed it.
3. Coveralls that are not blue. In one photo the coveralls are almost black, so the blue rule found nothing. I changed the design: instead of looking for a blue area, the program now finds the mask first and checks the zone below it for dark, coverall-like pixels. Blue tint became a bonus.
4. OpenCV was too heavy. I was worried about the storage OpenCV and its dependencies would take on the board (my estimate was over 500 MB), so I wrote the vision code with NumPy and Pillow instead, including my own blob finder. It still runs at about 30 to 40 frames per second.
5. Packaging as a single app froze. When I first ran everything as one App Lab app, it stopped responding and I never fully pinned down why. I split the project: the app only flashes the sketch, and the Python program runs on its own through the router socket.
6. The camera IP kept changing. I solved this with the automatic camera search described in Step 5.
7. Alerts that could get stuck. If the camera or the Python program died during an alert, the alarm could stay on. I added a camera-lost check (no frames for two seconds clears the alert) and the sketch's three-second timeout.
8. Deep learning. I looked at it, but a pre-trained detector can only find a generic "person" (it has no Michael Myers class), and a custom classifier needs a dataset captured with the same camera plus a deployment path on the Uno Q. That did not fit the time I had, so I went with the rule-based approach.
Testing and results
As of now I have only tested it on Michael Myers images shown on my laptop screen. It reliably picked up the three different Myers images I tried, and in my informal tests it did not flag me as Michael Myers.
Limitations
- Tested only on laptop images, not on a real person in a costume or in other lighting.
- It detects a look (white mask over a dark body), not identity. Any pale, face-shaped object above a dark area can trigger it; in my own tests a white plate above a dark table could do so. A stricter mode that also requires a blue tint reduces false alarms but misses very dark coveralls.
- Colour thresholds depend on lighting and on the camera.
- The camera stream and the preview page have no password, so it should only be run on a private network.
- I also wanted to use some deep learning in this project, so it could double as practice for my DL course. I dropped that idea because of the time limit and the complexity (more on this below), and built a classical computer-vision approach instead.
Future improvements
- Test with a real costume, in several lighting conditions, and record a proper results table.
- Train a small classifier on my own photos (for example with TensorFlow Lite or Edge Impulse), or add a "person gate" with a pre-trained detector, to make it more robust.
- Add spooky background sounds and different alert themes on the buzzer.
- Build a proper enclosure.
Conclusion
This was a fun way to turn a one-line challenge idea into a working system, and a good lesson in how much real hardware (a green-tinted camera, lighting, a two-processor board) disagrees with the neat version in head. Thank you to the element14 team for the challenge.
I'd love to hear your suggestions.
References
https://github.com/Shishir067/Haddonfield-Watch/