

How to get started with LPCXpresso804
Hi everyone, I'm Nichollas and how are you friend?
Today I will teach how can you take the first step with LPCXpresso804 Development KIT from NXP.
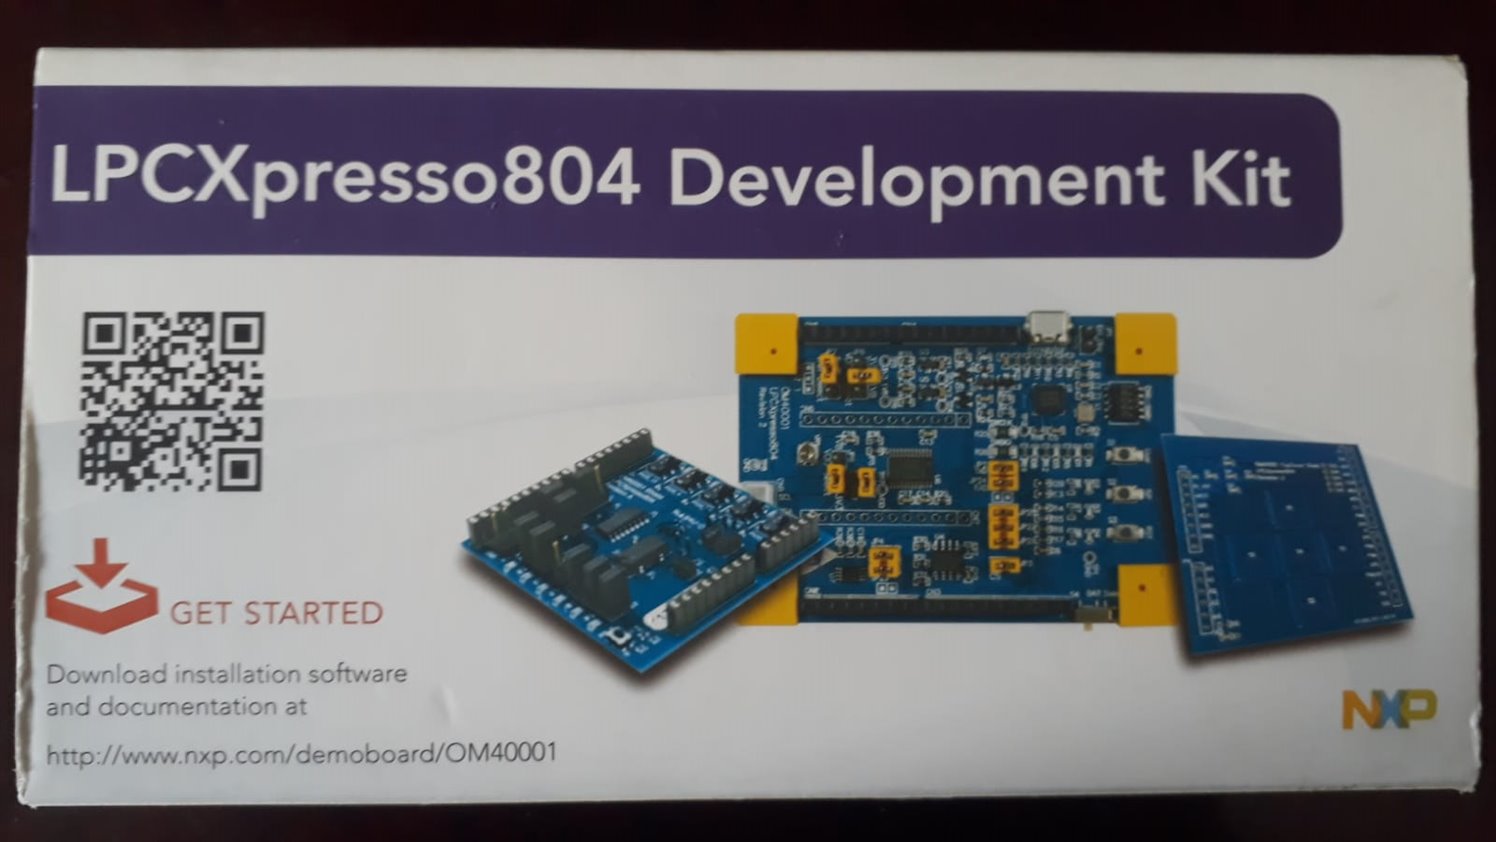
- On the box lower left side, you can see an URL (http://www.nxp.com/demoboard/OM40001), click at that or copy and paste at your preference browser, will open that page.
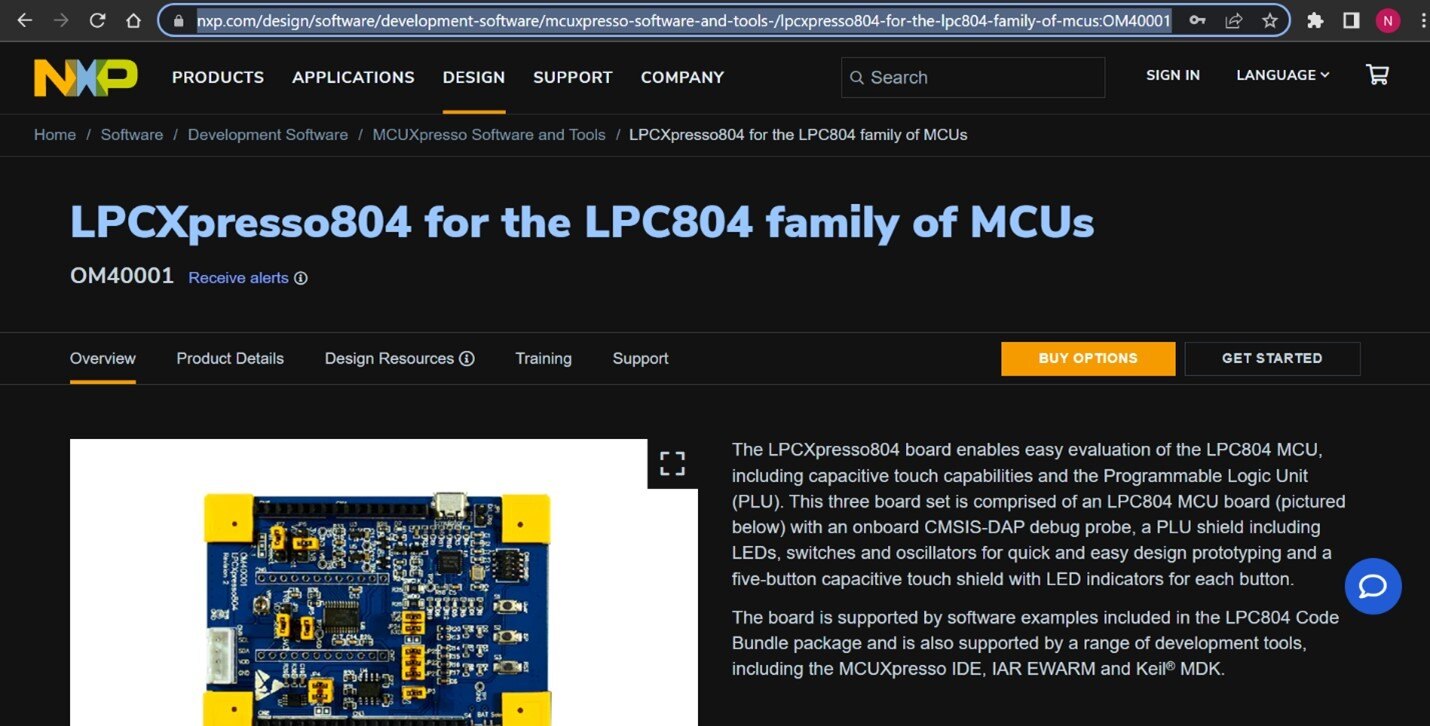
- Here you can see a lot of information, and you must click at the button "GET STARTED" to take the first step.
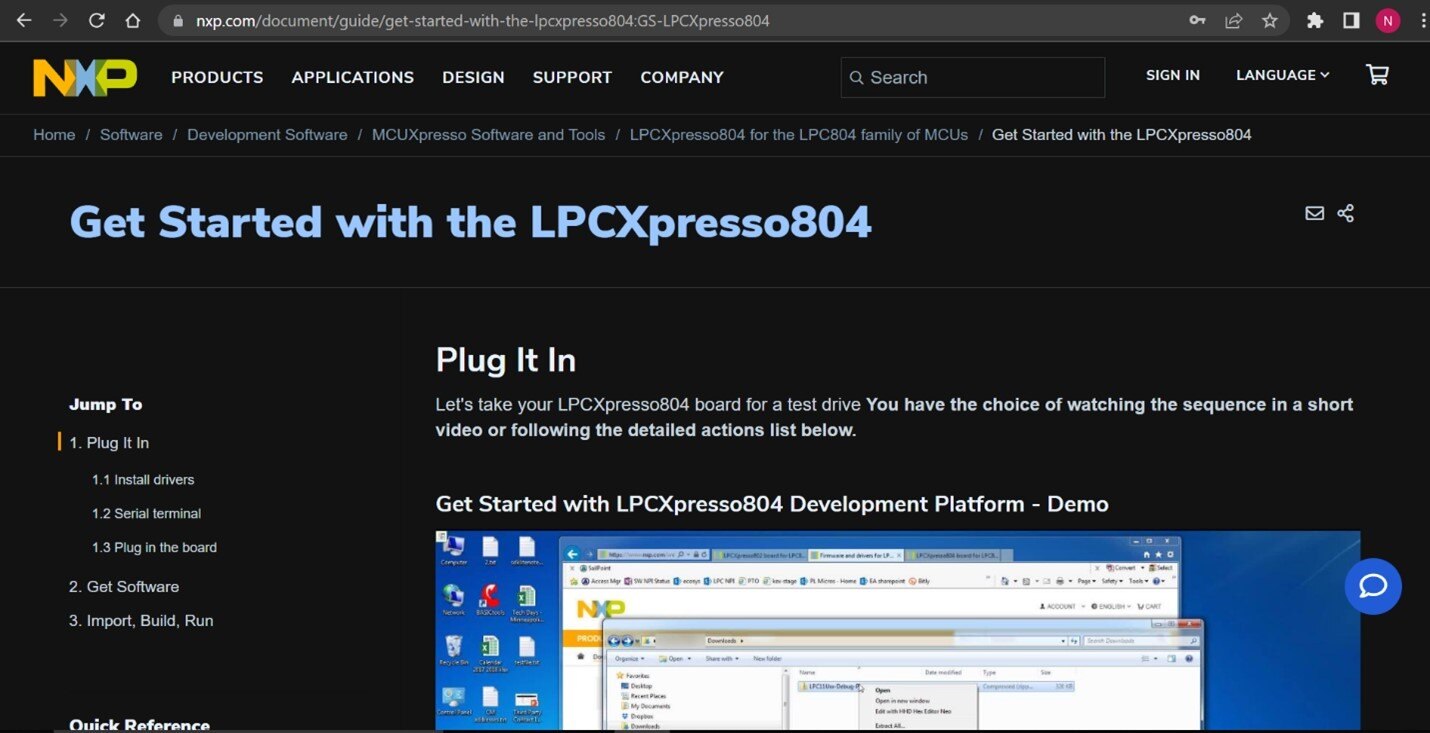
- Here you will download the Demo to test your board and make the first connection between the board and PC.
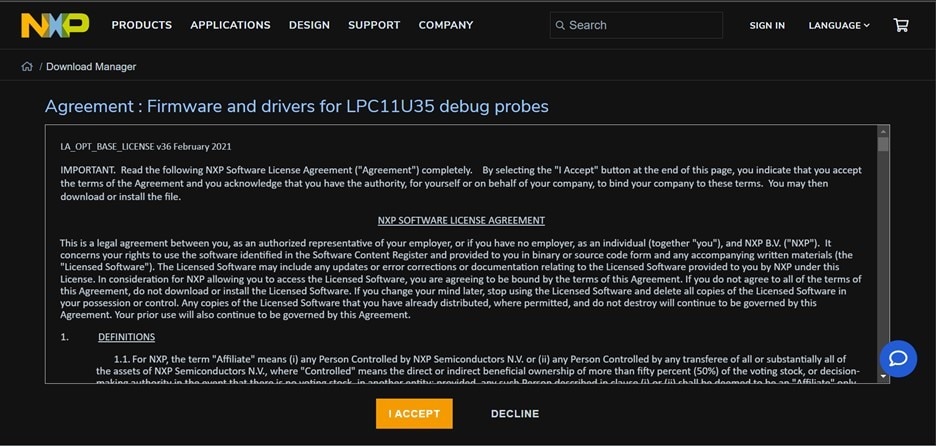
- First step to begin, is download the drivers, if you click here will open the page bellow, click at the button "I ACCEPT" and download the drivers, normally the download will begin automatically but if it doesn't click "DOWNLOAD"

- Downloaded the zip folder, extract all, I recommend create a folder to organize all files about LPCXpresso804
- Complete the extraction, you will have some files like this, double click at the file named "LPC11Uxx_Debug_Probe_VCOM_v1.0.0" will open a window, you have to click "next, install, next and finish".
- If you are not sure how to use a terminal application try one of these tutorials:
Tera Term Tutorial
PuTTY Tutorial

- I use Tera Term, so I downloaded it, now plug your board at your PC and double click to launch the app, now you must select the serial button, and select the board Port like the image bellow, in my case the board are connected by COM3.
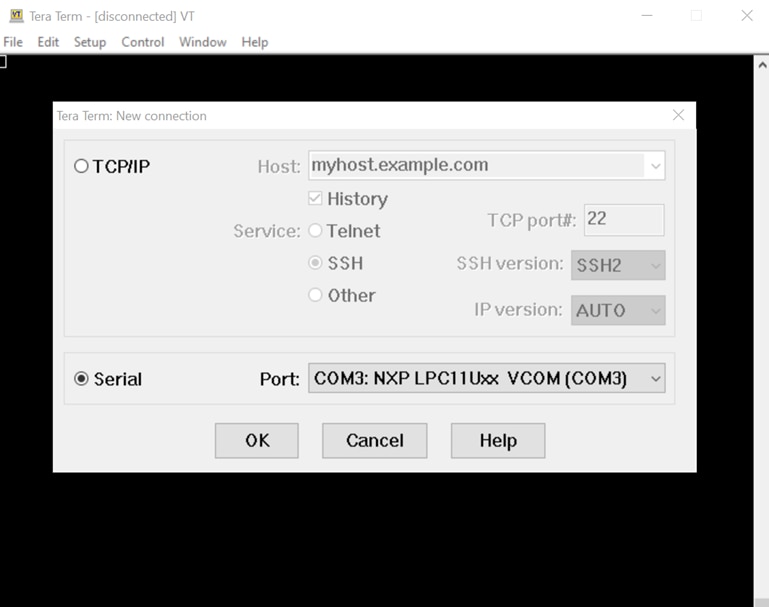
- If you don't know where your board are connected in, search at your PC "DEVICE MANAGER", and go to the option "Ports (COM & LPT)".

Follow the steps bellow to run the DEMO program.
-
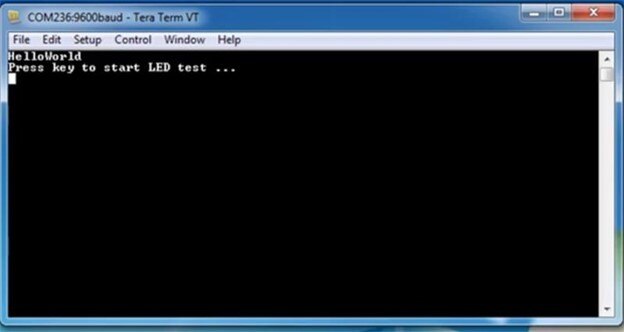
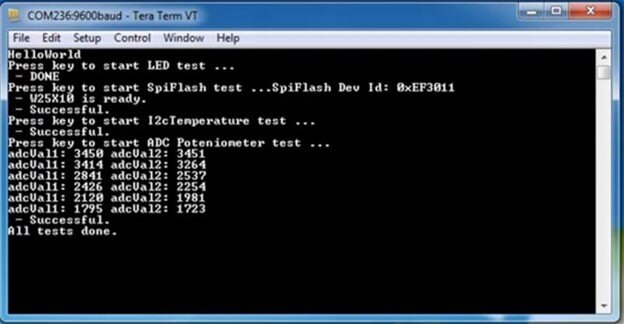
- The Blue user LED will flash 3 times, then the green LED will flash 3 times, and the terminal will display “HelloWorld”, followed by “Press key to start LED test …”
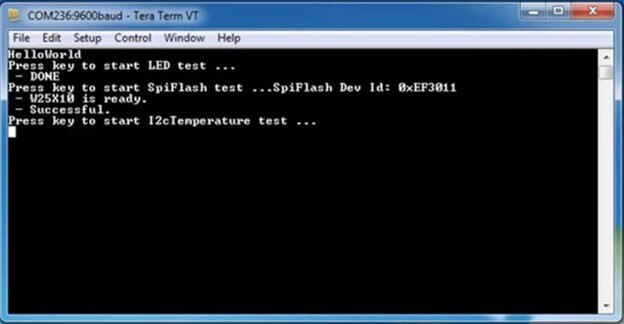
- Press the ISP button (S2). The green and blue user LEDs will flash, then each LED will be lit in turn twice before all three blink 3 times. The terminal will show “DONE”.
- The terminal will show “Press key to start SpiFlash test”. Press the ISP button. The LEDs will blink as the test is run, and the SPI flash device ID and name will be shown on the terminal.
- The terminal will show “Press key to start I2cTemperature test …”. Press the ISP button to run this test, which checks communication with the LM75 temperature sensor.
- The terminal will show “Press key to start ADC Potentiometer test …”. Press the ISP button to run this test. The test checks the LPC804 ADC and potentiometer (VR1), looking for the ADC reading to change at least once as it takes 6 samples over several seconds. You can use the supplied screwdriver to adjust VR1 so the test passes.
In my case that doesn’t work maybe because the DEMO program that came installed in my board had been deleted, if it happens with you too, don't worry, that's just a DEMO to know if your board works, but that isn't the only one way to discover that, if you charge some example program from IDE and the board works, congratulations your board works, if it doesn't maybe your board have some problem, I advise you to contact the user support.
Just for your information, bellow you can see this DEMO application working
After the message you click on the ISP button on the board as indicated in the program, the lights will turn on again and the following message will appear:
Clicking again will make only the red and blue light come on and with the key given to you in the kit you will press the ISP button again and tighten the VR1 screw indicated on the board, this will result in a sequence of numbers as shown below:
Thus, we will complete our initial test.
Multi Timer Blink
Preparing you workspace
Now that's the step who everyone loves, finely we will put the board to work
We will begin with a simple program that do the LEDs at your board blink
- At first you have to have the NXP IDE
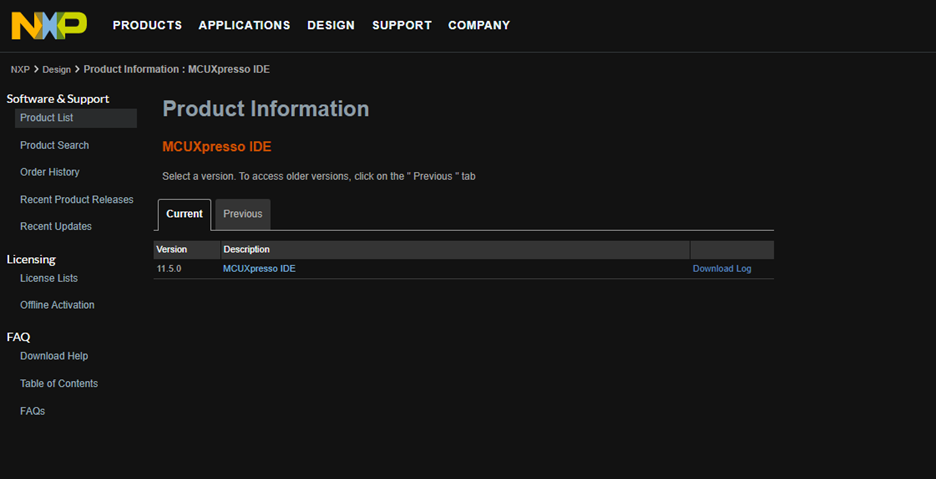
- Open the window above, click at the blue text "MCUXpresso IDE" agree the software terms and download the IDE, wait the download complete and install the IDE
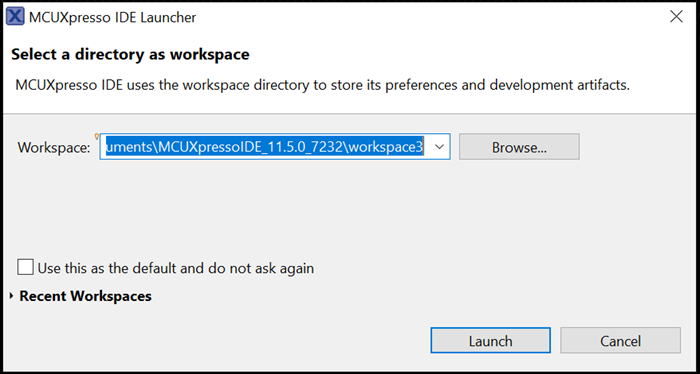
- Bellow it's the first window you will see when click to open IDE
- Click at "BROWSE" and create a new workspace, it's like create a new folder
- Select that new folder
- Click in "LAUNCH"
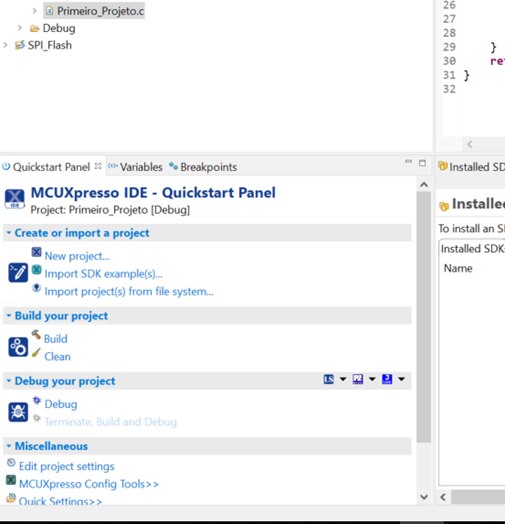
Bellow you can see the IDE open for the first time

Beginning the project
This is the NXP IDE, here you can do a lot of programs, compile and debug to your board.
- So, let's do this, click in "IMPORT PROJECT FROM FILE SYSTEM..."
The window bellow will open:
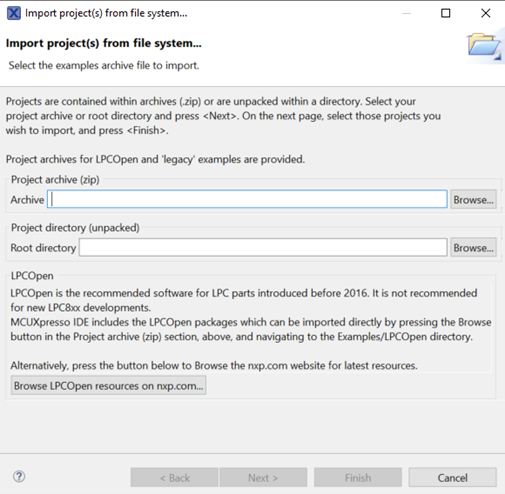
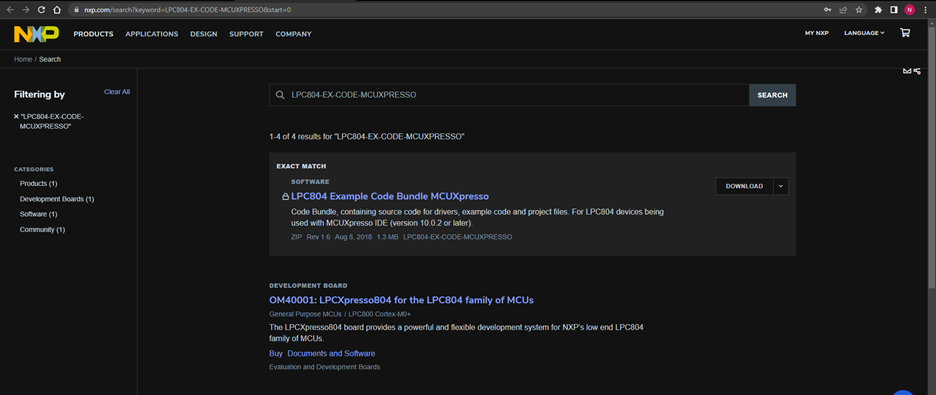
- Click at the button "Browse" from "PROJECT ARCHIVE(zip)" and Browse for the zipped folder named "LPC804-EX-CODE-MCUXPRESSO" (From this Hyperlink you can get all codes you will use), if you use the wrong folder you will have an error which you can't compile nor debug the program because you using the wrong board.
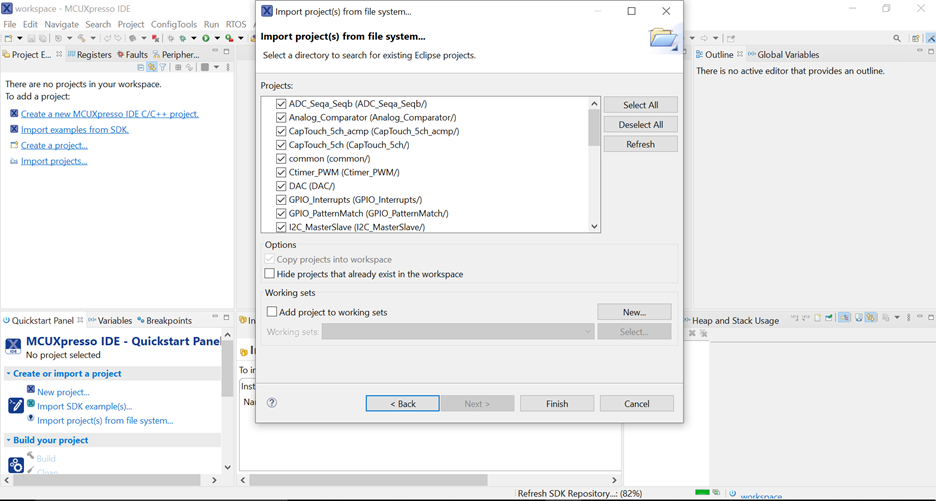
- Did the step above, click "NEXT" maybe you can't select the files like the image bellow, that occur because you didn't create a new "Workspace", so to resolve it you must create a new one.
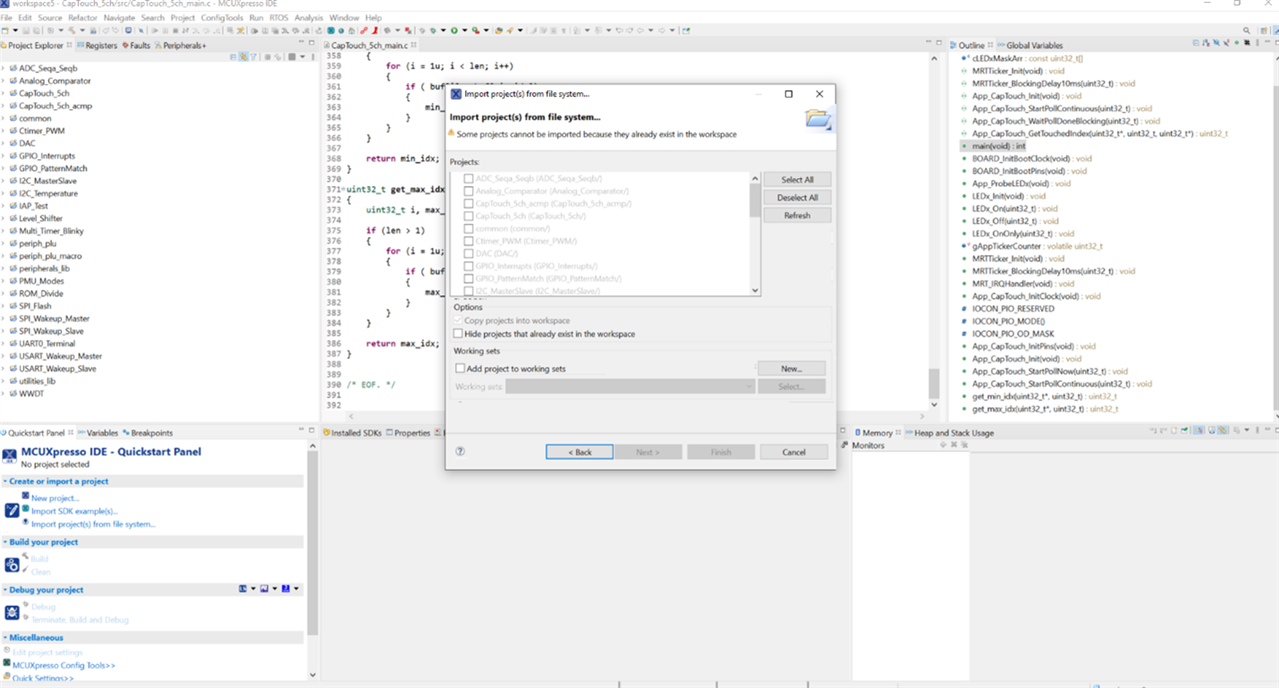
Notice that, the image bellow all select boxes are selected, because that workspace is new, comparing "PROJECT EXPLORER" at the left side at two images, you can notice differences like at the first have a lot of folders this means this workspace already in use, at the second image hasn't any folder at the same side it means everything is right.
- So, click at the "FINISH" button and wait complete.
- Now in project explorer site select "Multi_Timer_Blinky" folder
- Click at the symbol to build

- Then click in this button to run the application

Error when compiling
That error occurs every time I try to debug the code "Multi_Timer_Blinky", because I wrong the folder I browse when I do the "OPEN PROJECT FROM FILE SYSTEM..." step, that occurs because the folder I browsed belong to other board.