


Eco Classroom
Table of Contents
Introduction
Hi, I'm Carlo, and I'd like to share my experience with a very interesting board, the UNIHIKER K10. I'm a middle school teacher and I'm always looking for new ways to introduce my students to new technologies and how to use them to create something useful.
This project was conceived as a simple application for the UNIHIKER K10 boards. I wanted to create something educational that would allow for playing with graphics, and I wanted to see how to use external sensors with the K10s.
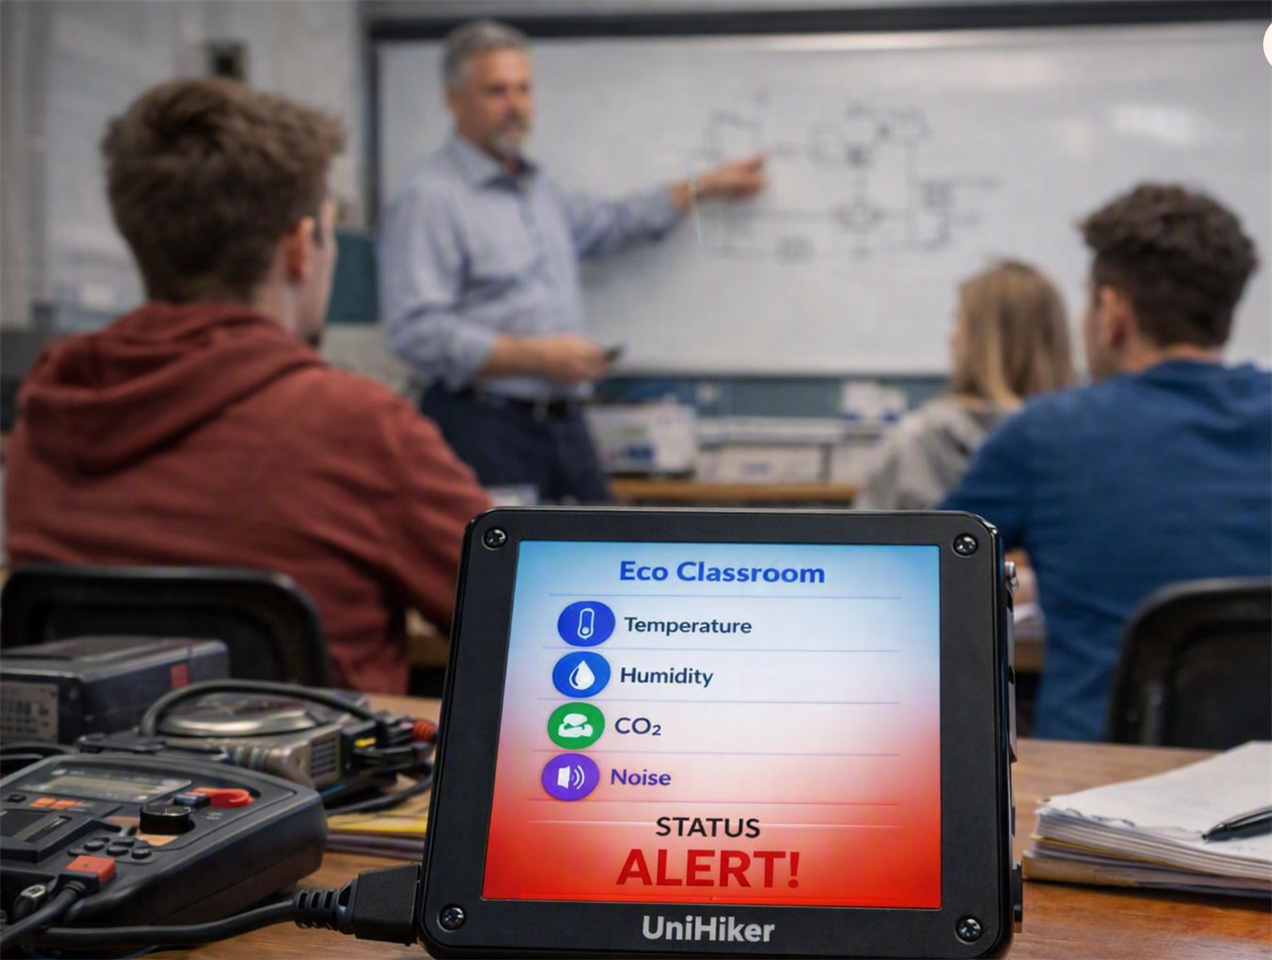
The idea is for a system that monitors the environmental conditions in spaces where many people spend time together. Naturally, since I'm a teacher, I thought of a school application that would allow for monitoring classrooms and labs and alerting the teacher when conditions aren't ideal for the well-being of students and teachers.
I planned to measure temperature, humidity, CO2, and noise.
The aim of this project is to use different sensors, both internal and external to the K10, and to manage them in order to obtain quantitative indications on the quality of the environment in a school classroom.
UNIHIKER K10
I'd like to briefly describe the features of the board I'll be using in the project and why, in my opinion, it's extremely useful for teaching.
The UNIHIKER K10 is a compact and affordable board that stands out for its large 2.8-inch LCD display with a resolution of 240x320 pixels, numerous internal sensors (temperature, humidity, brightness, acceleration), two microphones, and a 2MP camera. Regarding expandability, in addition to the popular EdgeConnector, it has two 3-pin GPIO ports, a 4-pin I2C port, and even a connector for an external battery. Finally, I'd like to point out the presence of a TF card slot for managing files, logs, images, etc.
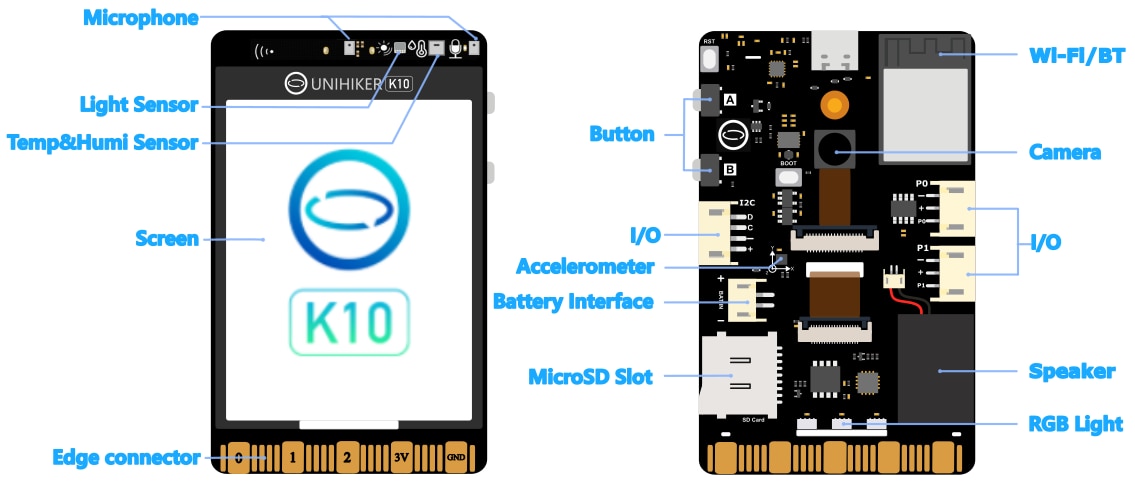
UNIHIKER K10: Sensors and Connectors from UNIHIKER site
This wealth of hardware allows for numerous application examples and for in-depth study of analog and digital signals, file management, etc. without having to resort to external sensors and therefore without requiring electrical connections that can create significant difficulties, especially for novice students.
Finally, the presence of a microphone and camera allow for the creation of applications that use artificial intelligence, making them suitable for advanced projects by more experienced students.
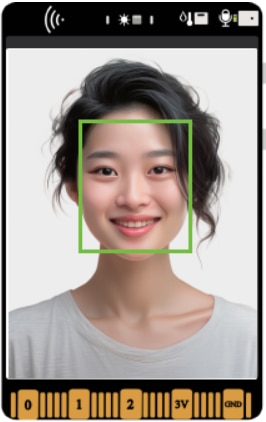
An example of AI application: face recognition (from UNIHIKER site)
Programming K10
Regarding software, this board allows you to use both the Arduino ecosystem and Micropython and Python. It can be programmed using Arduino IDE, Mind+, Visual Studio, etc. I found the Mind+ solution to be very powerful, as many students are already familiar with it from using it with Arduino boards and drones, and especially because it allows programming in various programming languages (Arduino, Python, Micropython) and even block-based programming, which is very useful for starting to program and solve simple home automation and IoT problems.
| {gallery}Using Mind+ |
|---|
|
|
|
|
|
|
|
|
|
|
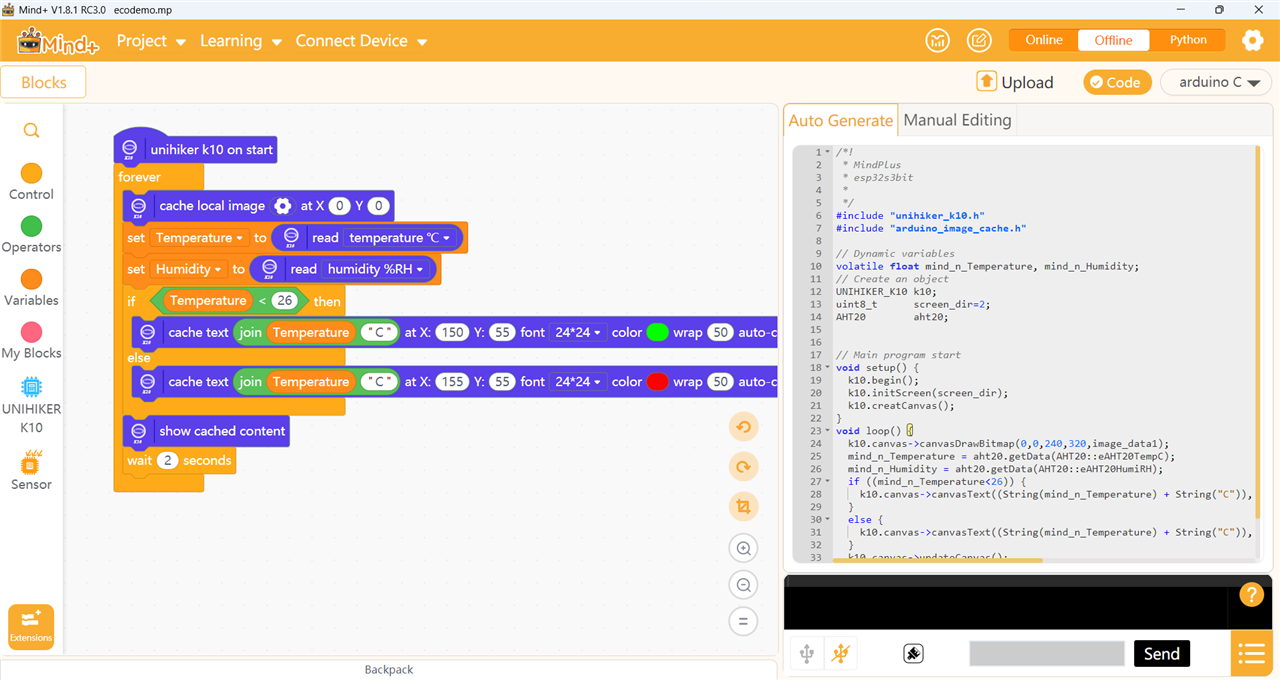
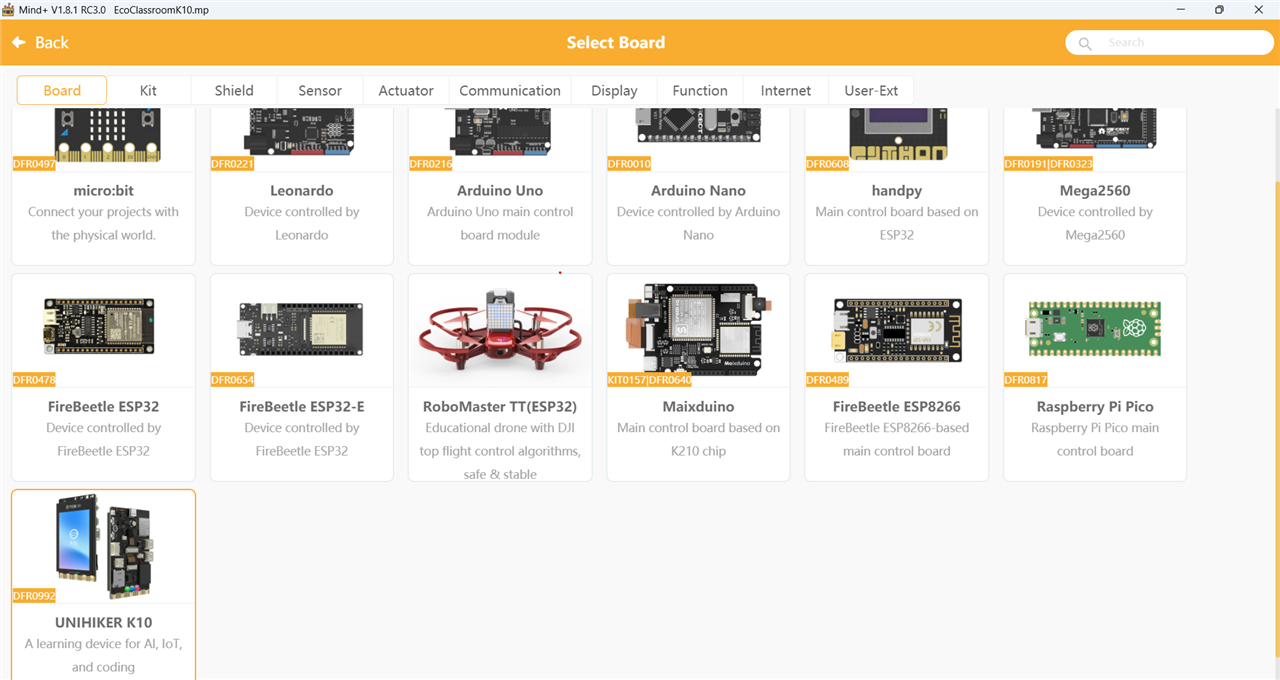
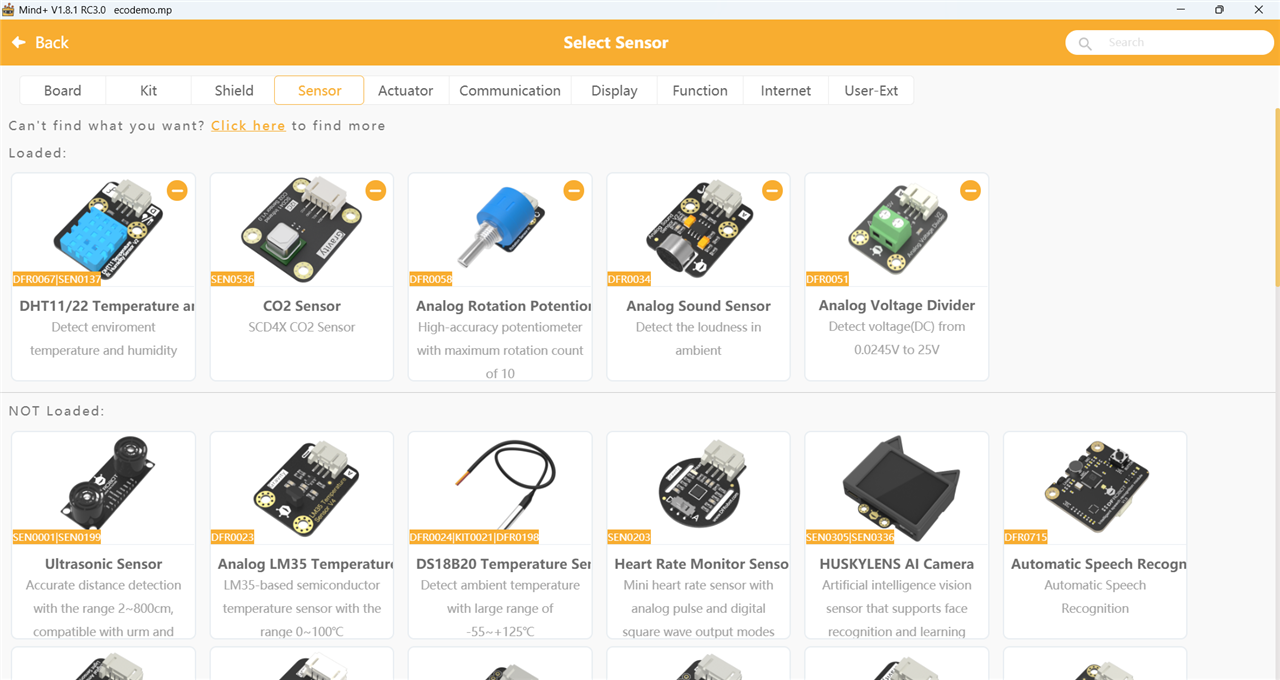
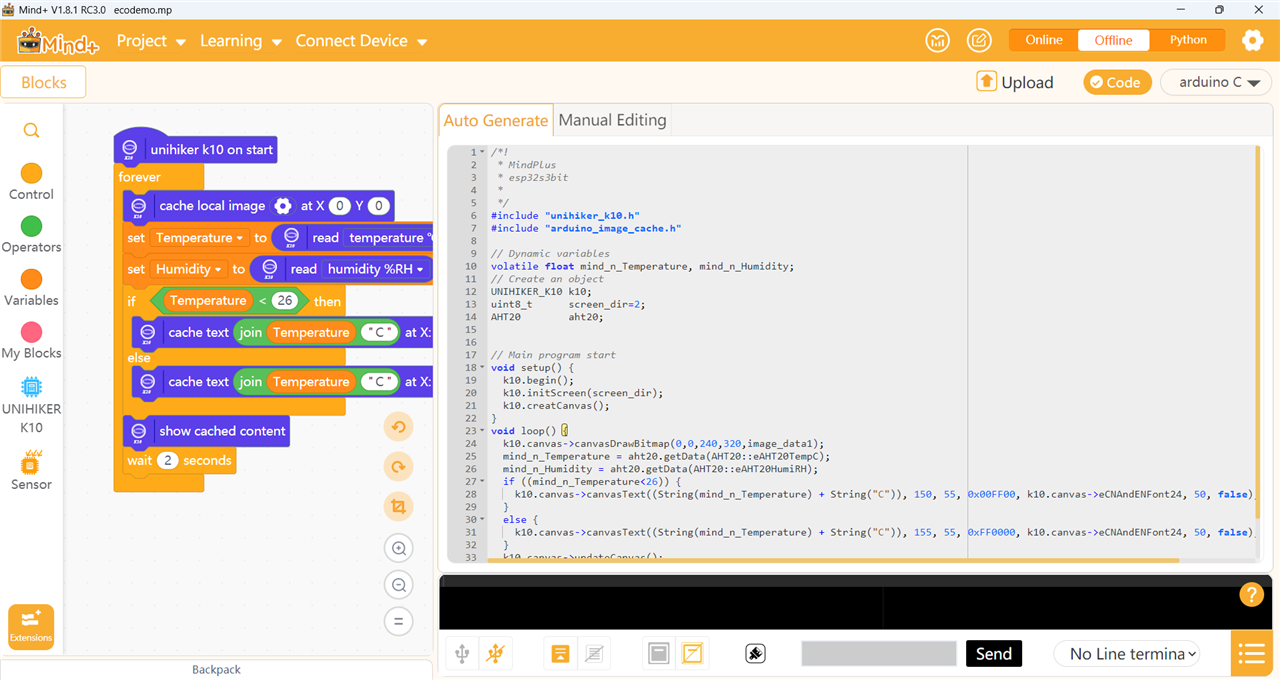
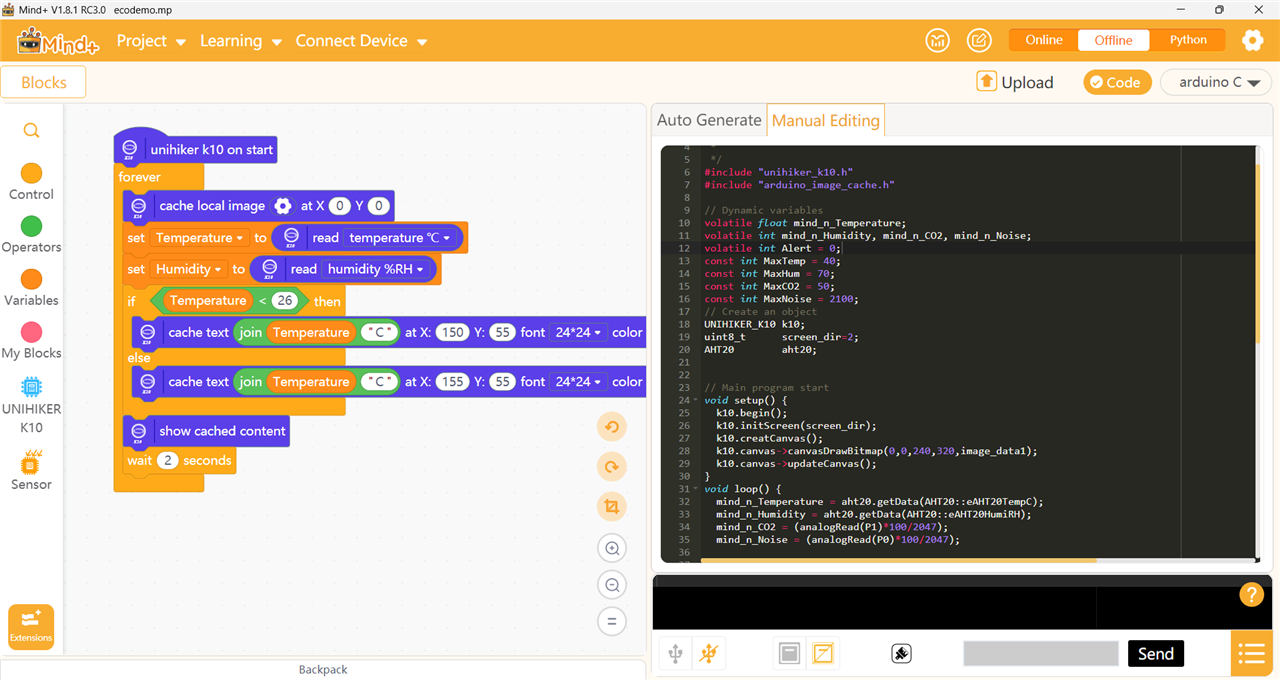
This project will be an opportunity to begin learning about the K10 board and the Mind+ development environment. Once the software is loaded, you will need to load the extension for the Unihiker K10 and the blocks relating to the board's capabilities and sensors will immediately be available. To begin, we will explore the K10's internal sensors, specifically reading temperature and humidity using the AHT20 internal sensor. We will work with the blocks and see how, as we connect the blocks to create our algorithm, the automatically generated "Arduino-style" code is displayed in the window on the right. This is very useful for giving students a sense of how each block corresponds to lines of code with a well-defined syntax. The beauty of this work environment is the additional window that allows the user to freely write their own code. This is a very useful feature because you can start producing code very quickly using blocks and scratch programming. You can then edit the code manually in the "manual editing" window to optimize it, add functionality and controls manually without going through the predefined blocks.
The project
The project began as an experiment with the K10 board, creating something conceptually useful but lacking the level of detail needed to build a truly robust and reliable prototype. However, it could be a good starting point for similar projects using some of the K10's internal sensors and appropriately connected and configured external sensors.
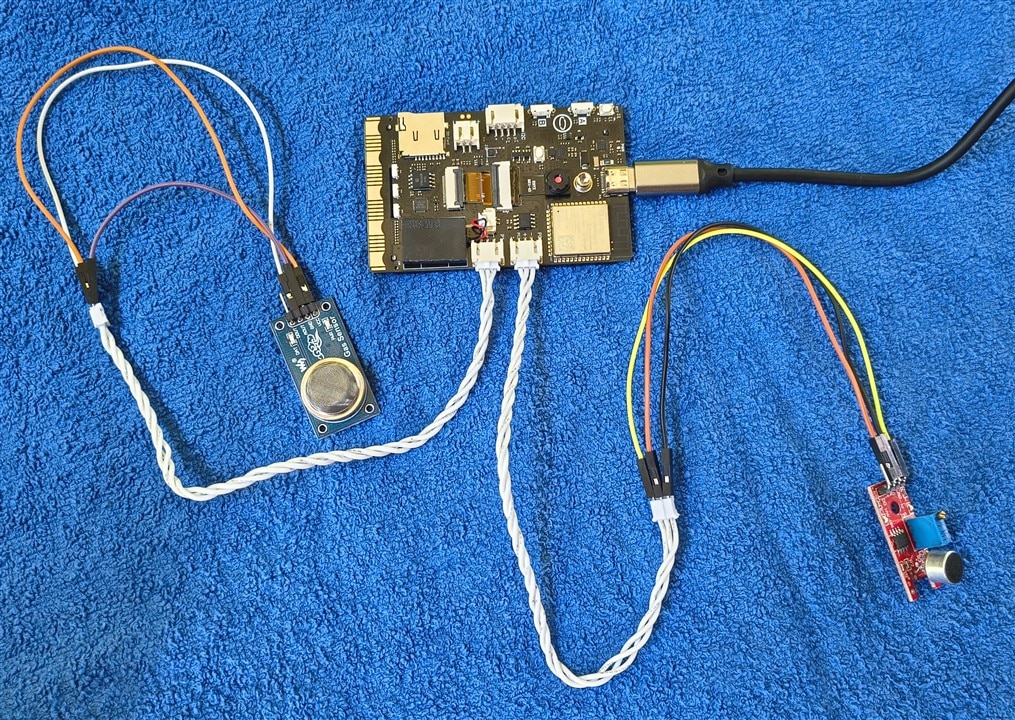
To complete it in the limited time available, I used what I found in my drawers. The programmatic thresholds for the values above which the board signals an "Alert" state were obviously not derived from measurements or technical considerations, but are simply sample values.
My final impression was that the board was remarkably simple to configure and program. The two 3-pin input connectors posed no problems, even though the gas and acoustic sensors were not among the sensors "installed" on the Mind+.
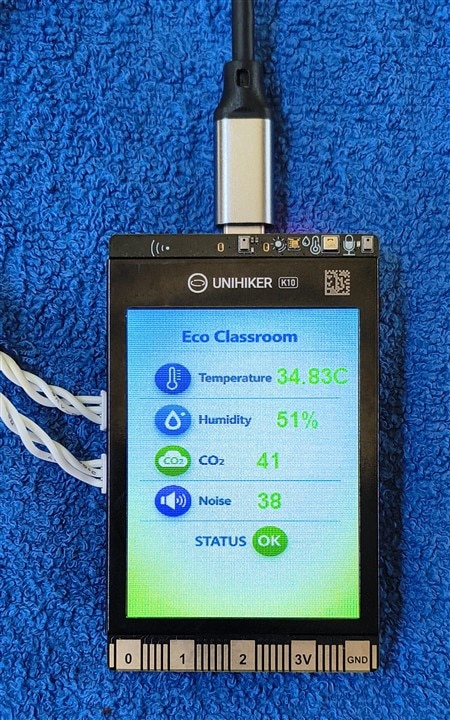
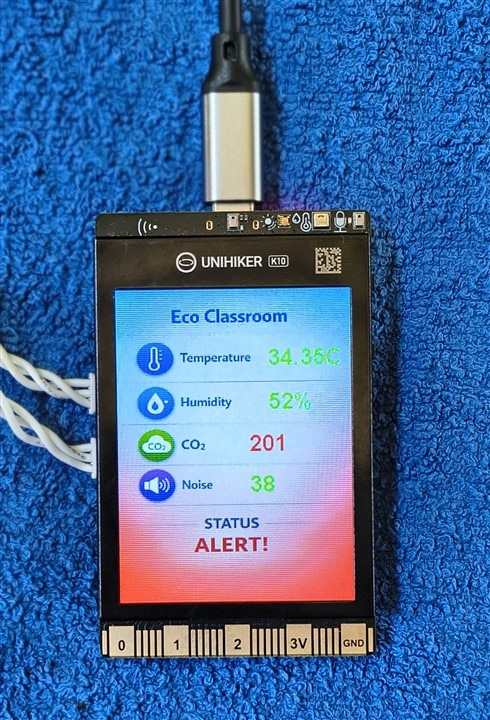
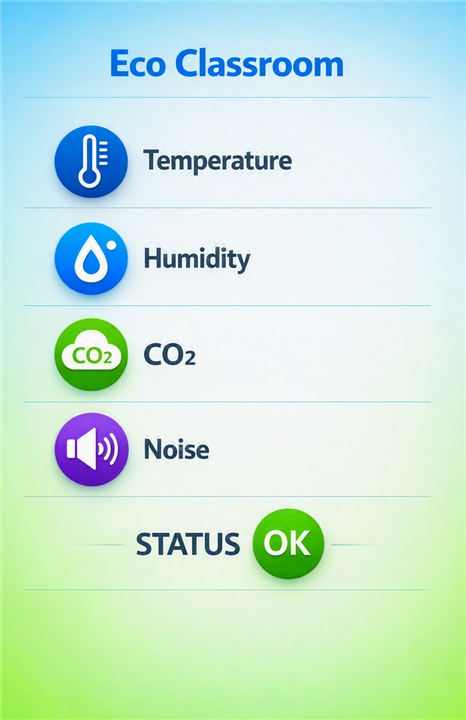
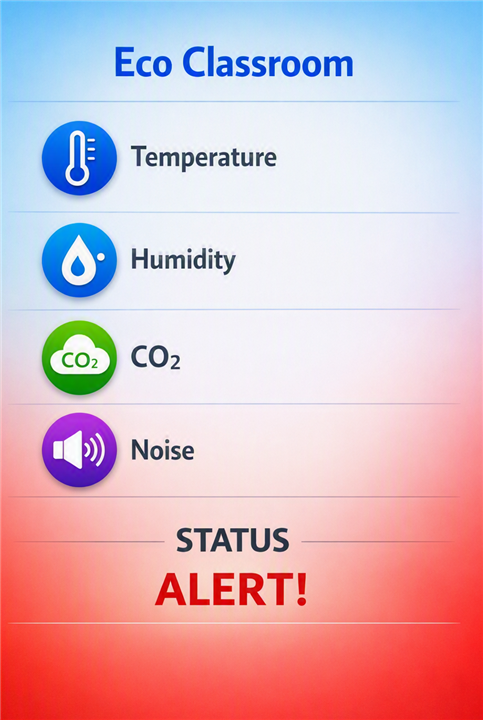
As for the graphics, I simply created two backgrounds: one in shades of green for situations where there are no abnormal values, and one in shades of red, which will be displayed when at least one value is outside the permitted range. On these two backgrounds, the values of Temperature, Humidity, CO2, and Noise values will be displayed every 2 seconds, in green if they are within the normal range or red if they are abnormal and the speaker will play an acoustic alarm signal.
 |
 |
|
From an educational perspective, this project could be a good starting point for exploring various topics, such as sending data to an external server (via Wi-Fi and the MQTT protocol), creating more attractive graphs with Python, creating a web interface that summarizes the real-time situation in all the school's monitored labs and classrooms, etc.
/*!
 * MindPlus
 * esp32s3bit
 *
 */
#include "unihiker_k10.h"
#include "arduino_image_cache.h"

// Dynamic variables
volatile float mind_n_Temperature;
volatile int mind_n_Humidity, mind_n_CO2, mind_n_Noise;

const int MaxTemp = 40;
const int MaxHum = 70;
const int MaxCO2 = 50;
const int MaxNoise = 2100;
// Create an object
UNIHIKER_K10 k10;
uint8_t      screen_dir=2;
AHT20        aht20;
Music        music;


// Main program start
void setup() {
	k10.begin();
	k10.initScreen(screen_dir);
	k10.creatCanvas();
	k10.canvas->canvasDrawBitmap(0,0,240,320,image_data1);
	k10.canvas->updateCanvas();
}
void loop() {
	mind_n_Temperature = aht20.getData(AHT20::eAHT20TempC);
	mind_n_Humidity = aht20.getData(AHT20::eAHT20HumiRH);
	mind_n_CO2 = (analogRead(P1)*100/2047);
	mind_n_Noise = (analogRead(P0)*100/2047);

	if ((mind_n_Temperature > MaxTemp) or (mind_n_Humidity > MaxHum) or (mind_n_CO2 > MaxCO2) or (mind_n_Noise > MaxNoise)){
	  k10.canvas->canvasDrawBitmap(0,0,240,320,image_data2);
	  music.playMusic(RINGTONE);
	}
	else {
	  k10.canvas->canvasDrawBitmap(0,0,240,320,image_data1);
	}

	if ((mind_n_Temperature < MaxTemp)) {
		k10.canvas->canvasText((String(mind_n_Temperature) + String("C")), 155, 55, 0x00FF00, k10.canvas->eCNAndENFont24, 50, false);
	}
	else {
		k10.canvas->canvasText((String(mind_n_Temperature) + String("C")), 155, 55, 0xFF0000, k10.canvas->eCNAndENFont24, 50, false);
	}

	if ((mind_n_Humidity < MaxHum)) {
		k10.canvas->canvasText((String(mind_n_Humidity) + String("%")), 155, 100, 0x00FF00, k10.canvas->eCNAndENFont24, 50, false);
	}
	else {
		k10.canvas->canvasText((String(mind_n_Humidity) + String("%")), 155, 100, 0xFF0000, k10.canvas->eCNAndENFont24, 50, false);
	}

	if ((mind_n_CO2 < MaxCO2)) {
		k10.canvas->canvasText((String(mind_n_CO2)), 135, 143, 0x00FF00, k10.canvas->eCNAndENFont24, 50, false);
	}
	else {
		k10.canvas->canvasText((String(mind_n_CO2)), 135, 143, 0xFF0000, k10.canvas->eCNAndENFont24, 50, false);
	}

	if ((mind_n_Noise < MaxNoise)) {
		k10.canvas->canvasText((String(mind_n_Noise)), 135, 185, 0x00FF00, k10.canvas->eCNAndENFont24, 50, false);
	}
	else {
		k10.canvas->canvasText((String(mind_n_Noise)), 135, 185, 0xFF0000, k10.canvas->eCNAndENFont24, 50, false);
	}

	k10.canvas->updateCanvas();
	delay(2000);
}
If you use this code, remember to include the two background images!
I will update you with the projects my students will create in the coming months. I believe that with the UNIHIKER K10 we will be able to work using different technologies, from WiFi to Bluetooth, from MicroPython coding to AI.