


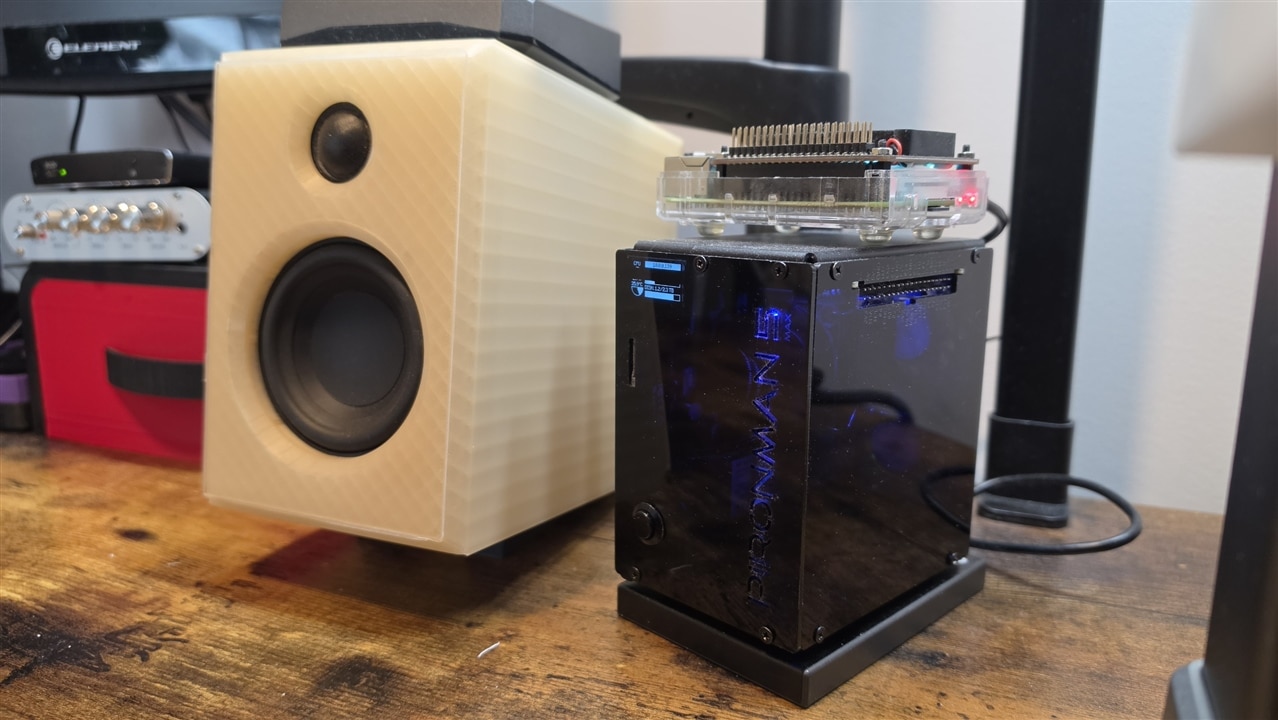
Current Setup for Gaia and Gaia wall. Raspberry Pi 5 16gb with a Pironman 5 max case with 500gb m.2 drive and 1tb external for storage and above it currently is the Raspberry Pi 4 4GB with 64GB micro SD card for the GAIA wall node.
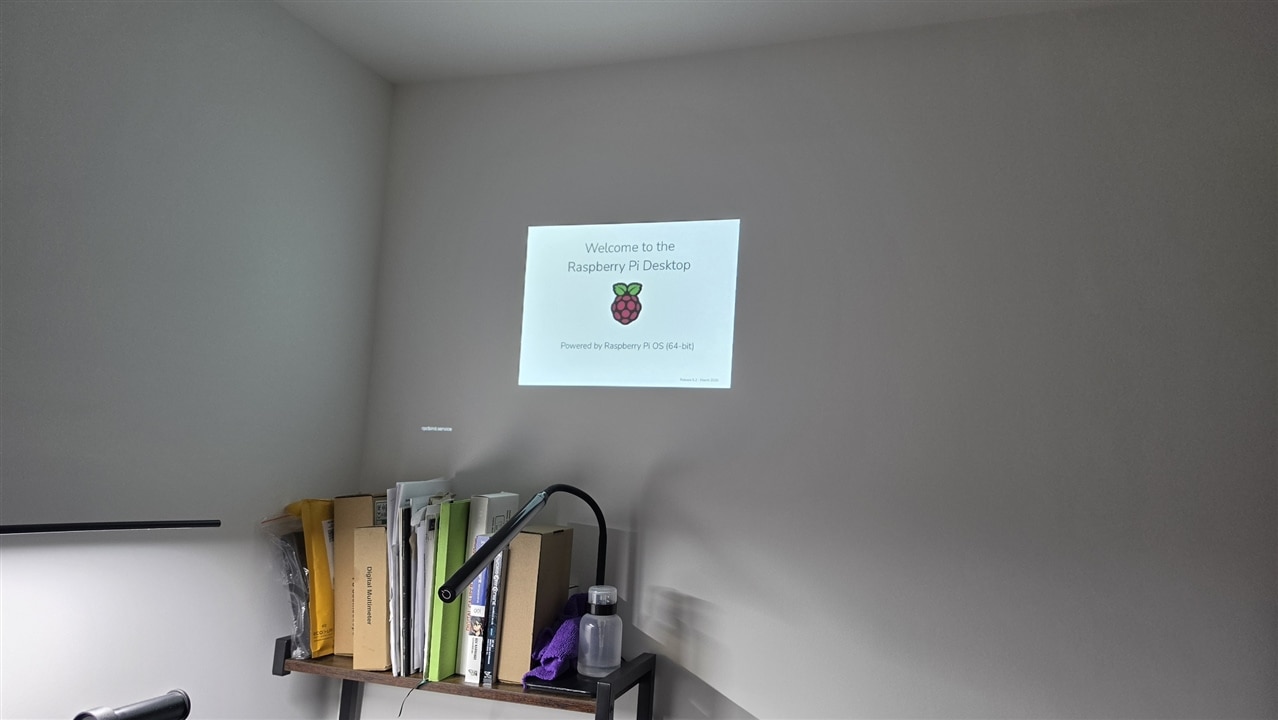
GAIA Wall first time booting up
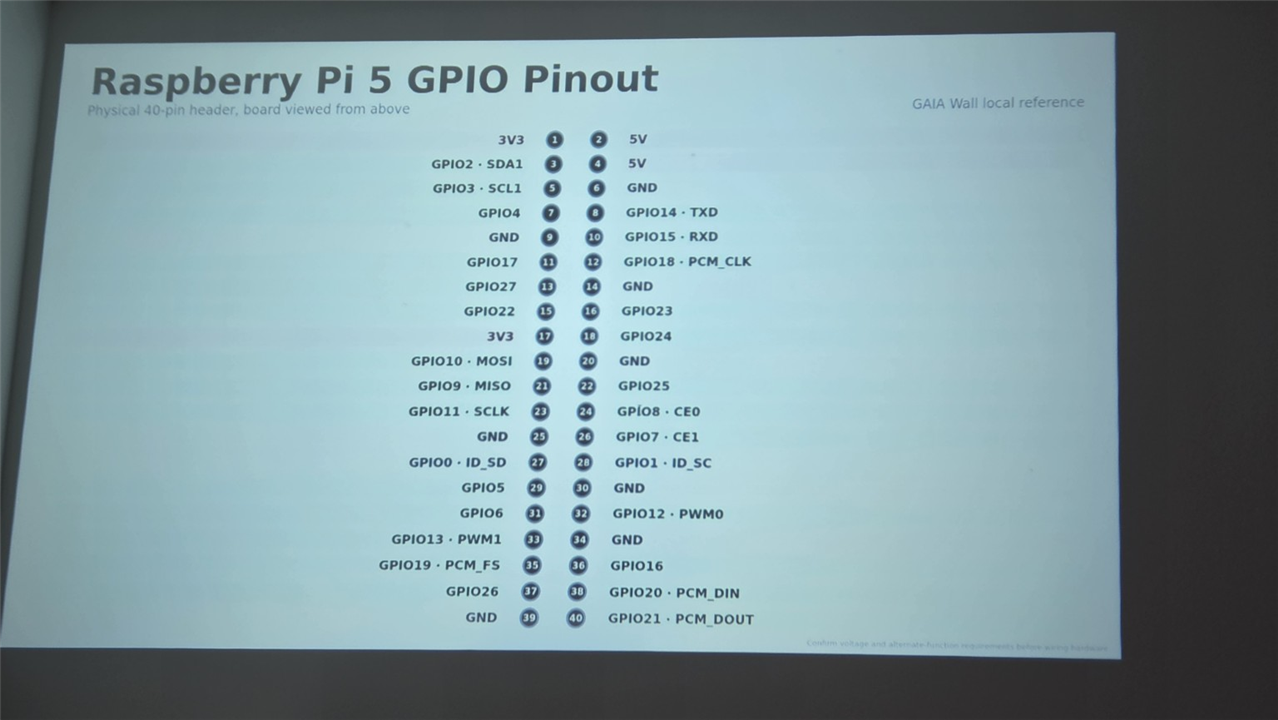
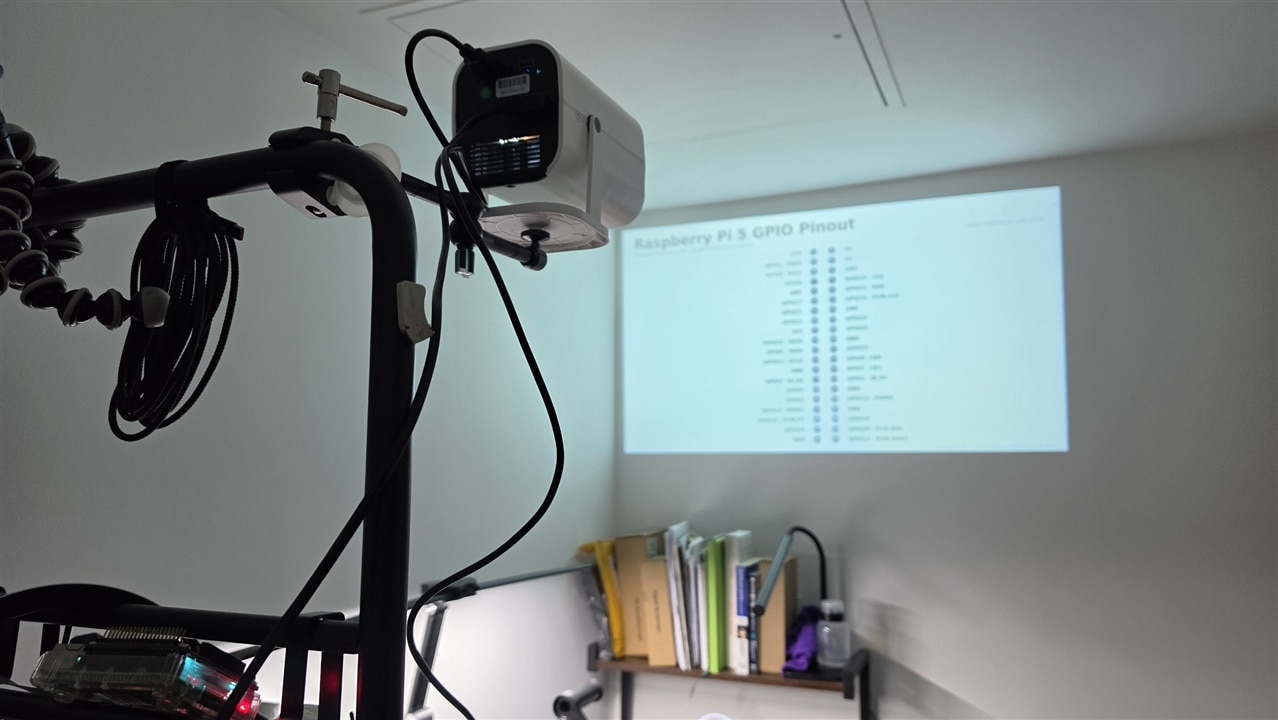
GAIA Wall displaying a Raspberry Pi 5 GPIO reference page full-size on the workshop wall.
What Is GAIA?
GAIA is an ongoing project I have been building around a Raspberry Pi 5 to create a local workshop assistant and control system.
The goal is not simply to make another chatbot. I want GAIA to become part of the electronics workshop itself.
The main system is being designed to help with things such as:
-
Project information and reference material
-
Workshop utilities
-
Local documentation
-
Media and display control
-
Project status and organization
-
Local AI-assisted functions
-
Controlling additional devices around the workshop
One of the important design goals is that as much of the system as possible can operate locally rather than depending entirely on cloud services.
My main GAIA system runs on a Raspberry Pi 5 with local storage and connects to other devices around the workshop over my local network. As the project has grown, I have started experimenting with the idea of giving GAIA additional dedicated nodes.
One of those is GAIA Wall.
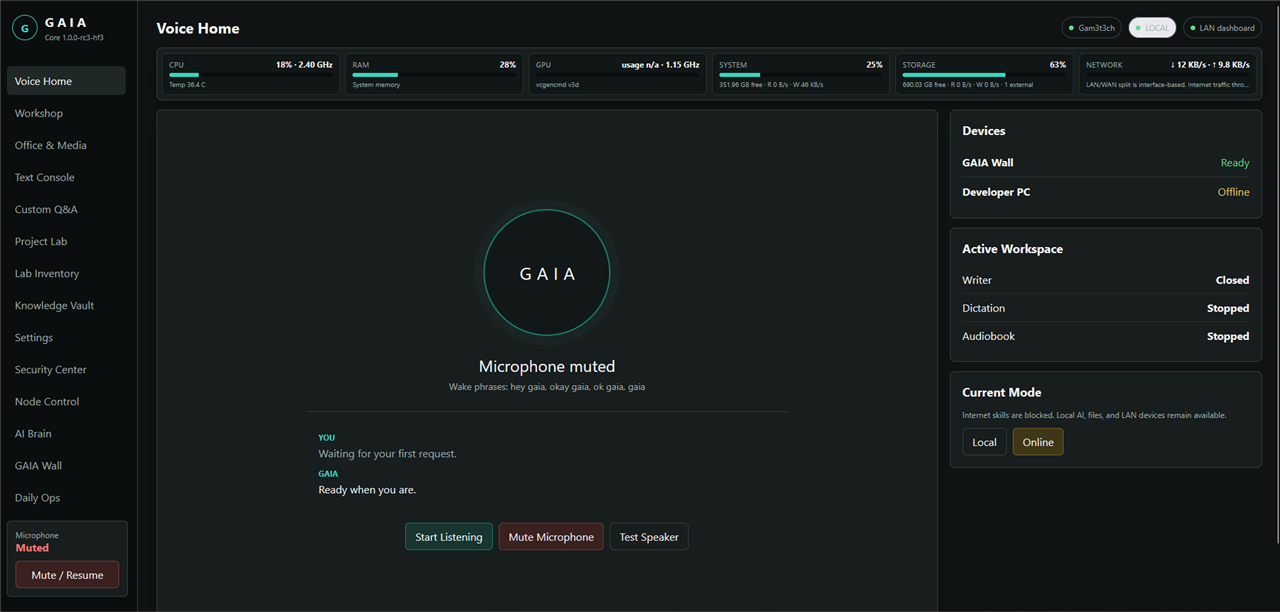
screenshot of my current GAIA dashboard home page simple and works. any device on the network can access it and I have a remote app that I can send voice commands on any device to it as well. I can also control my main computers and transfer files through a program I designed for it for easy access to files I might be working on. Many machines one GAIA fully offline on the LAN (no outside influence unless I allow it) and has built in virus scanning and other features. Maybe more on this in the future.
So What Is GAIA Wall?
GAIA Wall is a separate Raspberry Pi connected to a projector.
Instead of treating the projector as another monitor connected directly to my main computer, I wanted it to become an independent display device that GAIA could control over the network.
The idea is that I can eventually tell GAIA:
"Put this on the wall."
The Raspberry Pi Wall Node then handles displaying it. This keeps the projector independent from my main workstation and gives me a large workshop display that can change depending on what I am doing.
Why Build It?
Like most electronics workbenches, mine has slowly accumulated monitors, computers, test equipment and projects in various stages of completion.
I also had a projector available and an empty wall. That combination was probably always going to end badly.
Initially I thought about simply connecting the projector to one of my computers as another monitor. But that would mean extending the desktop, managing another display from the main PC, and keeping that computer responsible for whatever was being shown.
Instead I wanted the projector to behave more like a network appliance. The Raspberry Pi connected to it would run the display locally. GAIA would only need to tell it what mode or information to show.
The Bigger Idea
Rather than building one fixed dashboard, GAIA Wall is being designed around different display modes. Depending on what I am doing in the workshop, the wall could eventually become:
-
A large reference display
-
A project status board
-
A digital whiteboard
-
A documentation screen
-
A video display
-
A livestream or chat monitor
-
A project command centre
-
A split-screen information display
-
A blank or ambient wall when it is not needed
So instead of the projector having one purpose, it becomes another output device for the overall GAIA system.
Basic Architecture
The current concept looks something like this:
|
GAIA Main System - Raspberry Pi 5 |
The main GAIA system acts as the controller. GAIA Wall is responsible for actually rendering the content.
That means the main computer does not need to continuously stream an entire desktop or video feed to the projector. It can simply send commands such as:
|
WALL MODE: REFERENCE |
Building the First Wall Node
The first objective was much simpler than the final vision: turn on the Raspberry Pi, turn on the projector and automatically display a dedicated GAIA Wall interface without needing a keyboard or mouse.
My current hardware setup is fairly simple:
-
Raspberry Pi
-
Raspberry Pi power supply
-
HDMI projector
-
Network connection
-
Projector wall or screen
-
Keyboard and mouse for development
Once configured, the keyboard and mouse should not be required during normal operation. That is important because I eventually want the Wall Node to behave more like an appliance than a computer. Power it on and it should simply work.
The Wall Interface
The Wall Node runs its own lightweight local web interface. Chromium is then launched in kiosk mode and pointed at that local interface:
|
chromium --kiosk http://127.0.0.1:8787 |
Chromium becomes the full-screen rendering engine. There are no normal browser controls or desktop elements visible during normal operation.
The intended startup process is:
|
Power On |
First Success
Launching everything manually worked very well. Once the local Wall service was running, Chromium opened in kiosk mode and the interface appeared full-screen through the projector.
That was the point where GAIA Wall stopped being an idea and became a real working node.
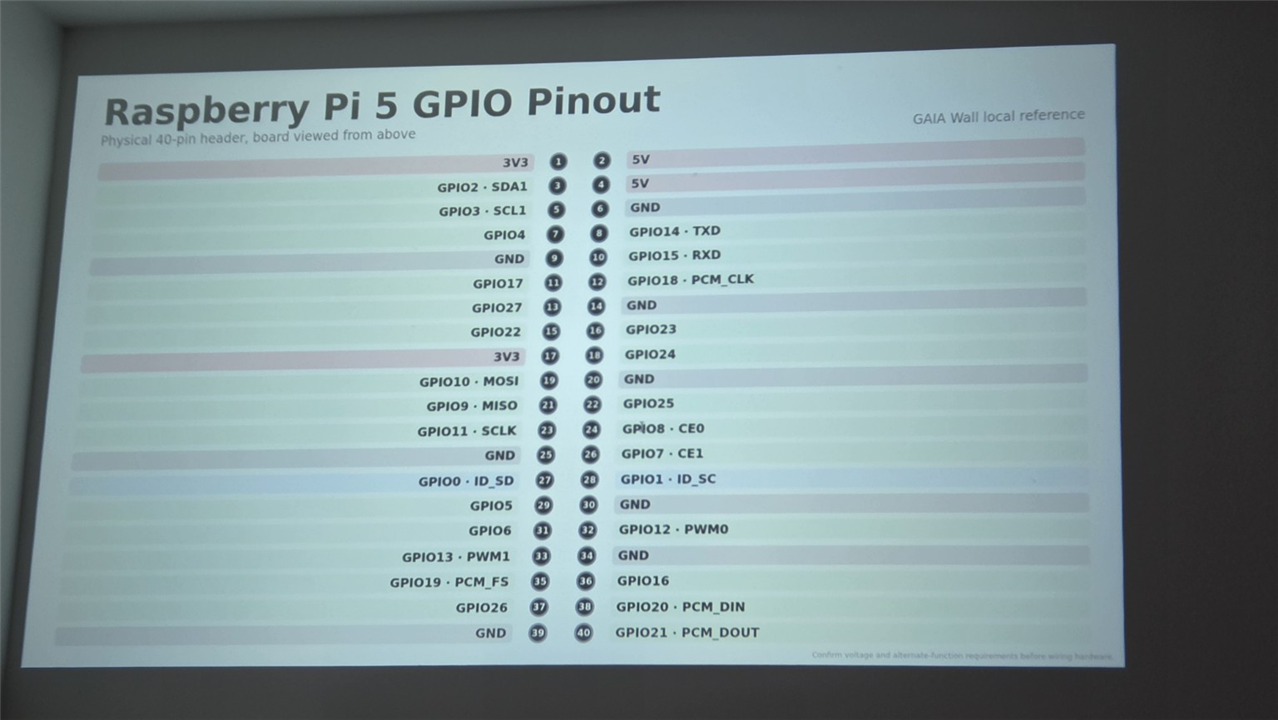
A closer view of the working projector output. The "GAIA Wall local reference" page is being rendered by the Wall node.
One of the first useful modes was a local electronics reference display. In this example the wall is showing a Raspberry Pi 5 GPIO pinout, exactly the kind of information I often want visible while working at the bench.
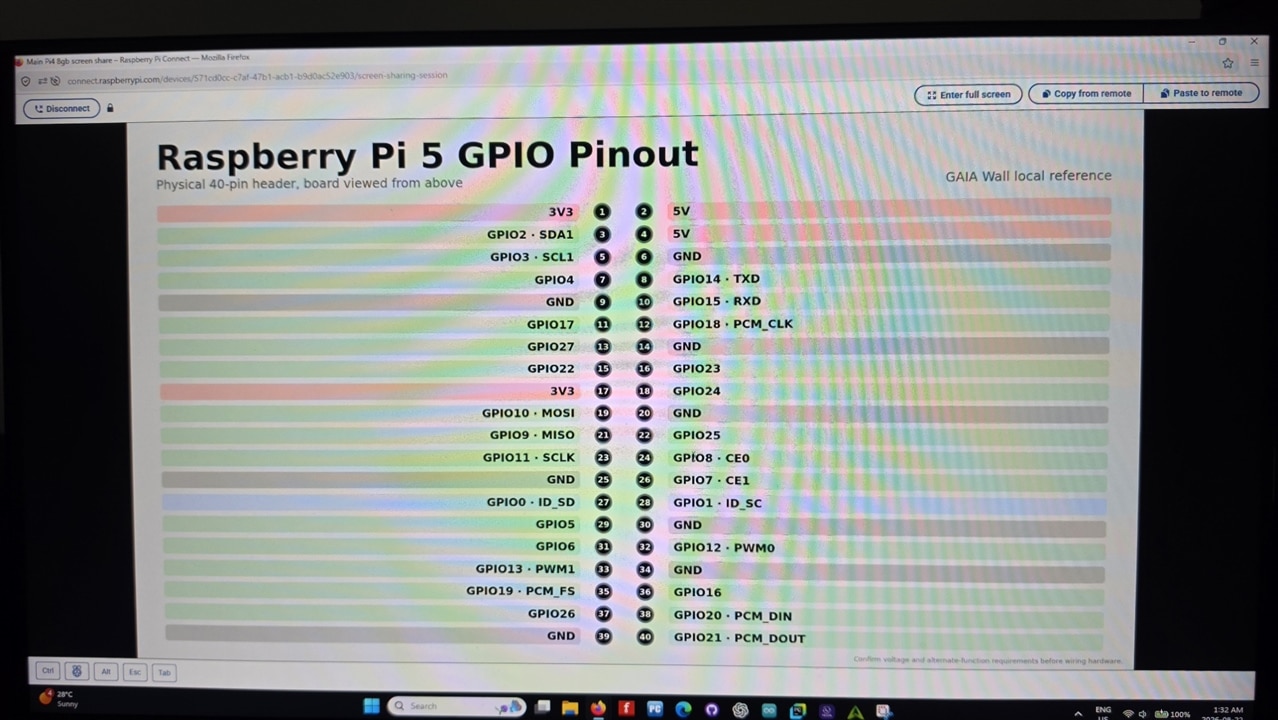
The same GAIA Wall reference mode viewed remotely during development and testing.
The Giant White Screen Problem
The next step was obvious: make it happen automatically when the Raspberry Pi boots. That is where things became more interesting.
After configuring Chromium to start automatically, I rebooted the Raspberry Pi. The projector came on. Chromium started. And I was greeted by a huge white screen.
Not quite the workshop command centre I had imagined.
The strange thing was that almost everything appeared to be working. The Raspberry Pi had booted, the projector was working, the GAIA Wall service was running, and Chromium had launched. But the display itself was blank.
If I closed Chromium and launched the exact same kiosk command manually a little later, GAIA Wall appeared normally. That was the clue.
The white screen issue during initial bootup.
Tracking Down the Problem
The problem appears to be a startup race. Chromium can launch before the graphical environment and Wall service are completely ready. The result can be a stale, blank or failed kiosk window even though the individual parts of the system are healthy.
During development I captured several failure states that helped narrow down the problem.
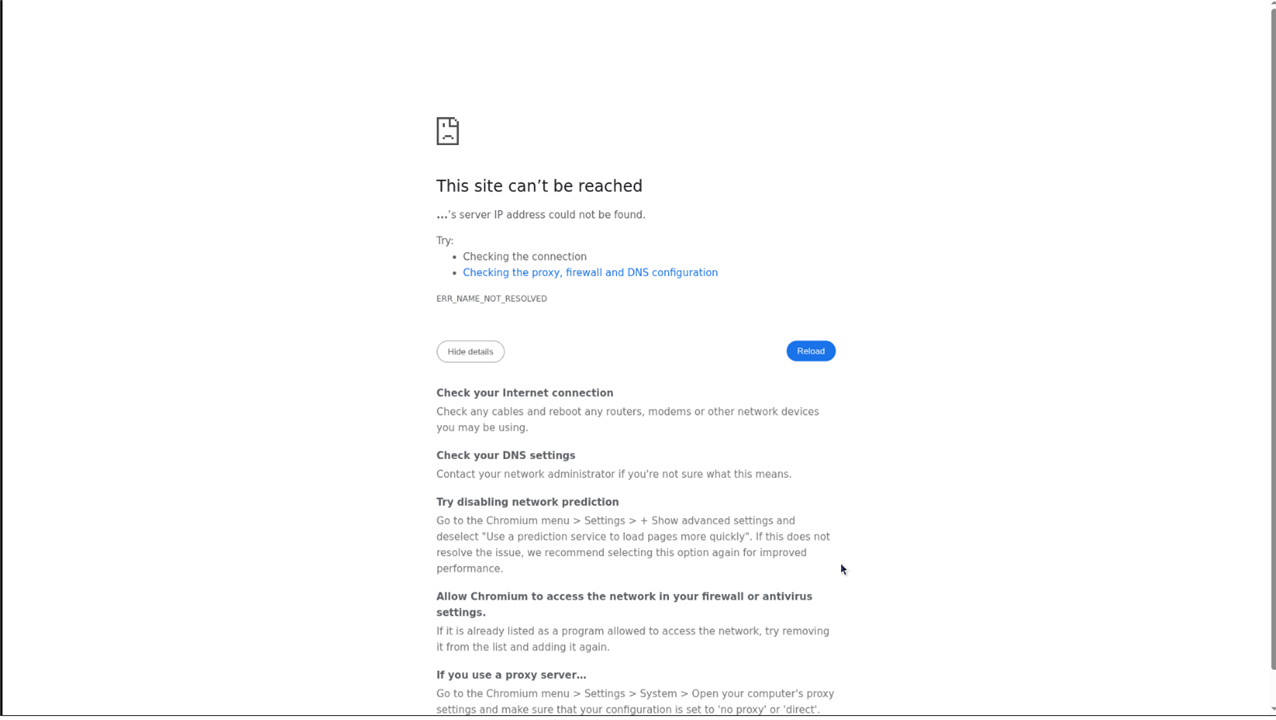
One early Chromium failure during Wall-node development. The browser was alive, but the target it expected was not available at that moment.

A Raspberry Pi remote session during startup troubleshooting. Desktop-session details such as the keyring prompt were another reminder that unattended kiosk boot is different from manually launching the same software later.
Restarting Chromium after the system had settled fixed the display:
|
killall chromium |
That told me the display software itself was not really broken. The issue was when it was being started.
It is one of those problems where every individual part works perfectly until you ask them all to work together automatically.
Improving the Startup System
I could simply add a large fixed delay before launching Chromium, but I would prefer the system to actually check whether everything it needs is ready.
The improved sequence should look more like:
|
Boot Raspberry Pi |
Eventually I would also like the Wall Node to monitor its own display process. If Chromium crashes or becomes unresponsive, GAIA Wall should be capable of recovering automatically. That gets it closer to the appliance-like behaviour I am aiming for.
Adding Different Display Modes
Once the basic web display was working, I started experimenting with different things GAIA could put on the wall.
One of the first additions was media playback using VLC. Instead of forcing every type of content through a browser, the Wall Node can launch the most appropriate local application.
|
GAIA WALL |
Media Mode
VLC allows the projector to become a full-screen media display. Possible uses include reference videos while building something, test footage, project demonstrations, locally stored media and presentations. When playback finishes, the node can return to its normal GAIA Wall interface.
Stream and Chat Mode
I have also experimented with using GAIA Wall during livestreams. For example, the projector could show a stream chat window while my normal monitors remain available for development and test equipment.
Another option is displaying both a stream and chat together. This introduced another challenge because I wanted these browser sessions to remain separate from the main GAIA Wall kiosk. Using isolated Chromium profiles provides a way to keep those functions separate.
Why Not Just Use Another Monitor?
I could connect the projector directly to my main PC and extend the desktop, but having a dedicated Raspberry Pi node gives the system some useful advantages.
The Wall becomes independent. My main workstation does not have to manage the projector as another desktop display. The Raspberry Pi can be rebooted or modified without interrupting my main machine.
More importantly, anything on the network could potentially control it. GAIA might be the main controller today, but later I could add physical workshop buttons, a touchscreen controller, mobile controls, other Raspberry Pi nodes or automated project actions.
That is where the network-node approach starts becoming more interesting than simply adding another monitor.
Current Status
GAIA Wall is currently working as a functional prototype.
Working
-
Raspberry Pi drives the projector
-
Local GAIA Wall service
-
Chromium kiosk display
-
Full-screen web interface
-
Network-controlled display concept
-
VLC full-screen media playback
-
Multiple display-mode experiments
-
Stream and chat experiments
Still Being Developed
-
Completely reliable automatic startup
-
Chromium crash recovery
-
Cleaner mode switching
-
Split-screen layouts
-
Additional workshop displays
-
Remote configuration
-
Better error handling
-
More communication between GAIA and the Wall Node
- Smart on/off process for the projector.
The biggest immediate challenge is still making startup completely reliable. Fortunately, finding the white-screen problem helped narrow that down considerably.
Where GAIA Wall Fits Into the Larger Project
GAIA Wall is really just one example of where I would like the overall GAIA project to go.
Rather than having one Raspberry Pi trying to physically do everything, GAIA can eventually communicate with dedicated nodes around the workshop. One node might control a display. Another could collect sensor information. Another might interact with test equipment. The main GAIA system can then coordinate them.
|
GAIA Main System |
That lets me expand the system a piece at a time instead of trying to design everything at once. GAIA Wall is effectively the first big experiment with that distributed approach.
What's Next?
My immediate goals for GAIA Wall are:
-
Finish the startup watchdog system
-
Improve remote mode switching
-
Build better split-screen layouts
-
Add useful electronics reference displays
-
Improve media controls
-
Add project-specific wall pages
-
Continue integrating it with the main GAIA dashboard
I also have a few ideas involving physical controls and additional Raspberry Pi hardware, but those will probably become projects of their own.
Final Thoughts
GAIA originally started as an experiment in creating a useful local Raspberry Pi-based workshop assistant.
At some point I looked at the projector and the empty wall above my bench and thought:
"GAIA needs a screen. A really big screen."
That was probably where the trouble started.
What began as a simple kiosk display is now turning into a remotely controlled Raspberry Pi display node with multiple modes, media playback and its own recovery logic.
There is still plenty left to build.
But GAIA has officially taken over the wall.
A Raspberry Pi 4 4GB version with micro sd card was enough for now.
Where an Arduino UNO Q Could Fit
One interesting future expansion for GAIA Wall would be incorporating an Arduino UNO Q as a dedicated hardware interface node.
GAIA currently uses Raspberry Pi systems for the higher-level software and display functions, but there are plenty of things around a workshop where I would also like reliable real-time interaction with physical hardware.
The UNO Q is particularly interesting for this because it combines a Linux-capable processor with a dedicated microcontroller on the same board. That could let one part of the system handle networking, local applications or higher-level processing while the microcontroller handles time-sensitive I/O.
Within GAIA, I could see it becoming something like a Workshop I/O Node:
GAIA MAIN
|
Local Network
|
-------------------------------
| |
GAIA Wall Arduino UNO Q
Display Node Workshop I/O Node
|
---------------------------------------
| | | |
Sensors Buttons Relays Equipment
Some possibilities would be physical GAIA controls, environmental sensors, status indicators, equipment monitoring, trigger inputs, or dedicated controls for the Wall itself.
Because the UNO Q also has Wi-Fi, Bluetooth, GPIO, ADC, PWM, I2C/I3C, SPI, UART and CAN available, there is quite a bit of room to experiment with making GAIA interact with the physical workshop rather than remaining primarily a software system.
A particularly fun idea would be a physical GAIA control console with buttons, rotary controls and status indicators. Pressing a hardware button could tell GAIA Wall to bring up a schematic, switch to media mode, blank the projector, start a project display or perform another workshop action. cause lets just say you get a cold and cant talk for a bit would need some way to interact with it.
That may have to become another project.
It's a work in progress but enjoying the journey of being able to incorporate so many projects into one ecosystem.
Thanks for checking out my project so far!