


This project outlines the process of upgrading a standard lamp enclosure into an automated, touch-controlled smart lamp using a microcontroller and basic sensors.
Smart Features
-
Intelligent Automation: The LDR continuously monitors ambient room light, ensuring the lamp only activates when the environment is actually dark.
-
Touch Dimming: A long press on the TTP223 sensor adjusts the brightness via PWM, allowing you to set a mood or conserve battery life.
-
Soft-Off (Grace Period): To prevent accidental blackouts from sensitive touch sensors, tapping to turn the lamp off triggers a 5-second blinking countdown before cutting power. Touching the sensor again during this period cancels the shutdown.
Wiring the Power Supply
The TP4056 module safely charges the battery and provides power to the Arduino. Because the ATmega328 chip on the Nano operates between 1.8V and 5V, the 3.5V-4.2V output of the Li-ion battery can connect directly to it.
-
Battery (+) → TP4056 B+
-
Battery (-) → TP4056 B-
Connecting the Sensors
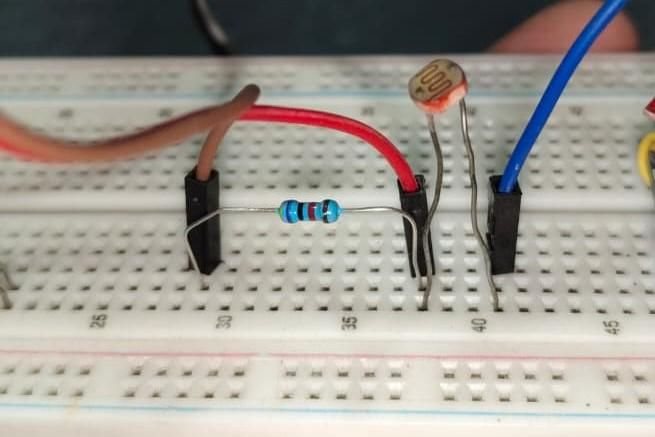
LDR (Light Sensor):
-
LDR Leg 1 → Arduino 5V
-
LDR Leg 2 → Arduino A1
-
Resistor Leg 1 → Arduino A1 (Shares the pin with LDR Leg 2)
-
Resistor Leg 2 → Arduino GND
TTP223 Touch Sensor:
-
VCC → Arduino 5V
-
GND → Arduino GND
-
I/O Pin → Arduino D6
Connecting the LED & MOSFET
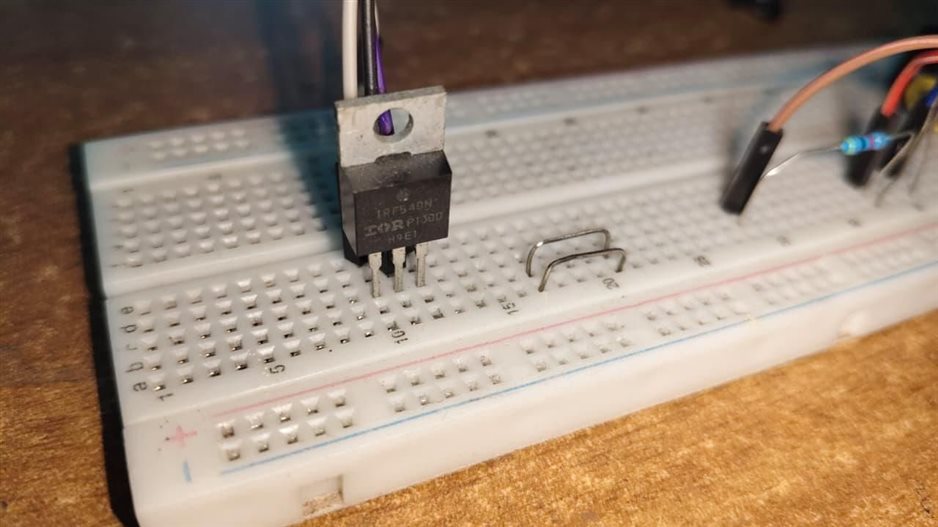
Arduino pins cannot supply enough current to directly power a high-brightness LED, so the IRFZ44N MOSFET acts as an electronic switch.
-
Gate (Pin 1) → Arduino D11
-
Drain (Pin 2) → LED Negative
-
Source (Pin 3) → Arduino GND
-
LED Positive → TP4056 OUT+
Code Logic
Stable Readings: The Arduino reads the LDR sensor 50 times rapidly (with a 1ms delay) and calculates the average to get a stable, reliable value. A higher value (> 800) means Dark, and a lower value means Bright. The lamp turns on or off according to these values.
Anti-Flicker Mechanism: This is the most important part of the code! When the lamp turns on in a dark room, the room suddenly becomes bright. If the Arduino checked the light level normally, it would think, "It's bright now!" and turn the lamp off, causing endless flickering.
The Fix: Immediately after turning the LED on, the code waits 500ms for the system to stabilize. It then takes a new brightness reading which also includes the lamp's own light and saves it as a current_reference variable. This value effectively becomes the new baseline. The Arduino is now saying, "Okay, this brightness level is the new 'Dark'. I will ignore this much light."
Testing the Prototype
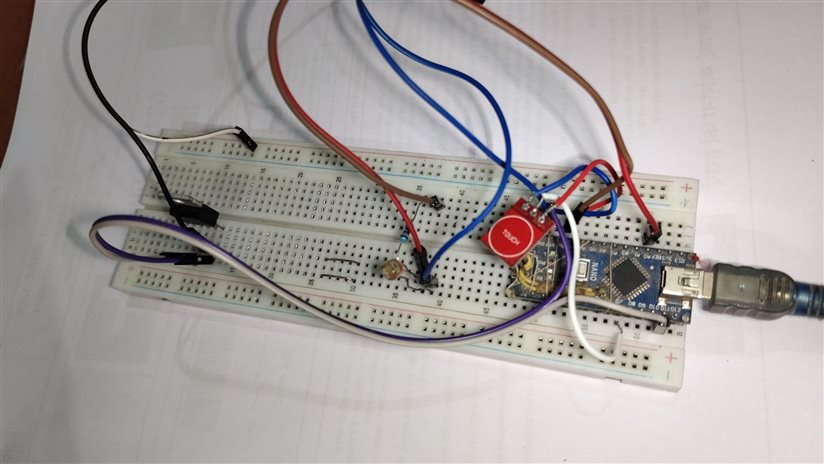
Before adding the circuit inside lamp i need to test it so that if any problem occurs i can fix it easily