


1. Introduction
Internet is supposed to make us closer and to make the world smaller, and this should be true especially during the Christmas holidays, when parents and relatives from all over the world reunite to have a special lunch or dinner. However this is not always possible, especially in this pandemic era. I was wondering about a way to share Christmas times from afar, and I realized that the center and the symbol of these times is the Christmas tree. So my conclusion was: why not create something to share feelings and wishes while all of us are close to a Christmas tree (even if the trees are located in different continents). And which is the best way to share thoughts? Obviously Twitter!
At the end of these random reasoning, I devised a Christmas tree ornament that can visualize Tweets on an eink screen. The components for this project are
- The TMC2300 IoT reference board: I selected this board because I want to add some "special Fx" to the ornament
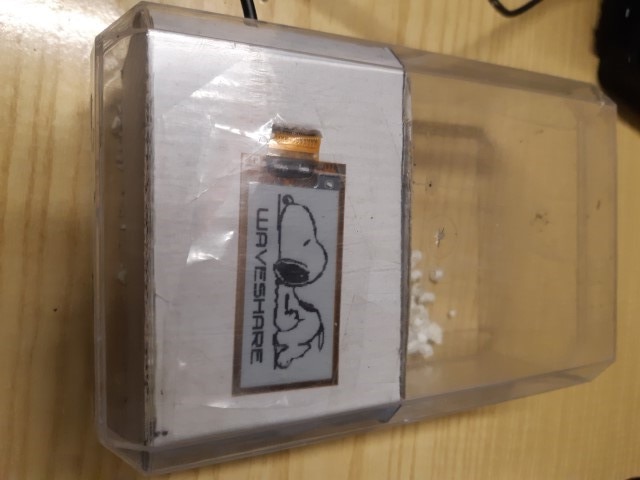
- a eink display. I found an interesting 2.9 inches flexible display by Waveshare. It has an SPI interface, so it is perfectly compatible with any microcontroller
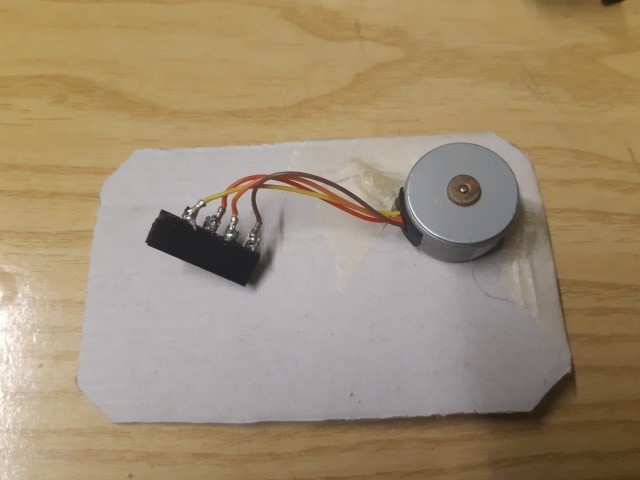
- a 2-phases motor
- a battery pack
2. TMC2300 IoT Reference board
The base for this project is the TMC2300 IoT Reference board, which I roadtested in this blog. This is an evaluation board that combines the ESP32 processor with a TMC2300 motor controller for battery-based applications. Getting started with this platform is very easy, because it is compatible with the Arduino Pico kit board
3. Twitter API
The first thing to implement is the capability to read Tweets.
To make any request to the Twitter API, you require a so-called Bearer Token. This is a token that you need to pass in the header of any request you make to Twitter. For this, you need to apply for a developer account with Twitter and have your account approved. Once approved, you can create a project and associate it with a sample App. This App will provide you with your API Key and Access Token which you can use to authenticate and use the Twitter API.
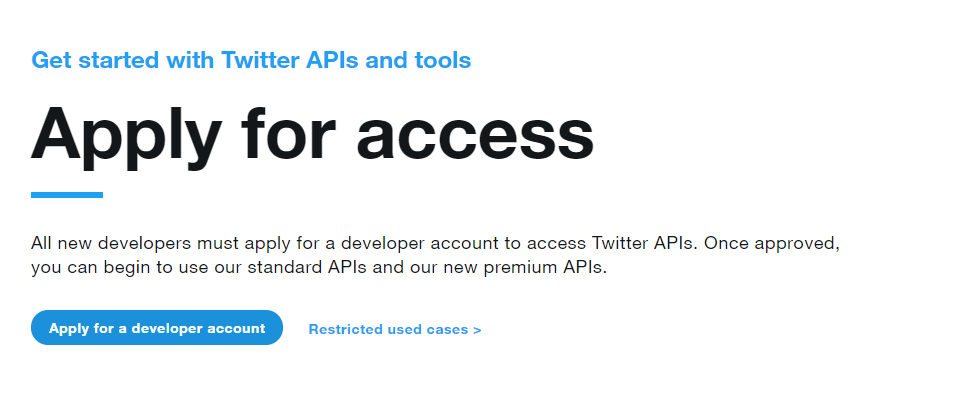
3.1 Apply for a developer account
To apply for a developer account with Twitter, navigate to Twitter’s apply for access page and apply for a developer account.
You’ll be redirected to the Twitter's login page. Login to your account.
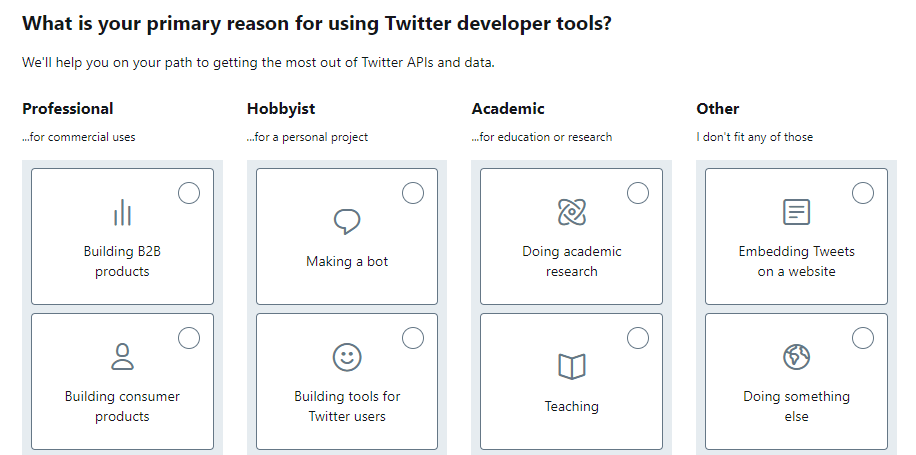
After logging in you’ll be navigated to a questionnaire on why and how you intend to use the Twitter API. Fill it according to your use-case. If you’re a hobbyist using it to explore the API select Exploring the API under the Hobbyist column.
Answer all the follow-up questions, review the Developer Agreement and Policy and Submit your Application.
In a few seconds, you should receive an email. Click the confirmation link to complete the application process.
3.2 Create Bearer Token
When you click the confirmation link in the email, you should be redirected to the Twitter Developer Portal

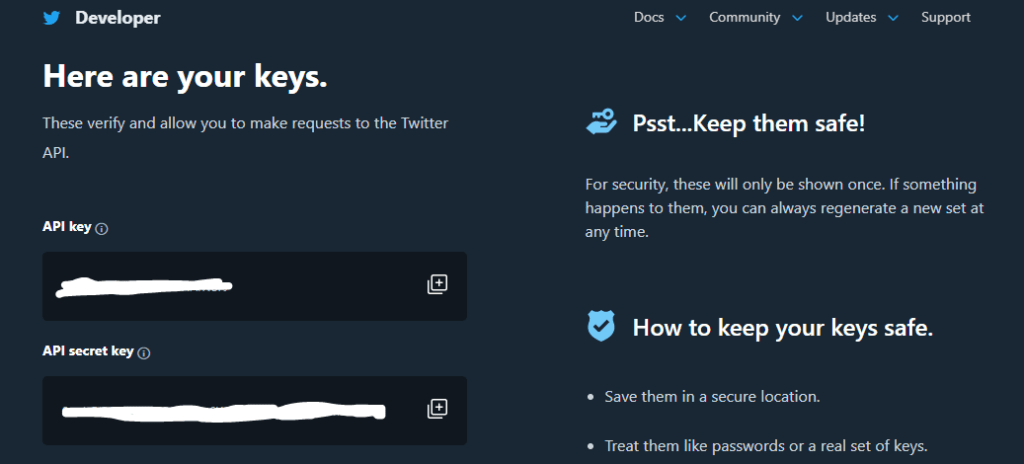
Give your App a name and click Get keys.
You’ll be shown your API keys, namely API key, API secret key and Bearer Token. Copy and save them
3.3 Reading Tweets
Now we can start reading Tweets. The list of supported API are available on the Twitter Developer Portal
Twitter API allows access to objects by invoking an HTTPS GET to a specific URL. So, first thing to do is to connect to Twitter host
WiFiClientSecure client;
// Use WiFiClient class to create TCP connections if (!client.connect("api.twitter.com", 443)) {}
Now, we can request the resource we are interested in. For example, to get most recent Tweets by Elon Musk, we can GET the following URL
/2/tweets/search/recent?query=from:ElonMusk&tweet.fields=created_at&expansions=author_id&user.fields=created_at
This is implemented by the following code
client.println("GET /2/tweets/search/recent?query=from:ElonMusk&tweet.fields=created_at&expansions=author_id&user.fields=created_at HTTP/1.1"); client.println("Host: api.twitter.com"); client.println("User-Agent: arduino/1.0.0"); client.println("Authorization: Bearer " + BEARER_TOKEN); client.println("");
Here we are adding the Bearer Token the HTTP request, as per Twitter API specification
You get back a Json document like this
{ "data": [ { "text": "@EvaFoxU @cnunezimages Still much to be done, but it has that potential", "id": "1471803138273386498", "author_id": "44196397", "created_at": "2021-12-17T11:23:07.000Z" }, { "text": "@BBC_Future This is a big deal", "id": "1471783831845982213", "author_id": "44196397", "created_at": "2021-12-17T10:06:24.000Z" }, ...]
On Arduino, Json documents can be parsed by leveraging the ArduinoJson library, which can be installed from the Arduino IDE's Libray manager
ArduinoJson implements a very convenient function to deserialize a Json document from a stream. Unfortunately, the response includes some extra HTTP metadata, so you have to build a string with the response, then pass the string to the deserializeJson function, as shown in code snippet below
String line; int startFound = 0; while(client.available()) { String tmp = client.readStringUntil('\r'); if (tmp[1] == '{') startFound = 1;
if (startFound) line += tmp;
if (!client.available()) delay(1000); }
DynamicJsonDocument doc(16384); DeserializationError error = deserializeJson(doc, line);
Now we can extract the "data" array
JsonArray arr = doc["data"];
and iterate on each element of the array to read all the Tweets
for (int i=0; i<arr.size(); i++) { JsonObject obj = arr[i]; String authorId = String((const char*)obj["author_id"]); Serial.println(String((const char*)obj["text"])); }
The same approach an be used to access all the information we may require. For example, the name of the user can be retrieved by GETting this URL
/2/users/"+authorId
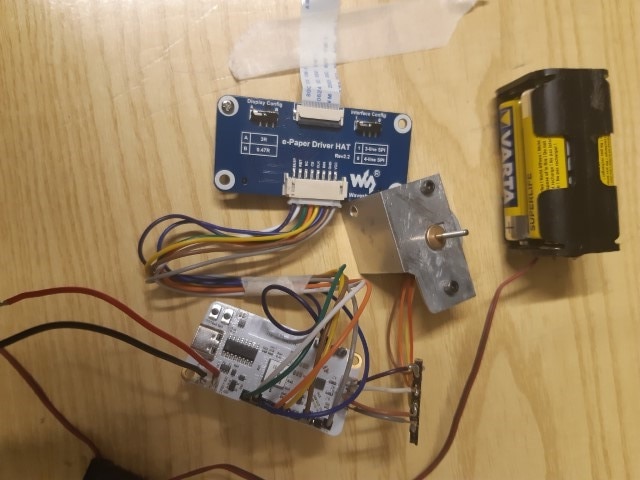
3. Display
The display I chose was the Waveshare 2.13" e-Paper HAT (D)
All the information about the product and the software required to drive the display are available here
The hat comes with a connector with wires that can be connected to a standard header. The pins used are as follow
| TMC2300-IoT-REF pin | ESP32 pin | e-Paper HAT |
| DIO0 | IO14 | CK |
| DIO1 | IO19 | CS |
| DIO2 | IO13 | DIN |
| DIO3 | IO25 | RST |
| DIO4 | IO26 | DC |
| DIO5 | IO33 | BUSY |
4. Driving the motor
To drive the motor, I will use the same functions I developed for the roadtest, namely
setMaxCurrent: set the maximum current the TMC2300 will drawsetVelocity: set the motor speed (in rpm)setDirection: set motor directiontmcEnable: start/stop motor
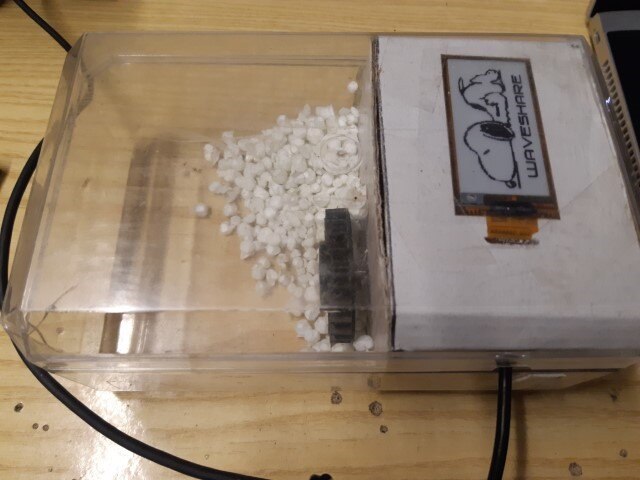
The motor will be started for a few seconds every time a new Tweet is received. The airflow generated by the fan will move the polystyrene balls to simulate a snowfall
5. The ball
The initial plan was to put everything inside a Christmas tree ball, but the display hat board was too cumbersome. For this reason, I switched to a transparent box .
- a transparent box
- cardboard
- a small piece of polystyrene
I created a small box from cardboard to hide all the electronics and placed everything inside the box
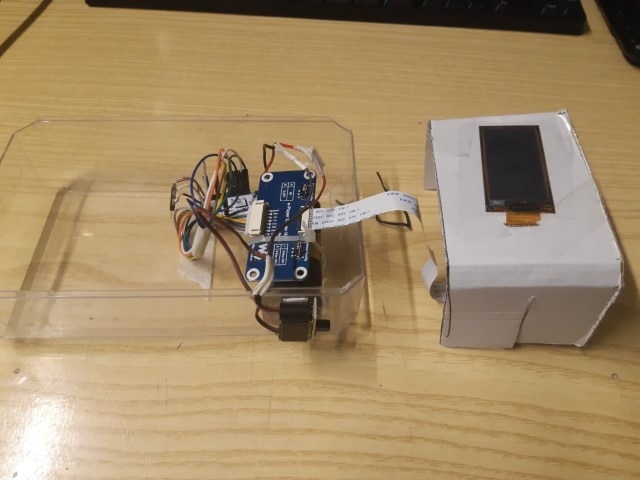

Then, I mounted a PC fan on the shaft of the stepper motor, placed all the electronics inside the plastic box, filled with some polystyrene balls
6. Demo
(Apologize to provide an external link, but I keep on getting an internal server error when I try to upload a video...)
7. Final thoughts
This project led me to get some valuable knowledge about Twitter and its API. Next planned steps are
- add some light effects to make the new message notification more dramatic
- make a more compact assembly and try to fit everything in a transparent Christmas ball
- clean-up the code, which is currently quite messy (in case you are brave enough, code is available here)
- extend the Twitter library for Arduino (the first release is available here) to support tweeting (this requires a lot of work to authenticate using oauth2)
I hope you enjoyed this project, thanks for reading!

