element14 Community
element14 Community
    Register Log In
  • Site
  • Search
  • Log In Register
  • Members
    Members
    • Benefits of Membership
    • Achievement Levels
    • Members Area
    • Personal Blogs
    • Feedback and Support
    • What's New on element14
  • Learn
    Learn
    • Learning Center
    • eBooks
    • STEM Academy
    • Webinars, Training and Events
    • Learning Groups
  • Technologies
    Technologies
    • 3D Printing
    • FPGA
    • Industrial Automation
    • Internet of Things
    • Power & Energy
    • Sensors
    • Technology Groups
  • Challenges & Projects
    Challenges & Projects
    • Design Challenges
    • element14 presents
    • Project14
    • Arduino Projects
    • Raspberry Pi Projects
    • Project Groups
  • Products
    Products
    • Arduino
    • Dev Tools
    • Manufacturers
    • Raspberry Pi
    • RoadTests & Reviews
    • Avnet Boards Community
    • Product Groups
  • Store
    Store
    • Visit Your Store
    • Choose Another Store
      • Europe
      •  Austria (German)
      •  Belgium (Dutch, French)
      •  Bulgaria (Bulgarian)
      •  Czech Republic (Czech)
      •  Denmark (Danish)
      •  Estonia (Estonian)
      •  Finland (Finnish)
      •  France (French)
      •  Germany (German)
      •  Hungary (Hungarian)
      •  Ireland
      •  Israel
      •  Italy (Italian)
      •  Latvia (Latvian)
      •  
      •  Lithuania (Lithuanian)
      •  Netherlands (Dutch)
      •  Norway (Norwegian)
      •  Poland (Polish)
      •  Portugal (Portuguese)
      •  Romania (Romanian)
      •  Russia (Russian)
      •  Slovakia (Slovak)
      •  Slovenia (Slovenian)
      •  Spain (Spanish)
      •  Sweden (Swedish)
      •  Switzerland(German, French)
      •  Turkey (Turkish)
      •  United Kingdom
      • Asia Pacific
      •  Australia
      •  China
      •  Hong Kong
      •  India
      •  Korea (Korean)
      •  Malaysia
      •  New Zealand
      •  Philippines
      •  Singapore
      •  Taiwan
      •  Thailand (Thai)
      • Americas
      •  Brazil (Portuguese)
      •  Canada
      •  Mexico (Spanish)
      •  United States
      Can't find the country/region you're looking for? Visit our export site or find a local distributor.
  • Translate
  • Profile
Cool LED Display
  • Challenges & Projects
  • Project14
  • Cool LED Display
  • More
  • Cancel
Cool LED Display
Blog Hello My Name is...In Lights! (with instructional video and all required files!)
  • Blog
  • Forum
  • Documents
  • Events
  • Members
  • Mentions
  • Sub-Groups
  • Tags
  • More
  • Cancel
  • New
Cool LED Display requires membership for participation - click to join
Blog Post Actions
  • Subscribe by email
  • More
  • Cancel
  • Share
  • Subscribe by email
  • More
  • Cancel
Group Actions
  • Group RSS
  • More
  • Cancel
Engagement
  • Author Author: makethingstoday
  • Date Created: 11 Dec 2017 3:12 AM Date Created
  • Views 1493 views
  • Likes 10 likes
  • Comments 5 comments
  • ardintermediate
  • arduino_projects
  • name tag
  • leddisplaych
  • arduino_classic
  • ws2812
  • 3d print
Related
Recommended

Hello My Name is...In Lights! (with instructional video and all required files!)

makethingstoday
makethingstoday
11 Dec 2017

Get Your Name in Lights and be the Life of the Party!  Clips on to your pocket!

image

This is a simple little project which you can use to get lots of attention at a party or event.

Materials Required:

3D Printed Parts

    https://www.thingiverse.com/thing:2687490

Small Switch

3 WS2812 LED Lights

Small Ardiuno - Nano, Nano Pro, or Digispark/Pro (Nano used in this howto)

Wires

Paperclips

2 2032 Batteries


Printing the Parts:

You need to print one of each part except for the clips, which you need 2 of.  When printing the pieces with words on them, you will want to use either a printer with dual nozzles, or set up your print to pause at the correct height so you can switch materials.  Instructions on doing this with Cura are available in the Youtube video below.  You will also have to glue the top and bottom sections of the name plate to the middle section.  This extra step is what allows you to have a faceplate with 4 different materials while using a single-extruder printer.


If you would like to change the name (very likely) here are the CAD files:

https://cad.onshape.com/documents/68be14817735aabb55c98f10/w/c4eb95c4e3f62b0a7c5e5b9a/e/0099cf37e03046918f6f55f3


The video below also walks you through making the required changes to change the name.


Assembling the Electronics:


As you can see below, the 2032 coin cells sit in the circular bits of the name tag back piece - one with positive side up, and the other with negative side up.  You will want to put a piece of paperclip with a sleight bend at each end in the channel below them before inserting the batteries.  You will also use 2 more small sections of a paperclip which are bent so they place pressure on the top of the batteries.  Your positive and negative wires are then soldered to these top clips - just make sure you solder the positive to the side with the positive battery facing up.  The positive wire goes to one pin of the the switch and then the next pin is wired to Vin on the Nano. The negative goes straight to GND of the Nano.  What this does is use the voltage regulator which is built in to the Nano board to supply the required 5 volts to everything.


Next you will want to run a wire from another GND pin of the Nano to the first LED board, another from the 5V pin of the Nano to 5V on the first LED board, and finally a wire from pin D6 from the Nano to the DI of the first LED.  You will then continue the string by wiring the 5V, GND and DO to the 5V, GND, and DI of the second LED board.  Repeat this to connect the second board to the third one.  You can then use a little double-sided tape to secure the LED's to the back of the case.

image

Once this is all done, you can program the Nano by follwing the instructions in the video below.  Here is a summary:

    Install and run the Arduino IDE

    Install the Adafruit NeoPixel library

    Load up the Example file in [File -> Examples -> Adafruit NeoPixel -> strandtest

    Change line 16 from:

              Adafruit_NeoPixel strip = Adafruit_NeoPixel(60, PIN, NEO_GRB + NEO_KHZ800);

    to:

              Adafruit_NeoPixel strip = Adafruit_NeoPixel(3, PIN, NEO_GRB + NEO_KHZ800);

    Program the Nano with this example


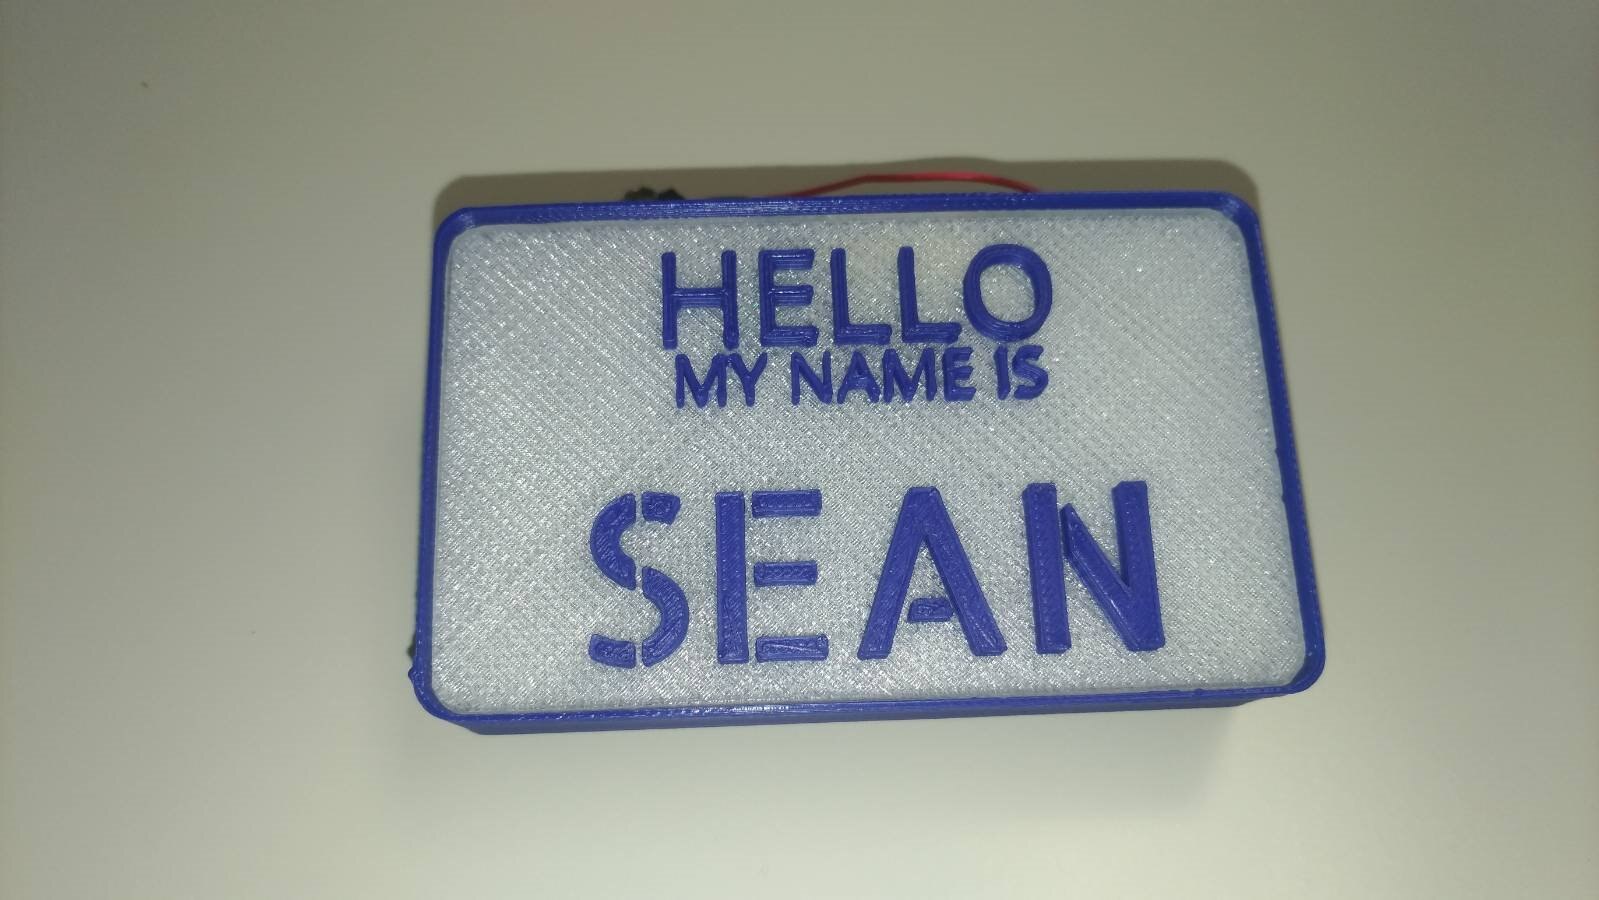
After it is programed you can test it out by turning on the switch and waiting a couple of seconds for the sequence to start.  Then put the front faceplate in place:

image


And finally glue on the pocket clips:

image


Now you just need to clip it on your pocket and turn it on!

You don't have permission to edit metadata of this video.
Edit media
x
image
Upload Preview
image


That is it!


Don't have the WS2812 LEDs?

Here is some pictures of an earlier prototype which I built while waiting for the LEDs to arrive...it uses the 6 PWM channels of the Nano and is powered by a 9volt battery in your pocket::

image

image

Any issues or questions?

Just comment on the Youtube video with any questions you may have!


Enjoy!

  • Sign in to reply

Top Comments

  • jw0752
    jw0752 over 5 years ago +1
    Hi Sean, Thanks for the awesome first post. I enjoyed your video and also the background tour of the awesome shop. I hope you stick around and favor us with some more projects. John
  • rachaelp
    rachaelp over 5 years ago +1
    Hi Sean, That's a cool project Welcome to Element14! We have a really friendly and supportive community here. Hopefully we'll get to see a lot more of your projects in future Best Regards, Rachael
  • COMPACT
    COMPACT over 5 years ago

    Great stuff!

    • Cancel
    • Vote Up 0 Vote Down
    • Sign in to reply
    • More
    • Cancel
  • mcb1
    mcb1 over 5 years ago

    Ultimate nerd pocket device ... much better than a pen protector.

    • Cancel
    • Vote Up 0 Vote Down
    • Sign in to reply
    • More
    • Cancel
  • makethingstoday
    makethingstoday over 5 years ago

    Thanks!

    • Cancel
    • Vote Up 0 Vote Down
    • Sign in to reply
    • More
    • Cancel
  • rachaelp
    rachaelp over 5 years ago

    Hi Sean,


    That's a cool project image Welcome to Element14! We have a really friendly and supportive community here. Hopefully we'll get to see a lot more of your projects in future image


    Best Regards,


    Rachael

    • Cancel
    • Vote Up +1 Vote Down
    • Sign in to reply
    • More
    • Cancel
  • jw0752
    jw0752 over 5 years ago

    Hi Sean,

    Thanks for the awesome first post. I enjoyed your video and also the background tour of the awesome shop. I hope you stick around and favor us with some more projects.

    John

    • Cancel
    • Vote Up +1 Vote Down
    • Sign in to reply
    • More
    • Cancel
element14 Community

element14 is the first online community specifically for engineers. Connect with your peers and get expert answers to your questions.

  • Members
  • Learn
  • Technologies
  • Challenges & Projects
  • Products
  • Store
  • About Us
  • Feedback & Support
  • FAQs
  • Terms of Use
  • Privacy Policy
  • Legal and Copyright Notices
  • Sitemap
  • Cookies

An Avnet Company © 2023 Premier Farnell Limited. All Rights Reserved.

Premier Farnell Ltd, registered in England and Wales (no 00876412), registered office: Farnell House, Forge Lane, Leeds LS12 2NE.

ICP 备案号 10220084.

Follow element14

  • Facebook
  • Twitter
  • linkedin
  • YouTube