


.png-1440x400x2.png?sv=2016-05-31&sr=b&sig=tED0G2pDX4kakdTWR3BEQdZ%2Bxvi%2Baik5FHhC2wrPkds%3D&se=2026-02-06T23%3A59%3A59Z&sp=r&_=OKq1iyPPxyHoB0mZCN3MOA==)
My good friend and neighbor was recently very saddened when his daughter announced right before Christmas that she was moving to Florida along with his Grandson; to whom he is very close. I decided to do something sneaky for them for Christmas and surprise them.
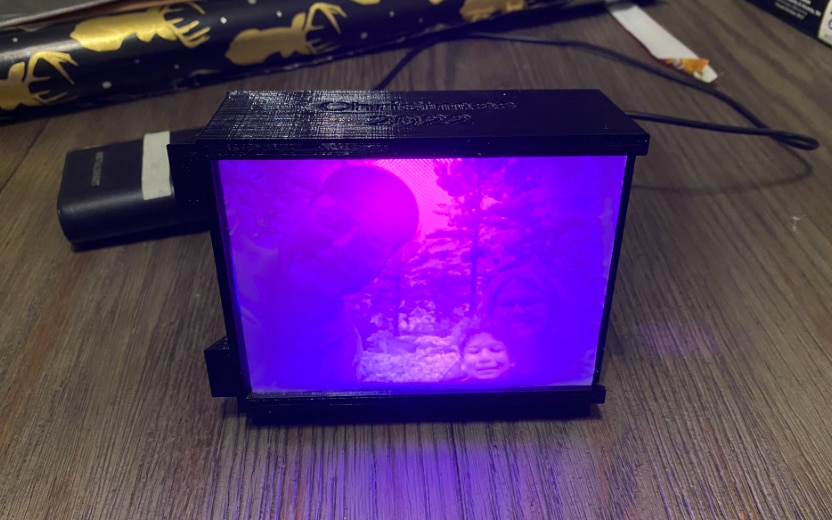
I gave them some special holiday lights to brighten their spirits 
For this project, I printed my first (12x) Lithopanes and created a custom enclosure to house them. I've never made them before, so I had to learn to complete this.
I had the neighbors send me some pictures of them with their grandkid and I started printing! There were 12 that they sent me, and each print was about 4 hours, so that portion alone took quite a bit of time. I also whipped up a fun enclosure that could hold 90x120mm slides along with a stand for the lithopanes.
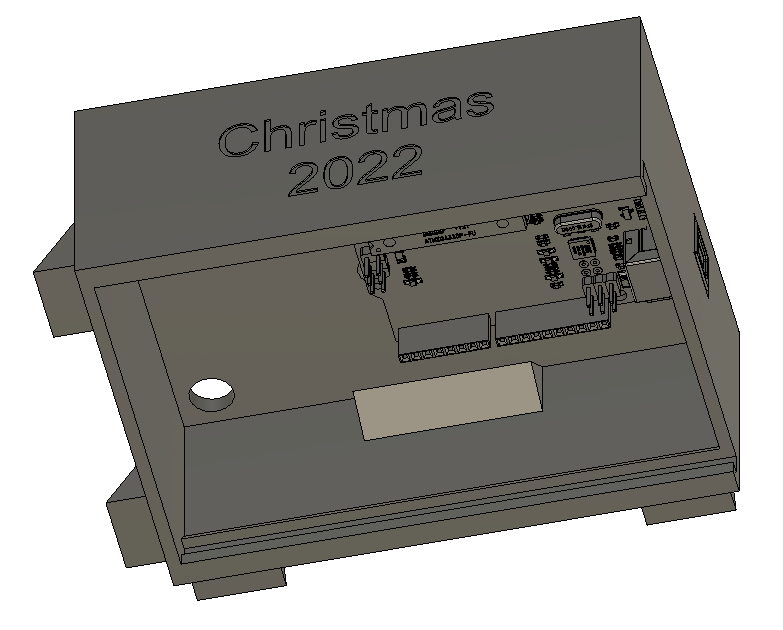
The Enclosure
The enclosure was pretty simple to model up in Fusion. I made a box, and added some mounting provisions for an Arduino Uno. I ultimately ended up using a D1Mini microcontroller instead of the Uno because I have more to spare and they're cheaper. The Uno sort of fit better - I had provisions for M3 nuts on the backside and a thru-hole for the USB cord that made it easy to plug in. The D1 Mini on the other hand, has no mounting provisions of its own and requires a carrier board to have it securely fastened. Since "ain't no one got time for that", I relied on the tried-and-true Hot Glue mounting method
There are slots built in to slide each Lithopane into the enclosure. I put some little ledges on the front and back sides to hold Neopixel LED strips at a good angle to back-light the slides. The enclosure took about 8 hours to print.


The Lithopanes
This was the big adventure for me. I've never made a Lithopane before so didn't know what to expect. A quick Google search got me down the right path and the process was pretty simple using Cura.
All I really needed to do was launch Cura and File--> Open and point a a .jpg file. I get this prompt shown here:

and it takes care of the rest.
What's a Lithopane again?
If you're not familiar with a Lithopane, it is a 3D printed version of a photograph. Darker parts of the photograph have more 3D printed layers, and light areas have less. It could also be thought of like a 3D printed topographical map; a 3D version of a photo that one can feel. One can print a photo, and by backlighting it, the image becomes visible.
Luckily, Cura is set up to do the work of converting a photo into something that I can print, so all I really had to set was the X,Y dimensions. I used 90 x 120mm for the frame size.
This is part of the GCode rendered in Octoprint
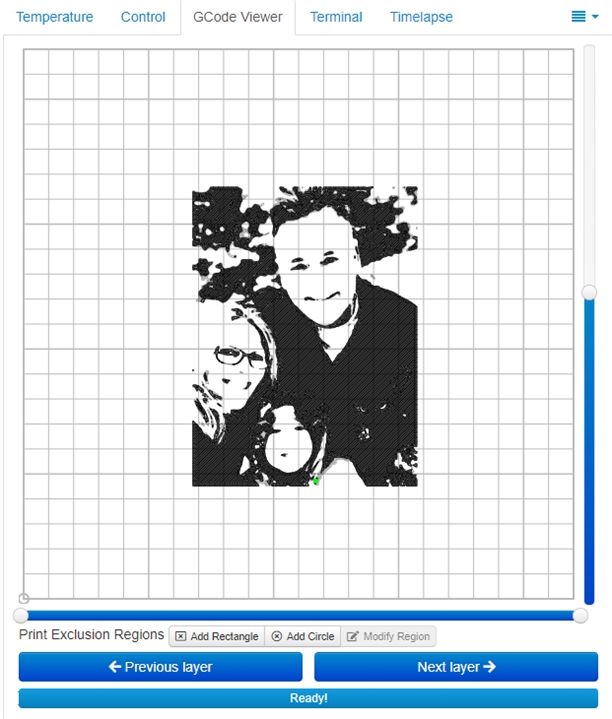
They gave me 12 photos and each one took about 4 hours to print, so this process took a while. I just loaded up a spool of white filament and got things running. For printing Lithopanes, people often do some weird things like try to print them standing up (90°) or tipped back slightly (80°). I didn't have the time to experiment, so went the easy route and printed laying flat on the build plate. There is not as much detail but it worked fine for me. I also ran with 100% infill because any normal infill patterns would show-through with the backlighting. Although the total print was only 2.5 mm tall, so there wouldn't be much. I also ran 0.10 mm layer heights to buy back a little bit more detail.
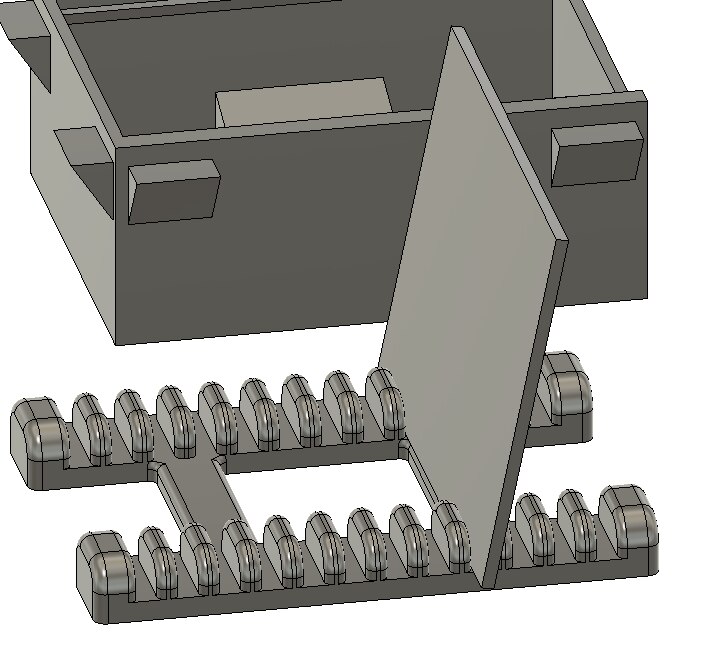
The slide holder
As the slides were printing, I realized that I should do something to hold them. I had 12 total slides, so thought a simple base would work. I drew up a simple H-shaped piece about 15mm tall with slots for each of the 12 slides. I printed this with 5 perimeter layers and 50% infill to give a nice solid feeling. I had some fun in CAD planning out what 'lean angle' the slides would have in the final product - about 10°.

The Electronics
As noted above, I had originally planned this to be run by an Arduino Uno, and printed a test until. Later I switched to a D1Mini, but had a slight issue. The LED strips I wanted to use were WS2812 (SK6812 technically) Neopixel strips from Adafruit and require 5V logic according to its datasheet. The D1Mini is 3.3v. Older WS2812 are rated down to a supply voltage of 3.5V and logic HIGH is within 0.5V of supply rail. This chip just lists supply voltage of 5V without a range, and logic high within 0.5V. I knew this could be an issue and was ready to do some logic level shifting, but after a quick test, this wasn't necessary. It turned out that the chip was forgiving, and I was able to run at 5V supply, and give 3.3v logic and it all worked! Knowing that the chips use shift-register to repeat the info on their output, that should be OK as long as the very first chip/LED can understand it. So the logic going into the first chip is 3.3v, but all the downstream ones should get their expected 5V logic levels. There are options to trick the first LED by stepping down supply voltage with a diode to make reading the data more reliable, but I didn't need any wizardry here.

The wiring was quite simple here - Power, Ground, and Data. I hot-glued the LED strips inside the enclosure along with the controller.
For programming, I am running a demo reel from the FastLED library. I had delusions of grandeur for doing my own LED show, but this was more than adequate for what it needed to be. This is project I concepted on Christmas Eve, and delivered within a week after like 60 hours of printing an a visit to the next state over for like 4 days.
The present
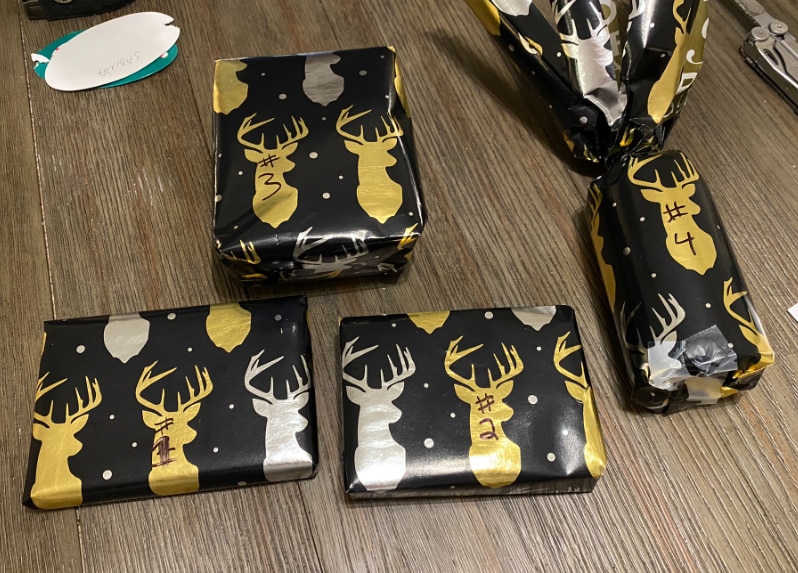
I got all the parts wrapped up (along with #4 which is a delicious Old Fashioned) and sent them over. I had to deliver this after new years due to my travel schedule, but they didn't seem to mind.
Now they have a nice light show with interchangeable slides showing pictures of them with their grandson all year round
The Video
Here is a quick video of it running.
Hope you all enjoy and can keep your loved ones close in one way or another :)
-

robogary
-
Cancel
-
Vote Up
0
Vote Down
-
-
Sign in to reply
-
More
-
Cancel
Comment-

robogary
-
Cancel
-
Vote Up
0
Vote Down
-
-
Sign in to reply
-
More
-
Cancel
Children